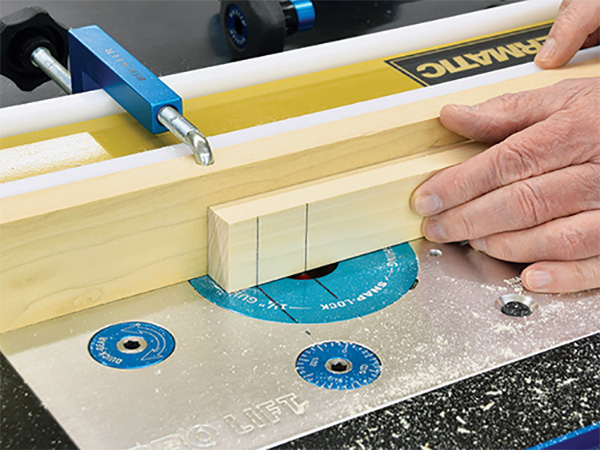
Another way to create mortises without special machines or jigs is with the router table you already own. Marking the workpiece is minimal, as just about everything is controlled by how you set up the table and where you start and end the cuts. You simply need start/stop lines on the workpiece matched to the cutting edges of the bit to define the mortise length, a fence set to center a straight or spiral bit in the workpiece and two start/stop lines on either the fence or table surface.

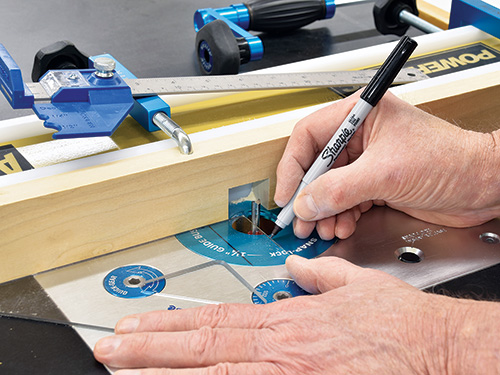
I’ve set the bit high enough to easily measure and set the fence to center a 1/4″ x 1-1/2″ mortise in 3/4″ stock. I then drew start and stop lines directly on the router table that match the start and stop line on the workpiece. (A thin-tipped permanent marker pen is easily visible and comes right off with a touch of rubbing alcohol.) For even more visibility, you can continue the stop/start lines on the fence.
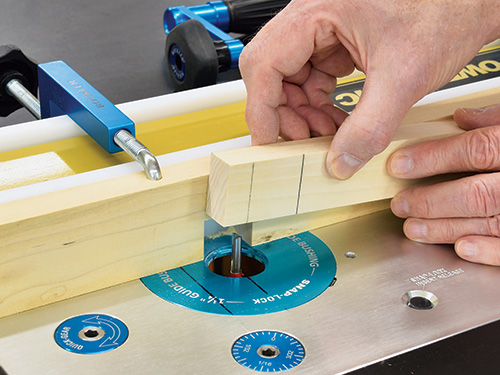
Mortises are deep cuts — this one is 1″ deep — so cut in multiple shallow passes of increasing depth. With the router on and the workpiece against the fence, lower it carefully onto the bit on the start mark, then push it smoothly along the fence to the stop mark.

Now, shut off the router, remove the workpiece, raise the bit a little more, and repeat the process until the mortise is complete. I’m just cutting this one mortise here, but if I were doing several, I’d run them all through on the first bit setting, raise the bit and run them all through in series.

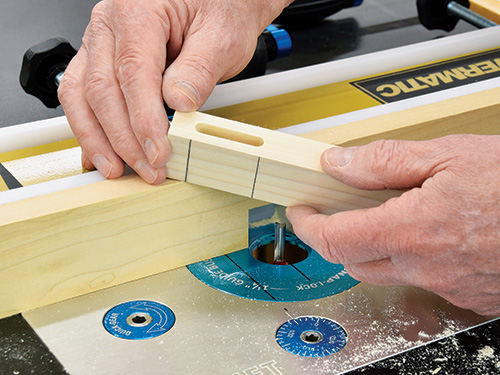
Router bits cut incredibly clean and even mortises. As with the drill press, the mortises will be rounded. You can leave the mortise as-is for rounded tenons, or square the slot for squared tenons and then produce an ample amount of tenon stock.


