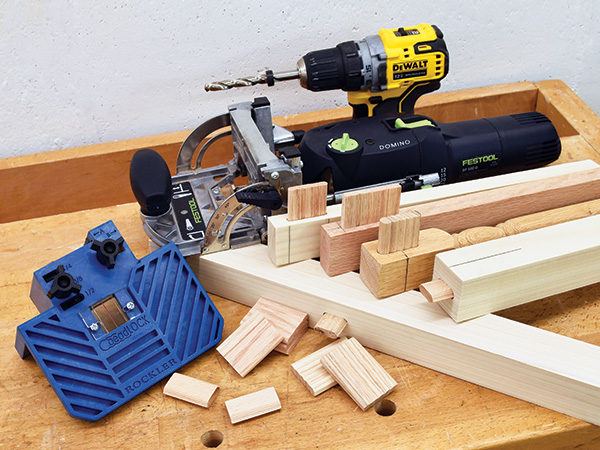
Along with dovetails, traditional mortise-and-tenon joinery is among the strongest there is. But where dovetails are perhaps most useful for corner joints, mortise-and-tenon joinery is adaptable to a variety of project components: stile-and-rail, frames, legs and aprons, windows and yes, corners.
These joints aren’t always easy to make, in that the mortise and the tenon, created separately and part of the workpieces themselves, must fit perfectly. They’re also a time-consuming process. But loose tenons — sometimes called “floating” or “slip” tenons — offer all the benefits of regular tenons and are usually faster and simpler to make, especially when making a lot of them. And because they’re “loose,” if a mortise is off a bit, size-wise, you can just toss the tenon and cut a new one to fit.
Over the next few weeks, we’ll find out how loose-tenon joints can work for you.
Festool Domino
The German company Festool created a stir when they introduced the Domino in 2007. Able to make perfect router-like mortises (which we’ll cover shortly), they do so faster with less setup using a lightweight handheld tool that combines the attributes of a biscuit joiner and router bit, along with horizontal oscillating action.
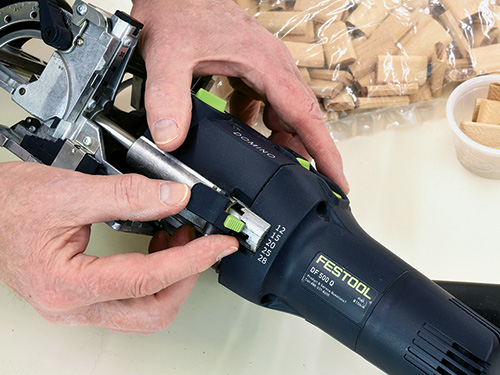
Available in two models, Domino machines use different- sized bits and settings to create a variety of mortise sizes that pair with Festool’s offering of loose tenons. The Domino 500 I’m using here creates mortises for tenons measuring 4 to 10 mm thick (about 3/16″ to 3/8″). The 700 model does 8 to 14 mm (5/16″ to 9/16″). Maximum depths are 28 mm (1-1/16″) and 70 mm (2-3/4″) respectively. Both models have a width setting that adjusts for a tight or loose fit of the tenon.
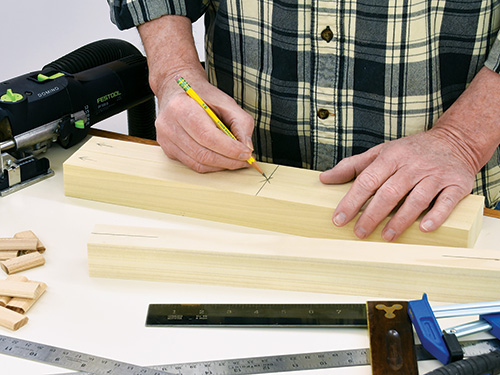
Before using, adjust the front fence to set the mortise height in the workpiece (much like a biscuit joiner) and cutting depth. The depth is set to match half the length of the tenons. Here, I’ll be using Festool’s 8×40 mm tenons, so I’ve set the depth for 20 mm and adjusted fence height to center a mortise in 1-1/2″ stock for the leg set of a small table. Next, mark the workpieces. For the rails and stiles of the leg set, I’ve marked the centers on the ends of the rail and in the side faces of the stiles. It’s also helpful to add registration marks for workpiece orientation.
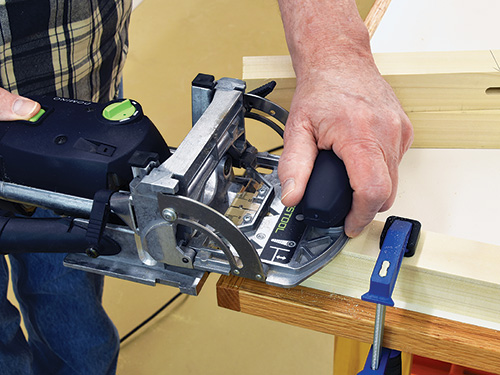
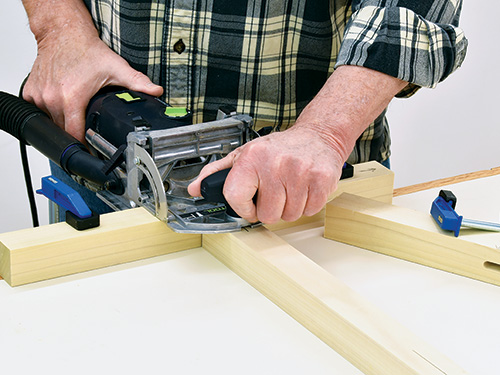
Clamp one of the stiles to a work surface and center the Domino’s hairline cursor on the marks. Note in the middle right photo that I’m using the rail butted up against the back of the stile for extra support. Key on the Domino with the thumb switch and smoothly plunge the tool into the workpiece. Then repeat with the second stile.
Similarly, clamp the rail solidly, line up the Domino on your end-grain mark, and plunge. Since this is a lengthwise plunge, no need for extra support. Flip the rail, re-clamp, and cut the opposing mortise into the other end.
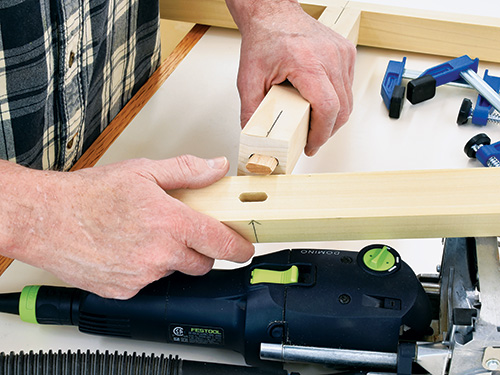
To complete the joint, slip a tenon into the mortises and test-fit. If everything’s good, add glue, clamp up, and the pair of mortise-and-tenon joints is done. That’s it.
All four of those identical mortises I just made took only a matter of seconds to machine. You won’t find a faster and easier method for loose-tenon joints than the Domino. On the downside, the tool is pricey. But if you do a lot of mortise-and-tenon joints with loose tenons, it could be an excellent investment.


