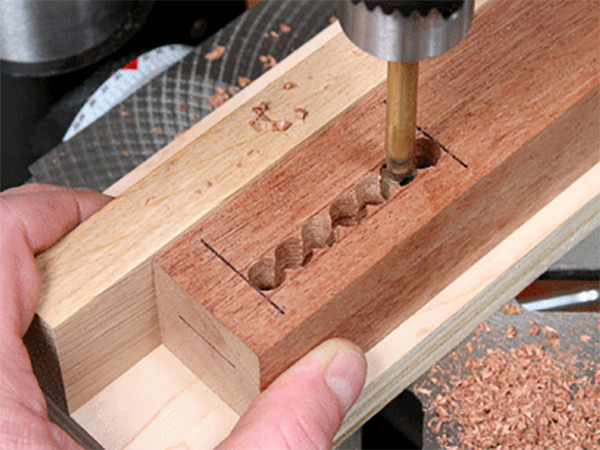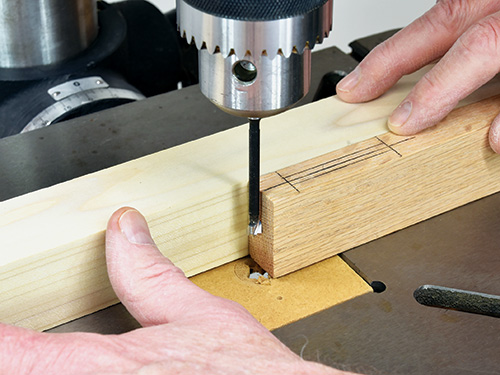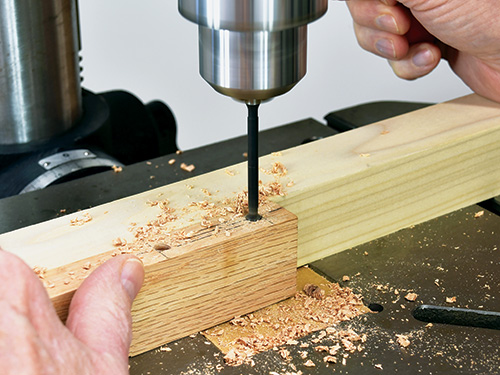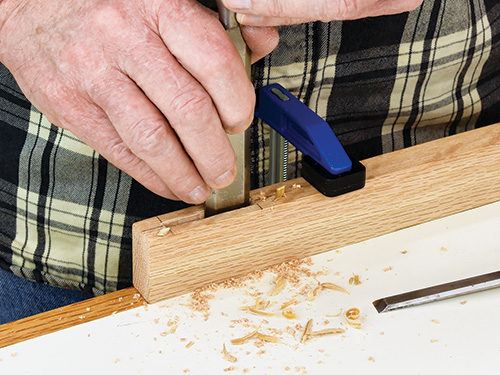
If you make a lot of square-ended mortises, a dedicated hollow-chisel mortiser is a great tool to have. But mortisers are really just tricked-out drill presses that connect a line of square holes, and your drill press can do the same thing with round holes.
For drill press mortises you won’t need a special tool or jig like our first two examples, just a fence attached to the machine’s table and a sharp pencil.

Draw a centerline on your workpiece, then the outline of the desired mortise. I’ve marked out a 1/4″ x 2″ mortise in a piece of 3/4″ oak and have clamped the fence to center a 1/4″-diameter Forstner bit on the line. A Forstner bit is the best choice to make here for drilling clean, overlapping holes. But a sharp brad-point bit also does the job quite well.

Set the drill press depth stop to match your mortise and start drilling. I find it helpful to first drill the end holes to define the mortise length, then just move the workpiece from one side to the other between the initial holes, drilling overlapping holes to remove as much waste as possible.

With the mortise drilled, clamp the workpiece up and use chisels to clean and square the inner walls of the mortise. If you plan to use round-edged tenons, there’s no need to shape the mortise ends; otherwise, square the ends as well.
Here’s a tip: With some planning at the drill press, you could size the hole pattern to match that created by the Beadlock, allowing you to use ready-made Beadlock tenons. We’ll cover cutting tenon stock shortly.


