
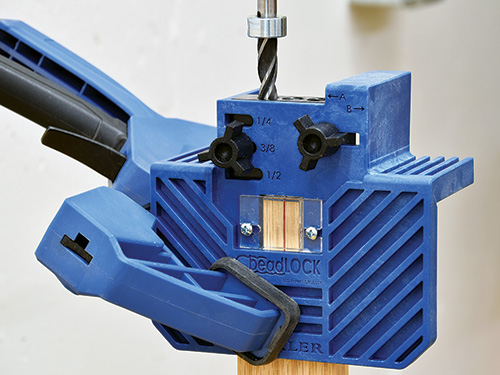
Rockler’s Beadlock jig system takes a simpler and less expensive approach requiring only the drill/driver you already own and a Beadlock jig. Similar to using a dedicated hollow-chisel mortiser or a drill press, the Beadlock creates a series of overlapping holes laid out to fit uniquely shaped Beadlock tenons.
To demonstrate how it works, I’ll make a joint for a table apron at the top of the leg. As with the Domino, mark the workpieces with penciled alignment marks where the tenons go, centered in both the 1-1/4″ leg top and the end of the 3/4″ apron.
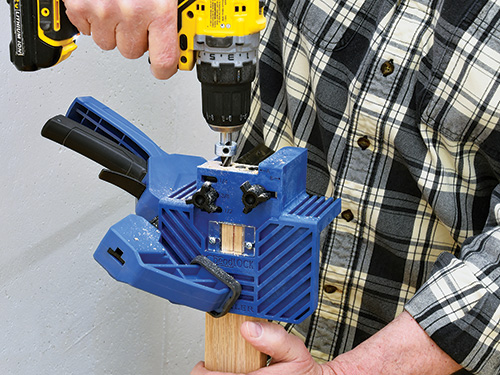
After securing the apron in a vise, loosen the drill guide block, and slide it to the “A” position and clamp the jig into place on the pencil mark at the apron end, centered in the jig’s window. Then, using a stopped bit, drill three holes lengthwise into the workpiece. The holes will be spaced slightly apart.
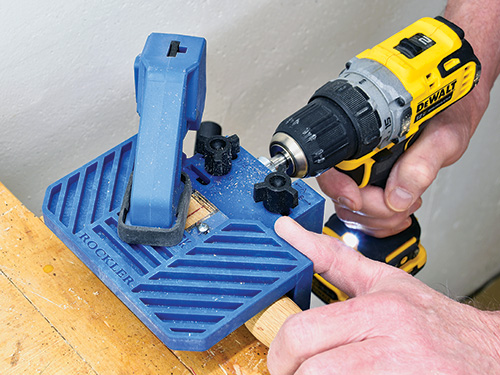
Next, undo the thumbscrews and slide the jig’s guide block to the “B” position, realigning the guide for drilling two more holes between the others, connecting them all. Remove the Beadlock and repeat the process with all the apron ends.
For the leg tops, the process is the same, although it’s easier to clamp the leg horizontally directly to a workbench. As before, drill the first three holes with the guide block in the “A” position, then drill the final two in the “B” position.
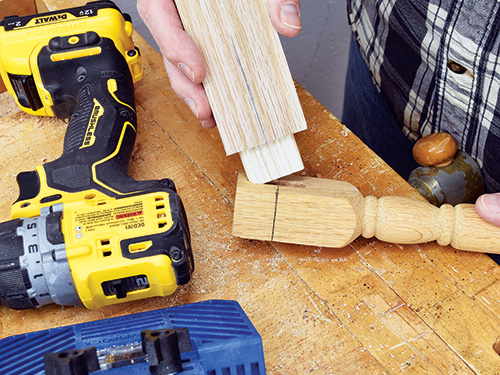
That’s all it takes to create the mortises, which remain a series of holes; no trimming or squaring necessary, as the Beadlock tenons are shaped to match. Just insert the Beadlock tenons into place for a test-fit, then glue and clamp.
For more tenon cutting techniques, check out A.J.’s look at the Festool Domino.


