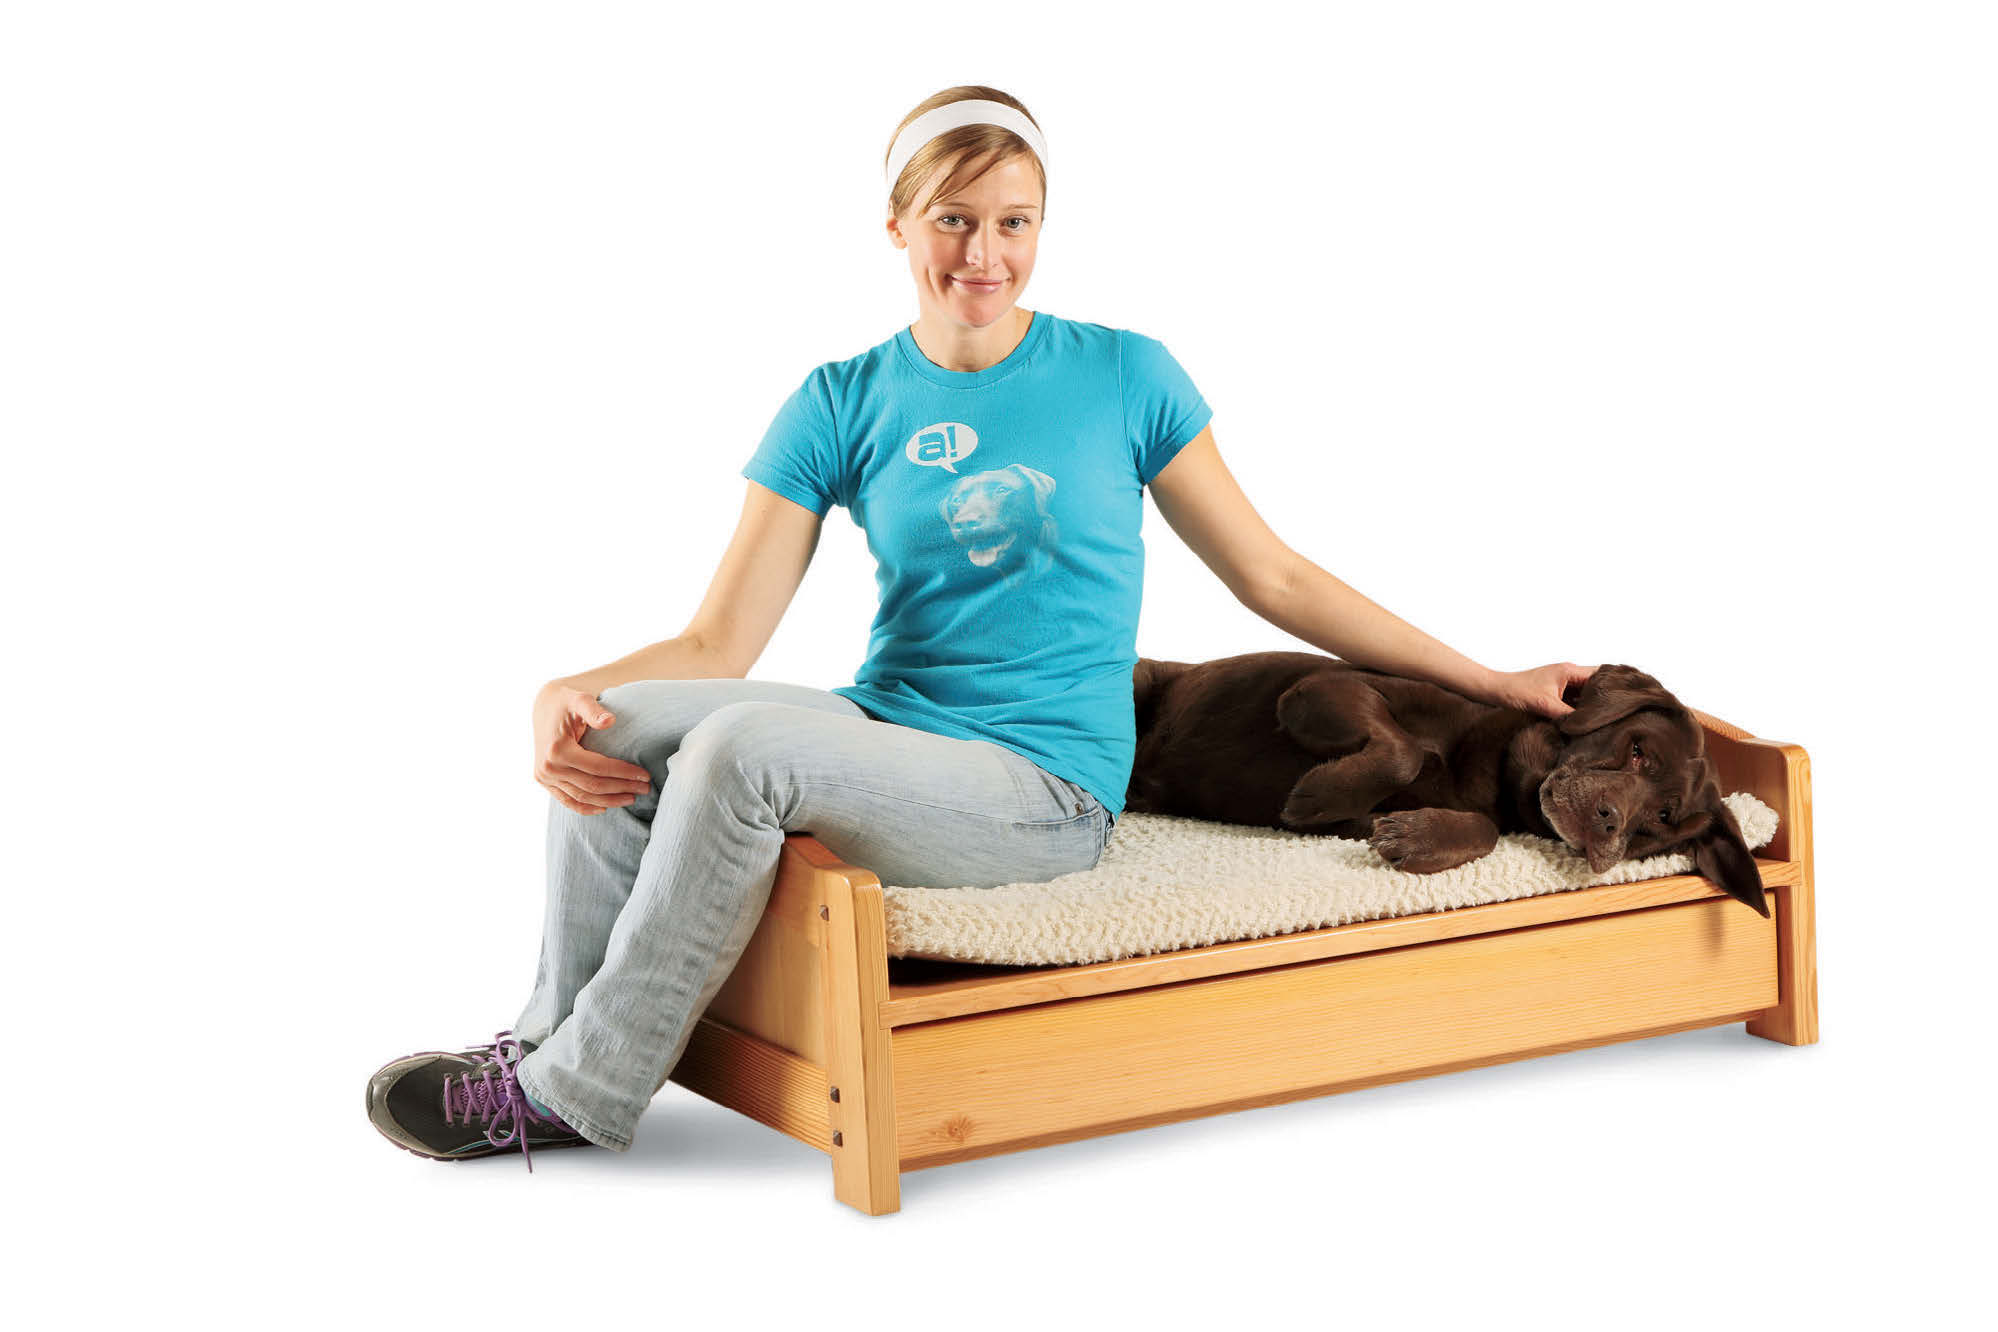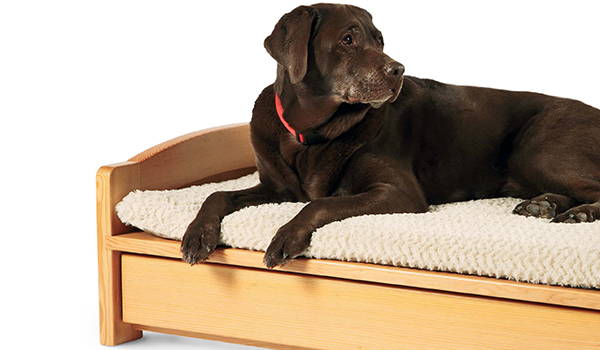
Bailey and I particularly enjoyed making this project. She has great intuition, and so she probably knew the bed was for her. You see, my dog Bailey is my shop assistant and faithful cohort, and she is often charged with the task of holding down the couch (which she succeeds at with flying colors). However, she isn’t always allowed on the couch. Minnesota’s frequently messy weather was partly responsible for the decision that Bailey should have her own special dog bed. And, since she works very hard — at following me around, getting belly rubs from everyone and wagging all the while — she deserves the royal treatment of a custom bed!
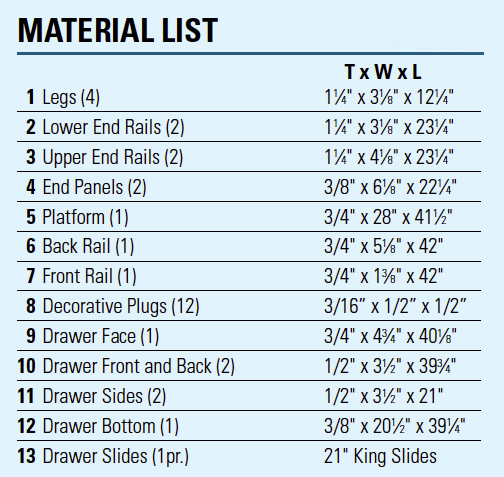
I started by deciding on the size for the bed. Then I picked the wood, which is always a joy. Maybe you want to try to match the color of your pet, but I think it would be easier to complement the colors. I chose Douglas fir because Bailey is a chocolate lab, and the golden highlights in the fir complement her dark brown fur. Petco® has several sizes of dog “mattresses,” which are essentially 2-1/2″-thick pads for dogs. Bailey weighs 65 lbs., so her size required the extra-large sized mattress. I have supplied the bed dimensions for other sized dogs in a “More on the Web” entry. You may want to use a tape measure to see how much space your furry friend takes up when sprawled out, to decide which bed size to build.
Getting Started
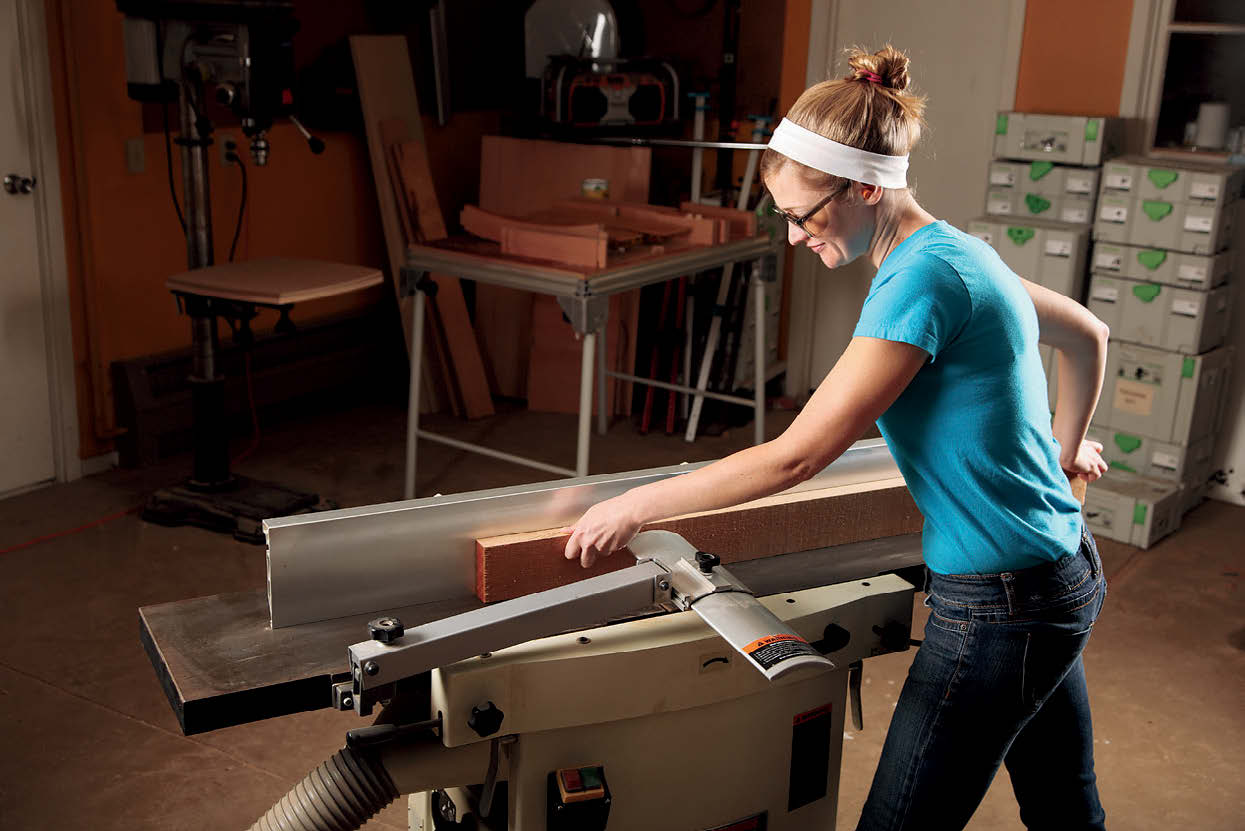
To get this bed underway, I started by milling the wood flat, square and to rough dimension. As a general rule, I size parts initially at least 2″ longer than my final dimensions. Then I laid the boards out for the platform and matched the figure of the wood as much as possible. The vertical-grain fir didn’t have a ton of variation, but I made sure to match the tighter grain at one side of the platform and the wider “stripes” at the other.
It is fun to tie in art concepts with woodworking, and I’m sure Bailey, as well as any viewer, appreciates it. At this point, I also glued the slats for the bed end panels together. Since I was using wood that I had first resawn, it was easy to arrange the slats into panels, making a linear design with the matching grain.
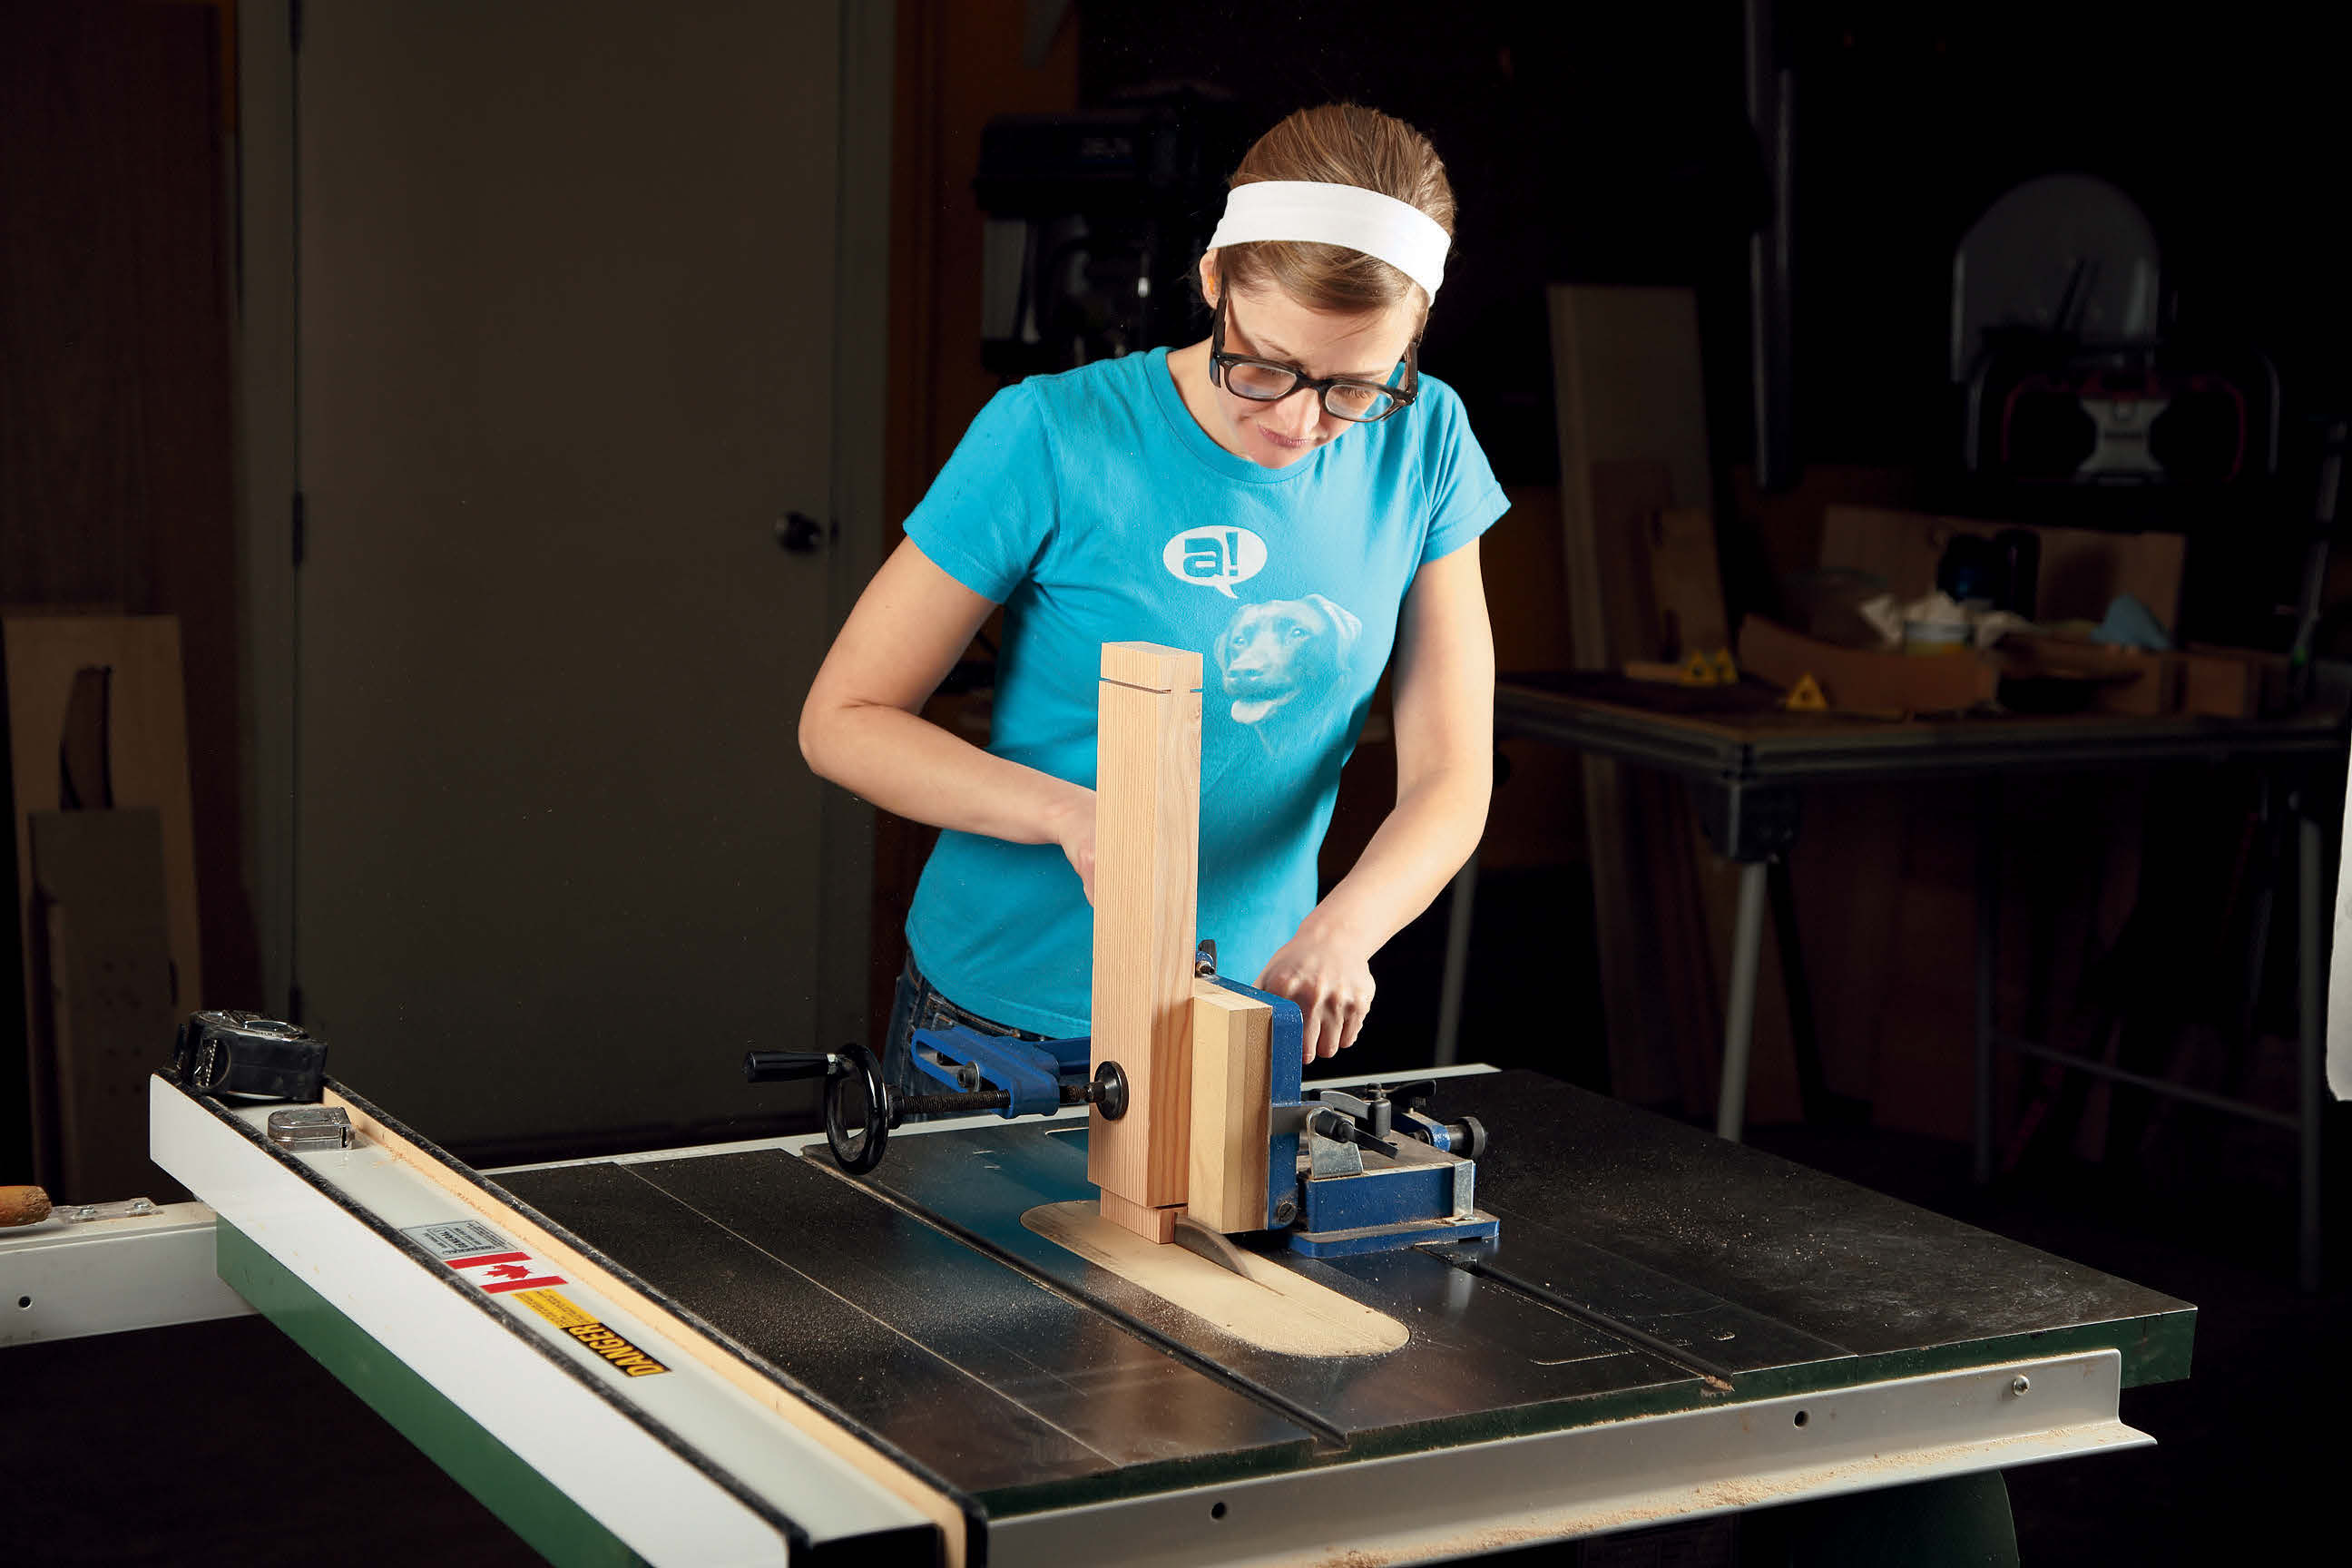
Next, I cut all of the rails and legs to final length before raising tenons on the ends of the top, bottom, front and back rails using a tenoning jig on the table saw. From here, I carefully laid out the mortises on the legs for all of the connecting rails. I had a JET bench top mortising machine at my disposal to cut the mortises very close to size, and I used a chisel to clean up the mortises from there for a nice friction fit.
Making the End Frames
With the mortise-and-tenon joinery behind me, I could work on more of the end rail details. I laid out the curve for the top rails by measuring and marking the ends and middle of the rail with a consistent width (same width as the legs and bottom rail), and then I aligned a thin, bendable piece of wood with those premeasured marks to draw the right curves. Actually, it helps to have someone else trace the line while you hold the batten on your premeasured marks. After that, I headed over to the band saw to cut the curves, then smoothed the curves and removed the teeth marks using a belt sander.
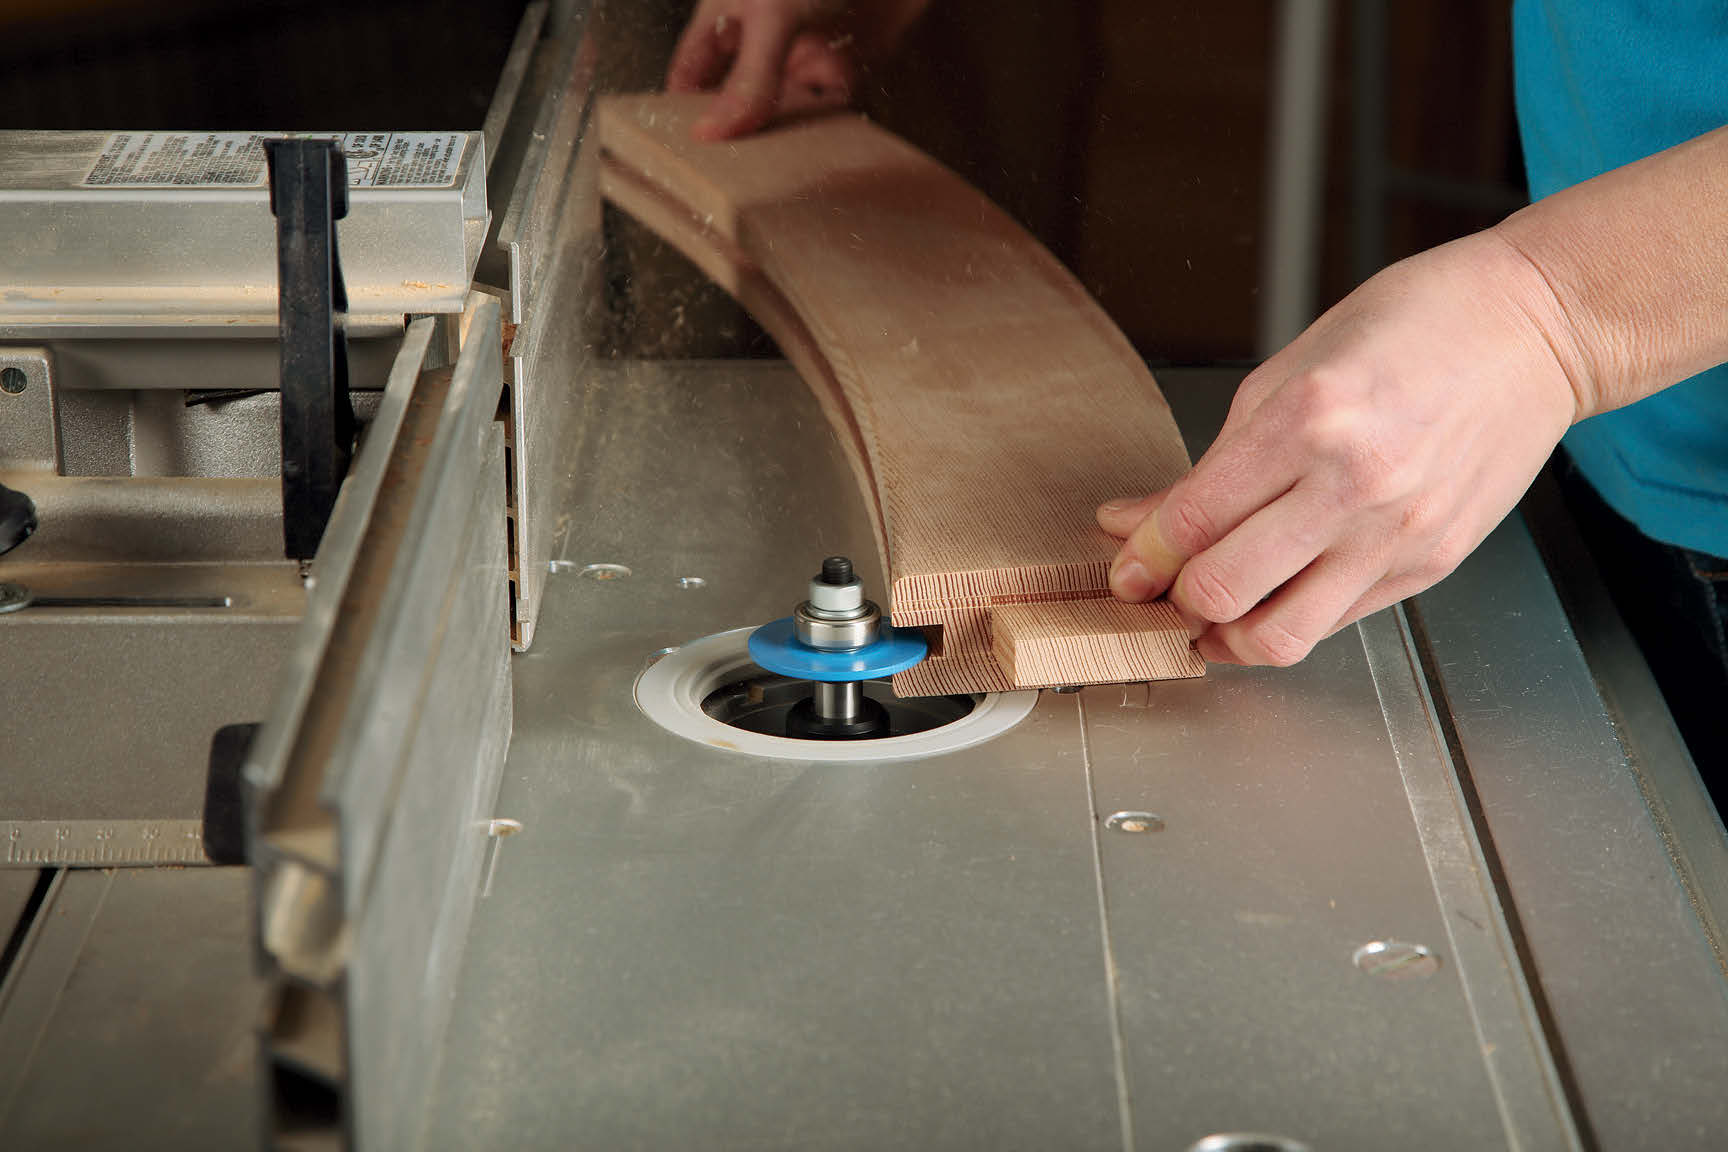
Given the curves, I decided to use a router and slot cutter to cut the grooves for the end panels. Carefully, I marked the space the panels would require, just to give myself a starting point. You should have a test piece that you cut first in order to check the fit as you go. Keep in mind that you will want to leave about 1/16″ of extra space in the width of the dado to allow for wood movement. On the rails, it’s easy to cut the grooves because they run from one end of the parts to the other.
However, the legs have stopped grooves (see the Drawings). So you will have to carefully feed the legs into the router bit at the starting point, and have a second mark on the leg so you know when to pull the piece away from the bit. After these leg grooves are done, chisel their ends square. Finish up the joinery in the legs by cutting 3/4″-wide, 1/2″-deep dadoes across their inside faces where the platform will be housed.
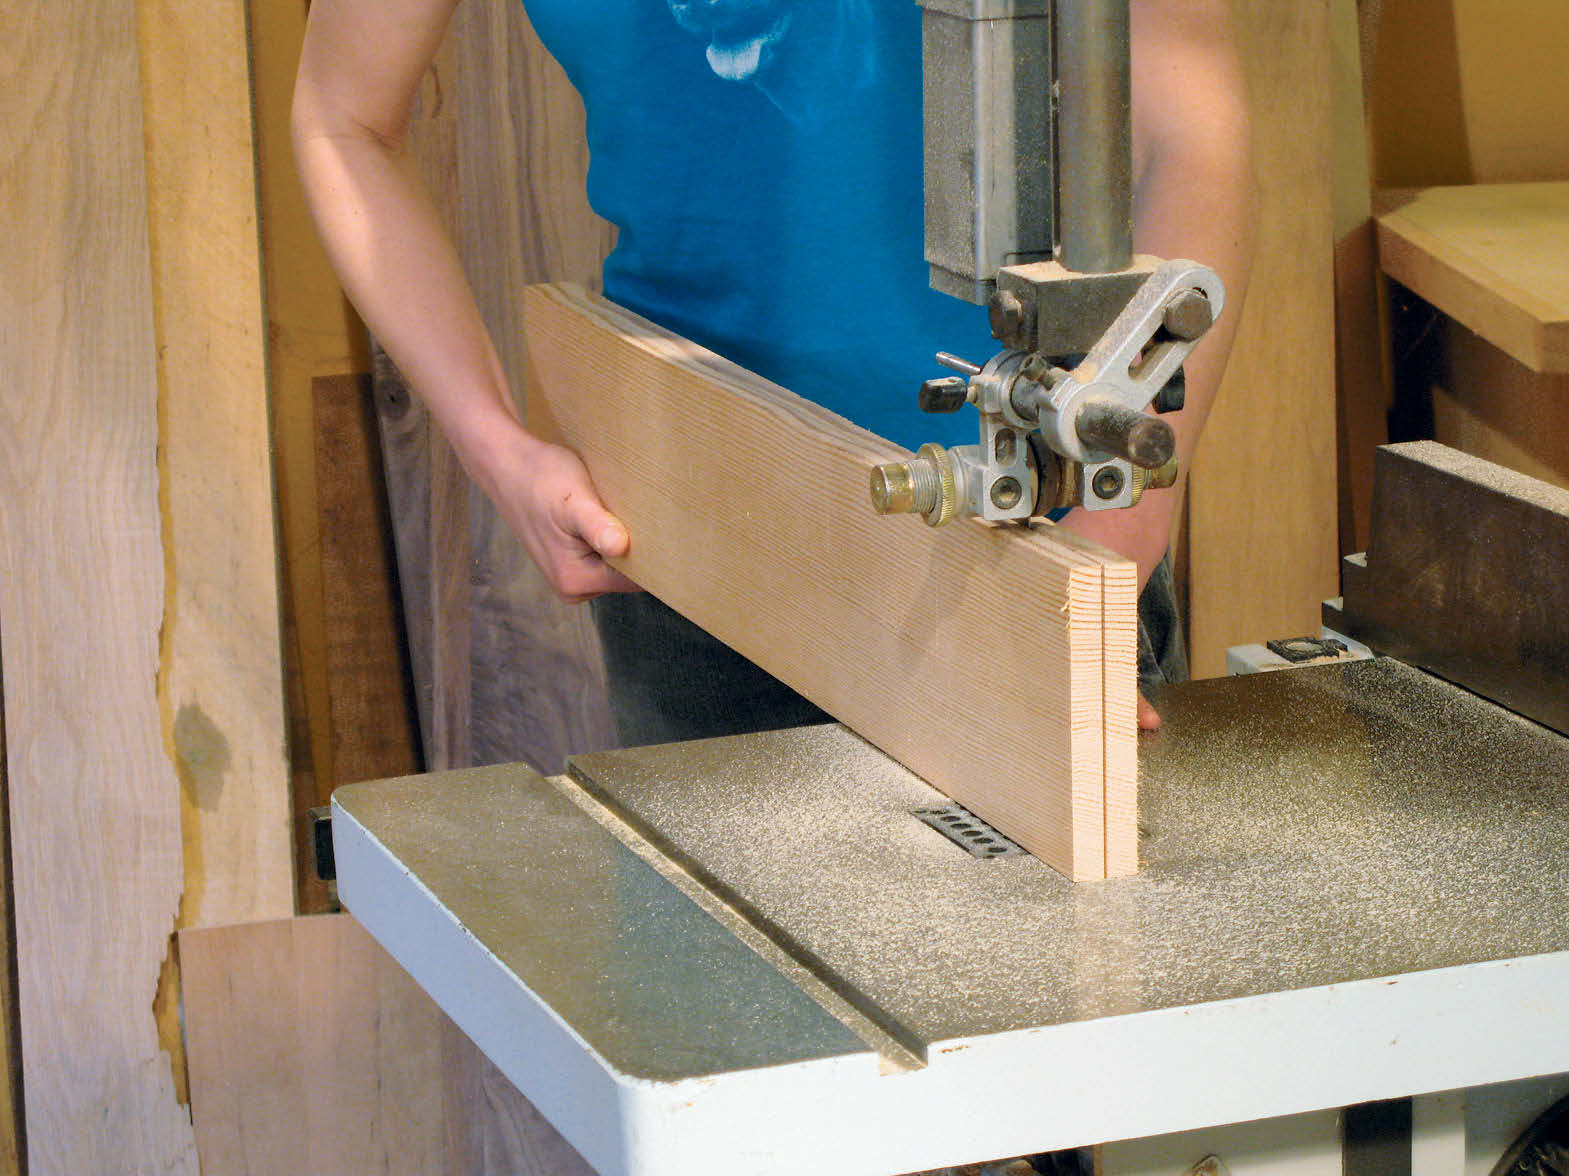
The end panels are now ready to be brought to final size and fit, so go ahead and clamp up the legs and upper and lower rails into two end frames. I laid a panel under each clamped-up frame and then traced the insides of the frames onto the panels. From there, I freehanded the arcs 5/16″ larger, and I used a ruler to do the same for the straight ends and bottoms of the panels. Since I had made the grooves 3/8″ deep to allow for wood movement, the 5/16″ enlargement left 1/8″ of extra space for the panels to “float” in their grooves. With this done, I walked the panels over to the band saw and cut them to final shape.
Before you can proceed with some big assembly on this project, it’s time for some final sanding and selective finishing. I softened the edges of the platform and front and back rails with small roundovers. To do that, I first set the platform into place between the clamped-up end frames and made tiny tic marks where the platform would meet the leg dadoes so that I wouldn’t round them over where these components intersected.
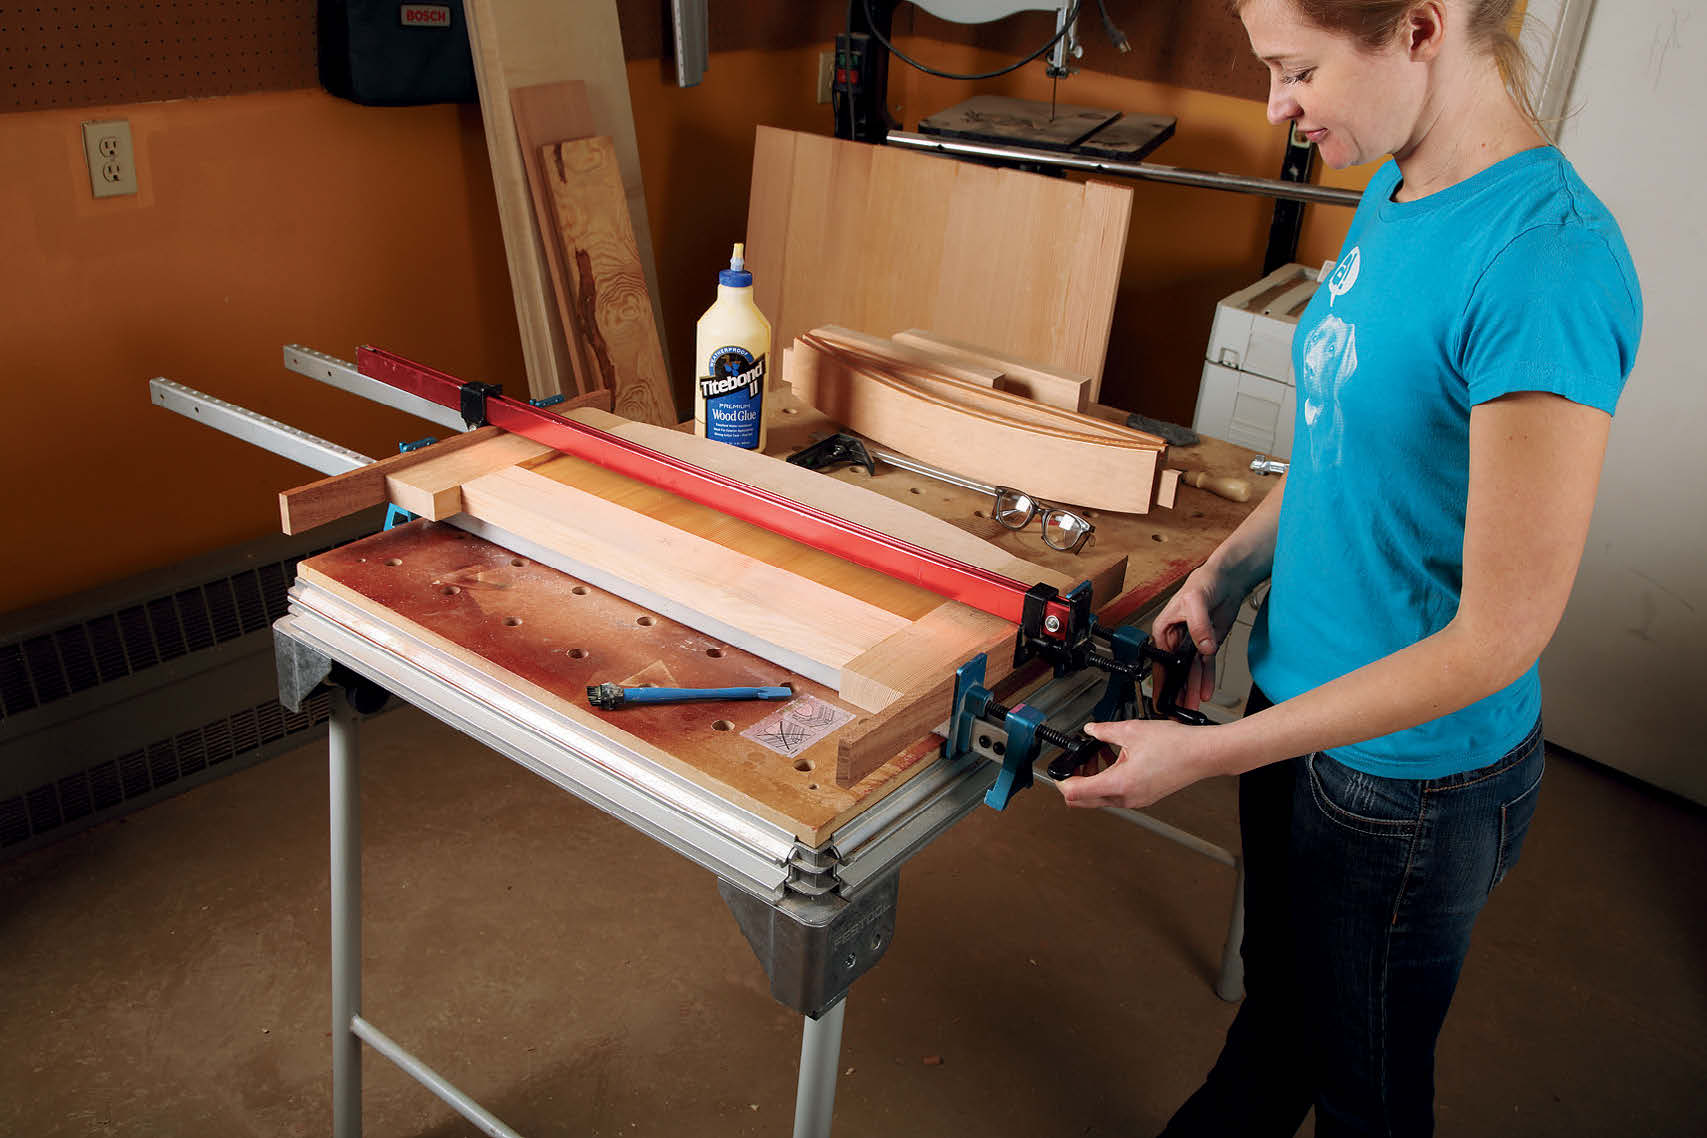
If you are doing frames and panels in any project and you aren’t going to spray on a finish, it’s smart to finish sections of your project as you go for ease of application. For this dog bed, shellac was my choice since it is nontoxic. Sometimes our furry friends choose to sample odd things: shellac is a precaution in case the bed looks good enough to eat!
Go ahead and sand and finish the inside edge of the legs/rails, panels, platform and front and back rails. You might as well do the drawer front while you are at it. When I was sanding the inside edges of the legs and rails, I gently rounded the outer edges with sandpaper just to take the edge off. I stopped the roundovers on the panel at my tic marks. Also, any surface that will be glued should not be finished. I used blue painter’s tape to carefully cover the joint surfaces.
When I use shellac, I generally apply four coats. Between coats, I lightly scuff the surfaces with 320-grit sandpaper. After the final coat, I used very fine (0000) steel wool to apply wax, then buffed it out with a soft cloth. It leaves a nice sheen.
Assembly Time
It’s finally time to glue up the end frames with their panels in place. When those come out of the clamps, do any final sanding you need to in order to flatten the leg and rail joints, then round over all remaining sharp edges. I chamfered the bottom ends of the legs, too. Apply finish to the rest of the bare wood surfaces.
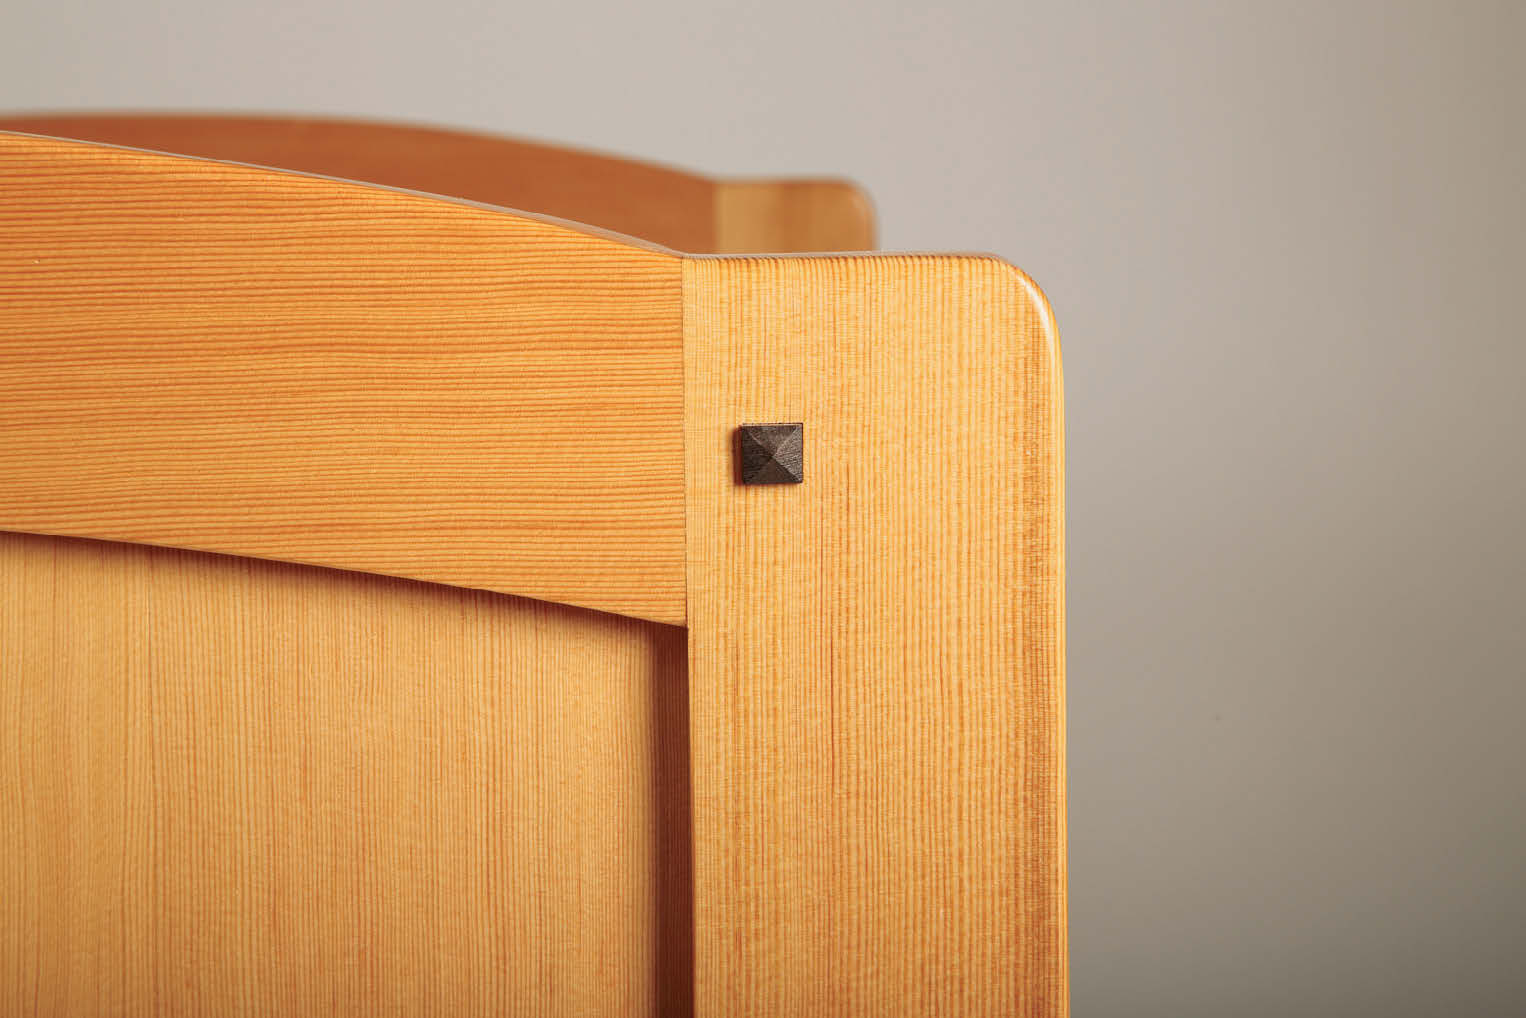
At this point, I realized that some Craftsman-style decorative plugs would be a cool detail. I laid out several different arrangements before deciding that one on the top rail joints and two on the bottom rail joints looked best.
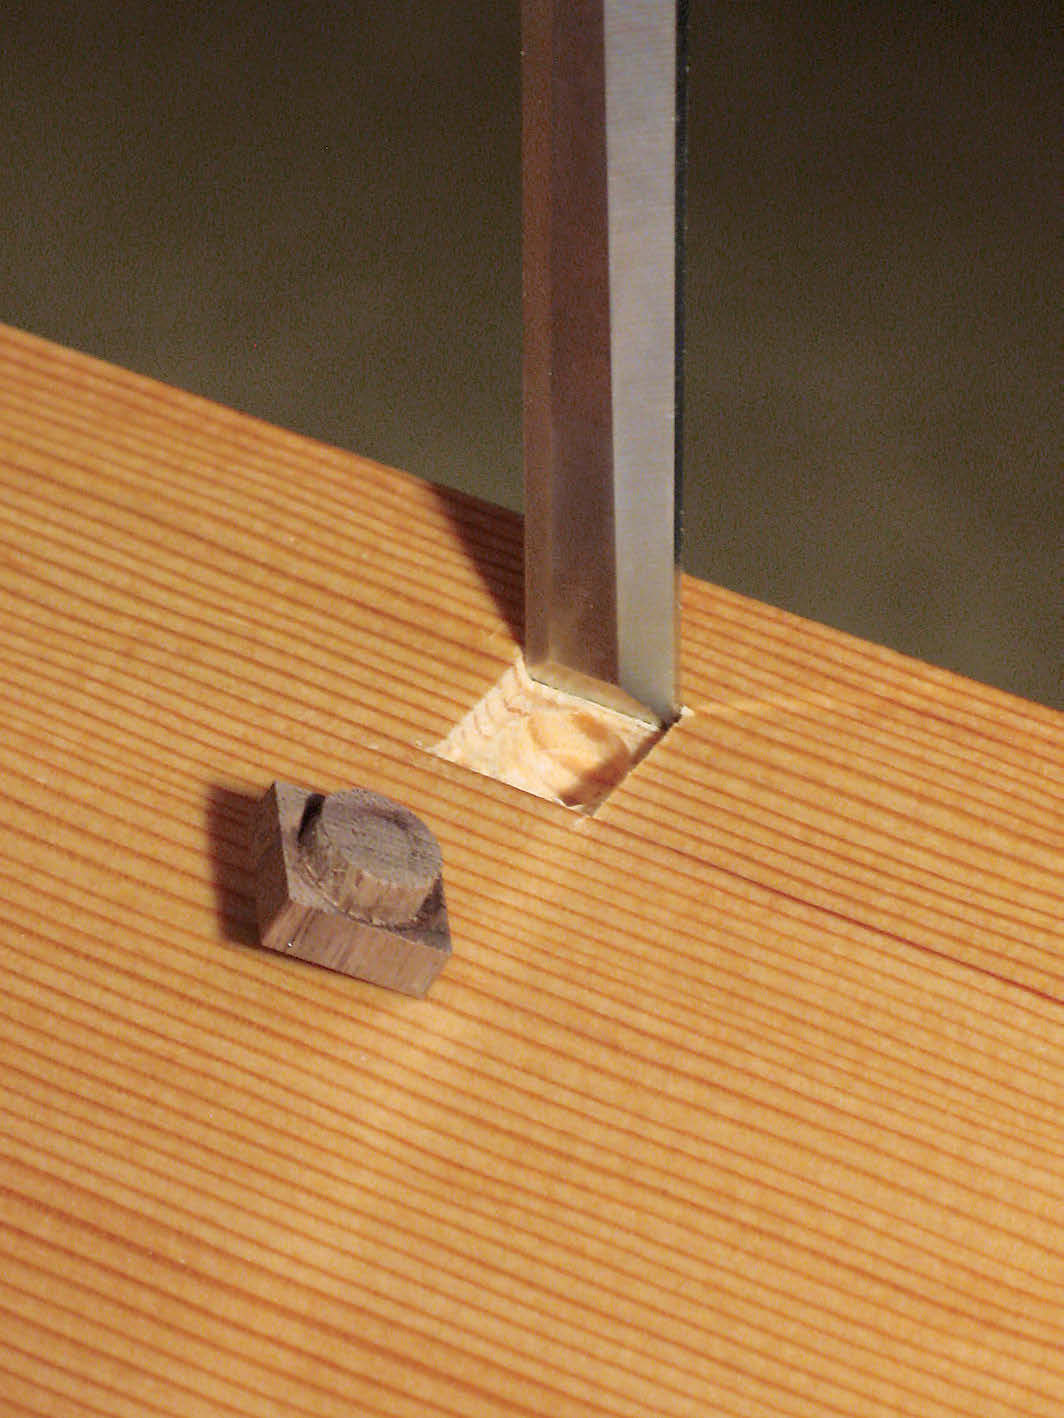
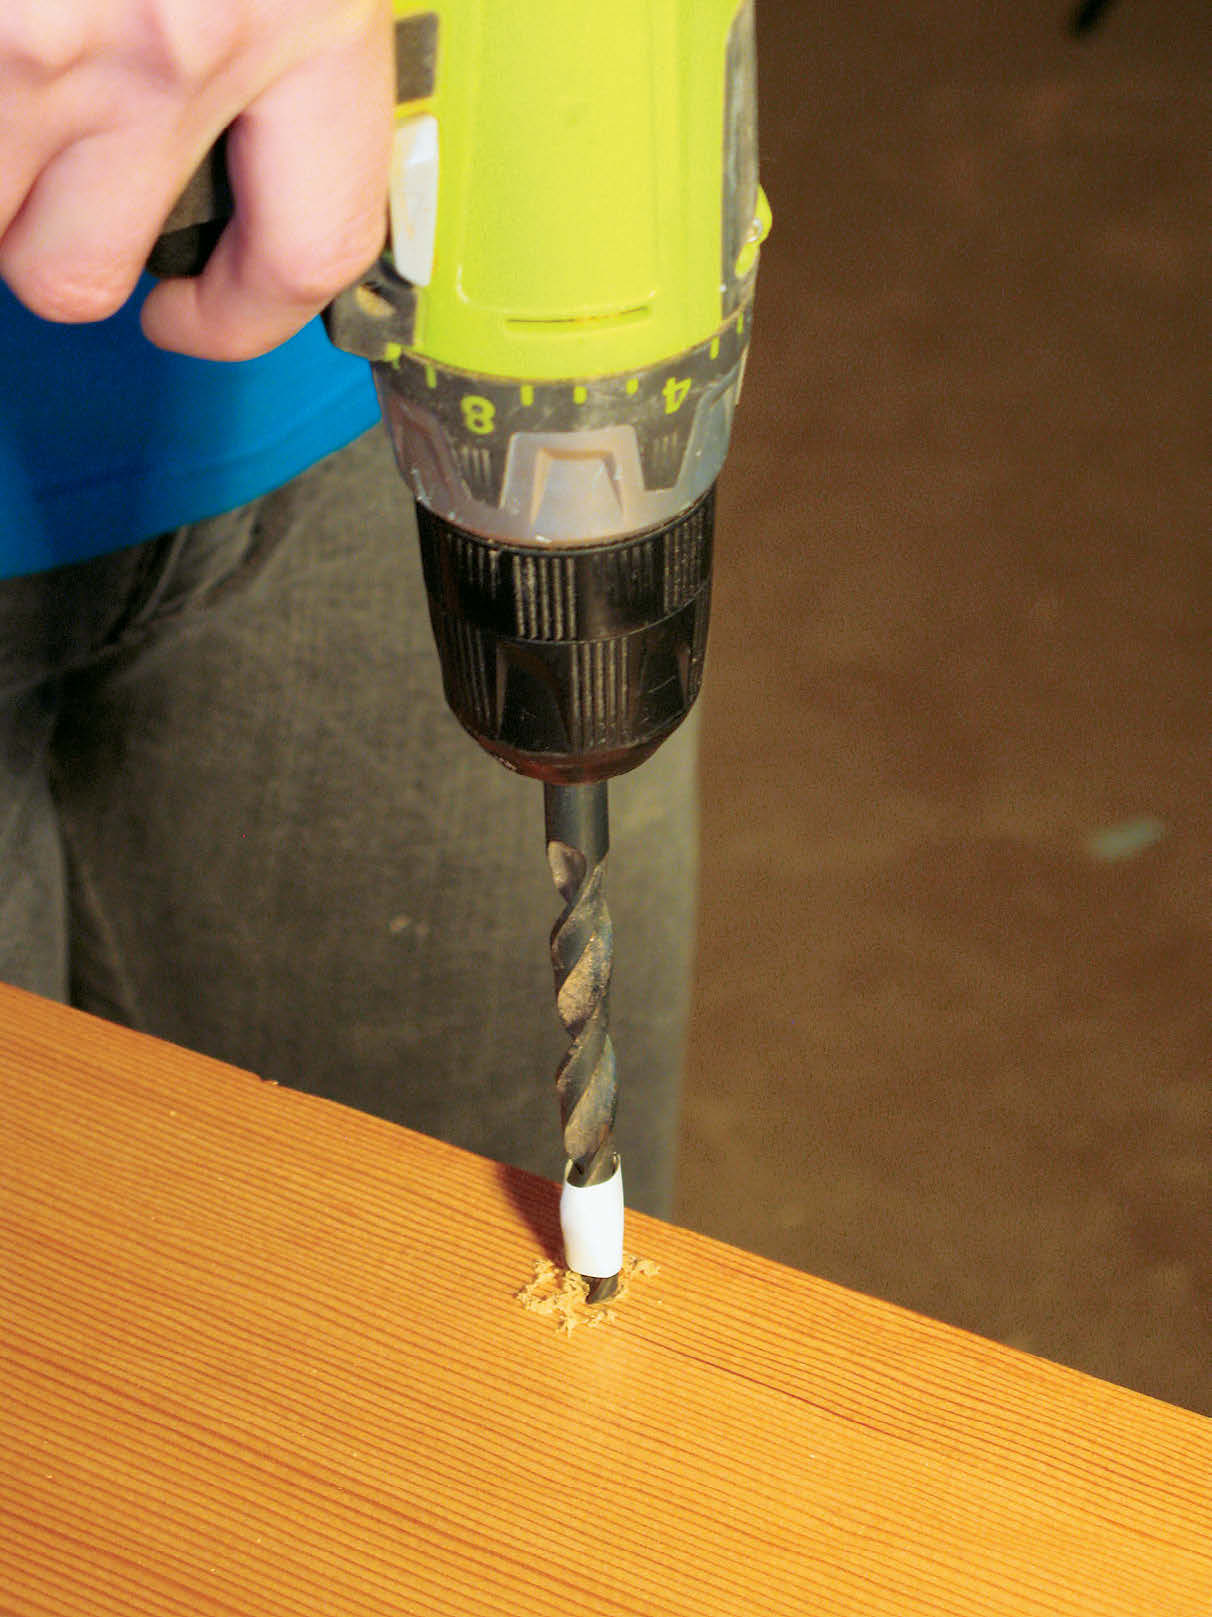
To install them, I first drilled a 3/8″-diameter hole 1/4″ deep. But, the plugs stuck out a little bit too far this way. So I put the plug in place and scribed a line around it, then chiseled out a 1/16″-deep recess. This made the plugs more discreet and tasteful. Apply finish to the plugs, and glue them on. When all the plugs are installed, glue and clamp the front and back rails and the platform to the end frames to complete the bed.
Making and Hanging the Drawer
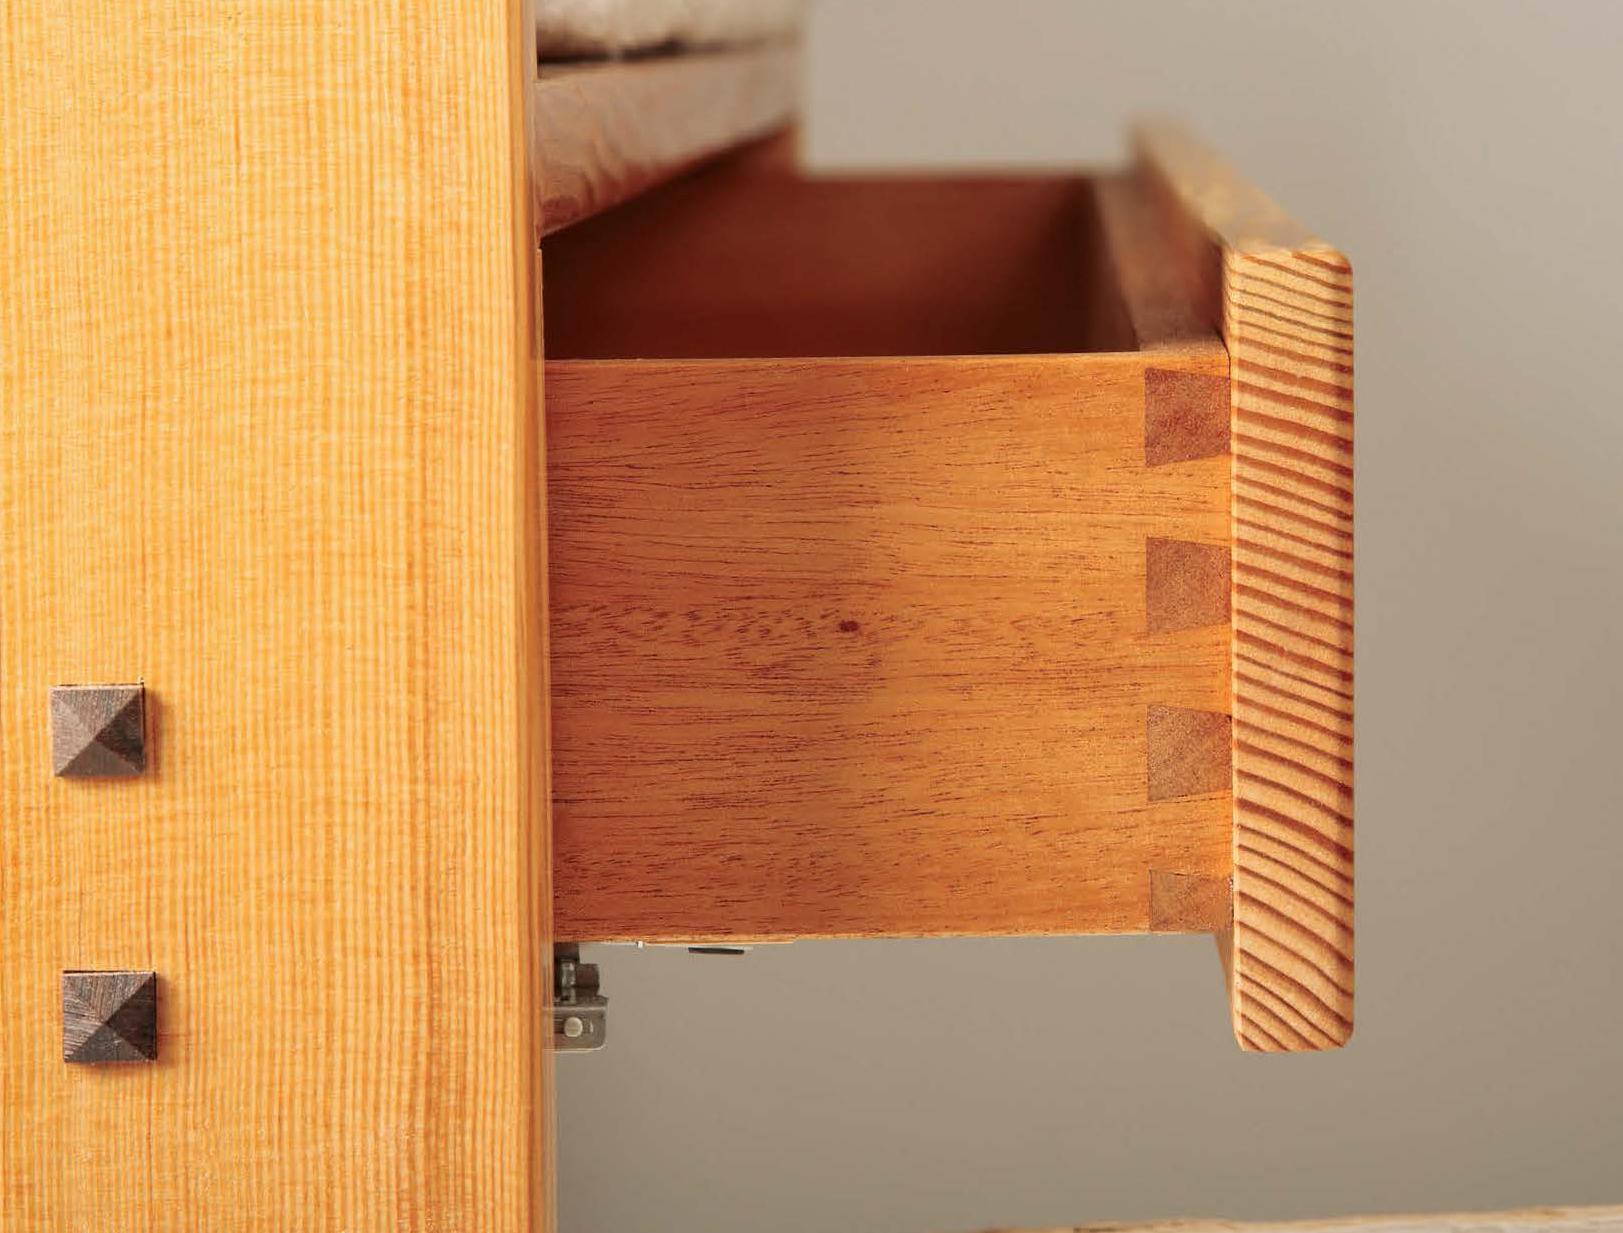
Structurally for drawers, you can’t get much better than dovetails, and I decided to use Rockler’s dovetail jig to cut them. It makes the process quite fast. Scrap mahogany was my choice of material for the drawer sides and plywood for the bottom, but any hardwood would do fine. I cut the drawer box parts to size and used a dado blade to cut a slot for the drawer bottom.
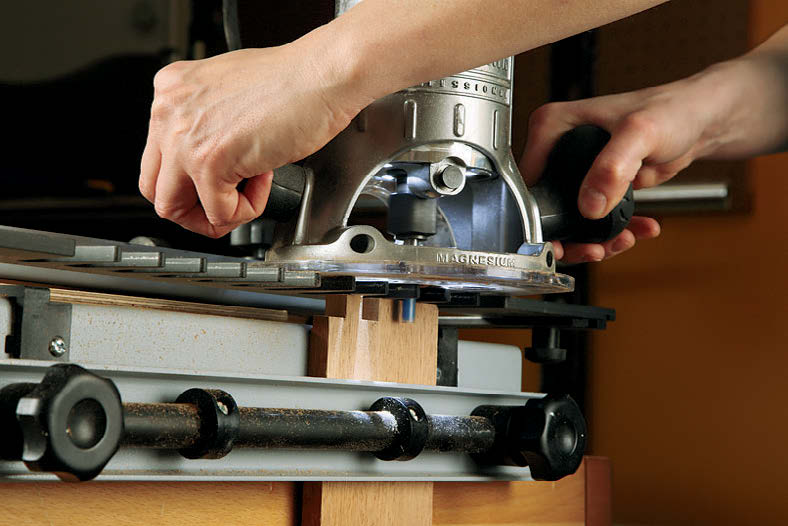
I tried my dovetail jig setup on scrap first to be sure I had it set up properly. Then I cut the tails, carefully aligning the dadoes so they’d be hidden. The pin cuts came next. When the corner joints fit properly, glue the drawer box together.
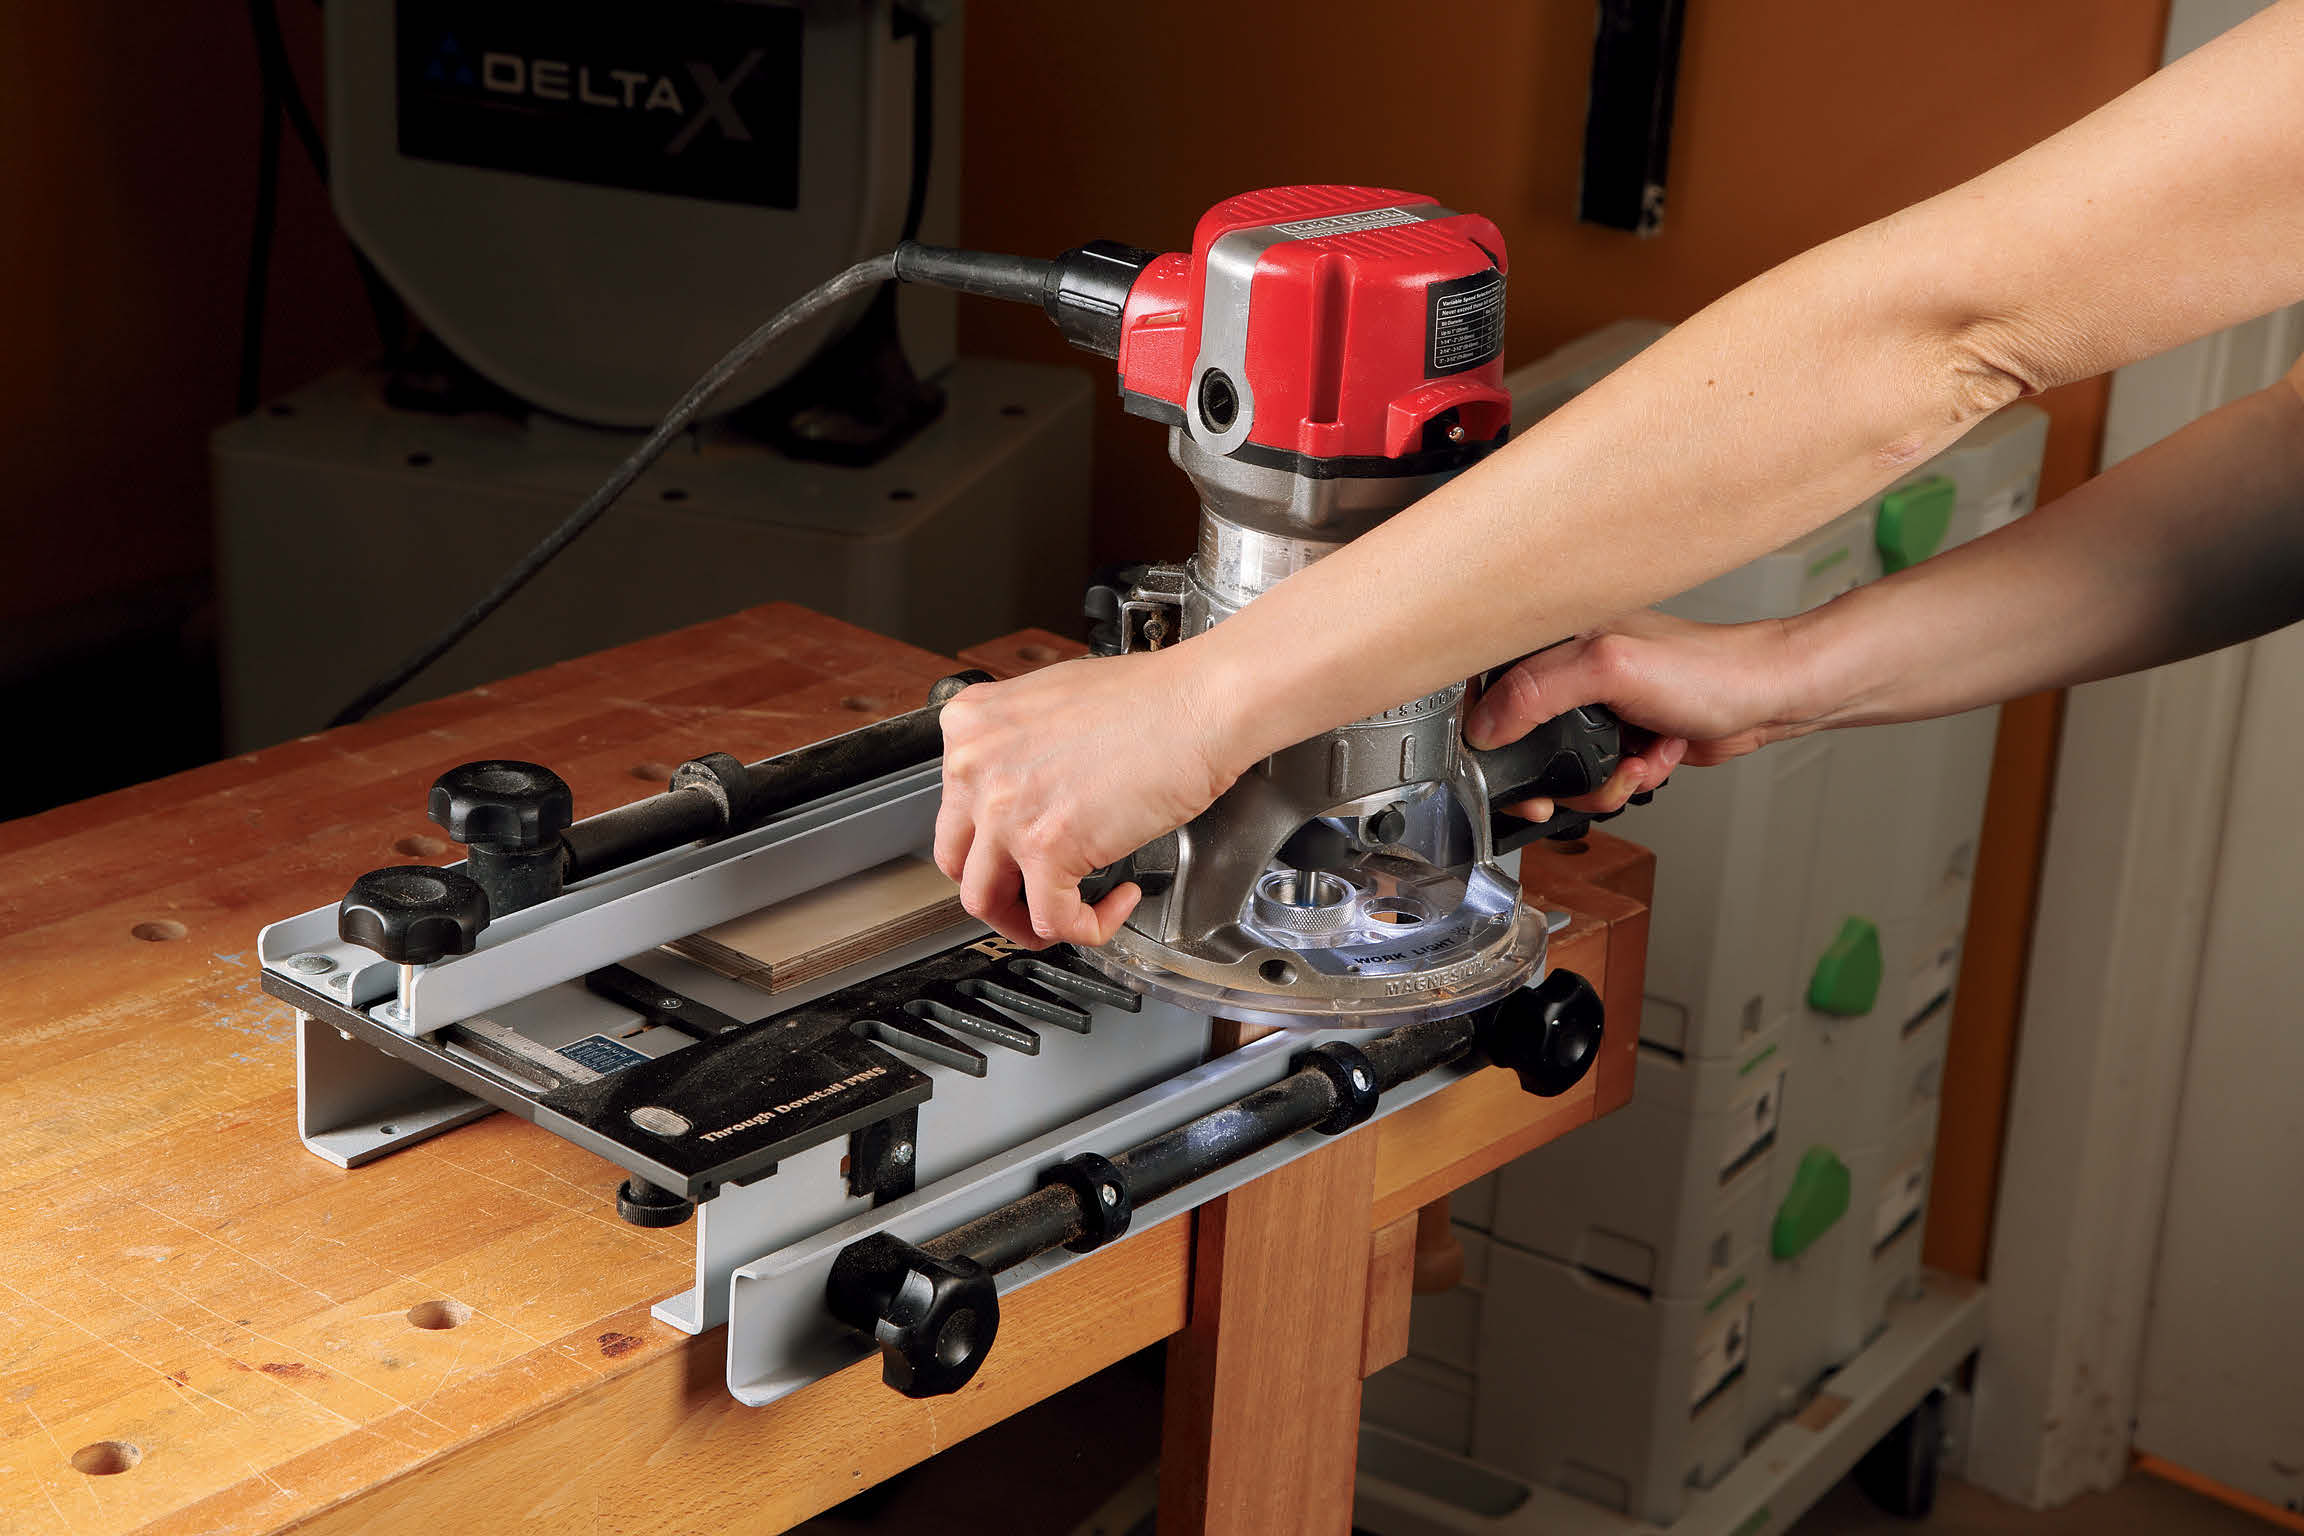
To install the supercool “push-to-open” King Slide® drawer slides that I used, you have to notch out the bottom back of the drawer. The slides line up with the bottom of the lower side rails, and there’s a gap in the back because I used 21″-long slides. Mark your screw holes, pre-drill, and then attach the slides to the rails. Set the drawer on the slides and hit it hard enough to find out where exactly to drill the 1/4″ holes in the back of the drawer that are a specific part of installing these slides. Drill those shallow holes.
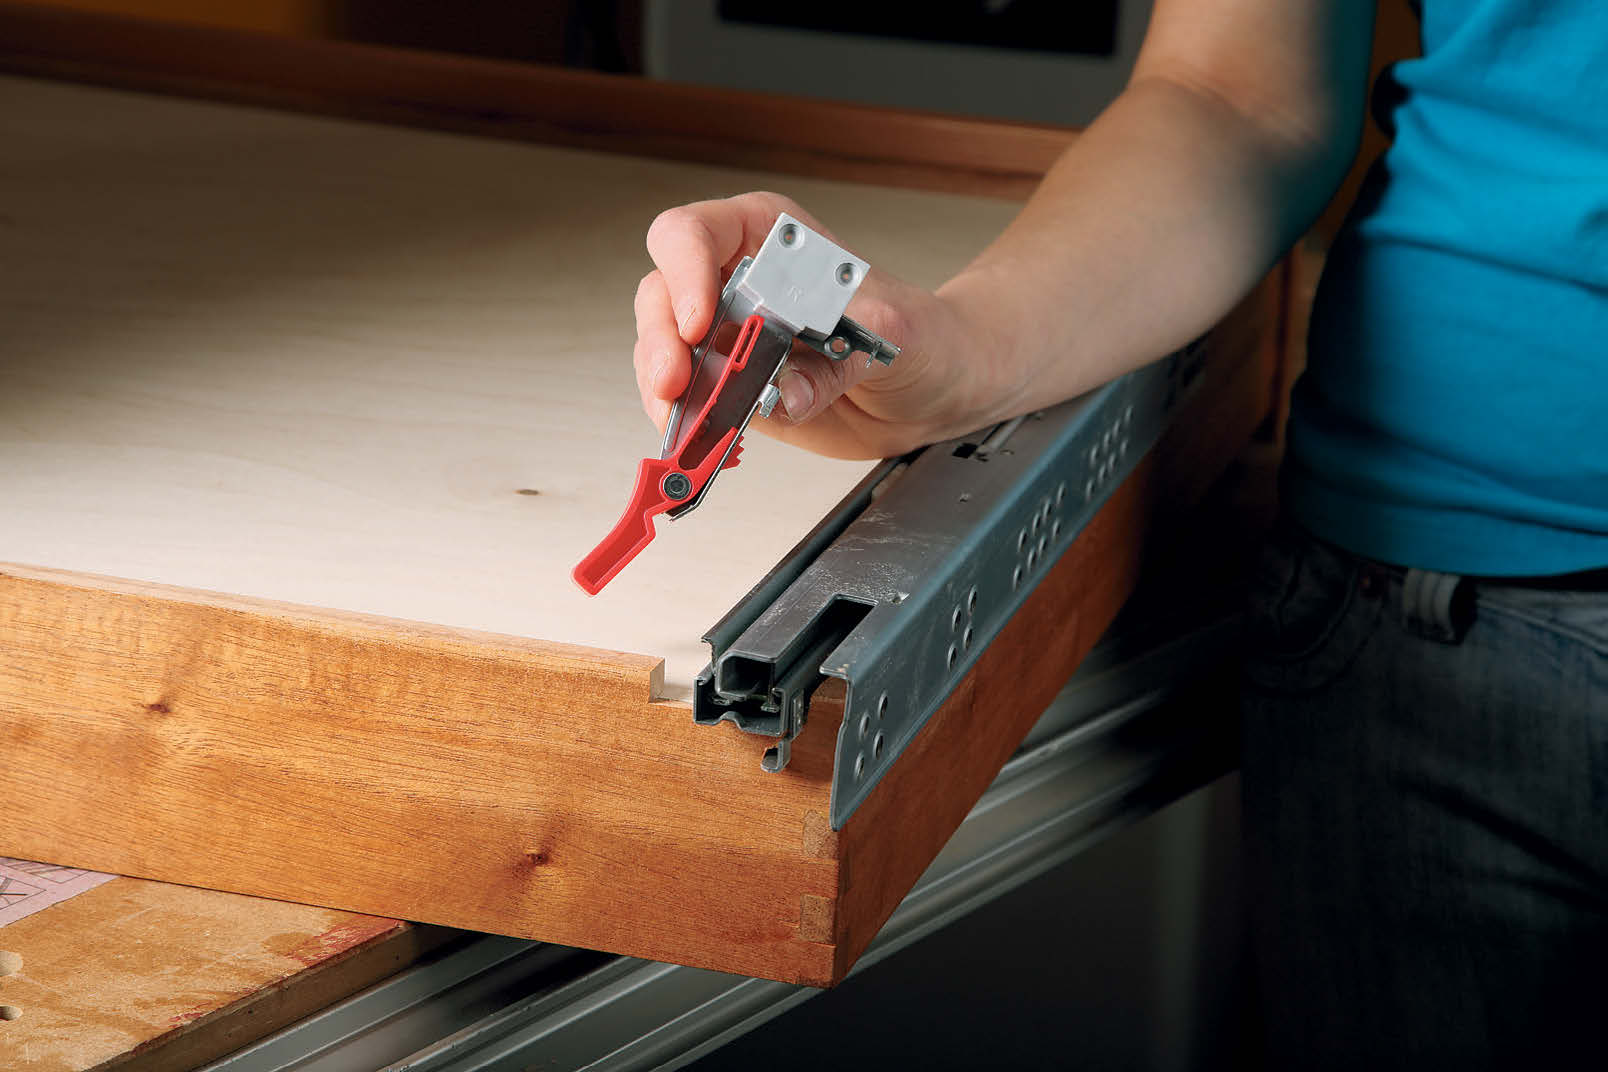
Go ahead and flip the bed over so that you can set the drawer (propped up) on the slides upside down in order to attach the “drawer releases” to the bottom of the drawer and the front edge. Adjust the slides as needed so the drawer glides in and out of the frame smoothly. When you’re satisfied, install the drawer front with countersunk screws driven from inside the drawer box.
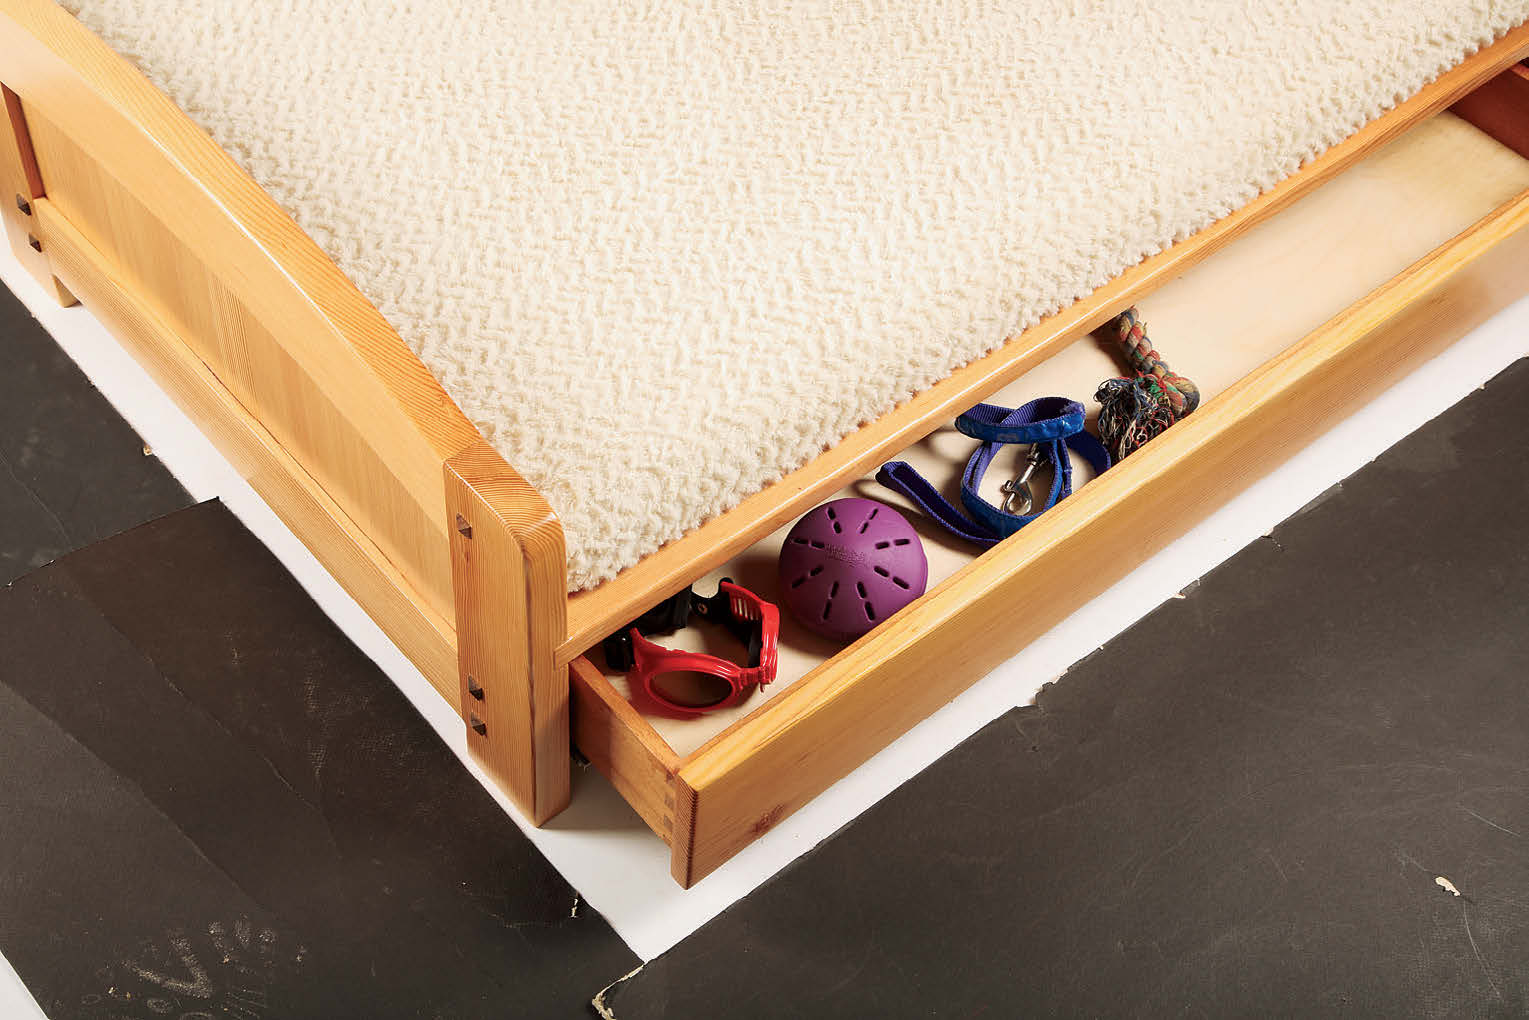
The King slides let the drawer open by pushing on it. This way, Bailey can open the drawer to get her toys out herself. I think that is a pretty sweet detail Bailey definitely appreciates! Being the best dog ever, Bailey deserves this custom bed. And, I think she is very proud to have her very own throne, too! I’m sure your special pet will feel likewise.
Click Here to download a PDF of the related drawings.
