Take a close look at the corner joints of nearly any cabinet door made these days, and you’ll likely find some variation of rail-and-stile joinery. These sturdy, attractive joints can be made easily in a home workshop with a matched set of rail-and-stile router bits, using a router table equipped with a mid- to full-size router.
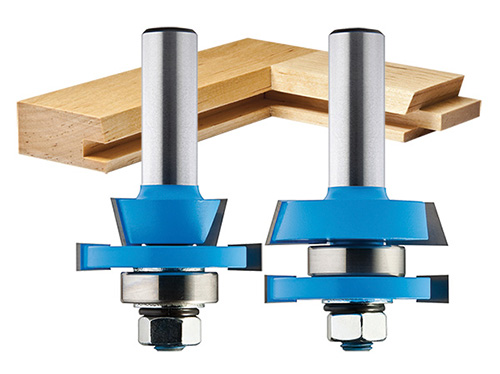
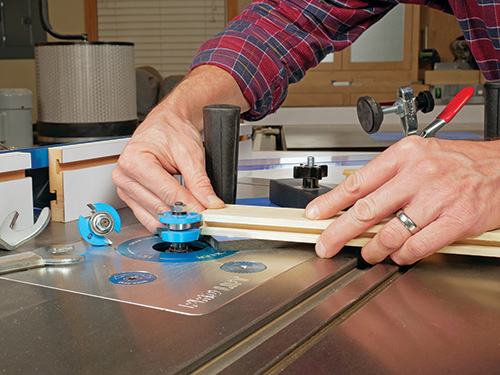
The stile cutter cuts a centered groove along both a door’s stiles and rails for fitting wood panels or sometimes glass. The bit also mills a decorative profile, called sticking, along the inside front-facing edge of the door parts.
This shape may be as simple as a chamfer or any number of different roundover, filet or ogee forms, depending on the bit set’s design. Because the stile cutter is also used on the door rails, it sometimes is referred to as the “sticking” bit instead, which actually may be the more fitting term for it.
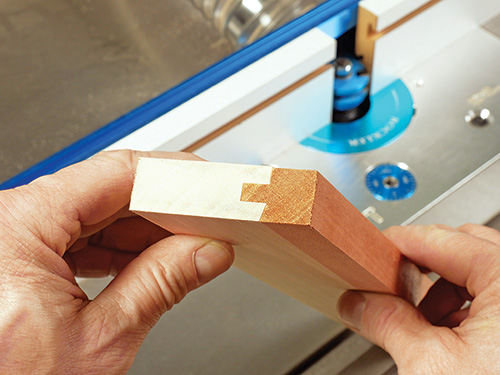
The rail cutter mills a mirror opposite profile of the stile cutter — a reversed sticking cut and a stub tenon to fill the panel groove and strengthen the joint.
Because the rail cutter’s profile mates with the stile cutter, much in the same way a mitered piece of trim molding is contoured with a coping saw to fit its mate, this bit often is called the “coping” bit.
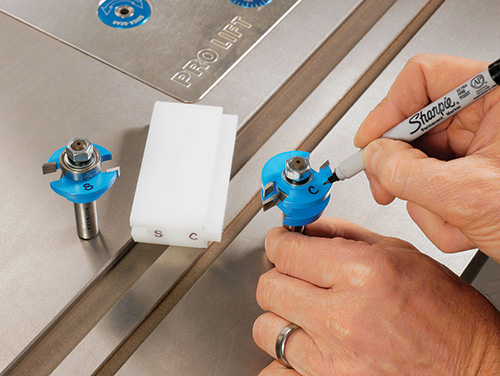
Label Them for Clarity
It’s easy to confuse which bit is which, because the profile each creates is actually the negative space of its shape. Plus, the bits are oriented in a router table to cut stiles and rails back-face up.
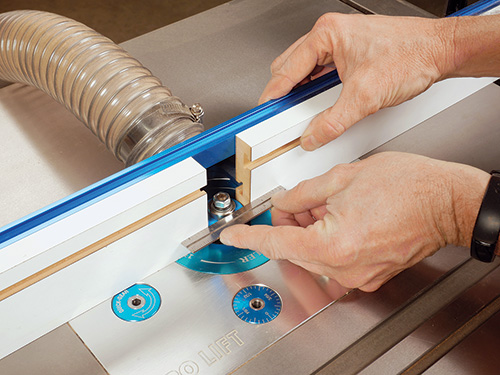
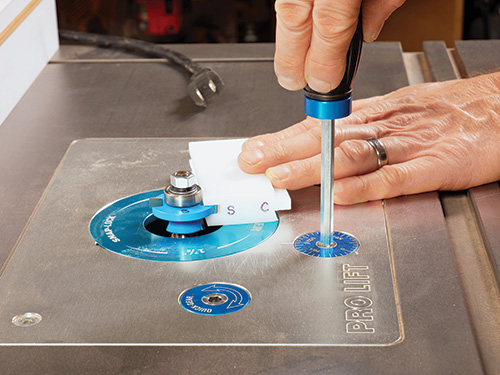
So do yourself a favor and label each bit with an “S” for stile/sticking cutter and an “R” or “C” for the rail/coping cutter.
You’ll thank us the first time these labels prevent you from choosing the wrong bit for each cut … it’s an astonishingly easy mistake to make.
Which Cut Comes First?
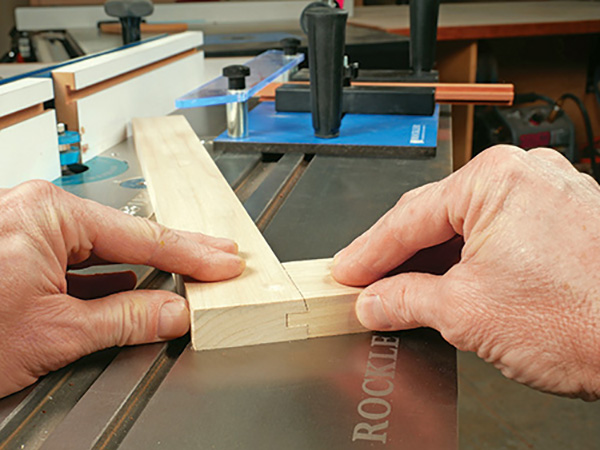
While the photos show the stile bit used first for making a joint, it’s also perfectly acceptable to cope the ends of the rails first.
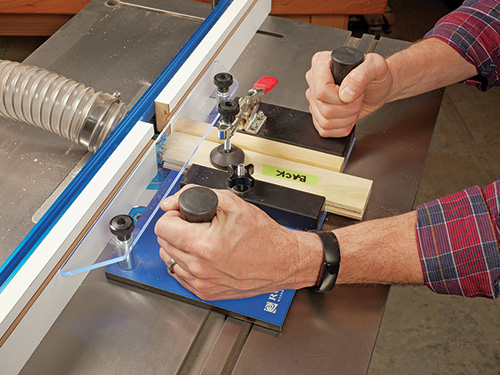
That can be advantageous when you already know the final length of a cabinet door’s rails. The rail can be coped on each end, followed by the stile/sticking cuts.
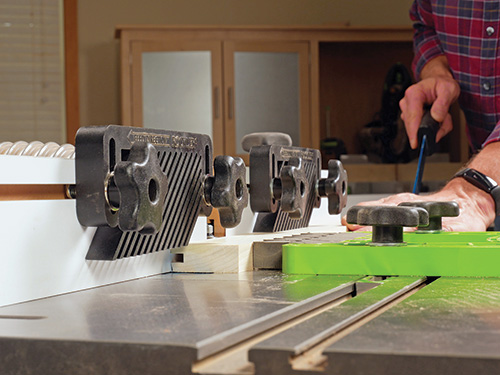
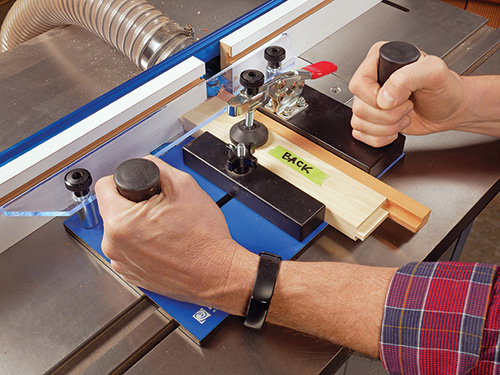
Either way, since coping cuts are made across the narrow rail ends, they’re best performed with the workpieces clamped in a sled that increases stability and keeps your fingers clear. A backup block of scrap can be used in place of a coping sled, if you don’t own a sled.
Note that when the stile/sticking cuts are made first, you’ll need to make a filler strip with the coping cutter to fit into the stile cut in order to prevent the second coping cut from tearing out the wood inside the stile profile when the bit passes through it.


