
Smoothing large, flat surfaces is a sander’s bread and butter. Observe all the above practices, along with a few more.
Always keep the sander moving without forcing it. This not only makes smoothing more uniform and allows dust to be evenly collected, but it also helps prevent scratching or digging in. Done correctly, a sander should glide lightly over the work.
In terms of feed speed, here’s a good rule of thumb: move a random orbit or orbital sander over the workpiece at no faster than about one foot per second.
Uneven panel surfaces and tabletop glue-ups may need special attention, and this is often where tilting the sander is tempting. Although possible to effectively level a panel with a random orbit sander, it’s time-consuming and invites error. Instead, this is a good place to call in a belt sander with its large, flat pad that more easily bridges high spots.
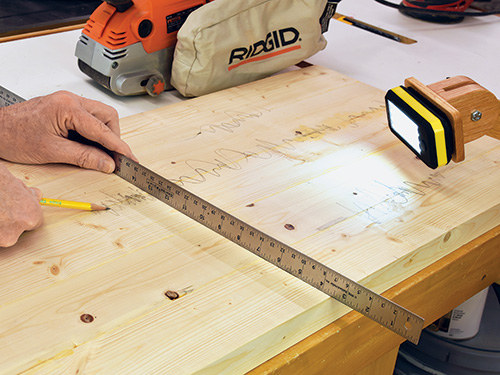
First, locate all the high spots. Use a raking light to show where light sneaks under a reliable straightedge. High spots will be dark, with light shining on each side. Use a pencil to mark the high spots as you move the straightedge over the surface.
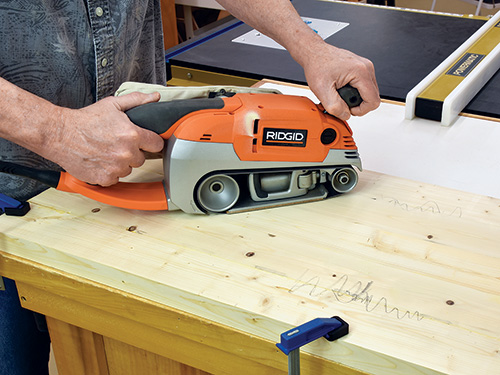
Cut the speed on your belt sander way down, and sand diagonally over the high spots to remove the pencil marks. Stop frequently and recheck with your straightedge to monitor your leveling and find remaining high spots.

Once the high spots are leveled, sand with the grain to remove diagonal scratches. Again, keep the speed down and the sander moving, overlapping with each pass. The goal here is making a uniform surface, not finish sanding, so go with a light touch.
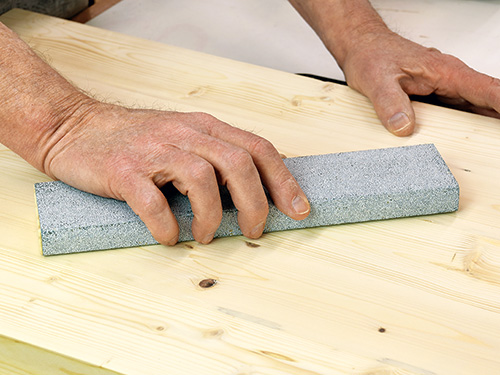
The last step is to recheck for high spots with your straightedge. Any remaining spots should be small. Hand-sanding with an extra- long sanding block works best to level these stragglers, followed by smoothing through all the grits with a finish sander.

