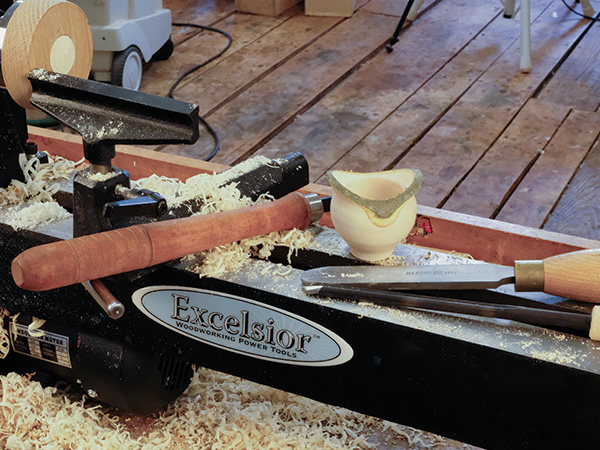
It is always amazing to me the designs that people come up with by chucking things in a lathe in odd ways, and a bird’s mouth bowl is a splendid example.
A unique natural edge design that can be made from small tree limbs, the form is generally credited to Bob Stocksdale, who worked in Berkeley, California, from 1946 to the end of the 20th century. It is a great project for young or old, beginners or experienced turners. The only tools you need are a mini lathe and a bowl gouge. Best of all, the material — a small length of a tree limb with no branches — can be easily scrounged for free.
Once turned to a narrow form with a small base and a flaring rim, we get a vessel that mimics the head of a baby bird — especially a robin.
Bird’s Mouth Turning
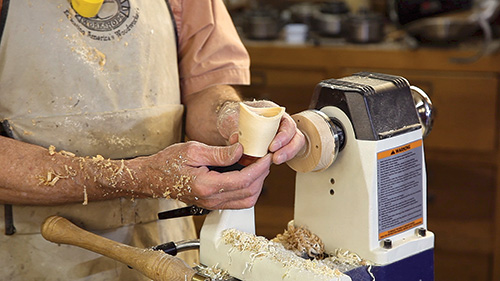
Remember, you need to start with a clear section of tree limb: no branches or knots. You can use a small buck saw, available at gardening and camping stores for very reasonable prices, to cut the limb off the tree. This is also the safest tool to use to cut your pieces to length.
The starting blank needs to be trimmed to the same length as the diameter: in other words, a 6″ diameter limb needs to be 6″ long. (A good starting diameter for your first bird’s mouth bowl is 4″ to 6″. Due to shrinkage problems in drying, 8″ is about the biggest that a bird’s mouth can be turned.)
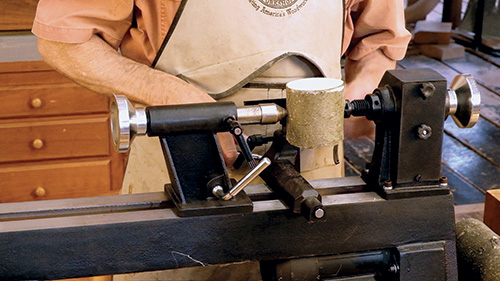
Mount your blank between centers. The center points should be at exactly half the length and 180° apart. Continuing with our 6″ diameter limb example, we would buck a billet that is 6″ long, then chuck between centers at 3″ from each end.
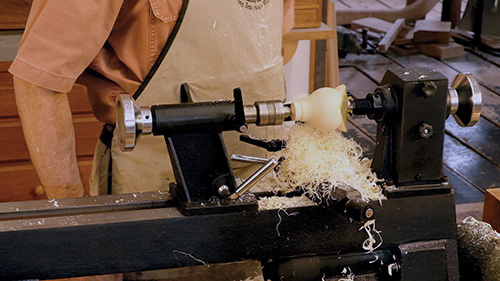
Turn the outside shape to a silhouette that starts with a small base — smaller than judgment would tell you — and flares to the bowl’s mid height, then becomes smaller again just under the rim. This forms a ball-like shape in the actual bowl. The rim then flares sharply. This flaring is only on the end grain sections of the limb and yields two outcrops that look like the beak of a baby bird receiving food.
The most common mistake in this turning process is to make the base too big. You need to think of how small the neck of a bird is, especially a baby bird.
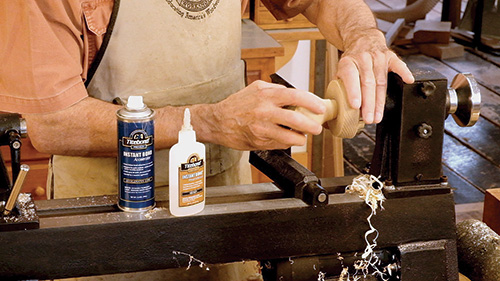
Leave a tenon on the “neck” end for chucking. Reverse chuck in a four-jaw chuck. If you don’t have a four-jaw chuck, scrape a mortise in a glue block that is the diameter of the tenon on your bowl and glue the tenon in the glue block with medium-viscosity cyanoacrylate (super) glue.
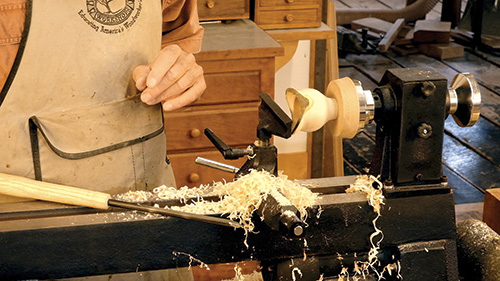
Turn the inside to a thin wall. The wall should be a maximum thickness of 1/4″ and can be as thin as 1/8″.
Finishing Up
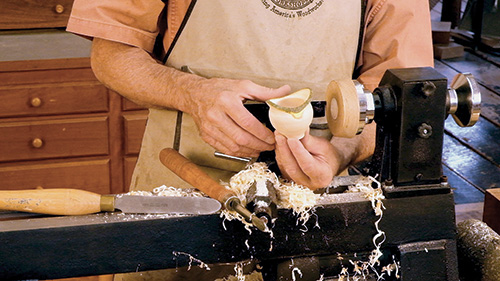
The form looks better if you leave the bark on the rim because the bark accentuates the look of a bird’s beak.
If the limb is harvested during the cold months of the year, the bark adheres naturally. If it’s harvested in warm weather, the bark almost always falls off during drying. You can prevent this by applying water-thin cyanoacrylate glue to the bark and cambium layer just under it. A good finishing option is no finish at all; I have seen many bird’s mouth bowls presented this way. If you like a finish, almost any will do. Oil finish such as Waterlox is my standard, but spray varnish or Deft lacquer also work great.
Above all, stop bumping your head on tree limbs when you mow the lawn. Cut those annoying limbs off and turn some bird’s mouth bowls from them. Your head and your soul will be better for the effort.


