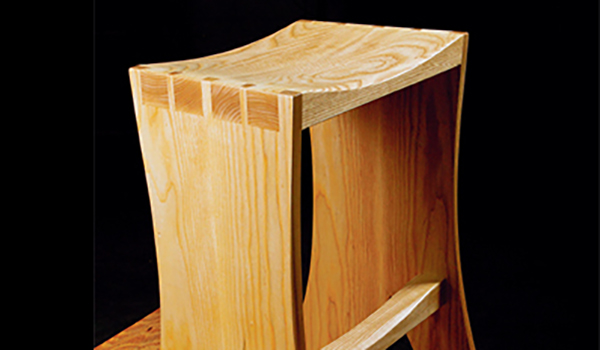
There are a lot of bar stool designs out there. When I decided to make one for me, it took a while to come up with a design that would be an interesting form as well as a functional seat. I think the lines of this design, formed by careful shaping and the unique use of dovetails, make it a beautiful project as well as very enjoyable to build. I wouldn’t say it is an easy project, but the following directions should lead you fairly seamlessly to completion.
Ash: A Great Species Choice
My wood of choice for many projects these days has changed from my usual walnut to ash. Structurally and aesthetically, ash is a truly wonderful hardwood. It is mostly blond with grain similar to oak, but ash has buttery tones along with gray at times. According to the Janka rating scale of hardness, green ash ranks to be a harder species than black walnut! Sadly, the blight being spread by that monstrous little beast known as the emerald ash borer has made ash lumber readily available and incredibly cheap. It’s about half the price of walnut these days, so affordable but gorgeous, too.
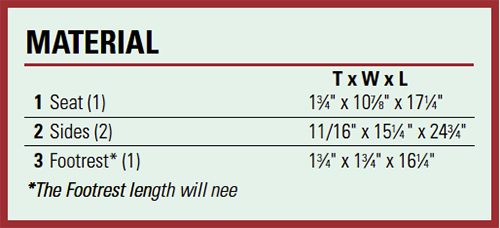
When you have the tools to do it, resawing to produce book- or slip-matched grain really shows that you pay attention to all the details that make your project as beautiful as possible. Grain-matching is one of the things that you can do to make your handmade furniture truly special. So, I ordered a 9′ x 7″ piece of 8/4 ash for making this bar stool. The side pieces of the stool are book matched and the seat comes from the center of my board. When assembled, the grain all lines up quite nicely.
Shop-made Curve Bow
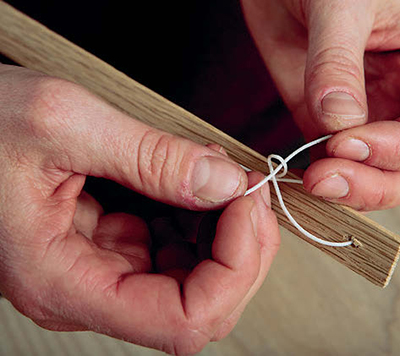
Having a curve bow makes layouts for projects like this much easier when you are working by yourself. All you need is a long, thin strip of wood about 1/8″ thick, 3/4″ wide and about 48″ long. You can create bows of other lengths to suit different sizes of projects. Use a hardwood with fairly straight grain, like oak (or even ash!).

I recommend ripping the strip from a wider board to create a 1/8″ offcut. Then sand the sides of the strip smooth. Drill a 1/8″ hole 1″ from each end and centered on the strip’s width. Drill two more holes centered on the stick’s length but separated about 2-1/2″. Simply tie two strings using a noose knot looped through itself and a trucker’s knot through the hole in the middle closest to that end. Whatever keeps the strings attached here amounts to a successful knot. Make the strings the same length for a consistent curve. You want the strings to be just long enough so that when you squeeze them together at the center, they bow the strip. For tapered curves, you can either adjust how much you pull on one of the strings or use a strip of wood with tapered thickness.
Preparing the Stock
I milled the four book-matched pieces down to just under 3/4″, and then glued up the sides. The two pieces from the center of the board for the seat needed to be planed to 1-3/4″ thick and milled square. Next, I ripped a piece 1-3/4″ wide from either side of the seat pieces and one that would later be the footrest.
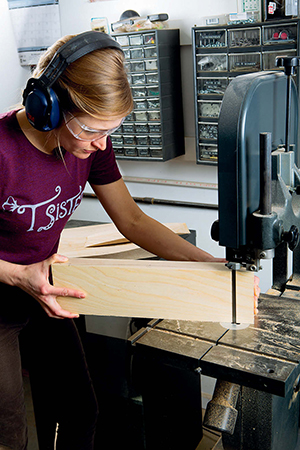
Next, I laid out the curve for the seat contours and cut those on the band saw. Make sure the saw’s table is set up square to the blade and that you leave your pencil line (cutting on the waste side) for easier and accurate cleanup of those curves later.
After cutting the curves, I checked the glue joint between the seat halves to make sure the butt joint would disappear. Run the edges over the jointer, if necessary. Then glue up the seat. You’ll find that cleaning the glue off with a scraper or an “abused” chisel right when the squeeze-out starts to become rubbery will make that job a whole lot easier. Ash has a tendency to tear out if you use a glue scraper on hardened glue … yes, I found that out firsthand!
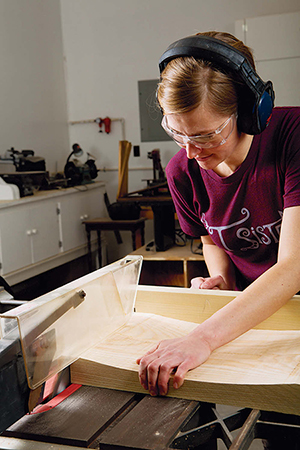
After the glue dries, rip the seat to final width, and form the seat into a slight trapezoid by putting a 4˚ taper on both ends of the seat (see the Drawings). I used a miter gauge with an auxiliary fence to make an angled cut. While still at the table saw, I used my crosscut sled
to cut the side pieces to final length.
Cutting Dovetails
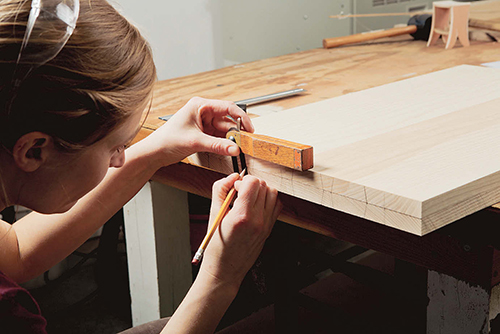
Now the fun really begins with hand tools! Before I cut the profile shape for the sides of the bar stool, I went ahead and cut the dovetails that join the seat and sides. I started with the pins. Here, I used a 9.5° angle for their layout, because it looks great and creates a solid and very strong joint. These joints will receive plenty of stress, so I left the pins thick for added strength.
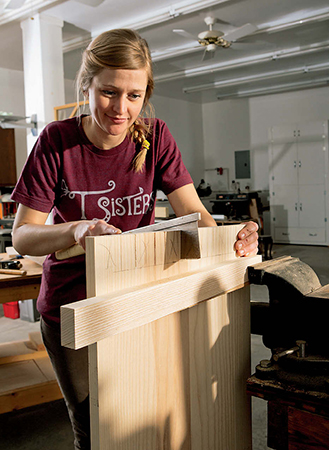
Use your bevel gauge, square, marking gauge and either a marking knife or an awl for laying out pins on the stool’s side pieces. Do your best to scribe the lines deeply. I usually use a very sharp pencil to highlight those lines. Next, I reached for a Japanese handsaw to cut on the waste side of the pins.
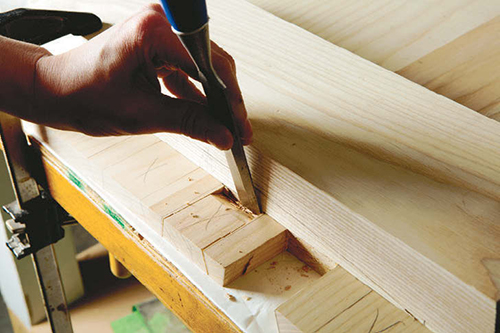
From there, I clamped a board with a straightedge facing the pins to give my chisel a 90° reference for chopping out flats between them. Then I went back and cleaned up the pins with chisels.
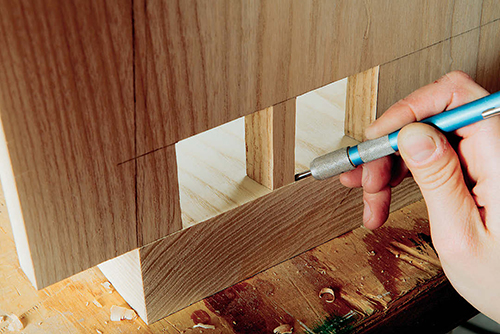
Next, I used my marking knife to trace around the pins onto the bottom of the seat. After making the initial marks, you can go back and align your bevel gauge to scribe deeper. I use my bevel gauge because it’s easier to hold than the big side pieces. Transfer the lines around to the top of the seat, and use your bevel gauge again to finish the layout. Cutting the tails is very similar to cutting the pins, but I used a band saw to cut on the waste side of the lines this time. (For the tails, the cuts are square to the saw table.) Go back again and clean up with a chisel.
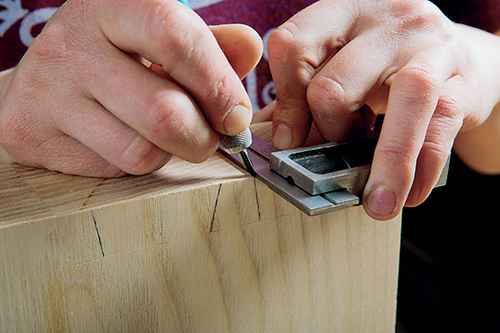
Carefully check the fit of your tails and pins. If the fit is too tight, don’t force it; you could blow your piece apart. Refine the joints so they go together easily. While the seat and side pieces are dry-fitted, mark the outside pin with the angle you’ll need to band-saw the profile cuts on the side pieces accurately.
Adding the Footrest
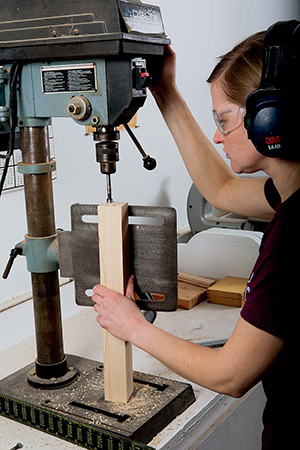
This is also a good time to position and machine the joints for the footrest — it’s easier to do this now while the side pieces are still flat rather than after cutting their curved edges. Because of the slight angle of the side pieces, I chose to use dowel joints to attach the footrest. First, check the width directly under the front edge of the seat, and crosscut your footrest blank so it’s about 1/16″ longer than that distance. Cut your dowels to 1-5⁄8″.
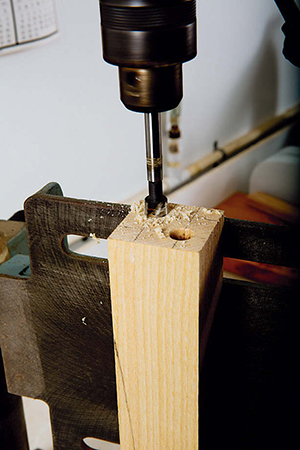
Carefully draw the dowel layout on the ends of the footrest, and mark the footrest’s position on the stool sides. Then drill two 3/8″-diameter holes 1-1/2″ deep into the footrest ends. If your drill press table can turn vertically so you can clamp your workpiece to it, that’s the most accurate way. If you need to use a hand drill instead, do your best to drill squarely into the footrest.
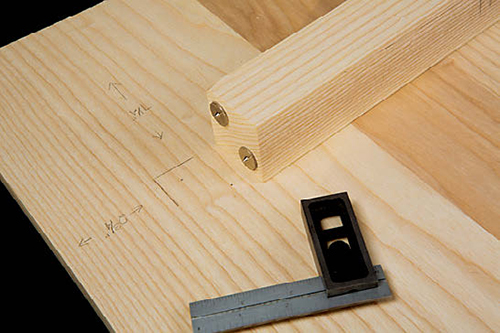
After boring the holes, cut the footrest to fit precisely between the stool sides by marking the angle, cutting, and then checking its fit directly under the seat. Creep up on your layout lines.
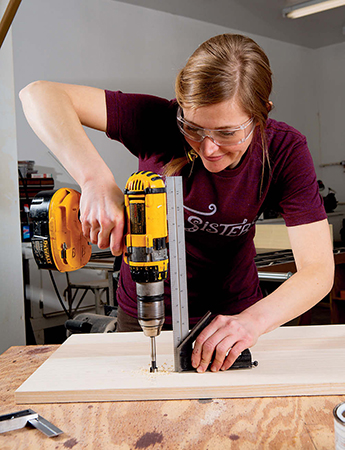
Now, using metal dowel centers in the footrest piece and following your layout on the side pieces, prick the stool sides so you can drill exactly at the dowel centerpoints. Drill those holes 3/8″ deep.
Profiling the Stool Sides
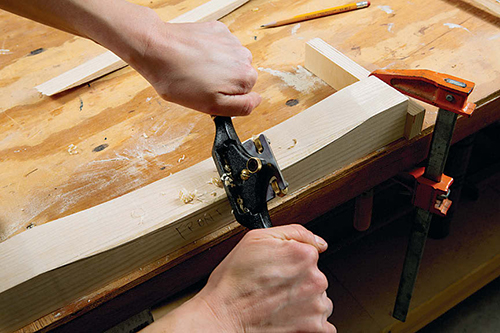
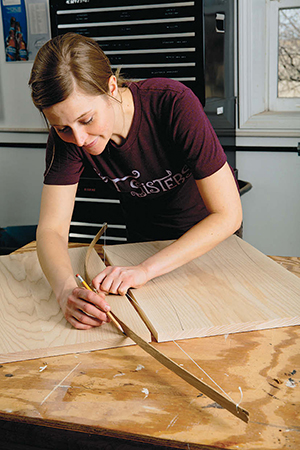
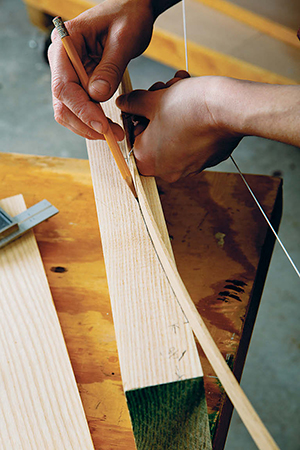
It’s time to lay out and cut the profiles on the side pieces. With the help of a handmade curve bow, drawing beautiful curves for this step is easy! Do this for the edges and faces of your stool sides, seat and footrest. Line up your curve bow with the intersection of the seat and side pieces and the bottom of the stool. Draw the curved lines. Remember, the seat is not square, it is a trapezoid, so to make these cuts, I tilted the band saw table to match the edges of the sides to the angle of the seat. It’s easy to get that angle turned around, so mark your stock and be careful.
Feel free to play around with the cutout shape at the bottom of the stool. I like the look of the upside down curvy “V,” but you can be creative here. Cut these shapes out on the band saw, too.
Save at least one of the profile waste pieces, and belt-sand it smooth. (You may need more than one, depending on how it fits the curve.) Cut the piece shorter to use as a sanding block later. It’s difficult to get a super-smooth curve any other way.
Now it is time for hand-shaping the edges to make this project really come alive. Working back and forth to the center of the curves, my spokeshave became a favorite tool all over again. The ash proved to be a bit difficult, but my curved sanding block took care of any really tricky places.
Before gluing up, go ahead and finish-sand the inside faces of the seat, sides and footrest. Make two notched clamping cauls on the band saw for the dovetails and have two straight cauls ready for the bottom of the side pieces.
Final Assembly and Finish
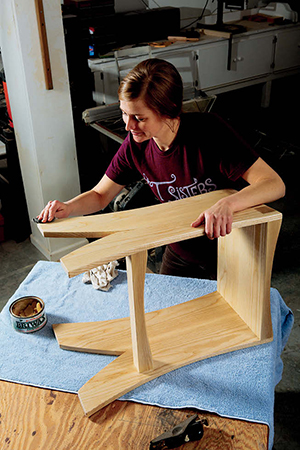
Start assembling the stool by gluing and clamping the footrest in place. Use blocks in between the clamp and the wood so you don’t mar it. Then tackle the dovetail glue-ups. Brush glue between the pins and tap the seat down into place. Then use your cauls and clamps to bring it all together. Remember to scrape the glue off as soon as it gets rubbery but not all the way hard. The next day, you can finish shaping the seat of the stool and finish-sand the outer surfaces, too. For topcoating, I used Arm-R-Seal — a simple, durable wipe-on finish. Three coats and voila … my hard work had paid off.
I like to apply wax and buff it off immediately, just to even out the sheen and make the surfaces of this bar stool feel wonderful. Let the finish dry at least overnight before applying the wax, and let the wax dry before getting fingerprints all over it. Then take a seat!
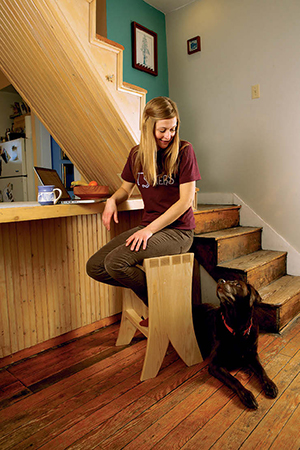
This bar stool required both patience and planning with all the hand tool work involved. However, my most leisurely time spent in the shop is usually in these quieter moments. My mind has a chance to wander, and I have the opportunity to slow down a bit. Maybe you’ll find the same peace in these exercises when you build your bar stool.
Click Here to download a PDF of the related drawings.


