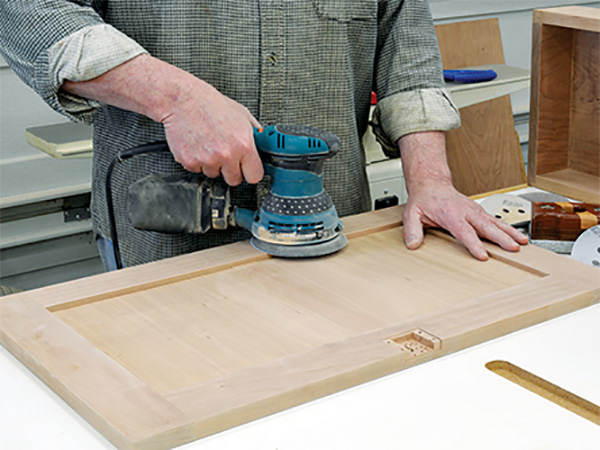
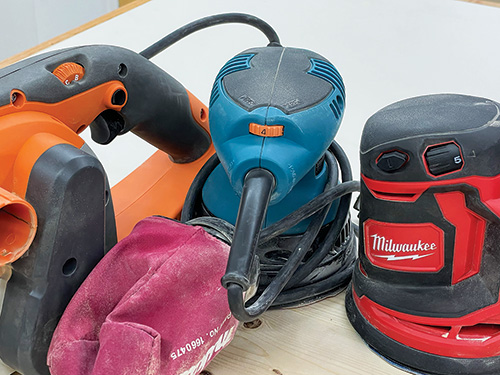
Dust collection is important everywhere in the shop but even more so with sanding, which creates extremely fine, near-invisible particles that can float for hours. Fortunately, nearly all modern sanders have some means of dust handling. An internal impeller draws dust in through openings in the sandpaper and forces it out through a port, usually into a bag or canister.
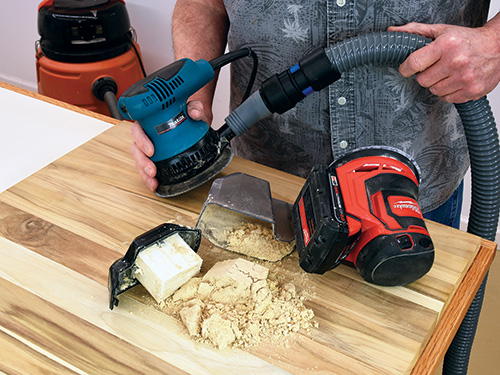
Even better is to replace the bag or canister with a direct hookup to a shop vacuum or dust-collection system. Adapters like Rockler’s Dust Right FlexiPort system are extremely helpful for connecting most sander models.
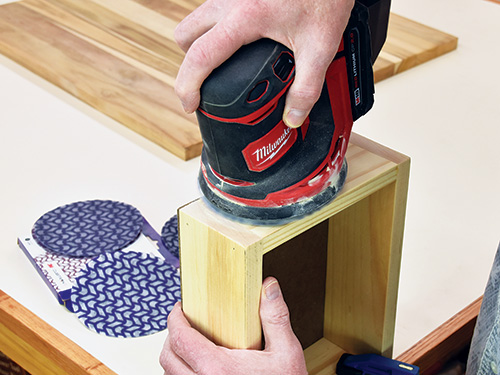
For finish-sanding or polishing, high speed is great. But for most other sanding chores, constantly running sanders at their top speed can prematurely wear out abrasives, unexpectedly over-sand delicate workpieces, overheat motors, raise vibration, cause the sander to dig in and even make the tool harder to control. All quality sanders have speed controls these days. Don’t neglect them.
Two other poor techniques go hand in hand. The first is the oh-so-tempting practice of tilting the sander on-edge to quickly level glue joints or joinery. Yes, it works, but the odds of a poor result are high. It’s deceptively easy to sand a depression into the material. It also retards the spinning mechanism of a random orbit sander, defeating the whole purpose, and it invites swirls and scratching. Do this a lot, and you’ll also wear out the mechanics that make random orbits possible.
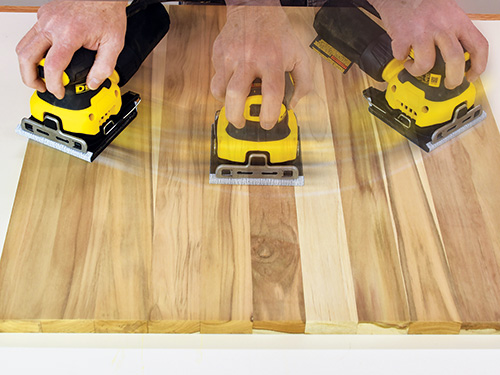
For the same reasons, don’t force the sander down into the work. Too much pressure overstresses the motor, slows down the random orbit pattern and causes swirls and scratching. Excess heat shortens the life of sandpaper and encourages clogging. Instead, hold the sander tightly enough for control, but let the weight of your hand and the sander itself do the work.
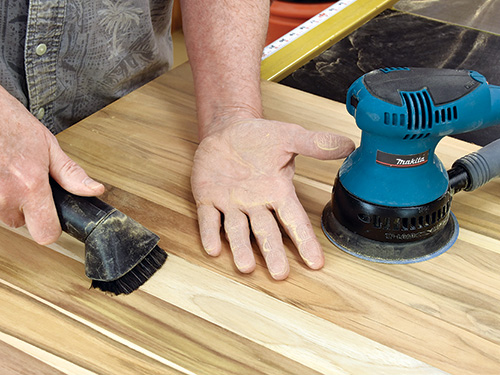
All woodworkers know to “work through the grits” for a gradual smoothing, but it’s easy to skip the important step of cleaning the workpiece between grits. No matter how efficient your dust collection is, dust always adheres to the surface along with loosened grit. The next-higher grit simply grinds this all into the surface. Always brush — or better yet, vacuum — the surface thoroughly between grits.


