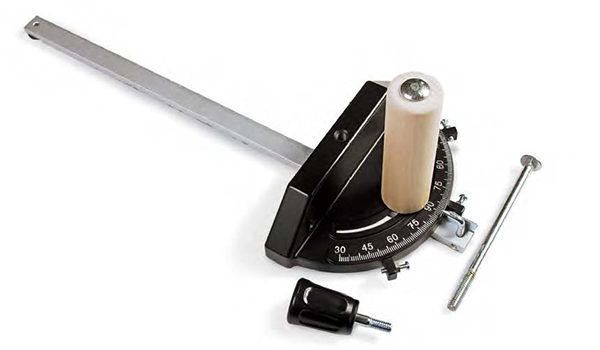
I am getting tired of having to reset/recheck my miter gauge every time I get ready to make a new cut. What kind do I replace it with?
Simon Watts: I got so exasperated by the miter gauge that came with my table saw always being a hair out that I had a new one made up by a local machine shop. 90 degrees was the only option and it gave years of accurate, trouble-free service.
Lee Grindinger: If you find yourself making particular cuts frequently, try making sleds. A sled can be made from 1/2″ thick sheet stock like MDF to which wood or metal runners are screwed. The runners fit into the grooves in the saw table. To the top side of the sled screw fences, both back and front, that act as guides for your cuts and keep the two halves of your sled together. These fences must extend well above the maximum height of the blade. You can make these sleds for any angle you frequently cut and no shop is complete without one for making 90 degree cuts. Think about versatility when making these sleds. For instance, although you may frequently cut narrow moldings there may be times you’ll be handling wider stock so design the sleds to accommodate these times. For the infrequent times you’re dealing with oddball angles just stick with your miter gauge, or use one in each groove attached with a straight board, and do your microadjustments as needed. A sloppy miter gauge can be made to fit the groove more snugly by using a hammer and punch near the edges to widen the metal that fits into the groove.
Michael Dresdner: There are several aftermarket miter gauges that offer accuracy, preset détentes, ease of setup, movable stops, and other bells and whistles. All are more expensive, more accurate, and more fun than the miter gauge that came with your saw. Choose the one whose features you think you’ll use, and whose price is within your budget (a much tougher restriction.) You can also opt for a sliding table type miter board, such as a Dubby or a Mule, or make your own miter carriage.


