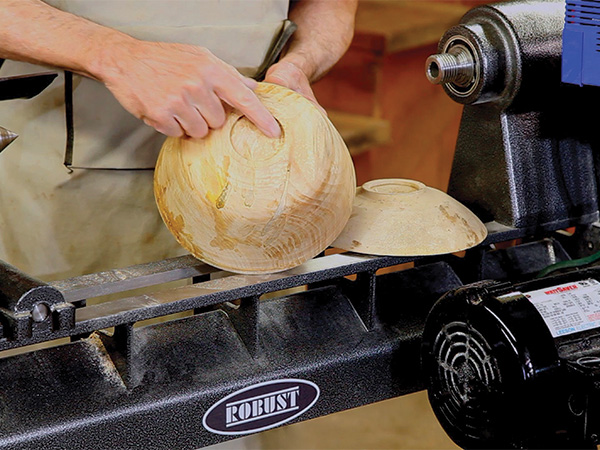
I n previous columns, I have talked extensively about turning and drying bowls from green wood and explained how and why such a bowl goes oval during the drying process. I have harped on the idea that a choice is to let the blank dry for about three months, then re-turn it so that you end up with a round bowl, and I have also covered a few different ways to speed the drying process.
Re-Chucking
The two standard ways of chucking the base of a bowl during primary turning are with either a glue block or a four-jaw scroll chuck.
When it comes time for re-turning, if you originally used dry wood for the glue block, you can often re-chuck by simply using the same screw holes to attach a faceplate for chucking and mounting it on the lathe. Once the faceplate is mounted, test the glue joint by applying a bit of rocking force at the rim of the bowl. If you find the glue joint to be unsound, you will have to create a new joint using the same methods I outline for four-jaw chucks.
If you did the primary turning with a four-jaw chuck, the chucking recess will have likely warped sufficiently oval during drying time that re-chucking is, at best, dicey and may be impossible. You will have to true the chucking recess — scraping it perfectly round and flat on the bottom. This simple task works equally well for fitting a new glue block.
Mounting for Re-Turning
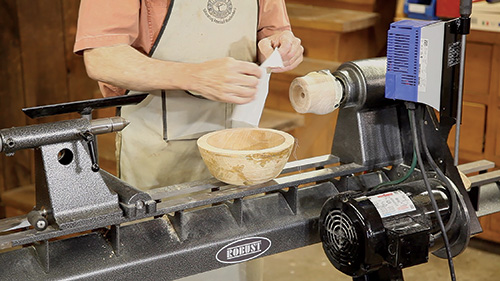
To begin the re-turning process, simply mount a piece of wood in a scroll chuck or on a faceplate and round it to approximately the shape of the inside of the bowl’s bottom. You should be able to hold the bowl against this wood nubbin without it rocking.
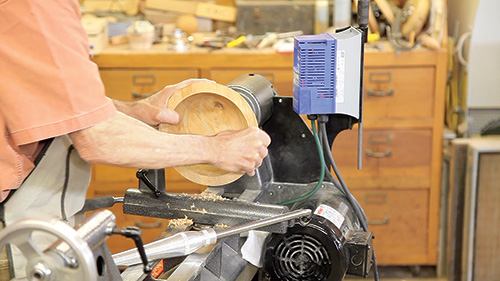
You can now pin the bowl against the wood nubbin using a tailstock with a live center. I generally interpose a small piece of wood between the live center and the bowl so that the center point does not dig into the base egregiously. I also insert a piece of cloth or sandpaper between the nubbin and the bowl to give some traction.
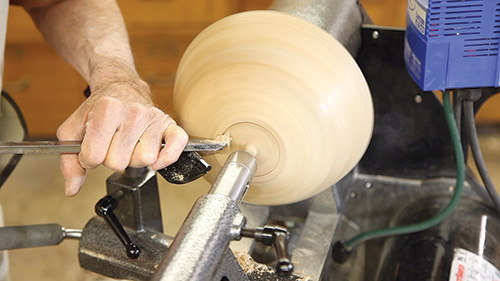
You will have to play with the centering, meaning out the error until the bowl runs as true as possible. Centering the bowl on the nubbin is one of the most important steps in re-turning — having it too far out of center is one of the most common causes of failures in re-turning a bowl.
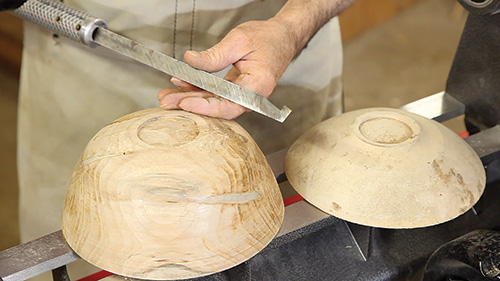
You will need to place the tool-rest as close as you can to the live center (and a bit above center) and re-cut the chucking recess with a hooked scraper.
You will most likely have to grind the hook onto this scraper yourself, although if you start with the Robert Sorby Round/Side Cutting Scraper (item number 46334 at rockler.com), it only needs a slight modification. Otherwise, you can grind the hook from any suitable square-nose scraper. (I have also made them for students from old woodworking chisels, although you need to be careful not to overheat carbon steel during grinding.)
Note: for a glue block, the mortise wall should be straight, as it should be for some chucks. However, for a chuck with dovetailed jaws, you want a like dovetail taper on the wall of your recess.
Re-Turning Process
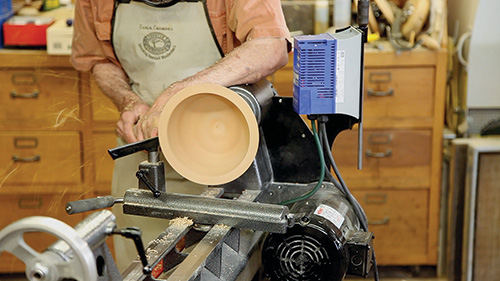
Now you are ready for the heart of the lathe work. Secure the bowl on a four-jaw chuck (with the appropriate sized jaws) and turn the spindle by hand to see that it is as centered as possible. Test that the bowl is secure by grabbing the rim and applying a bit of force. Start the lathe out very slow, and then slowly and gradually speed it up to a maximum of 800 rpm — slower if vibration is discernible.
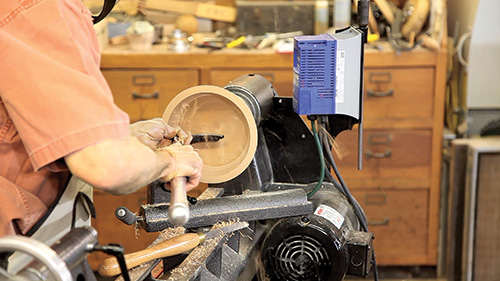
Use a bowl gouge to re-cut the outside of the bowl. You will not be able to make a rubbing bevel cut at the base. Instead, the tool has to be dragged off of the bevel with what is called a pull cut. At some place, about halfway to the rim, you will be able to transition to a rubbing bevel cut that will be much smother. You will have to refine the area turned with the pull cut with a large round-nose scraper. While you are still working on the outside of the bowl, this is the time to sand and apply finish if you wish to do so.
Now turn your attention to the inside by first leveling the rim. Then, take a series of sweeping internal cuts to bring your bowl to an even wall thickness. Sand and finish the interior.
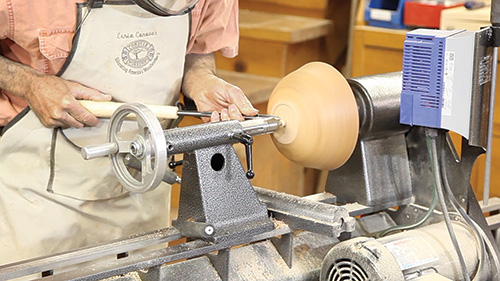
To refine the base, the bowl needs to be reverse chucked by vacuum chucking, jam chucking or pinning to a nubbin as we did in refitting our dried bowl to the chuck or glue block. Since the nubbin needs little or no modification, that is the method I have chosen.
Don’t Fret a Few Fails
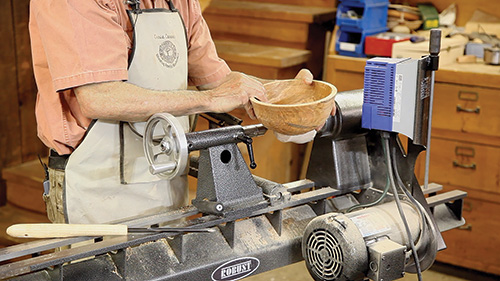
As you begin re-turning, don’t be discouraged if you have some failures with your first few bowls. Failure is most commonly caused by having insufficient wall thickness in your dried blank: the wall thickness must be about 10% of the bowl’s diameter. Another common reason for failure is not centering accurately or having the rim too far out of the plane of rotation it was originally roughed out in.
In many cases, though, you will be rewarded for all this toil and trouble with a round bowl with a level rim. Yes, like any piece of wood it will move some with daily changes in humidity, but not sufficiently that anyone will be able to tell except by accurate measurement.
Give Tupperware® a run for their money: make some round bowls.


