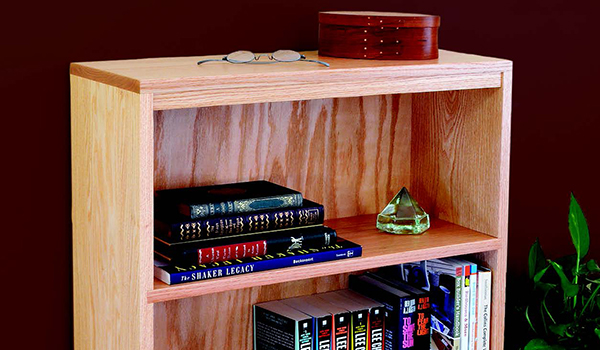
A basic bookcase is not only one of the most functional pieces of furniture you can make, it’s also a mini seminar in several woodworking skills and techniques, wrapped in a single project. Dado, rabbet and pocket-hole joinery are highly adaptable to just about any more advanced project, and you can never get enough practice with basic shop tasks like cutting workpieces to size, sanding and finishing. This project can kick-start your skills, not to mention your creative juices.
In line with our theme of sticking to basics, all the materials for this bookcase come from just about any “big box” home improvement center. You can make this project with simple pine if you like, but we opted for hardwood and chose solid red oak for appearance and durability. For a painted bookcase, poplar would be a good choice.
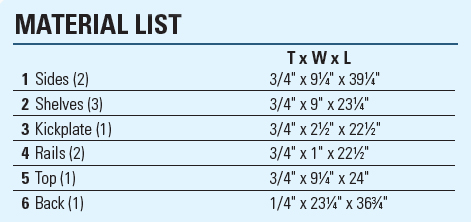
Taking advantage of the off-the-rack sizing of dimensional 1 x 10 oak (actual measurement 3/4″ x 9-1⁄4″) for the bookcase sides and top, and 1 x 3 oak (really 3/4″ x 2-1⁄2″) for the kickplate, you’ll only need to cut these parts to length. Simple rip cuts trim shelves and rails to width.
Making First Cuts
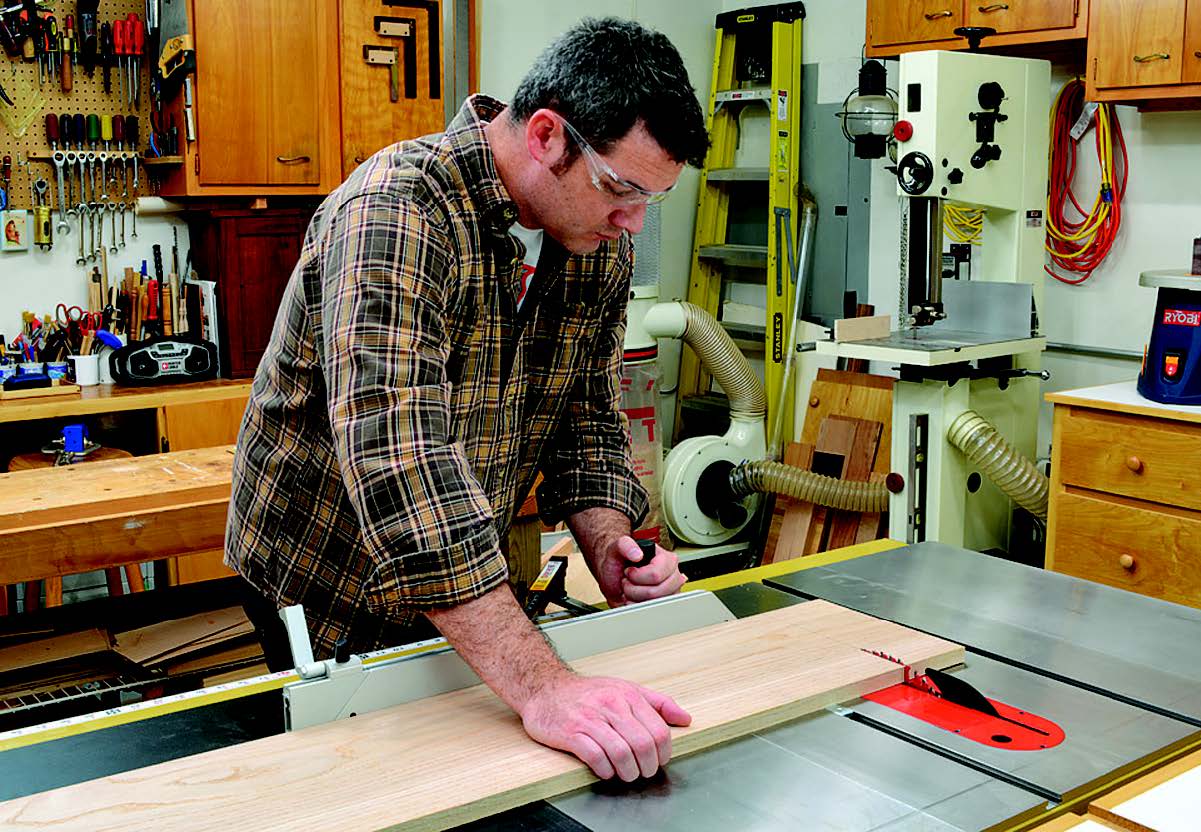
Using a miter gauge on your table saw, begin by crosscutting the bookcase sides, shelves, kickplate and rails to length. If you lack a table saw, then a circular saw, jigsaw or handsaw can handle the job.
Examine your stock and decide which faces and edges will be the “presentation sides.” That means you’ll want the nicest-looking surfaces facing outward on the sides and upward on the shelves and top. Keep minor blemishes or odd grain on the inner and downward faces. Label the lumber — painter’s tape and a dark marker work better than just penciling the wood — to ensure you make cuts that keep those nicer faces oriented in the presentation direction.
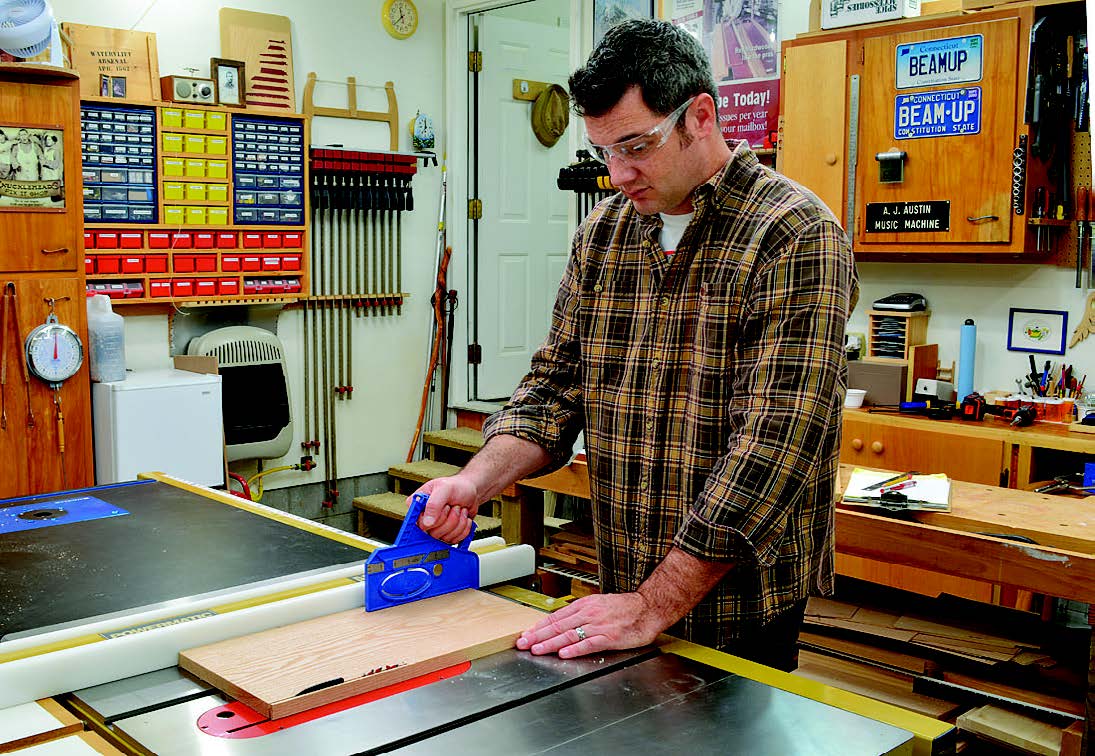
Set up the rip fence to shave 1/4″ off the back edges of the three shelves. This allows the shelves to fit flush with the bookcase back, which is inset by 1/4″. Set the shelves aside for now, then reset the rip fence and cut the two upper rails to width.
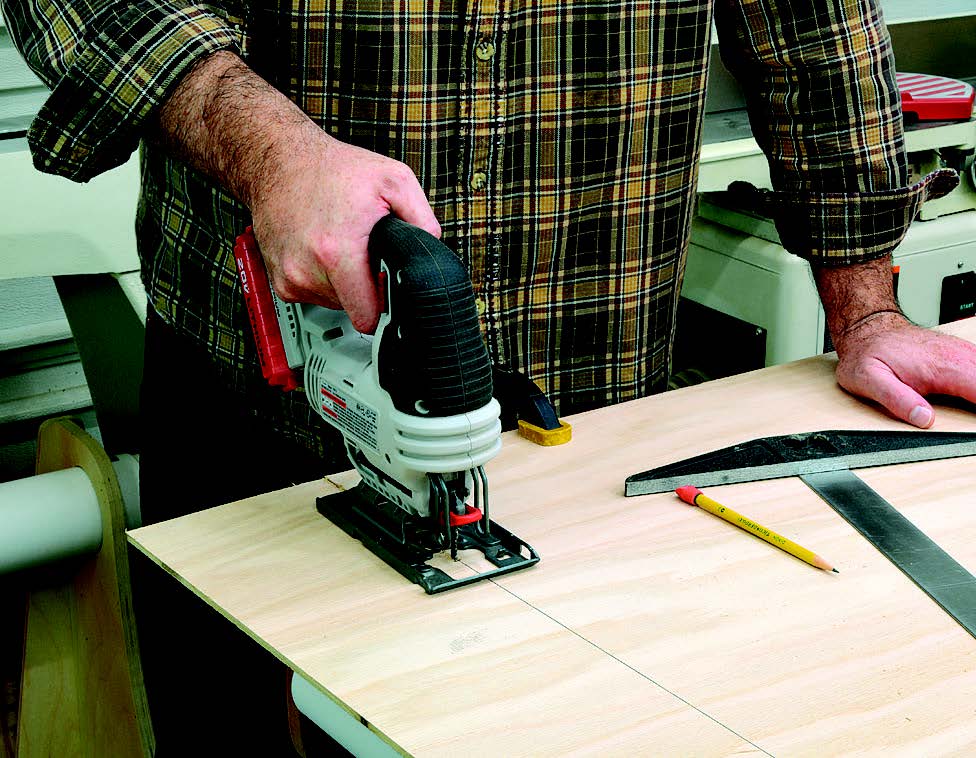
Finally, cut the plywood for the bookcase back. Ripping the sheet to width is straightforward on the table saw, but because the bookcase back is taller than it is wide, it’s easier and safer to cut it to length with a jigsaw or circular saw.
Cabinet Joinery
This bookcase joinery is fairly straightforward and quickly done on the table saw using a stacked dado cutter. The 3/4″-thick shelves fit into 3/8″-deep dadoes in the bookcase sides. A rabbet cut into the back edges accommodates the cabinet back. We’ll cut the dadoes first.
We’ve laid out the shelves so each opening is a uniform 11-1⁄2″ tall. However, you can easily adjust measurements to accommodate whatever you want to store in the cabinet. (Or, make the openings smaller and add another shelf.) Using the height of the kickplate at the bottom as your starting point, mark the first dado at 2-1⁄2″, the second at 14-3⁄4″ and the third at 27″.
The bookcase back fits into rabbets on the rear edges of the two sides, also made with a dado cutter. This time, though, we’ll use the rip fence instead of a miter gauge.
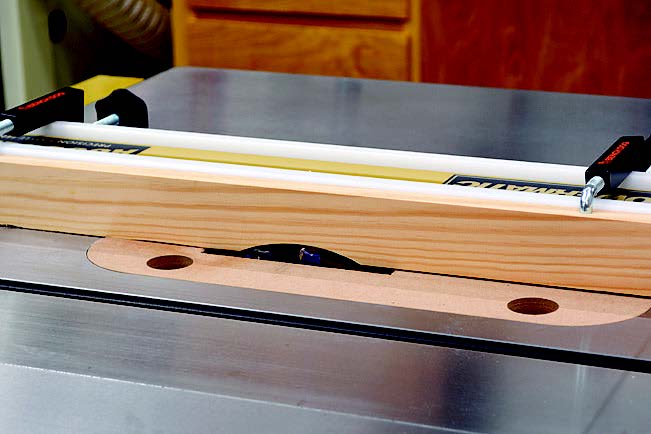
To achieve the 3/8″ width of these rabbets, you can either remove and restack your dado cutter to 3/8″ thickness, or create a sacrificial fence. The beauty of this simple jig is that it allows you to adjust rabbet width on the fly without needing to restack the cutter — all you need to do is move the fence in or out.
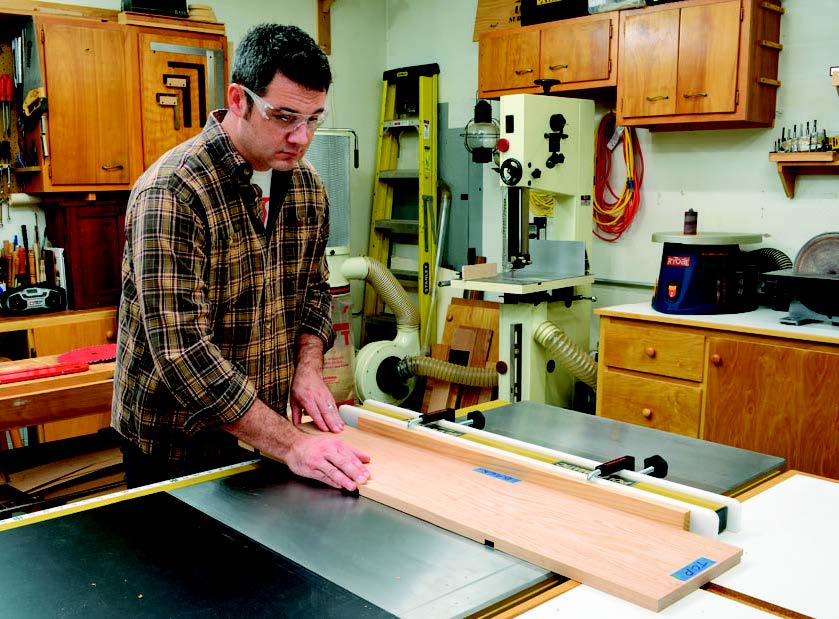
Set the dado cutter 3/8″ high, and adjust the fence so 1/4″ of the blade is exposed. Now, making sure your workpiece is oriented correctly, just run the stock through. That’s it.
By cutting these rabbets last, you’ll remove any tearout from the back edge that was created in earlier dado cuts.
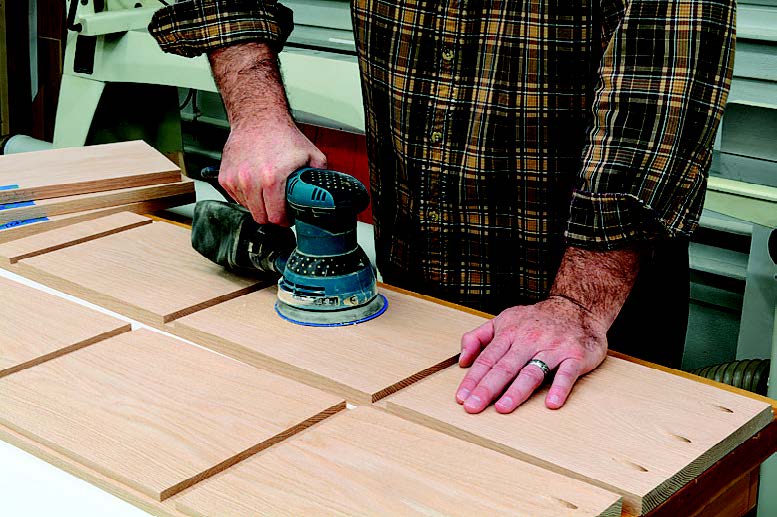
At this point, all your workpieces are prepped and nearly ready for assembly. However, you’ll find that all the inner surfaces are much easier to sand now rather than waiting till afterward.
Pocket-hole Joinery
Pocket-hole joinery complements this cabinet’s dadoes and rabbets by making assembly both fast and uncomplicated. We’ll use pocket screws to secure the bookcase top (piece 5), as well as the kickplate (piece 3) and upper rails (pieces 4).
You will want to make sure your pocket-hole jig is aligned squarely on your drilling marks and is square to the end of the workpiece. After you have drilled the first pocket hole, reset the jig and drill each hole in turn. Repeat for the opposite bookcase side.
In the same manner, drill a pair of evenly spaced pockets on the inside ends of the kickplate. For the narrow upper rails, a single pocket hole on each end is all you need.
The Assembly Process
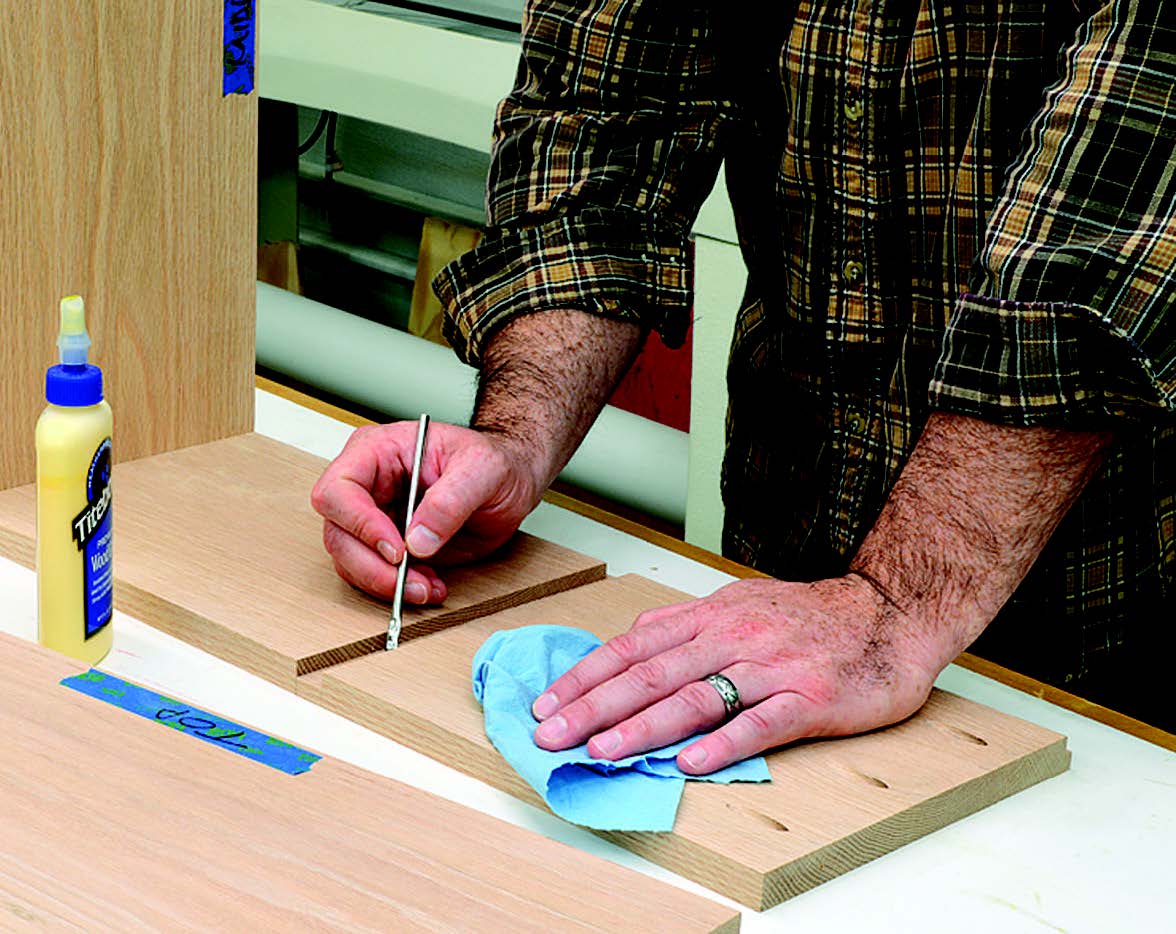
Apply glue into the dadoes on one bookcase side and, being careful to mind the directional labels, set the shelves into place flush with the bookcase front. Since we trimmed the shelves by 1/4″, they should also be perfectly flush with the rabbet on the back.
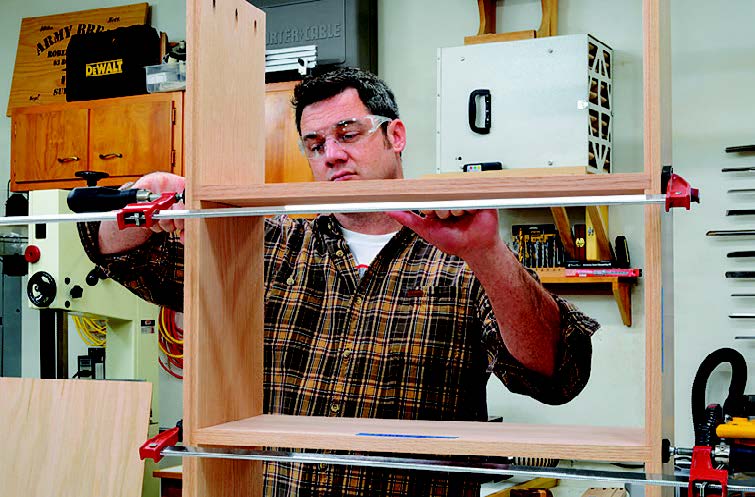
Now, apply glue into the dadoes on the other side and fit it to the shelf ends and align as before. Clamp everything up to complete the assembly, and check for square.
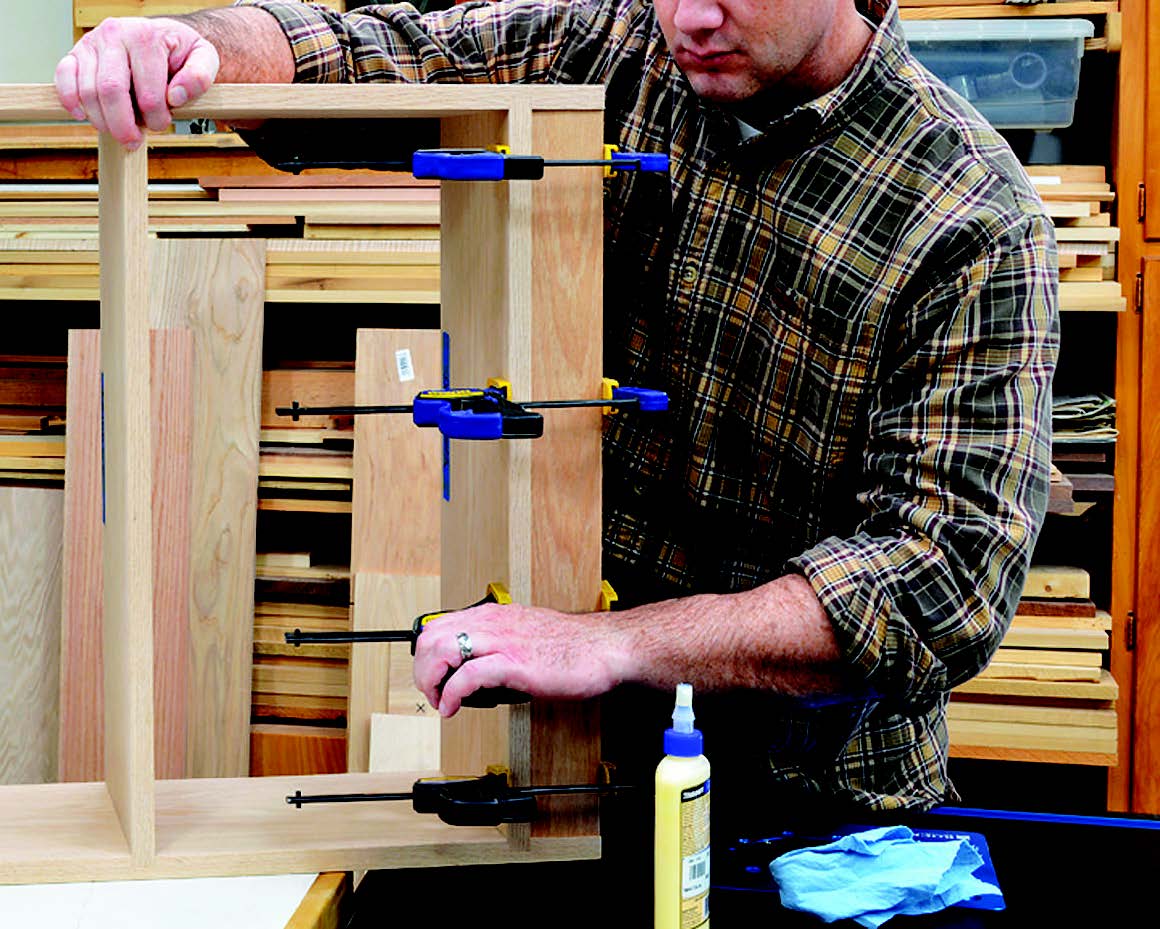
When the assembly has dried, apply glue to the top edge of the kick plate and, orienting the pocket holes toward the inside, clamp it to the underside of the bottom shelf slightly inset from the bookcase front to create an attractive reveal. The exact amount of inset is up to you, but 1/8″ to 3/16″ is common.
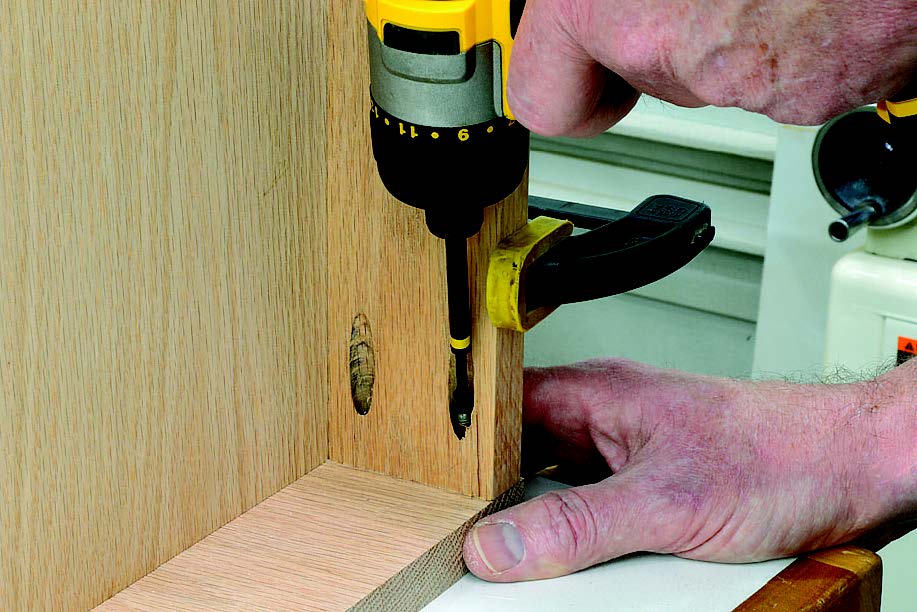
With the assembly on its side, drive home a pair of pocket screws on each end of the kickplate to secure it. Since the kickplate meets the bottom shelf in a long grain-to-long grain glue joint — the strongest there is — we have no need for additional screws.
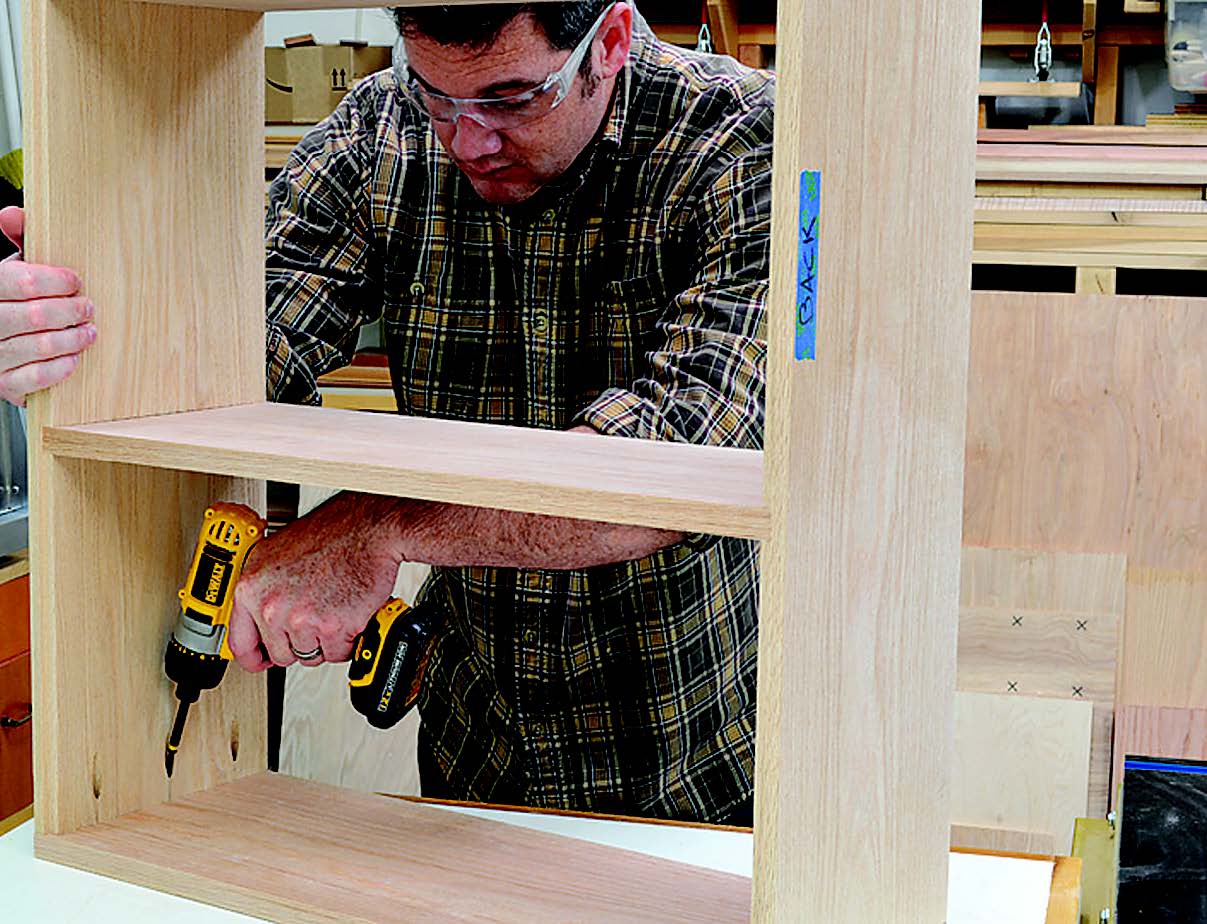
Apply glue to the tops of the bookcase sides. Upend the assembly onto the top and attach it with three pocket screws on each side. Those pockets aren’t that visible up underneath the top, but let’s take one more step to make them disappear.
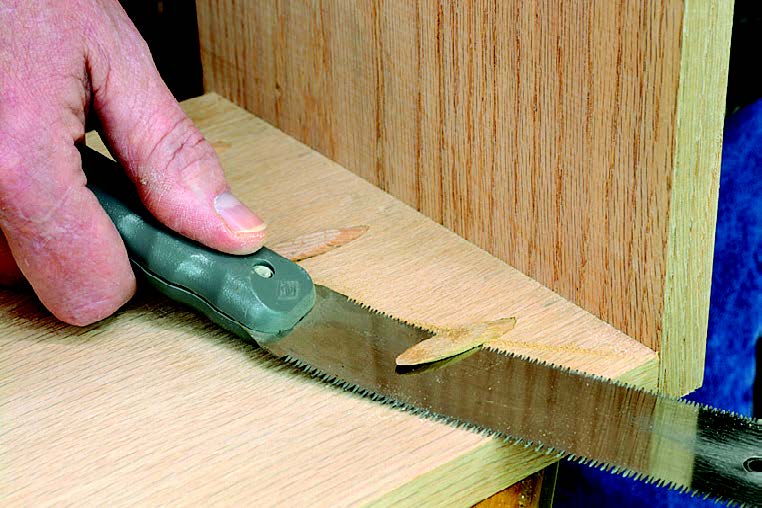
Apply a bit of glue onto the insides of the screw holes (you won’t need much), then slide in pocket-hole plugs. (If you don’t know where to find these locally, you can order them, along with other supplies needed for this project like flathead screws, and even a pocket-hole jig itself, from Rockler Woodworking and Hardware at www.rockler.com, phone 800-279-4441.) When the glue has dried, trim the plugs with a flush-cut saw and then just sand them smooth. We’ve used oak plugs here, of course, but they’re available in several wood species.
Glue and clamp the upper rails into place — the front rail inset the same distance as the kickplate, the rear rail flush with the rabbet on the back— and attach with pocket screws oriented toward the rear where they aren’t seen.
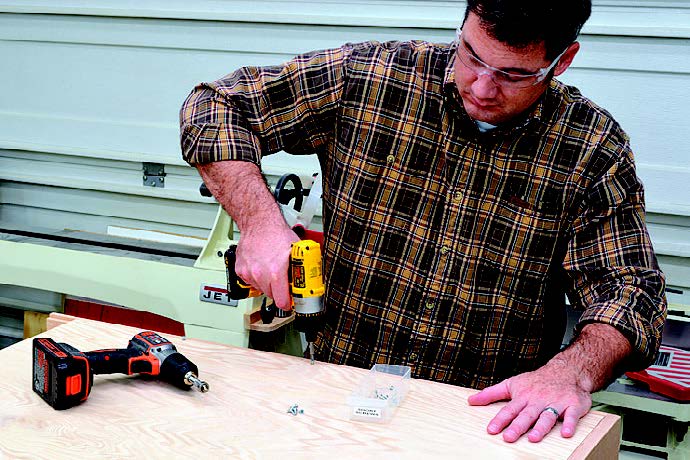
The final step is to set the back of the bookcase into place, drill shallow countersunk pilot holes, and attach the back with 1/2″ to 5/8″ screws. Evenly space the screws around the back edges, plus one that goes through the back and into the center of each shelf.
Finishing Up
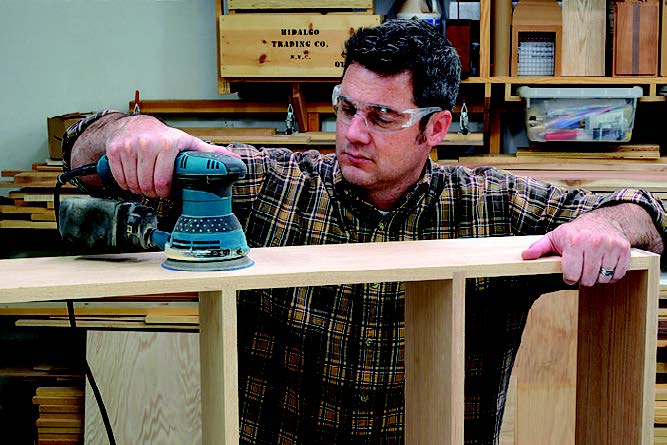
Give the entire bookcase a good sanding. Your lumber is probably pretty smooth right from the store, but it may have milling marks that should be removed. While those marks aren’t that noticeable now, they’ll really pop out with a washboard-like appearance once finish — especially stain — is applied. For most home center lumber a thorough sanding with 100-grit paper, followed by 150-grit, does the trick.
Lastly, give your bookcase the finish of your choice. You’ll find it easier if you first temporarily remove the back, so that you can finish the “case” portion of the bookcase and its back separately.
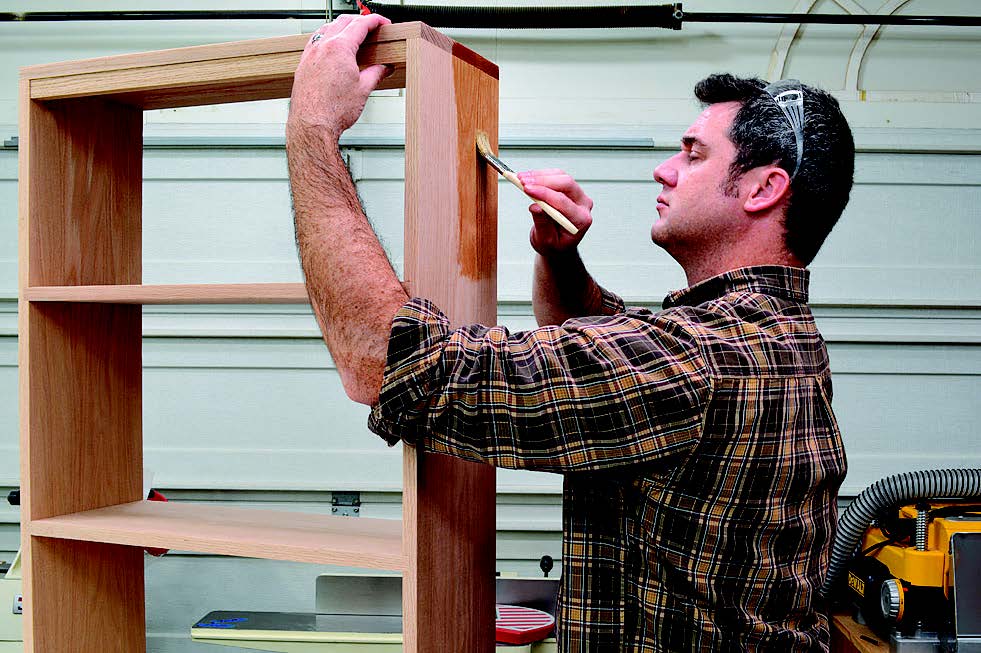
We used three coats of satin polyurethane for a moderately glossy appearance and the highest level of protection from wear and the elements. However, aerosol spray lacquer would make for a fast-drying high-gloss finish if you’re in a hurry. Amber shellac, meanwhile, also dries quickly and imparts a warm Old World tone to the wood.
Click Here to download a PDF of the related drawings.
