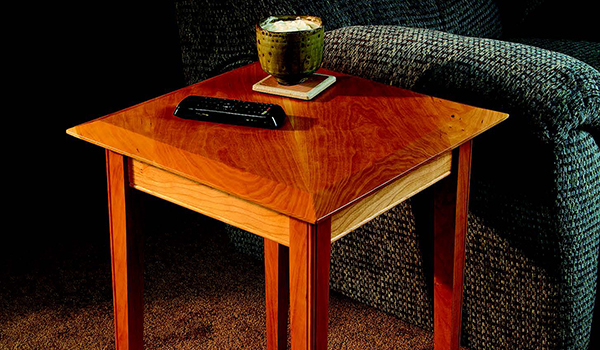
End tables can make any room more comfortable, functional and cozy — especially if the table is built to fit nicely within a specific space. This little table is a fun weekend project that is easy to make and looks great. We added some subtle details to this table that add interest to its construction and appearance. Like any project, the overall size, the orientation of the tabletop, the tapered legs, the type of wood used and the edge treatments are all aspects that can be easily changed at the maker’s discretion. Build it as you find it here, or modify it to suit your fancy; either way, you’ll get a highly functional table in a weekend.
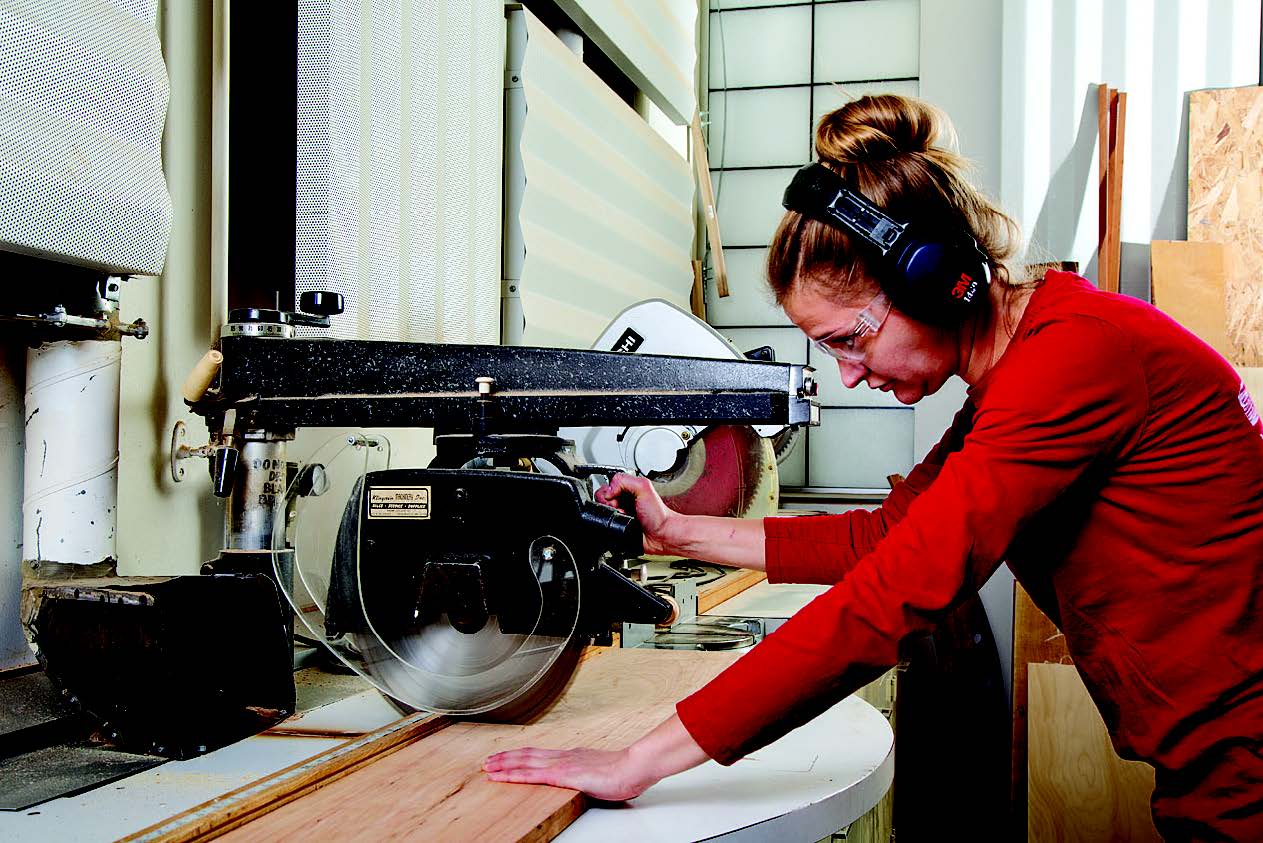
I made our table out of cherry that was purchased from a lumberyard. Therefore, the wood was roughsawn, and it needed to be cut to size and milled. I started with a radial arm saw to crosscut the pieces down to appropriate smaller sizes before going to the joiner.
One tip for you: I chose to cut one piece of stock long enough for the four aprons plus a bit extra. This let me do all the machining for the aprons on one piece of wood, then cut them to final length when I was done with that step.
Getting Started
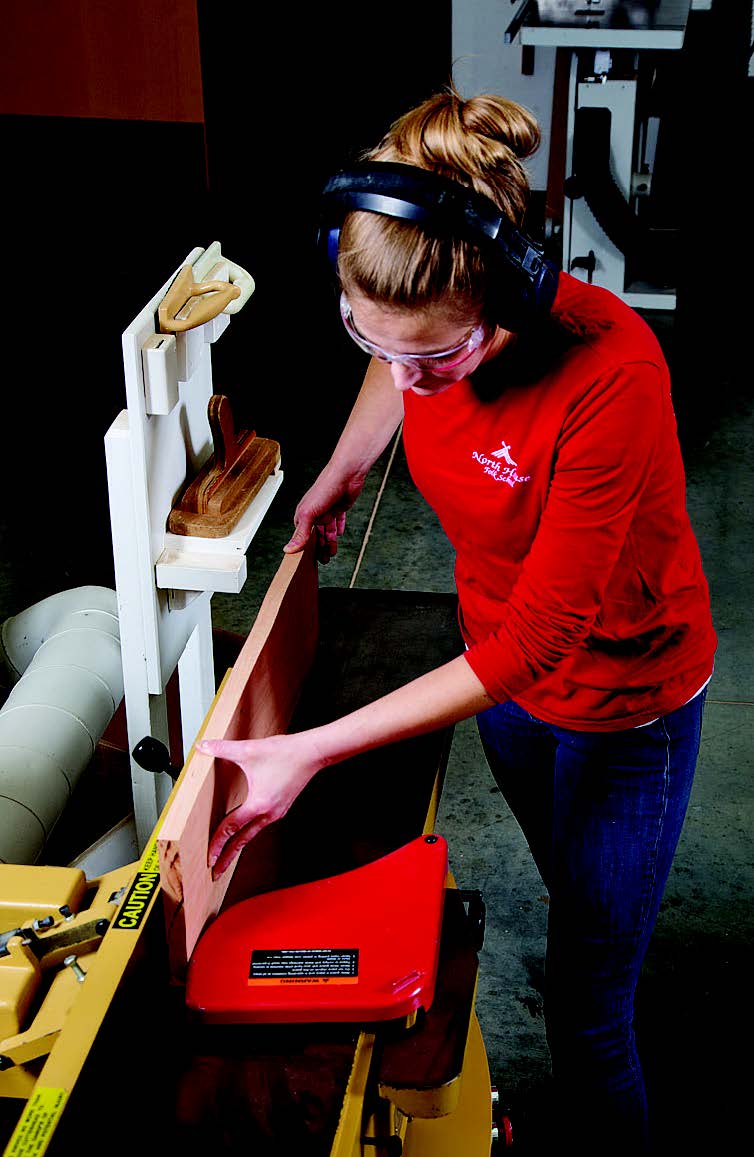
After I cut my workpieces to length, I took them to the jointer and surfaced the face of each piece of wood, and then jointed an edge to create two planes that are exactly perpendicular to each other (also known as “square” because the two surfaces form a 90˚ corner).
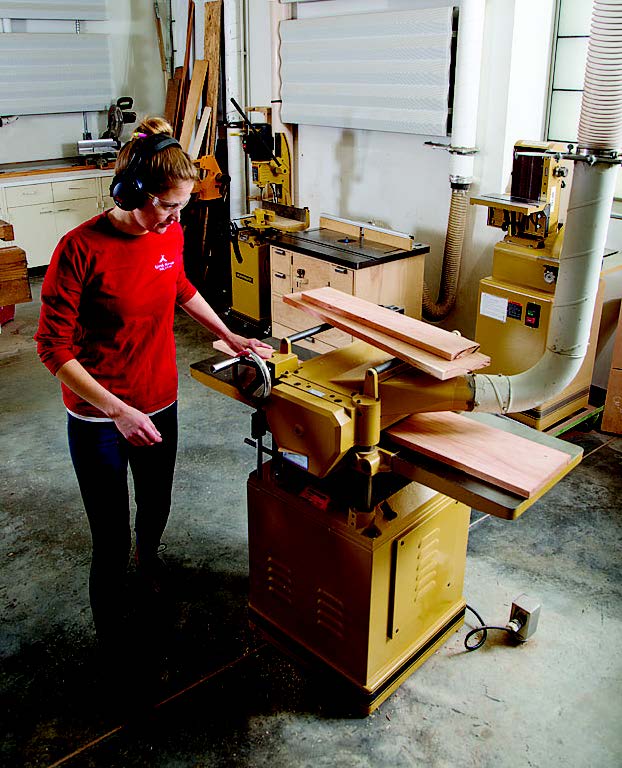
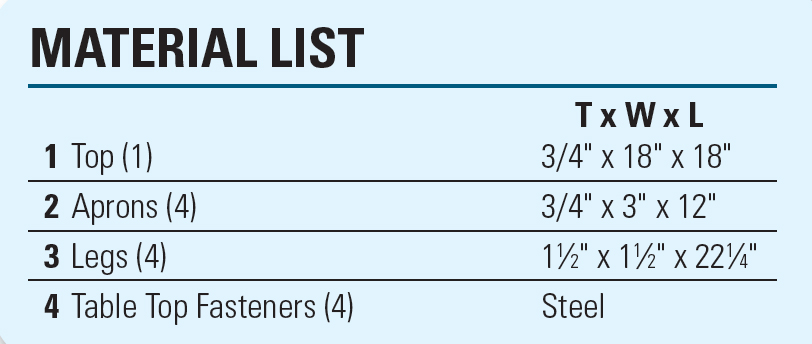
Then go to the planer and feed the pieces through to get the remaining rough face flat and parallel to the freshly flattened face you just created on the jointer. Mill all the parts down to thickness, as specified on the Material List. I then ripped all the pieces to width at the table saw, making the last rough edge square to the rest.
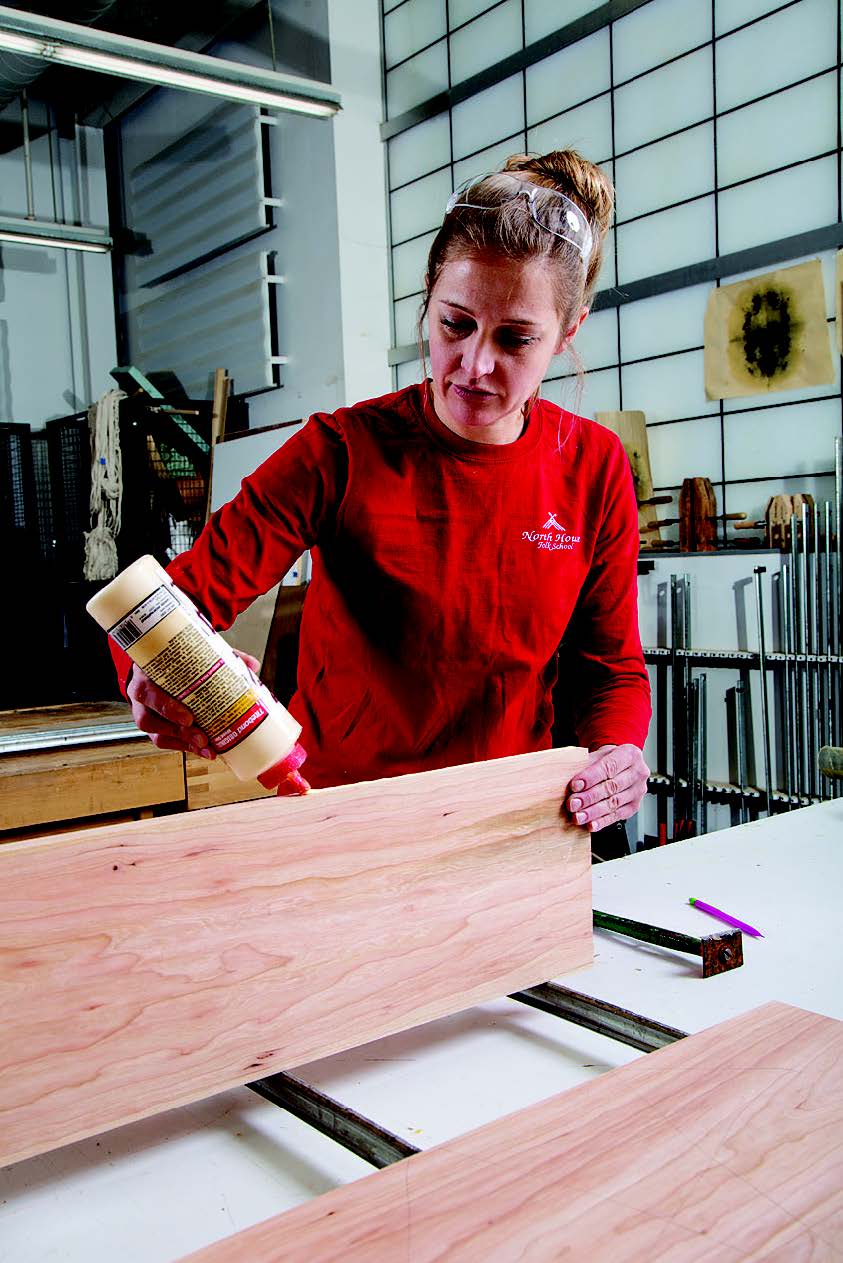
Glue up the pieces that you’ve chosen for the top. To add a bit of visual interest, I made the top with the grain running at 45˚ to how most tops are made. (I think of it as a diamond shape.)
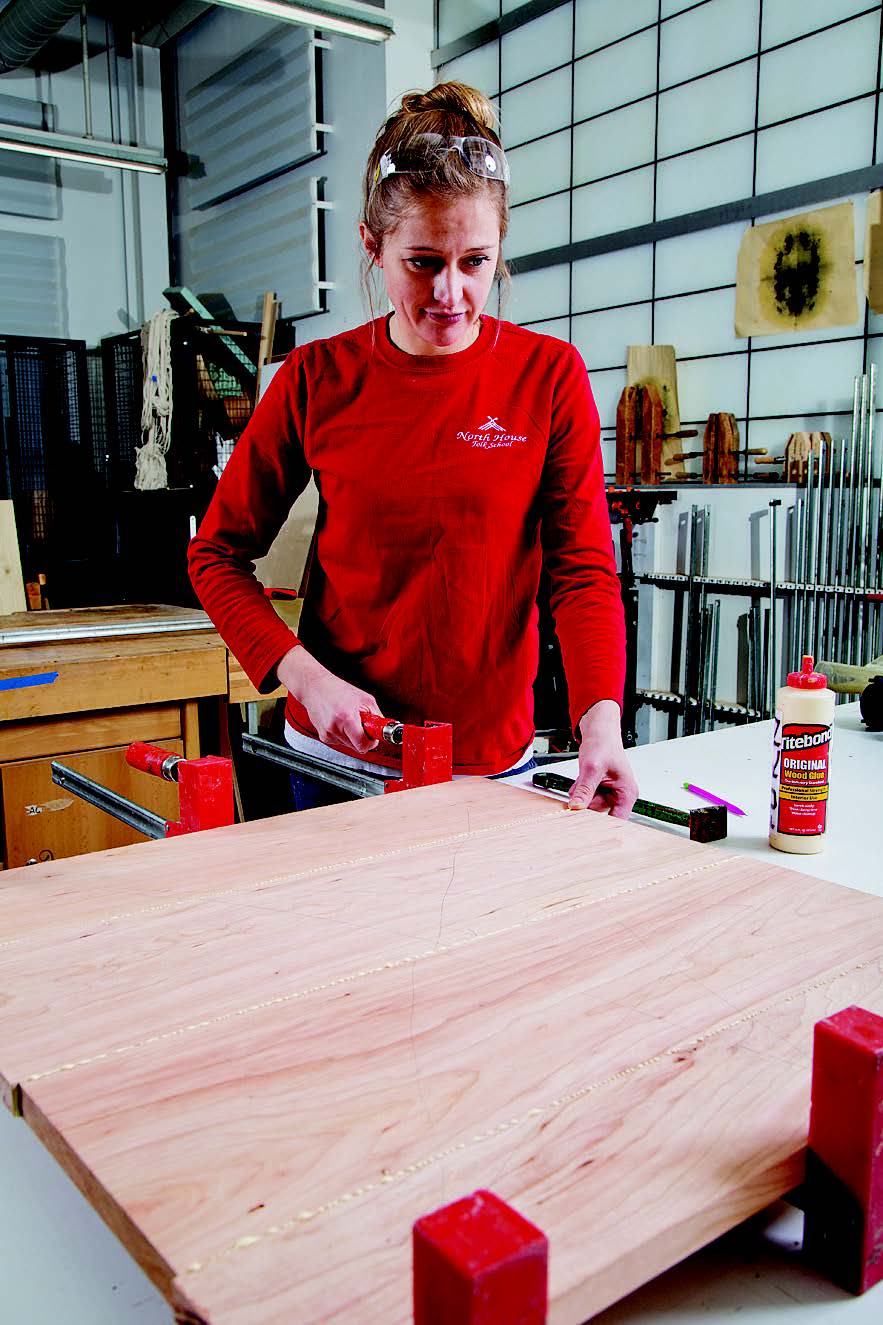
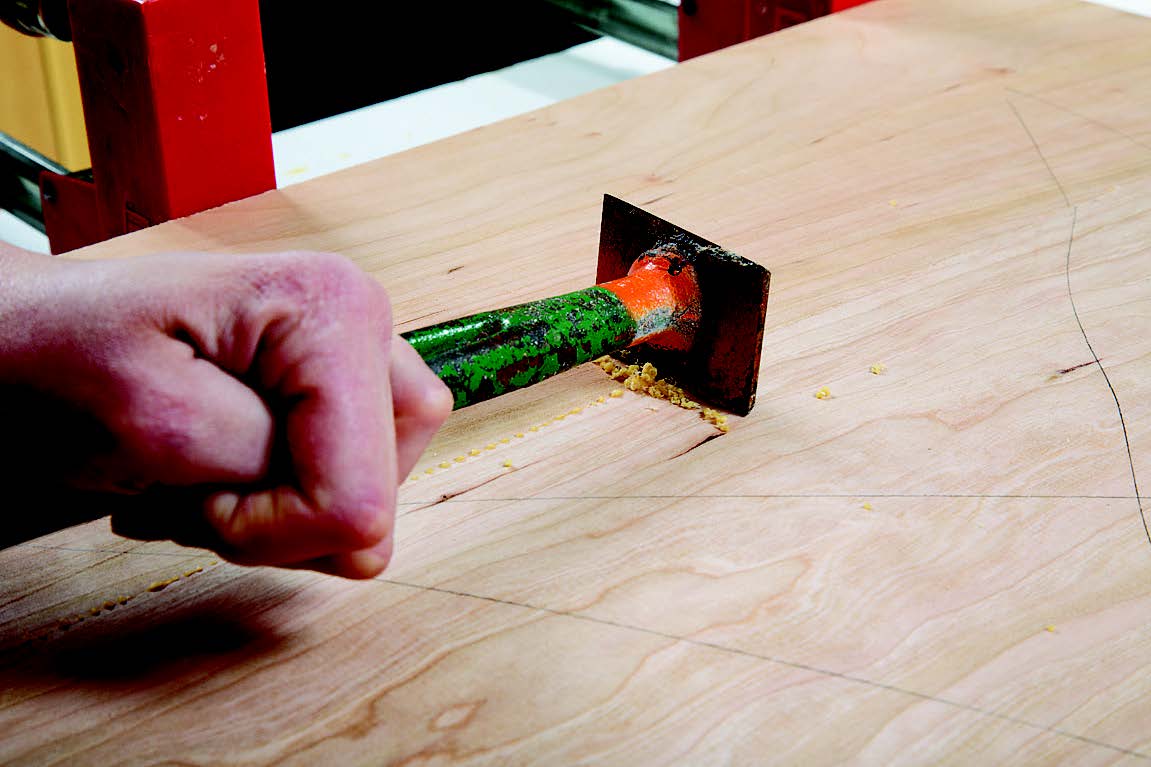
See the Drawings for details. I glued up pieces that create a square at least 25-1/2″ x 25-1/2″. It is easiest to wait until the glue squeeze-out starts to harden before scraping it off.
While the glue is drying, set up your table saw and cut a groove in the aprons for the tabletop attachments. It is the width of a full-sized saw blade kerf (not a thin kerf).
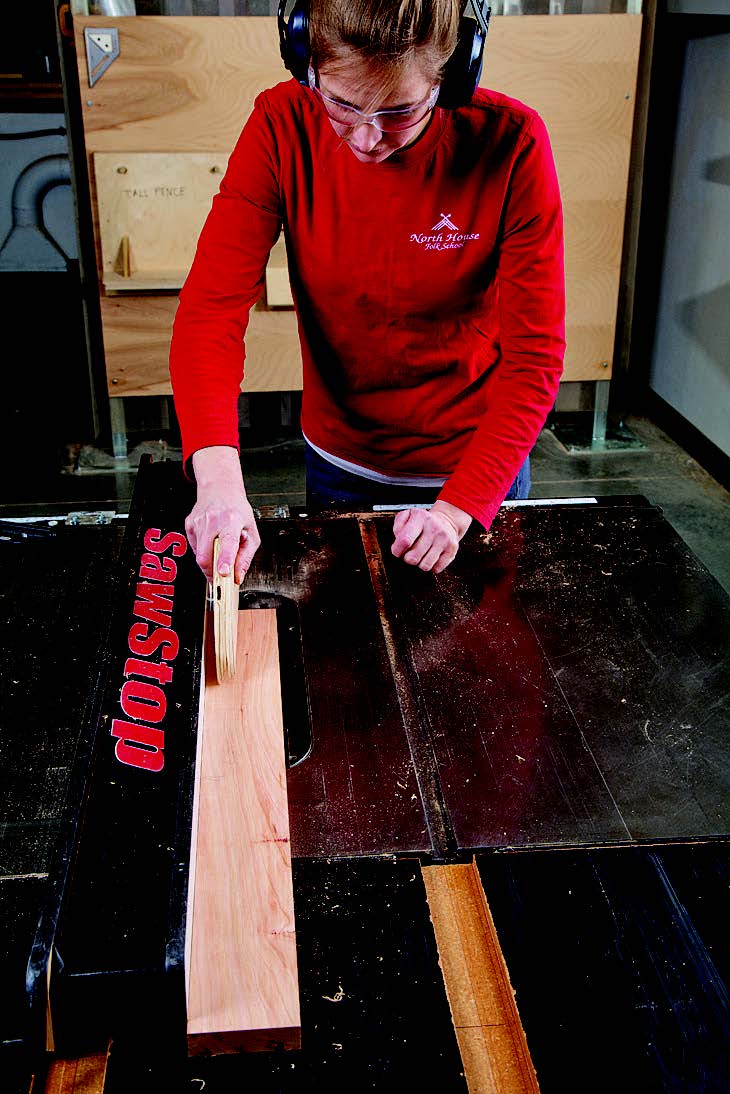
If you leave all four aprons together as one length, it makes it a little quicker for this cut and routing the bead. Go ahead now and rout the bead along the bottom of the aprons. It takes only one pass to form this profile.
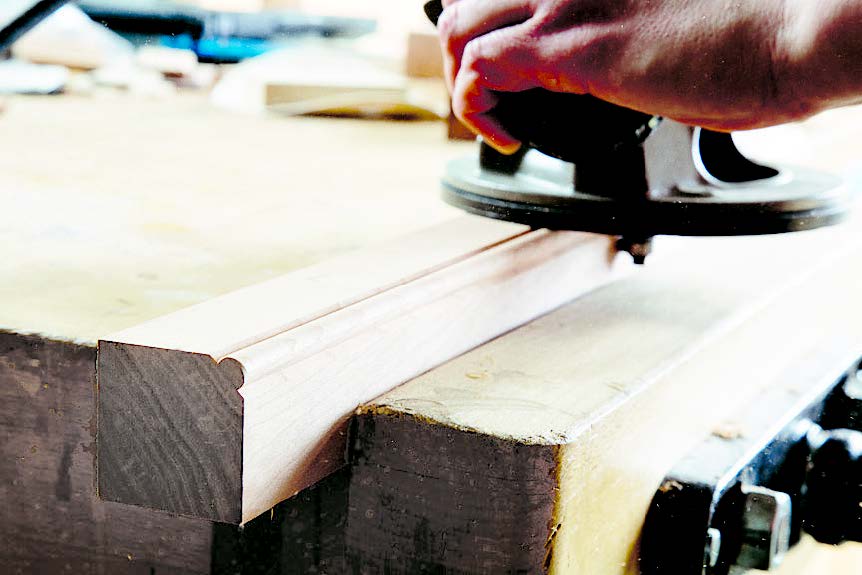
If you are using a handheld router, use another board alongside the aprons to give you more surface area to balance the router.
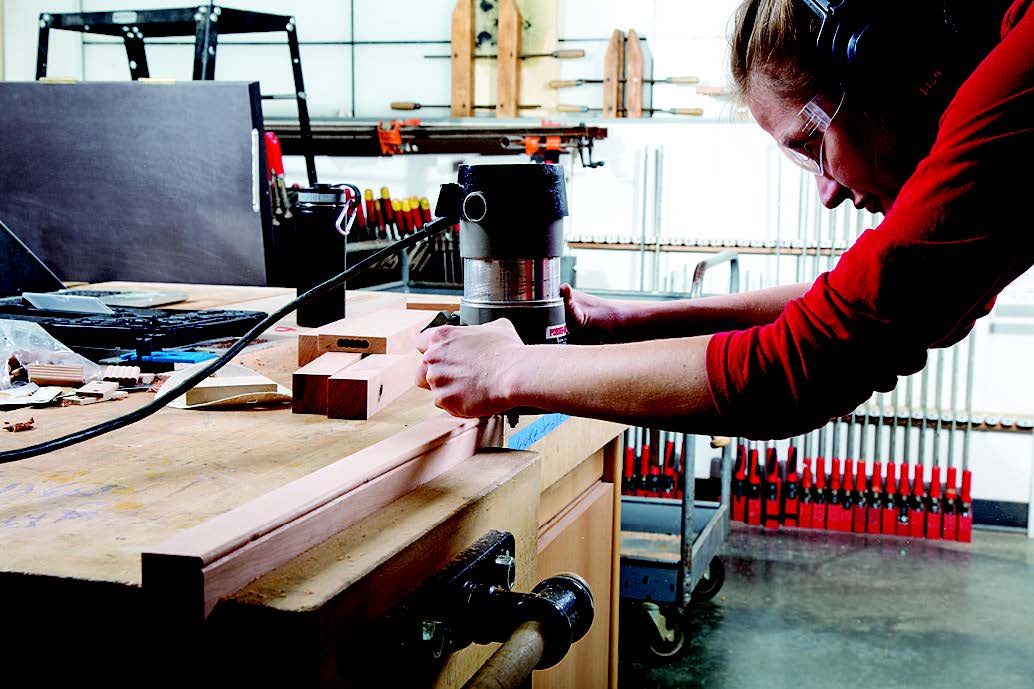
While you are at it, form the bead on the outside corner of the legs, making two passes with the router to get a fully rounded bead.
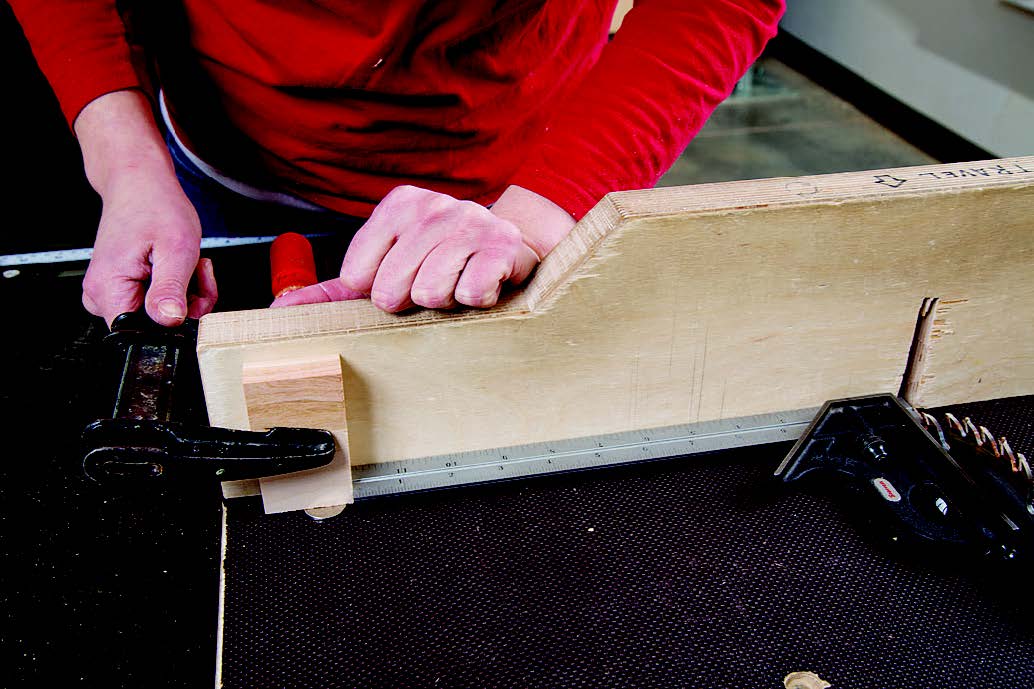
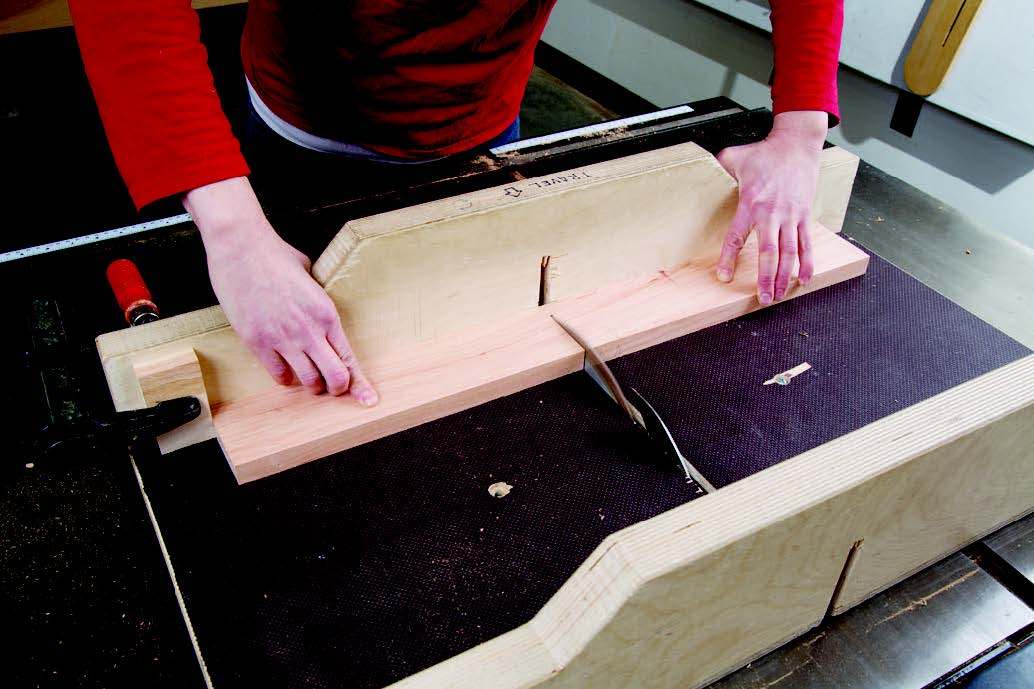
Now cut the legs and aprons to final length. I used a crosscut sled on my table saw.
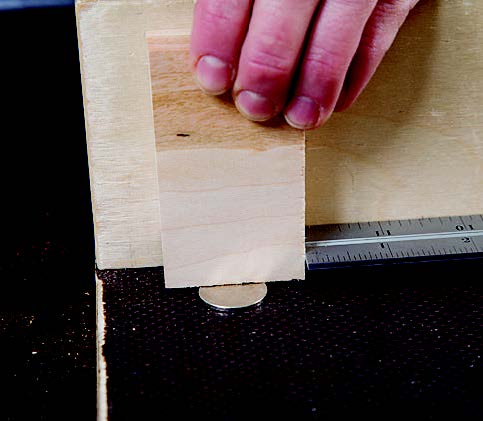
It is super-accurate and safe. Set up a stop block to ensure you make consistent cuts.
Here’s another tip: if you place a coin below the stop block while clamping it, you’ll leave just enough room so that sawdust won’t get trapped and push your workpiece away from the stop. Remove the coin before cutting.
Using a Tapering Jig
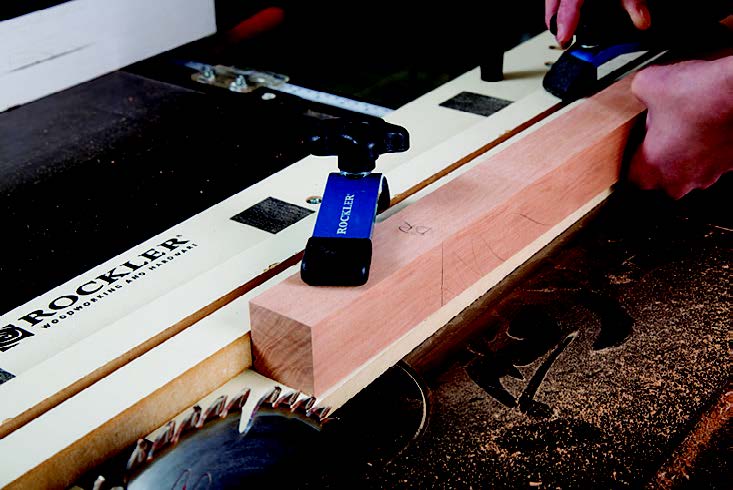
If you are going to taper legs on a table saw, you need to use a jig to do it safely and accurately. You can always use a shop-made version of a tapering jig, but this one from Rockler is a proven and safe performer. As you can see in the Drawings, start the taper 3-1/2″ down from the top of the leg. This provides a squared-up section of the leg where the legs and the aprons will be joined with a loose tenon. It is also a typical treatment that visually completes the end of the leg.
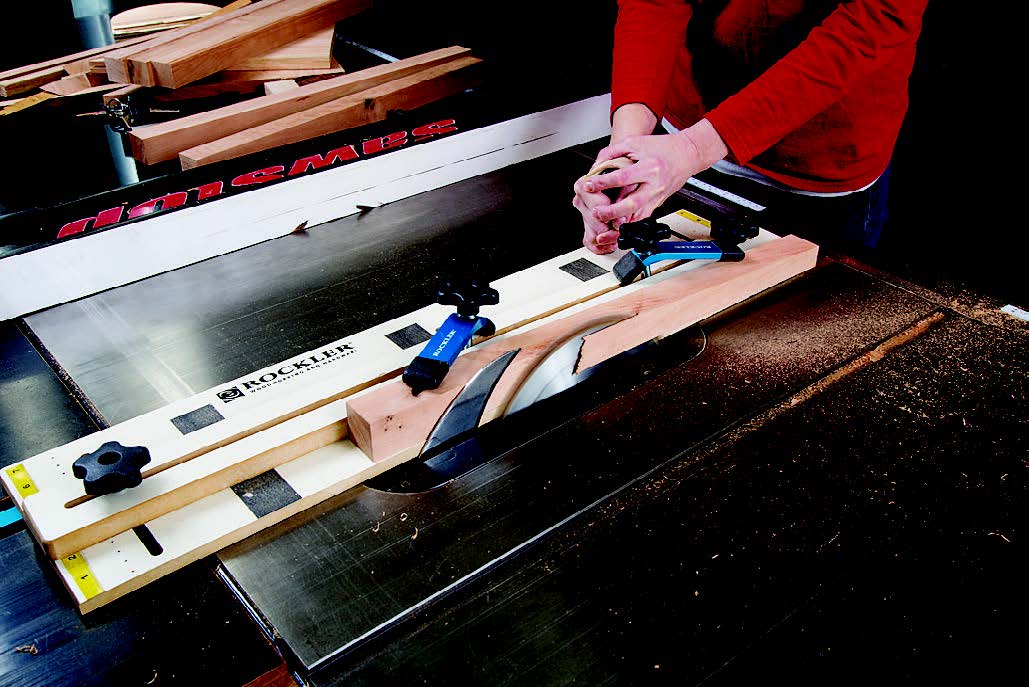
Using a scrap piece of wood sized to match your leg stock, set up the jig and make test cuts to dial in the dimensions carefully. Taper the two inside faces of the leg — the ones without the bead detail.
Joinery Begins Now
I chose to taper the legs to add a bit of shape, in addition to the bead routed into their outer corners. That taper really makes the whole table look more elegant. One easy way to do that is with a tapering jig on the table saw.
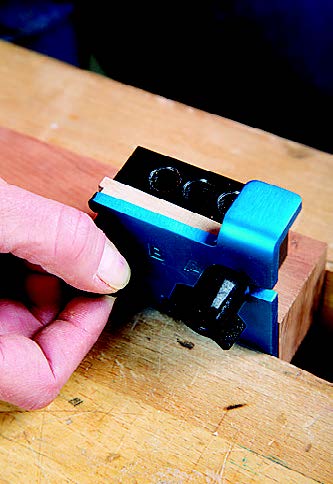
To join the aprons to the legs, I used another jig-based system. Mortise-and-tenons are the proven and time-honored technique for joining edge grain to end grain. I used the Beadlock® system to make my mortise-and-tenon joint. Once you’re clear about the process, assemble the legs and aprons.
Beadlock Joinery
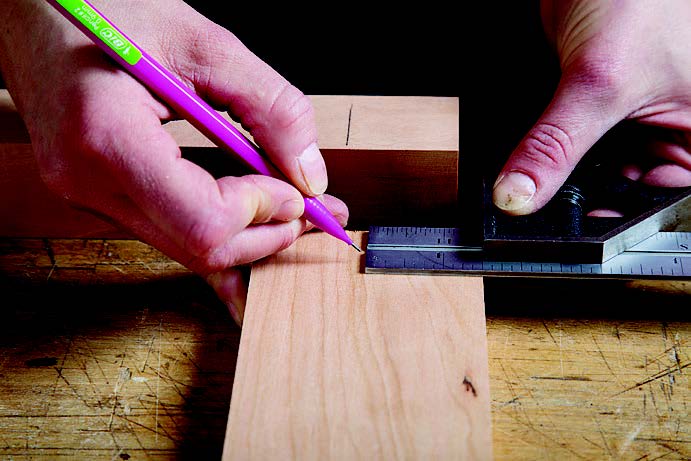
The Beadlock system makes “chopping” mortises as easy as drilling holes. This jig centers perfectly on 3/4″ material. Set the jig to the “A” position and clamp it on the apron.
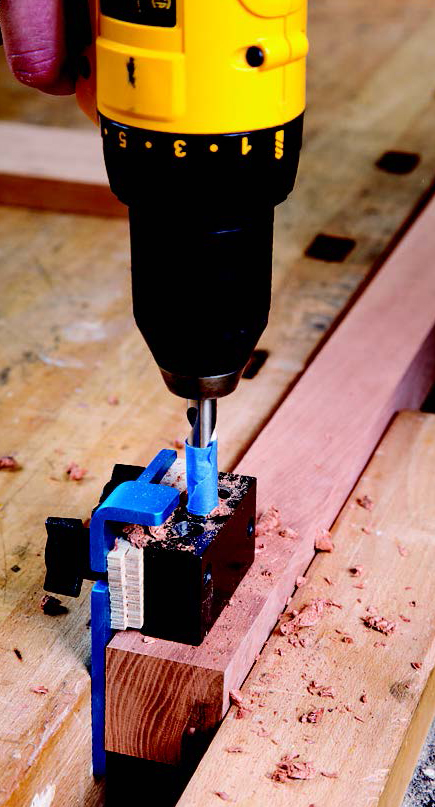
Align the straight edge of the half-moon shape on the jig with your pencil line and drill the first three holes 5/8″ deep into the end of the aprons. Without unclamping, adjust the jig to the “B” position. Drill your last two holes, then make the mortises on the legs.
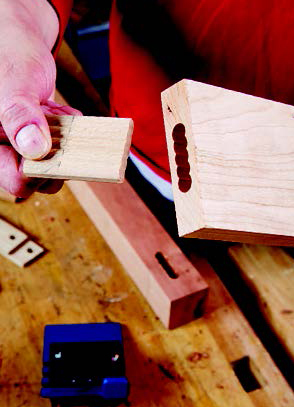
To do this, use a shim or two to create a 3/8″-thick offset between the leg and the jig. This will position the mortise close to the leg’s center. The Beadlock system provides the shaped tenons already made. The author cut the tenons down to 1-1/8″ lengths on the band saw.
Making the Tabletop
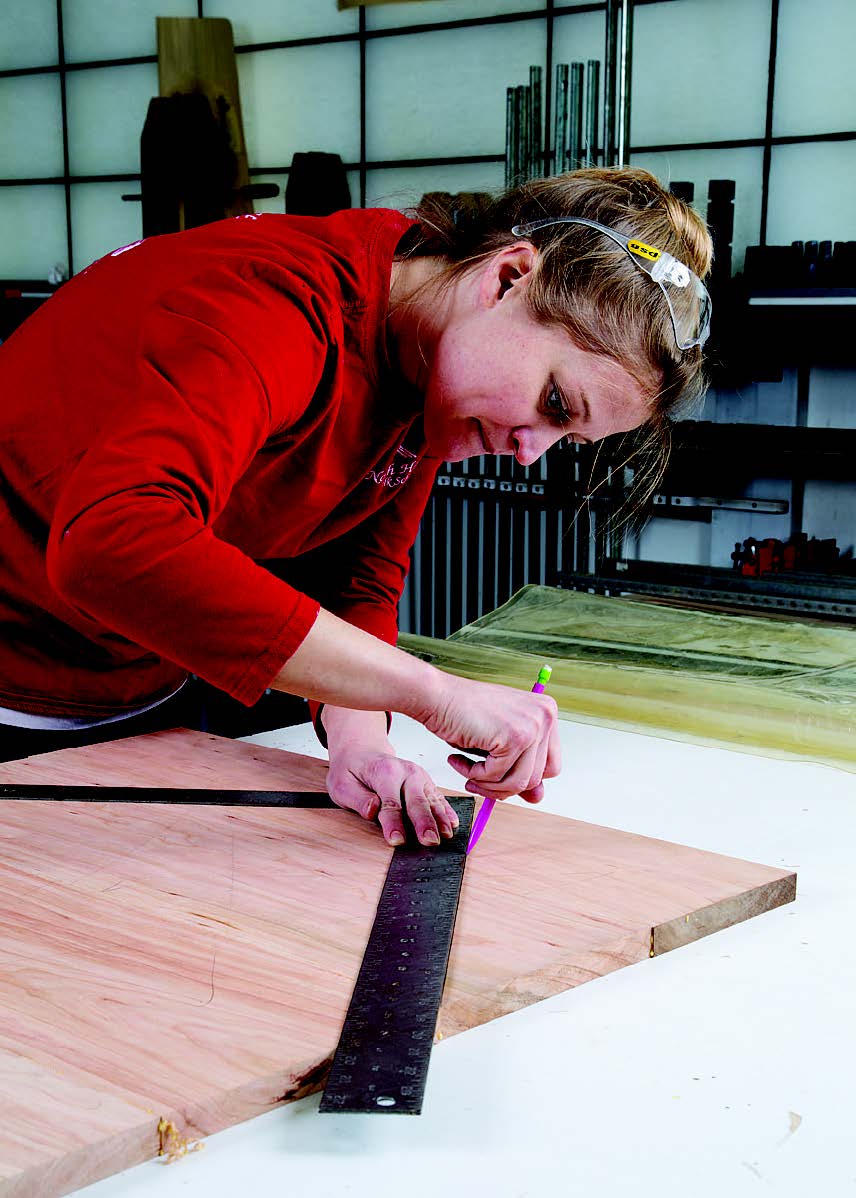
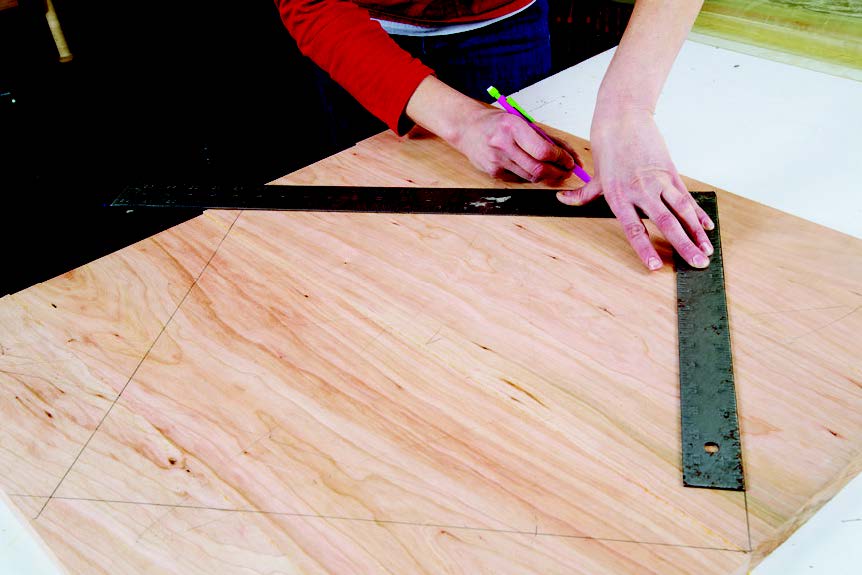
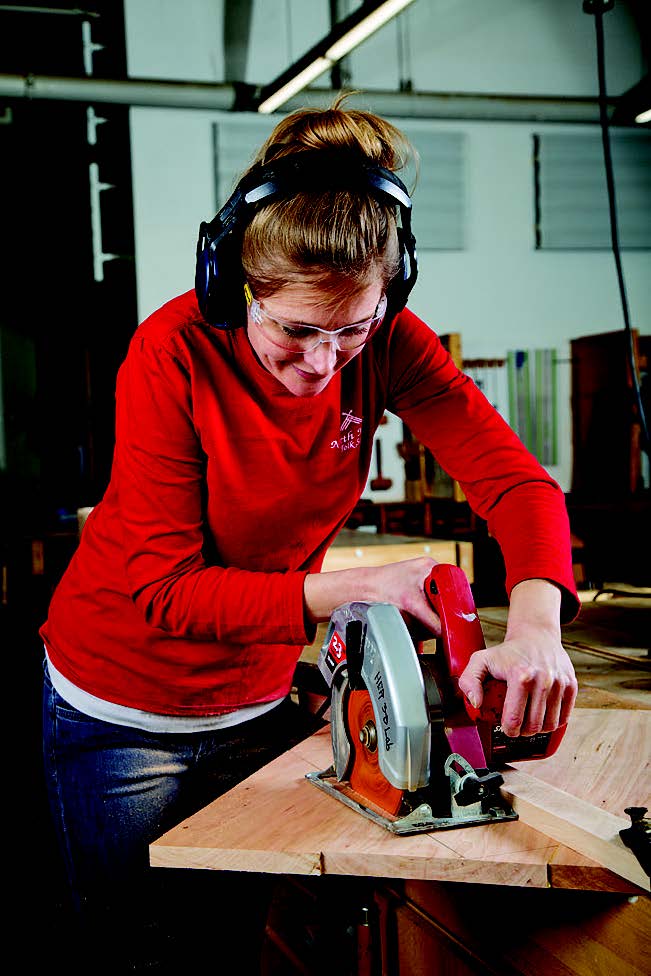
I mentioned earlier that I made the top with the grain running 45˚ to how a top is usually made. Cutting the top this way adds a unique look that results in a uniform end grain pattern on all four edges. Use a steel square to draw the layout for the diamond-shaped top. Then clamp a straightedge to the tabletop, and cut out the shape with a circular saw.
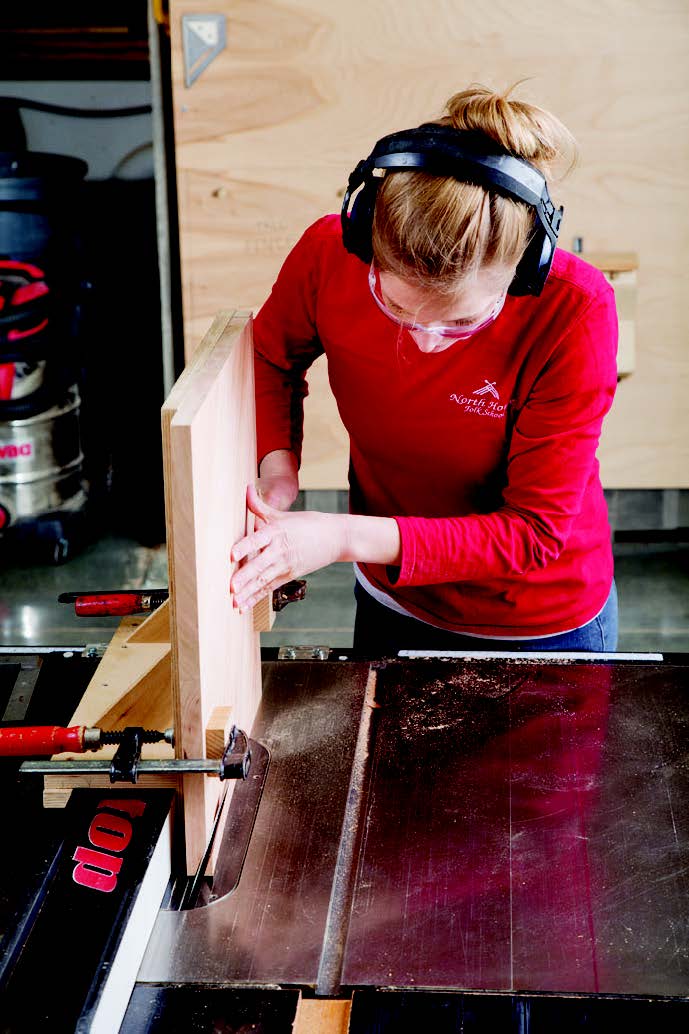
Now head to the table saw to cut bevels around the tabletop edges, using a tall fence. First tilt the blade to about 20˚. Then position the fence about 1/4″ away from the base of the blade. Notice that the tall auxiliary fence I’m using wraps around the rip fence and slides back and forth on it. That way, I can clamp the tabletop to the fence and slide it past the blade to form each long bevel cut. Before cutting your tabletop edges, run a test piece so you can fine-tune your settings. When you are satisfied with the setup, cut the bevels on all four edges.
With all of your table parts cut, it is now time to sand them smooth. Sand to 220-grit on the legs and aprons, and to 320-grit on the tabletop to ensure the end grain’s beauty really shows.
General Finishes Satin Arm-R-Seal was my choice for finishing this little gem of a table. Arm-R-Seal is a durable and easy-to-apply varnish. Brush on three coats with at least eight hours of drying time in between. Put finish on both faces of the top or it will warp. After the finish completely cures, wax the tabletop for added smoothness and protection.
To attach the top to the base, center the table base on the upside-down tabletop. Use a soft blanket underneath the tabletop to protect it from scratches. Drill pilot holes for the screws that will attach the tabletop fasteners. It’s a good idea to use a piece of tape on your drill bit to mark how deep to drill. If you’re pretty new to woodworking, I suggest using a screwdriver rather than a drill driver to install the screws. This will ensure that you won’t accidentally strip out the screw holes, and you’ll have perfectly tightened screws. Sometimes good old hand tools just can’t be beat!
By building this little end table, you’ve exercised some basic woodworking skills, learned new techniques and even used some helpful jigs. Now take a load off and enjoy your success!
Click Here to download a PDF of the related drawings.
Kimberly McNeelan has been a woodworker for about 14 years. She’s been coast to coast and beyond studying different woodworking techniques, learning from various masters, and working on a wide array of projects. Read more of Kimberly’s latest adventures.


