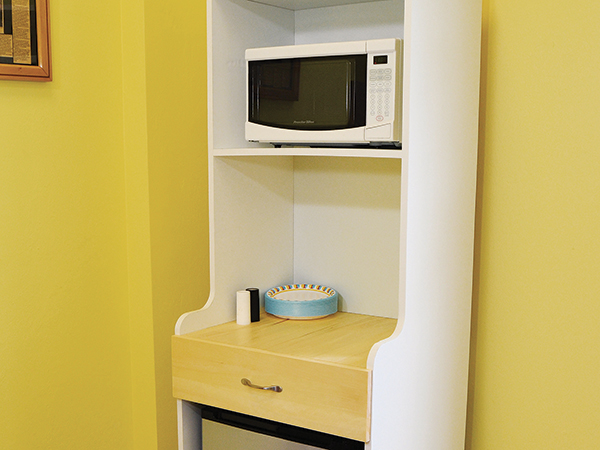
Like many do in their small offices or dorm rooms, I added a mini fridge and set a microwave on top of it as my shop “kitchenette.” Predictably, it was not too long before this lack of planning resulted in my lunch spilled across the floor. That is when I came up with this design. Since my shop is a rented space, I didn’t want to install permanent cabinets, so a self-contained unit was the answer. I wanted space for a mini fridge and microwave, a basic countertop for minimal food prep and a drawer for storing cutlery, napkins and such. These considerations led me to the practical solution shown here.
For cleanliness and durability, I decided to use cabinet liner, available from most plywood distributors. Cabinet liner is plywood with a laminate face already applied. It is relatively inexpensive and easier than full-sheet laminating in smaller shops.
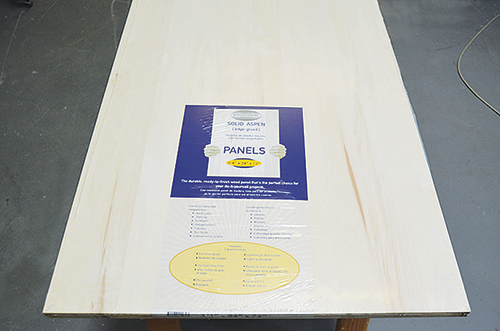
For a bit of contrast, I decided to use wood for the countertop and drawer front. My local home center sells aspen panels that come glued up and sanded to exactly 3/4″. One 24″ by 72″ panel provided both the countertop and the drawer front I needed. The high-pressure laminate on the cabinet liner is more durable than a melamine face, but cut parts still need to be handled with care to prevent damage to the freshly cut edges.
The step-back design needs to be rough cut to shape before flush trimming, so I tested cutting a scrap with both the band saw and jigsaw to see how much excess I needed to leave before routing. While both tools left a rough edge, the chipping was tightly contained, so I was able to rough cut the sides to within 1/4″ of the line I wanted to flush trim.
Making the Template
I made a template for flush trimming the sides. Use the Drawings to create a 42″-long template, which allows for one clean pass with the router. I made my template from 1/2″ plywood, which can be used with either a top or bottom-bearing bit. Take the time to ensure that the template is smooth and accurate: any flaws will be transferred to all the parts you make from it.
Sides Shaped
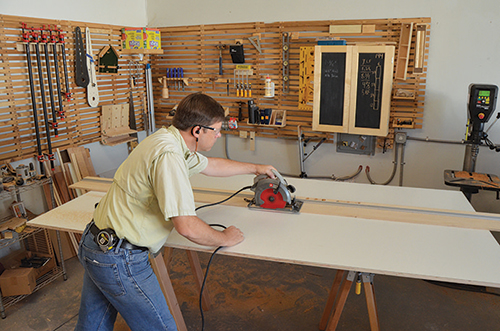
This is a freestanding cabinet, so most of the work is in creating the sides. Begin by crosscutting the full sheet to 72″ long, then rip this section into two pieces 22″ wide. Use a melamine- or laminate-cutting blade in your saw.
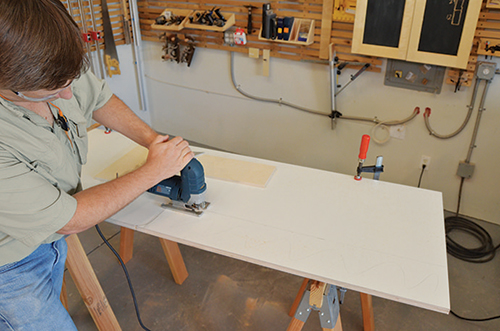
Identify the faces of the sides you want to be the insides and trace the shape onto the panel, leaving about 1/4″ for trimming using your template. Rough cut the sides to shape with a jigsaw. Next, clamp the template to the sheet and use a spiral cutting pattern bit to form the shape. With the sides cut to shape, the rabbets, grooves and dadoes for the shelves can be milled.
Rabbets, Grooves and Dadoes
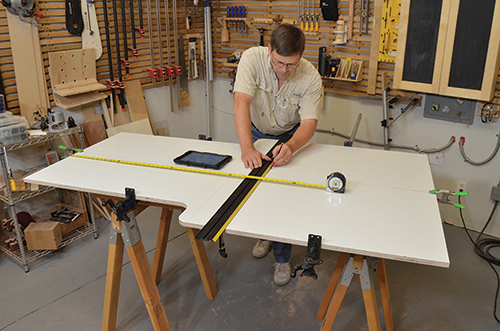
The wood panel and cabinet liner sheets were of two different thicknesses. When I measured, I got lucky: the cabinet liner material fit perfectly into a dado cut made with a 23/32″-dia. plywood bit, and the counter fit a standard 3/4″-wide bit, so I only needed two single-pass setups.
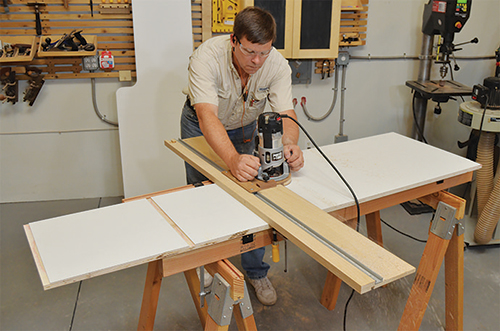
Take the time needed to carefully lay out and cut the rabbets and dadoes in the sides, ensuring that they match side to side and are square across the panels. It is pretty much impossible to hide a repair in the side if you make a mistake. (Don’t ask how I know this.) Cut all of the joints 1/8″ deep.
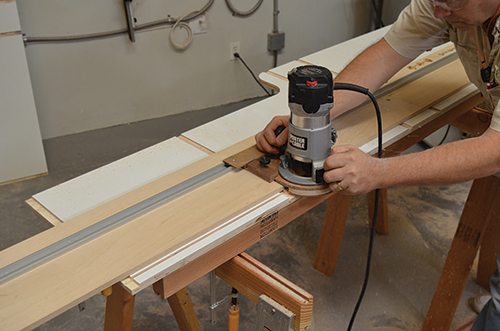
The back is what keeps this tall, narrow cabinet from racking, so I prefer to trap the back into a groove. Plow grooves to fit the thickness of the 1/4″ cabinet liner. Mill these a full 1/4″ deep. The back will pass behind the counter and rest on top of the drawer shelf. The lower section remains open for ventilating the mini fridge.
Making the Shelves and Bottom
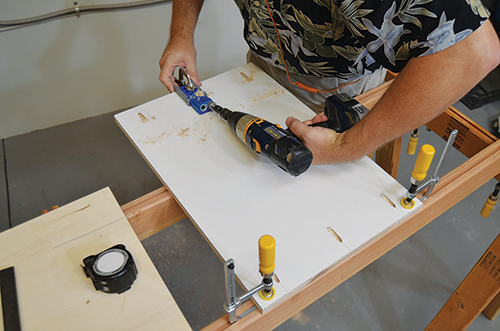
Once the cabinet sides are complete, move on to the shelves. The Drawings show a 1-1⁄2″ hole drilled through the back as a pass-through for the microwave cord. If you already have yours, you can position this hole to suit.
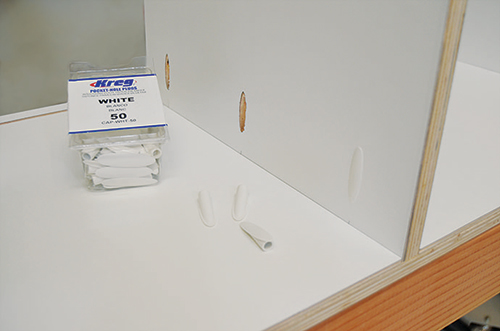
The shelves and bottom panel should be cut to the dimensions listed, but be sure to verify them against the actual side pieces. The shelves and countertop could be simply glued into the dadoes, but because this cabinet is freestanding, I opted to use pocket screws to help stiffen the structure. Look to the Drawings for their location.
Dry Fitting Before Assembly
Before applying glue, dry fit the shelves and counter to the sides to ensure everything fits as expected. Everything should be aligned flush to the front edges of the sides, and nothing should be blocking the back grooves except the drawer shelf where they end.
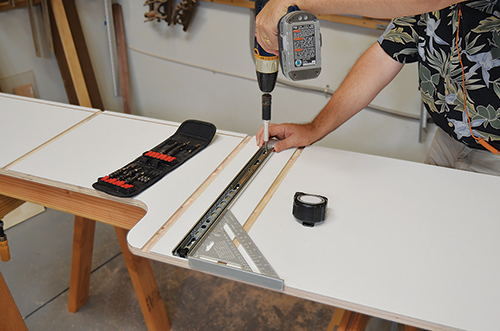
Before beginning assembly of the carcass, it’s time to mount your drawer slides in place. It is MUCH easier and more accurate than trying to work inside the drawer opening after assembly. I chose full-extension side mount slides, so they just need to be centered between the counter and drawer shelf before you screw them in, 1/8″ in from the front edge. Once you are happy with the way all the pieces fit on one side, add glue to the joints and screw the shelves in place. Install the countertop as well. The second side is then glued and fitted onto this assembly and screwed in place. Check for square once everything is secure, but do not worry if it is not perfectly square; adding the back will set things right.
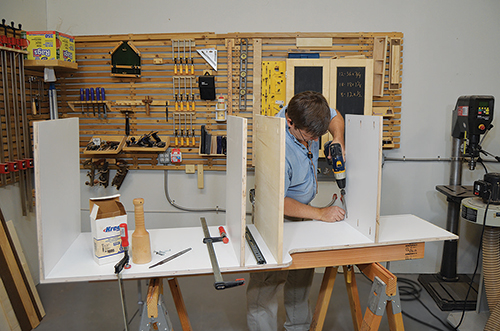
Next, install the back, carefully measuring the width needed inside the back grooves — the tighter it fits, the better. Slide the back into the grooves from the top and press it firmly against the top of the drawer shelf. Then, drive a couple of screws through the back and into the edge of the top shelf, and the cabinet is ready for edge banding.
Next Steps
I used simple white iron-on edge banding to cover the plywood edges of the sides and shelves. The area where the sides step back is the most difficult, so iron on the edging near the step and work through the step area first. If your iron cannot get fully into the radiused corners, you could use a blow-dryer or a hot air gun and a dowel to secure the edging in these areas. Banding the rear edges of the sides is optional. When that is complete, go ahead and mount the plate casters and stand your cabinet up.
You’ll notice in the Material List that there are two stretchers located in the opening behind the fridge. Use pocket holes to mount them; you may need to adjust their placement to accommodate the fridge’s power cord.
Dealing with the Drawer
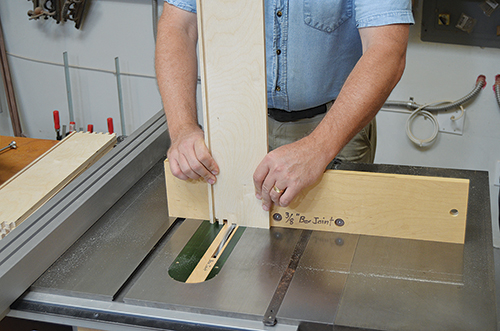
Adding a drawer below the countertop was a pretty obvious choice. The box is made from 1/2″ Baltic birch, and it’s joined at the corners with box joints. The drawer assembly captures the bottom. This is another area I always dry fit…glue-up is final. When the glue cures, attach the box to the drawer slides.
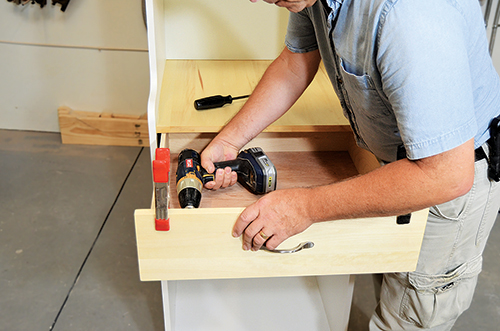
I used a piece of the aspen panel to make the drawer face. Mount the drawer face to the drawer box, centering it on the cabinet. Attach the drawer handle to the drawer face with long screws driven through the drawer front.
Finishing the Bare Wood
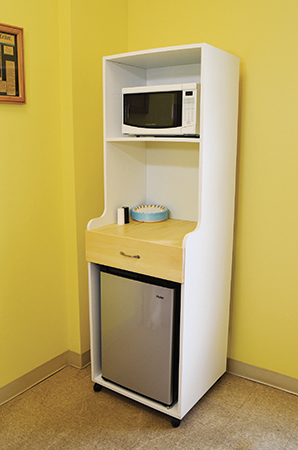
The cabinet liner requires no finish, but the wood counter and drawer front will need protecting as there will be food involved. I applied wipe-on poly, which is fast and easy to do: the area being covered is small enough that this can be done by hand in just a few minutes.
That’s it. Now you are ready for some microwave magic and a cold beverage!
Hard to Find Hardware
3/4 Extension Drawer Slides – Centerline® 766 #46864
Heavy Duty Twin Wheel Casters #40262
Plastic Preglued Edge Banding, Melamine #45982
Satin Nickel Conquest Pull #26114


