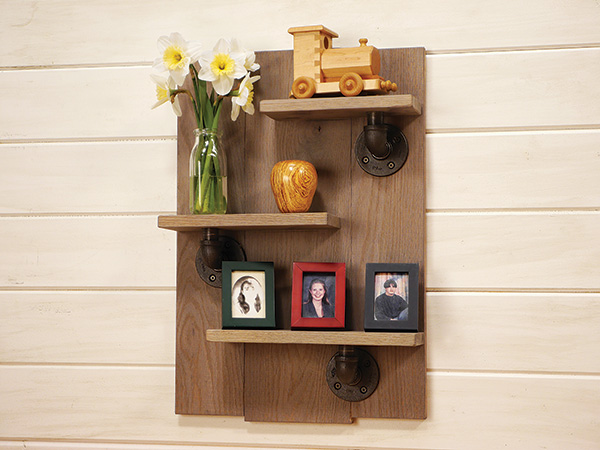
Something that has become popular of late is a weathered wood look. With gray being the new white (just ask Joanna and Chip), distressed gray-colored wood is a great fit for a lot of homes. But working with actual weathered wood has its challenges. First of all, you have to find it. And, once you do, it is often twisted and checked, and its structural integrity can be questionable (rotten!). If you surface a piece of weathered wood, the weathering goes into the dust collector. What is a woodworker to do?
Gathering Supplies, Getting Started
I chose red oak for the shelf because I had some in the shop and it did indeed have a sufficient tannin content for the weathering solution. I also took a quick trip to my local big box store and worked out the black pipe pieces I would need for my self supports and some black screws to match the pipe’s finish. I settled on “big and chunky” for my sizes.
With all the components in hand, I sketched out the shelf and worked out the spacing so that the bottom shelf was wide enough to hold the three pictures of my kids. The ascending two shelves get shorter at each level. The back of the shelf is made of three boards: a wide center board and two narrower boards on each side of it. The center board is also longer than the other boards, and they are arranged to add to the offset, rustic feel I was going for. If you don’t have a wide enough center board, just edge-glue one from narrower stock.
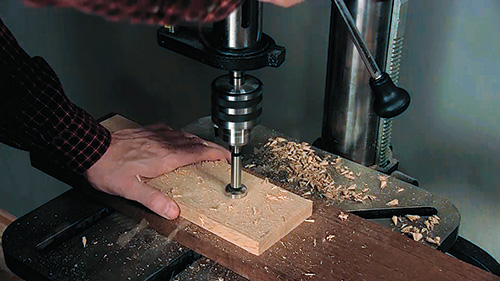
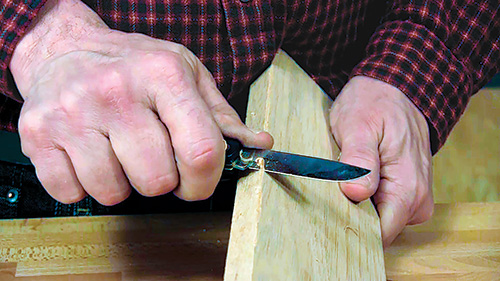
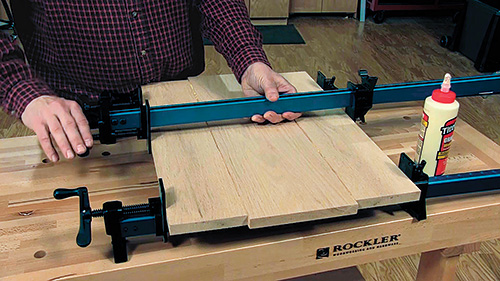
Before I glued the back boards together, I broke out my pocket knife and whittled the edges of all three boards to reinforce the sense of the project. Looking back, I think I could have been even more aggressive in shaping the edges and ends of the boards. I glued and clamped the back together and moved on to the shelves to break their edges, too. After that, I bored a 1″ stopped hole in their bottom faces to accept the end of the black pipe support. The last bit of machining was routing a couple of short keyhole slots to hang the shelf — made with a keyhole bit. Then, I was on to finishing.
Brushing on Years of Age in Minutes
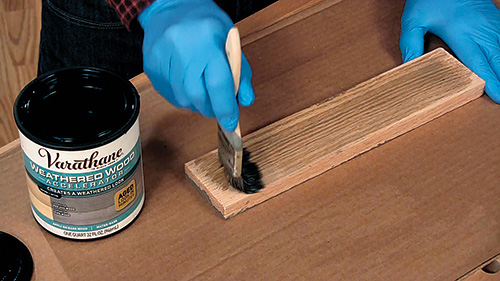
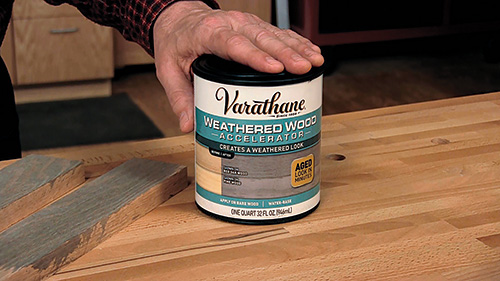
I used a Varathane® product called Weathered Wood Accelerator. It reacts with the tannins in the wood to create a gray color. As the tannins vary, so does the graying, so it looks very natural. I used paste wax as the final finish, which allows for easier dusting but doesn’t look overly shiny.
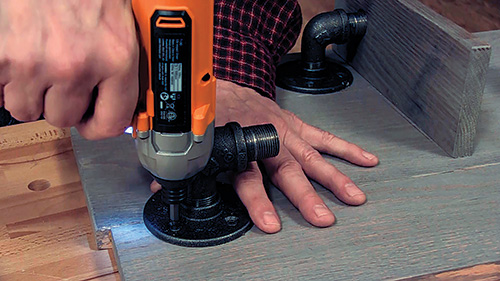
With that done, I mounted the pipe “supports” and then, with the shelves level on the supports, I drove one screw through the back board and into each shelf from behind. Since oak is really hard, be sure to pre-drill pilot holes for the screws to keep from splitting the wood or breaking the screws. This is a heavy project, so anchor one of the keyhole screws in a wall stud, for safety.
Now the photos I love (and that make my kids groan when they see them) have an honored place, and I’ve learned a bit about a quick, easy way to weather wood.


