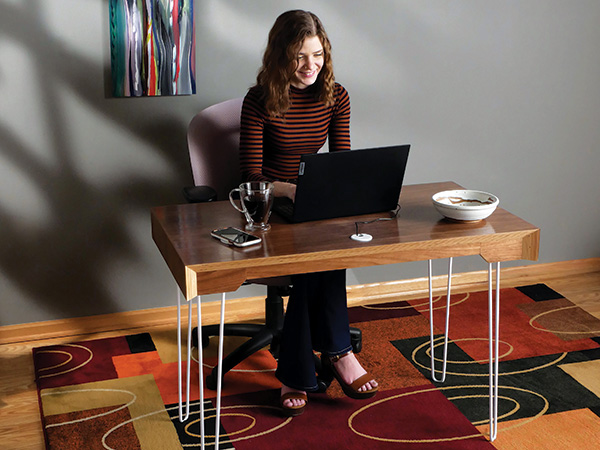
Unlike those massive, multi-drawered desks from days gone by, I’ve designed this project to meet the “streamlined” appeal of today. My desk offers enough space to place your laptop or monitor, some extra room for a coffee cup and the day’s work and even concealed provisions to charge your phone and computer. Stylish metal hairpin legs take the place of big banks of drawers, and adhesive-backed walnut veneer adds a custom woodworking touch — the grain pattern flows over and down from the top to the desk’s short wings on either end.
Building the Desk’s Top Substrate
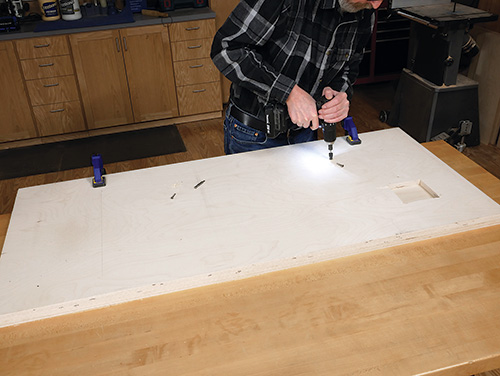
This desktop is a built-up lamination of two sheets of 3/4″ (11/16″ actual) Baltic birch plywood. Rip and crosscut a pair of 24″ x 52″ panels, then pause to consider whether you’d like to add the wireless charger to your desk, as I did. If you do, you’ll need to cut a 4-1/4″ x 4-1/4″ recess hole in the desktop’s lower lamination before proceeding further. I positioned this opening 7-1⁄4″ in from the panel’s end and 7-1⁄4″ in from its back edge.
Once the recess hole is completed, set the two panels into a stack with their edges and ends flush and the bottom panel on top. We’re going to glue them together shortly, but glue will act as a lubricant before it gets sticky, so do yourself a favor and drill a couple of countersunk pilot holes through both panels. Their exact location isn’t critical, but spread them far enough apart so two screws will hold the laminations in alignment once the glue is spread and clamps are applied.
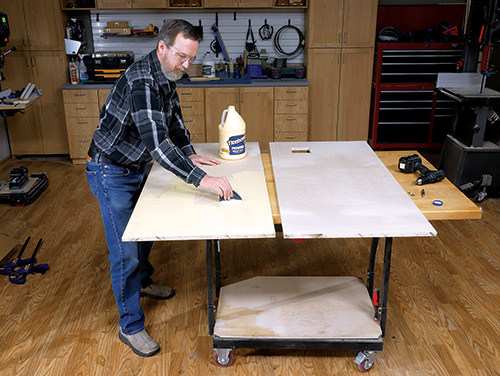
Ordinary yellow wood glue is what I used to bond the laminations together. Spread a thin layer over the inside face of the top lamination, set the bottom lamination into place and then drive in those first two registration screws.
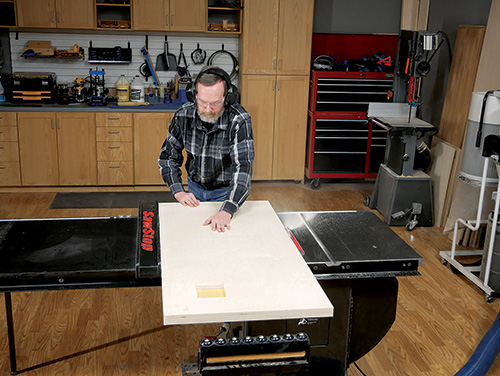
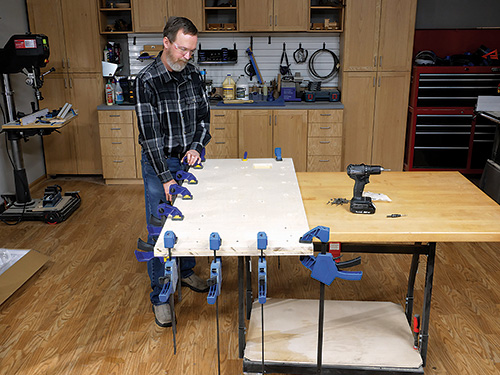
Follow that up with more screws, locating the screws about 12″ apart to help pull the panels tight. I installed plenty of clamps around the edges of the desktop panel as well to ensure a tight glue seam here.
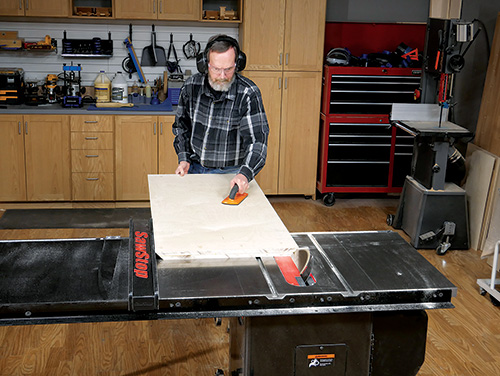
When the glue has cured — leaving it to dry overnight is ideal — take your panel to the table saw and trim the long edges flush, bringing the panel to its 23-1/2″ final width. Then tilt the blade to 45 degrees and carefully bevel-rip these long edges so they tilt inward toward the panel’s bottom face.
Steps for Optional Charger and Grommet
Outfitting this project with an optional ZENS PuK wireless phone charger and cord grommet should happen at various points during the construction process — at the beginning, about midway through and then near the end of the construction procedure. Here’s some additional help.
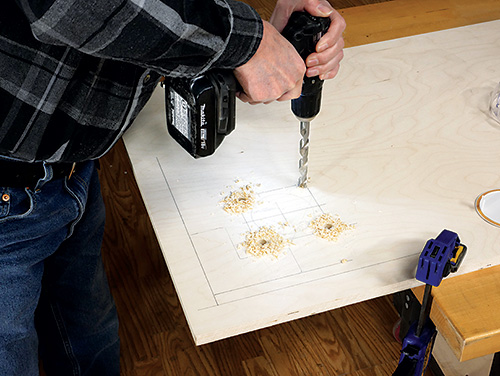
Prior to assembling the desk’s top laminations, lay out a 4-1⁄4″ x 4-1⁄4″ recess for the phone charger on the bottom plywood lamination. Drill a clearance hole at each corner of this layout.
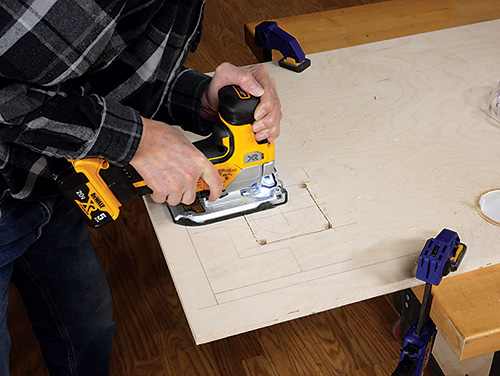
Cut out the recess hole with a jigsaw.
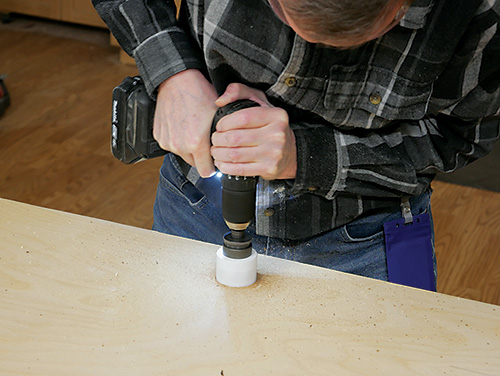
After gluing the desk’s top laminations together, locate the wiring grommet and bore a 2″-dia. hole through the assembly.
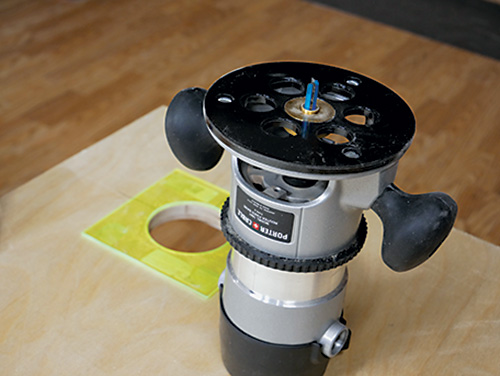
The author used a shop-made template to rout the 81 mm round mounting hole for the ZENS charger over the recess hole.
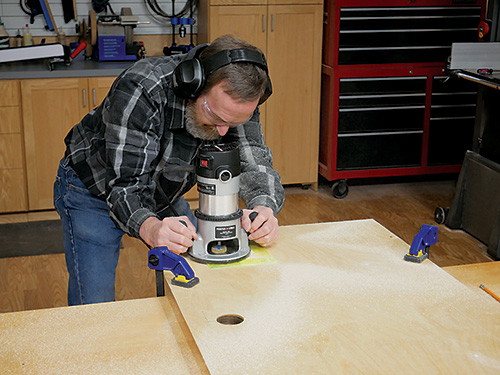
Opening up access holes in the desk’s top veneer happens near the end of the build.
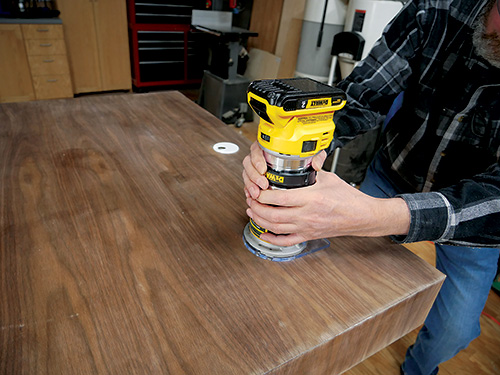
Use a flush-trim bit in a router for this task.
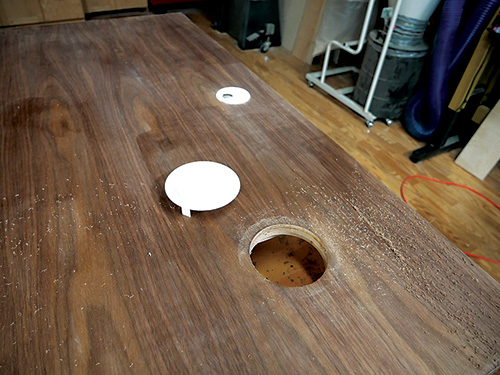
Feed the router counterclockwise around the precut plywood holes you made earlier.
Making and Installing the Wings
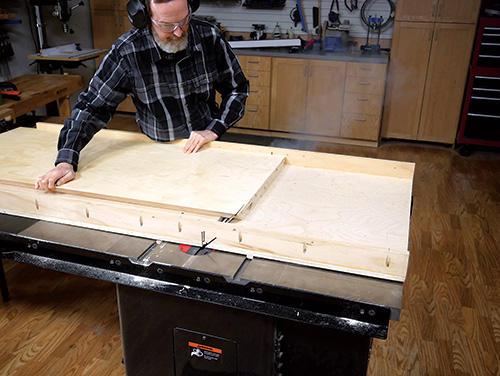
The best way to tackle this next cutting step is by using a large crosscut sled on the table saw to support the desktop panel. But a carefully aligned track saw will work, too. We’ll cut both wing pieces off of the opposite end of the panel from the charger opening. With your saw blade tilted to 45 degrees, trim the end of the panel to this angle. Swivel the blade back to 90 degrees and make a crosscut, 4″ in from the beveled end, to create the desk’s first wing blank. Repeat this process to make the second wing. Spin the panel end for end, and bevel the end closest to the charger. Then spin it around again, and bevel-cut the panel to final length.
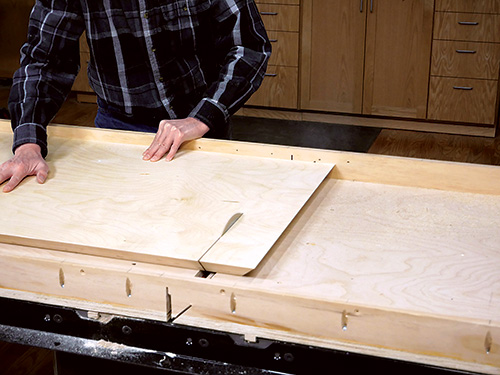
Later on, when it comes time to glue the wings onto the desktop, you’ll thank yourself if you’ve created a means of accurately aligning these bevel joints. Otherwise, they’ll be much more difficult to clamp together perfectly.
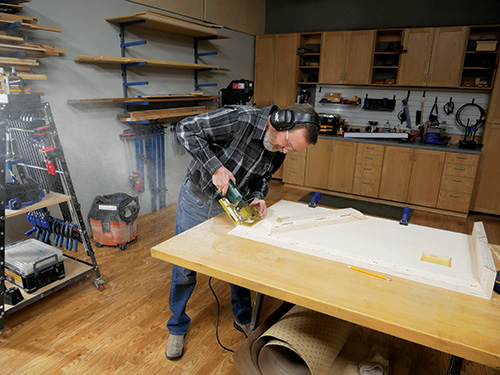
So to prepare for that glue-up step far in advance, I laid out and cut three #20 biscuit slots in the wings and top blank. Once the slots are cut, dry fit the wings and top panel together to make sure the joints close tightly. With that work done, it’s time to cut an access hole through the top lamination for the wireless charger. And if you’d like to add a grommet to your desktop to use as a pass-through for other electrical cords, that hole should be bored now, too.
Thin veneer will telegraph even tiny blemishes and torn fibers in the plywood substrate, so take some time to fill any voids in the top surfaces of the desktop panel and wings with wood putty. Sand the parts up to 220-grit. I applied a coat of dewaxed shellac to further prepare these surfaces for the peel-and-stick veneer that comes next.
Applying Veneer
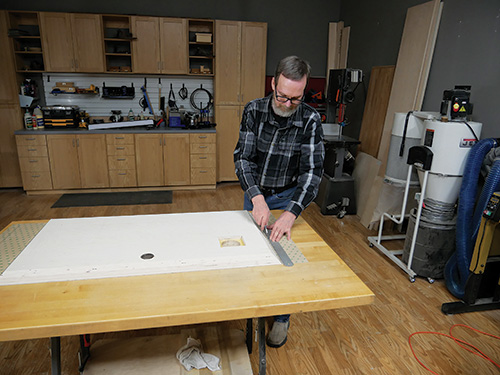
Rockler’s pressure-sensitive veneer is very user-friendly and eliminates the need for a vacuum press. Its peel-off backing makes veneering about as easy as applying a giant bumper sticker.
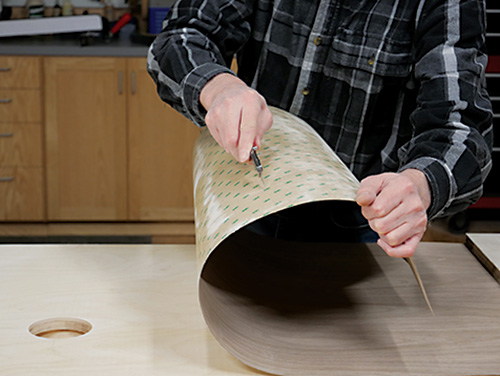
I started by examining my 96″-long piece of veneer for the best area of figure, then cutting a 56″-long section to length with a utility knife. Set the veneer and desktop so they’re upside down on your work surface, and position the top panel on the veneer, adjusting it evenly to allow sufficient veneer for the wings on either end. Keep in mind that to create a waterfall grain effect, where the grain pattern flows around the ends of the desk, you want the wing veneer to be made of pieces immediately adjacent to the piece you use for the desktop veneer.
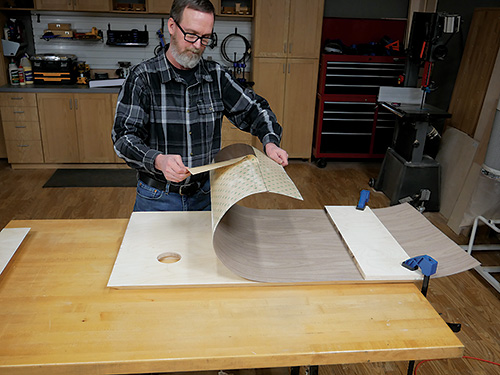
Using a straightedge and sharp utility knife, lightly score through the veneer’s backing paper about 1/4″ beyond the beveled ends of the top panel. On one end, make a second scoring cut through the backing paper 8″ further in from the wing-scoring cut you just made. Then flip the desktop and veneer right-side up, carefully realign the veneer over the top panel again so the wing areas of the veneer overhang properly and clamp it in place.
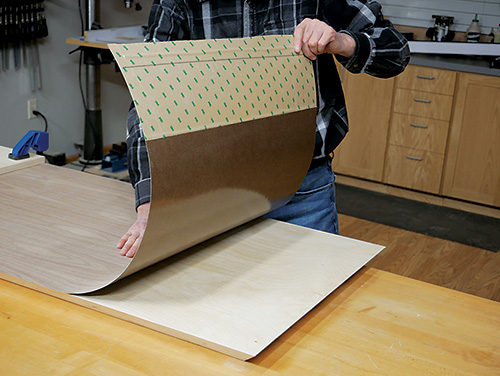
Peel off the 8″ section of backing paper, press it down to the substrate and clamp the veneer and panel together using a plywood caul. Now carefully roll back the veneer and peel off the large middle section of backing paper but leave the paper in place over the other wing area of the veneer.
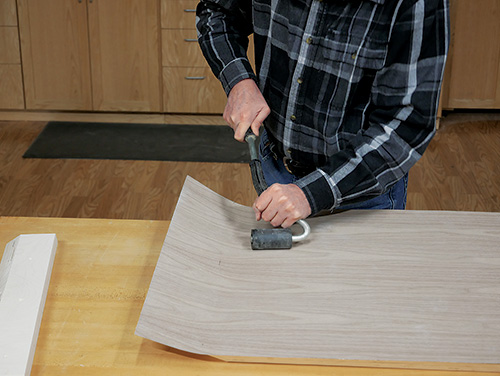
Ease the veneer sheet down onto the substrate and roll it with a J-roller to bond the adhesive. Work outward from the middle, pressing the entire surface. Be careful not to roll over the unsupported “wing” areas of the veneer.
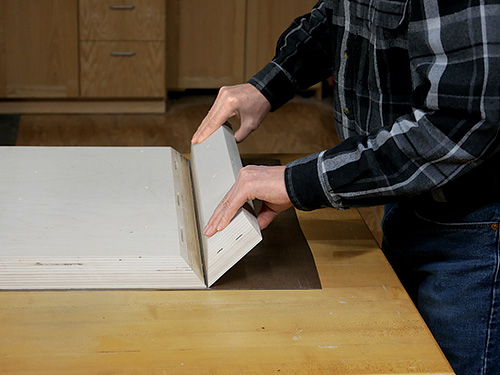
Next, invert the desktop again. Peel off the backing paper in the wing areas, and set each plywood wing down into place on the veneer. Aim for the sharp, beveled edges of the parts to just about touch.
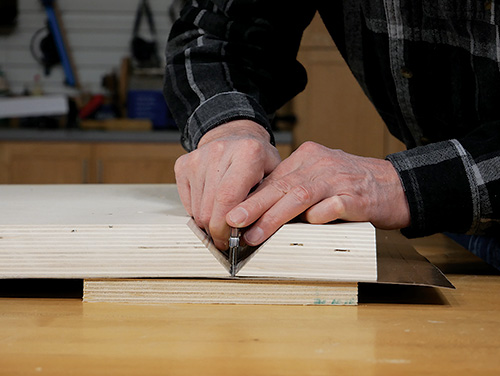
Then carefully score along these joint lines with a sharp utility knife to separate the veneered wings from the desktop panel.
Adding Aprons and Glue Blocks
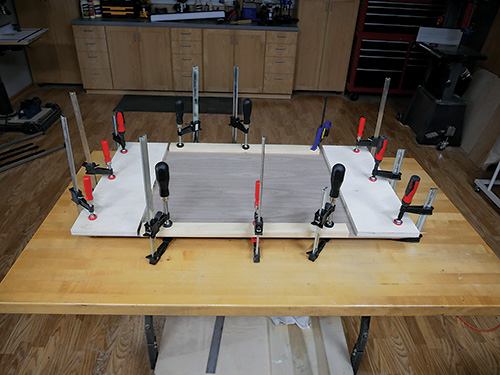
Check out the Drawings to see that there are four short corner aprons and one long back apron yet to make, so lay out and cut these parts to size from more Baltic birch. Apply veneer to one face of each of these five aprons, and trim off any overhanging veneer as needed.
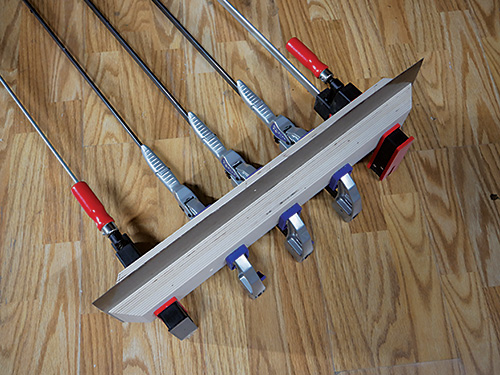
When that was done, I brushed a coat of dewaxed shellac onto the veneered faces of all the desk parts at this point to help protect them from glue squeeze-out in the next assembly steps.
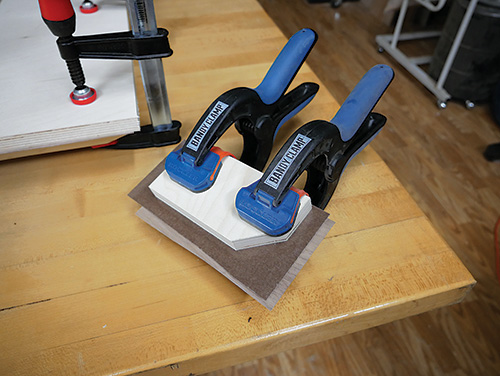
Speaking of gluing, here’s where those biscuits will come in handy: go ahead and glue and clamp the wings to the desktop with biscuits installed in the joints. When the glue dries, glue the short aprons into place so their veneered faces are flush with the inside bottom corners of the bevel joints of the wings and top. Glue the back apron between the short side aprons.
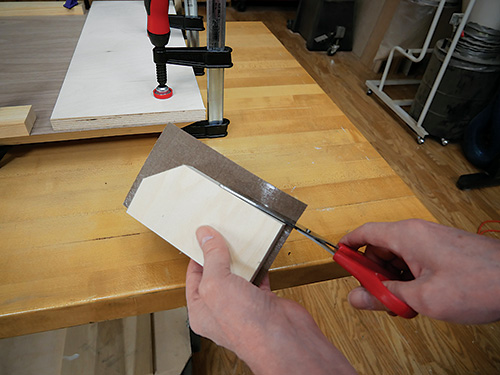
To strengthen each of these butt joints, I made some short glue blocks and installed them where the short aprons meet the wings and along the inside back edge of the long apron where it intersects the desktop.
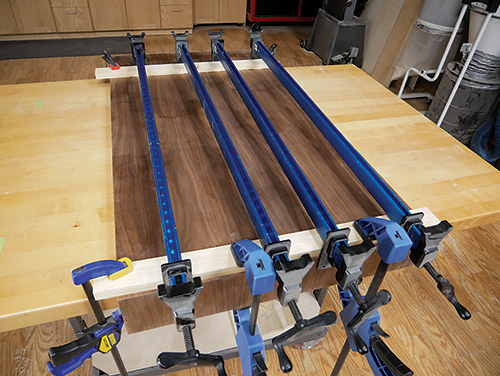
If you decide to use the same hairpin legs as I did for your desk, leave enough space under the glue blocks at the inside corners so the legs’ mounting brackets can fit underneath them. Now take some time to ease the sharp edges and corners of the desk with a sanding block.
Installing Hairpin Legs and Wiring Hardware
To prepare for final hardware installation, chuck a piloted flush-trim bit in your handheld router so you can trim through the top veneer to open up the grommet and charger holes. Apply a few more coats of finish — whether that’s more shellac or the topcoat of your choice — to all the “show” surfaces of the desk.
When the finish dries, flip the desk upside down so you can install the hairpin legs. That’s easily done: just press their mounting plates into the corners, flush behind the aprons, and drive the supplied screws through their four installation holes.
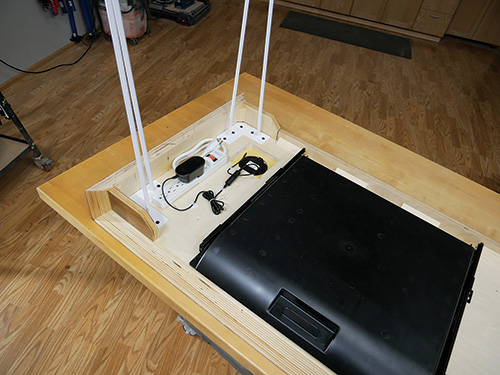
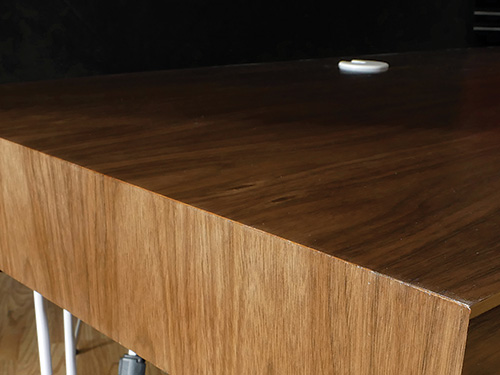
Snap the plastic grommet pieces into their mounting hole in the desktop, and install the wireless charger in its spot, following the instructions that come with it.
Even a minimalist desk like this can benefit from at least one drawer, so I added Rockler’s plastic organizer drawer to mine. And for more convenience for your electrical needs, consider mounting a power strip beside the drawer underneath your desk. I’ll be using that to power my laptop charger, phone charger and a desk lamp. Tidy up these cords with small zip ties to hide the fact that they’re even there.
Click Here to Download the Drawings and Materials List
Hard-to-Find Hardware:
28″ I-Semble Hairpin Table Legs, 4-Pack, White (1) #87379
ZENS PuK 3 Qi Undermount Totally Concealed Wireless Fast Charger (1) #66909
White Cover Plate for ZENS PuK 3 (1) #61587
2″ Standard Plastic Grommet, White #57269
Perfect Fit Dado Jig (1) #59385
Organizer Drawer (1) #68264
24″ x 96″ Pressure Sensitive Veneer – Walnut (Plain Sliced) (1) #14266.


