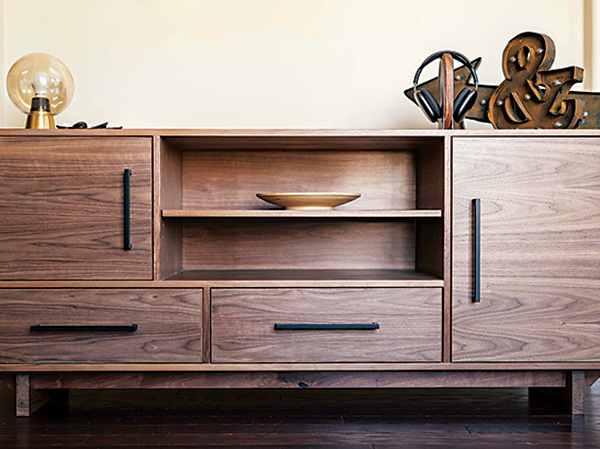
Even though we’re now more than two decades into the new millennium, there’s just something about the clean lines and simple styling of Mid-century Modern furniture that appeals to me. While this walnut storage cabinet is my own design, if you were to flip through the pages of a furniture catalog from the 1950s, I think you’d agree that the look of those old stereo consoles and sideboards is not too far off from this project. And yet, my interpretation here still blends in nicely with today’s design trends. You’ll see that it’s not difficult to build, either. Whether you use this project to store an audio or gaming system and set a big flat-screen television on top of it, or park it in your dining room for tucking away fine china and other tableware that you don’t use every day, its two spacious cabinets and matching drawers offer ample storage wherever you need it most.

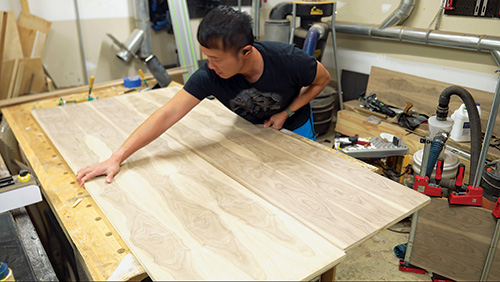
With the exception of the cabinet’s base components and 1/8″ solid-wood edge banding, this project is made entirely of walnut veneer plywood — 3/4″ for the cabinet carcass, doors and drawer faces, 1/2″ for the drawer boxes and 1/4″ for the carcass back panel and drawer bottoms. So you won’t have to scour your hardwood lumber supplier for lots of heartwood walnut boards to build this cabinet. Premium walnut can be hard to find and expensive. But do choose your plywood with really attractive face veneer, because you’re going to see that figure and grain every time you look at this substantial piece.
Constructing the Carcass
I mentioned that I glued 1/8″ strips of solid walnut as edge banding to every edge of this project where the plywood edge plys would show. No one wants to see those! But you might decide to use self-adhesive or iron-on walnut edge tape instead, which has almost no thickness to it. So take note: in the Material Lists, if you’re planning to use edge tape, just cut the parts to the dimensions listed. But if you would rather apply 1/8″ solid-wood banding instead, which is a more durable option, adjust the part sizes when cutting your sheets to reflect the fact that you will be adding the banding to it — the Material List dimensions assume that whatever banding you’re using is already applied to those parts.
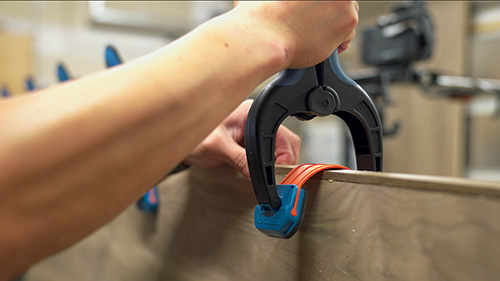
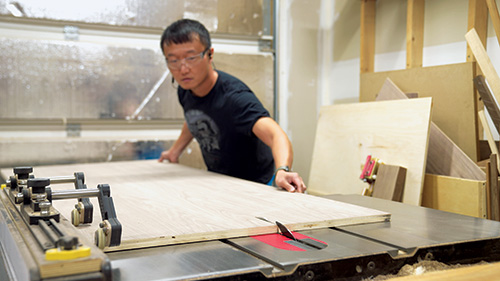
Let’s get this build underway by breaking down your 3/4″ plywood into a top, bottom and two side panels. Be sure to use a sharp blade in your table saw, circular saw or track saw. You want to slice the walnut veneer as cleanly as possible to minimize splintering where these edges will show. Once those panels were cut to size, I ripped strips of solid walnut for edge banding and applied it to one long edge of each of these four carcass parts with glue and spring clamps. When the glue dried, I trimmed the edging flush with a block plane.
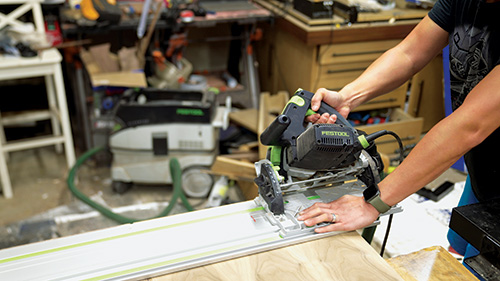
The corners of the carcass now need to be bevel-cut to 45 degrees. To do this, I clamped the top and bottom panels together so their ends aligned, tilted my track saw to 45 degrees and cut the bevels across both panels in one pass with the saw on the track. Gang-cutting them ensures that their final lengths match. Then I clamped the side panels together the same way and bevel-cut their ends in two long passes.
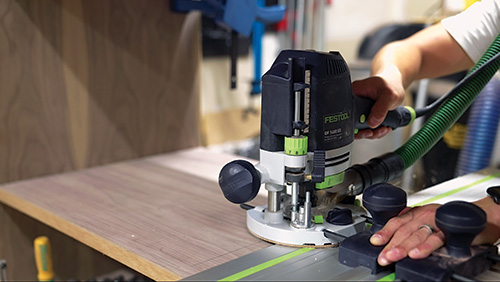
We need to tackle some stopped dadoes in the carcass panels next before we can assemble them. Study the Drawings on the next page to see where these 3/4″-wide, 1/4″-deep dadoes need to be located. I clamped my top and bottom panels together again, back edge to back edge, so I could plow a matching dado across both panels in one pass for the large vertical partition. Set up this operation with a straightedge to guide your router so the dadoes will be arrow-straight. Stop the dadoes 3/4″ from the front (banded) edges of the parts. The stopped dadoes for the two smaller vertical partitions are offset between the top and bottom panels, so unclamp them and rout these dadoes separately. The left side panel also requires a stopped dado, located 8″ up from the inside corner of its bottom bevel, which will house the horizontal shelf panel. Rout it now.
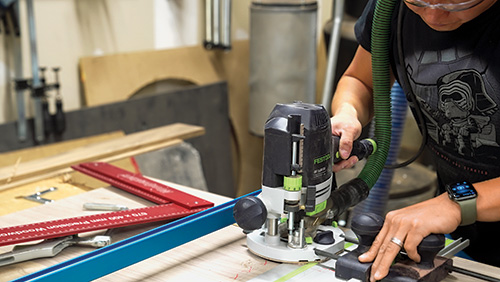
That takes care of the carcass dadoes, but we still need to mill a 1/4″ x 1/4″ rabbet around the inside back edges of the top, bottom and side panels for the back panel. I made these cuts with a straight bit in my router and an edge guide installed on the base, but you could use a rabbeting bit instead or a dado blade in the table saw.
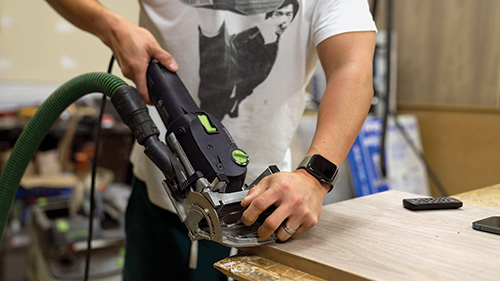
The carcass bevel joints need some form of reinforcement to keep them aligned during glue-up and to provide some added strength. For that, I pulled out my Festool Domino and cut slots along each beveled edge for several Domino loose tenons. However, a biscuit jointer and #20 biscuits would also do the trick here.
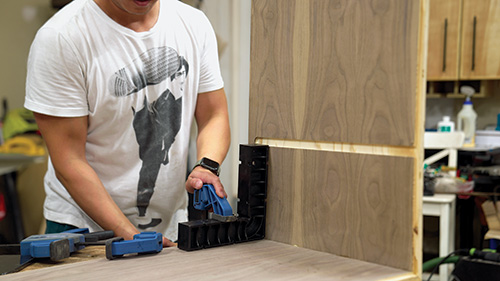
Once the loose tenon or biscuit slots are cut, go ahead and glue up the carcass. Be careful not to rack the assembly out of square when you tighten the clamps. Check it for square before the glue sets by measuring the diagonals — their lengths should match.
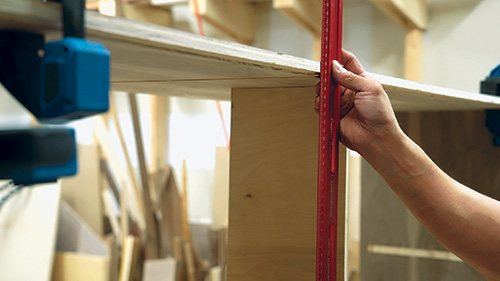
While those joints dry, measure the actual distance between the bottoms of the dadoes in the top and bottom panels so you can cut a panel for the vertical partition accurately to length. I slipped a temporary brace into place between the top and bottom panels to spread them apart and keep the panels flat before taking this measurement.
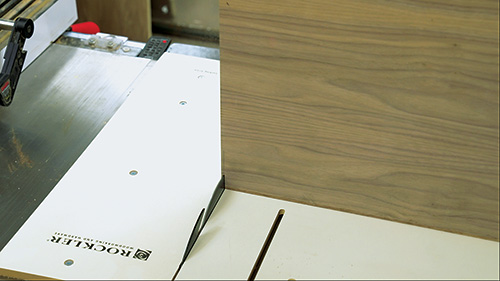
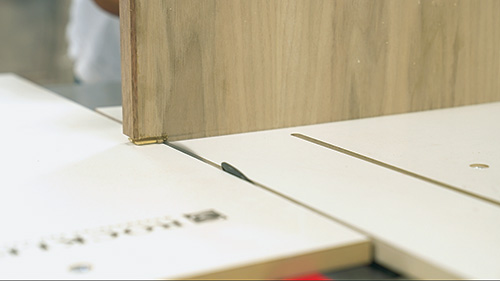
Cut the vertical partition to length and band its front edge to hide the plys. Then nibble away a 1/4″ x 1-1/8″ notch along its front top and bottom corners so the panel can fit around the front ends of the stopped dadoes in the carcass.
Slide the vertical partition into its dadoes so you can locate and mark a stopped dado on its left face that will house the right end of the horizontal shelf. Rout that stopped dado, then cut and edge-band the horizontal shelf. Notch its front corners, just as you did for the vertical partition. Slip it into place in the carcass.
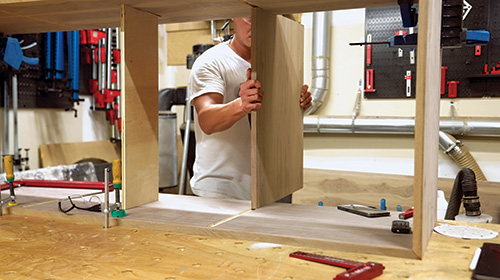
Now you can mark the horizontal shelf for a pair of offset dadoes in its top and bottom faces for the upper and lower vertical partitions. The Horizontal Shelf Drawing will help you locate those stopped dadoes. Plow them, then make up edge-banded panels for the upper and lower vertical partitions.
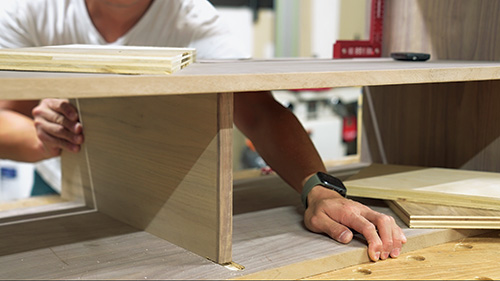
Dry-fit the three partitions and horizontal shelf in the carcass to be sure the joints fit correctly and the shelf remains flat. If all is well, sand the inside and outside of the carcass and all of its internal components to 180-grit, and glue the shelf and partitions into place.
Once that’s done, cut and finish-sand a back panel from 1/4″ plywood and attach it to the back of the carcass with 3/4″-long, 18-gauge brad nails or crown staples.
Hanging Doors on Soft-close Hinges
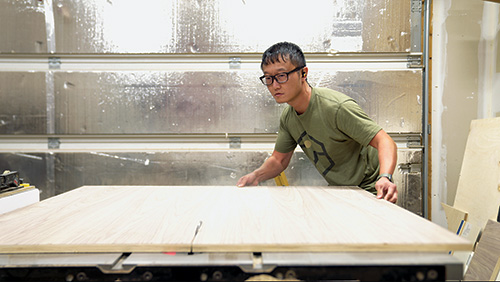
The two cabinet doors are just a pair of plywood panels cut to size with all four of their edges banded. When you calculate their size, be sure to take into account the amount of gap you want them to have around the inside of their openings in the cabinet. I factored in 1/8″ for these gaps. Build the doors.
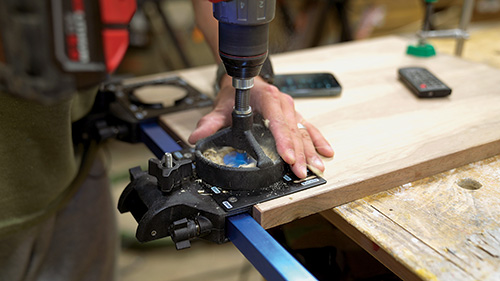
Concealed hinges are appropriate for this project’s styling, so I chose Blum Soft-Close 110 Frameless Cabinet Hinges. Set the doors into place in the cabinet so you can mark the door backs and the cabinet sides for hinges. Rockler’s JIG IT Deluxe Concealed Hinge Drilling System made it easy for me to locate and bore pairs of hinge cup holes on the backs of the doors with a 35 mm Forstner bit in a handheld drill. But if you’d rather not invest in this system, you can also install Euro hinges like these with a drill press instead.
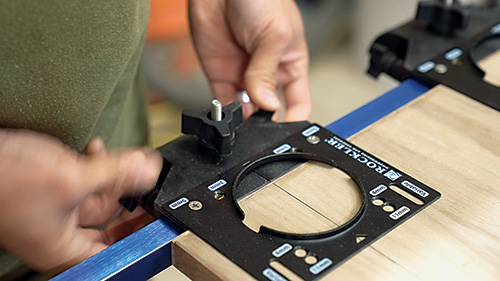
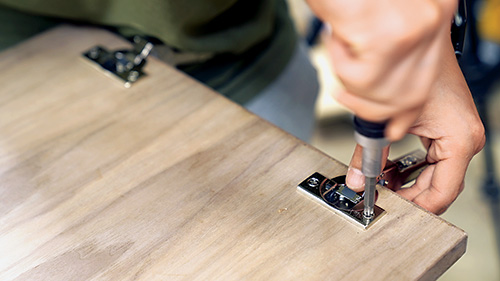
Mount the cup side hinge components to the doors with screws, then attach the hinges’ mounting plates to the cabinet sides with more screws. Clip the hinge components together to hang the doors so you can check their operation. Adjust the hinges as needed to achieve an even gap all around.
I wrapped up work on my doors by marking and installing a long black metal door pull on each one. I located these pulls 3″ in from their inside edges.
Building Inset Plywood Drawers
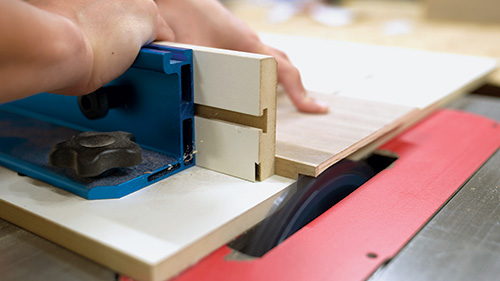
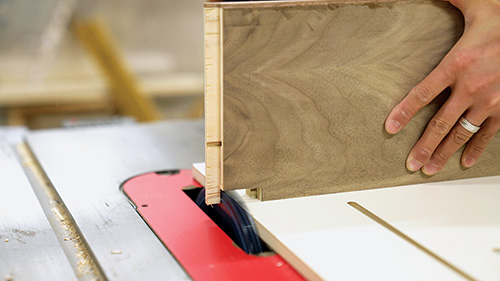
Look at the Drawer Drawings and you’ll see that their construction is about as easy as it gets. The drawer sides receive 1/4″ deep, 1/2″-wide rabbets on their ends to fit over the ends of the fronts and backs; 1/4″ x 1/4″ grooves house the bottom panels. Follow the Material List to cut the fronts, backs and sides to size for both drawers, and band their top edges to hide the plys. Then use a dado blade in your table saw to cut the rabbets and drawer bottom grooves. Dry-fit the drawer boxes together so you can measure for drawer bottoms, and cut those panels to size. Then give all the parts a final sanding with 180-grit sandpaper.
I sized my drawers for Blum soft-close, full-extension drawer slides that mount underneath the drawer boxes rather than to their sides. This way, the slide hardware is nearly invisible when the drawers are opened — it’s hidden behind the drawer faces. Space here doesn’t allow for me to fully explain how to install the slide hardware; the instructions that come with the slides will guide you more thoroughly. But I’ll suffice to say that the outside bottom corners of the drawer backs must be notched and drilled to accommodate the slide hardware, which clips to them.
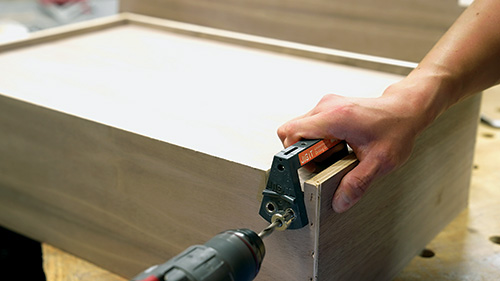
A second component of the slides fastens beneath the drawer bottoms, right behind the drawer fronts. Rockler’s JIG IT Undermount Drilling Guide is very helpful for locating the holes you’ll need to drill for the hardware and attachment screws to make this process easier!
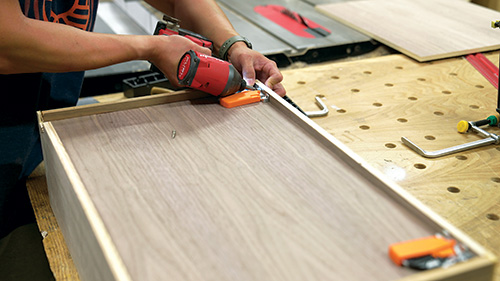
With the drawer backs now notched, assemble the drawer boxes with glue and clamps; be extremely careful that they’re square; any racking out of square will impact how well they function on the slides and fit in their openings. Go ahead and install the slide hardware on the drawers and inside the cabinet so you can hang the drawers and check their action.
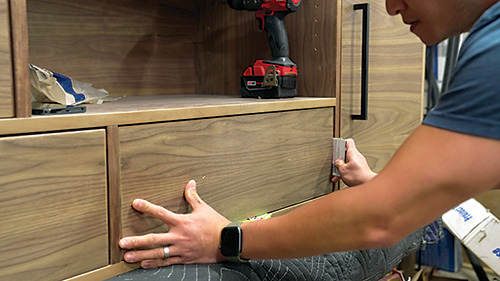
When mine were dialed in, I cut a couple of drawer faces from 3/4″ plywood. I sized them carefully to allow for 1/8″ walnut banding all around and to account for 1/8″ gaps in the cabinet openings. Make up the drawer faces and install them on the drawer boxes with countersunk screws driven in from inside the drawers. Then mark and install your drawer pulls.
Building a Solid Walnut Base
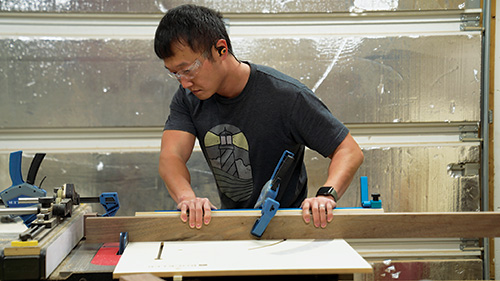
The simplicity and aesthetics of this cabinet’s recessed base, which I saw first on the Internet, complements this project’s design perfectly. It consists of a pair of rectangular feet that connect to two long stretchers with cross-lap joints. To build it, start by milling some 8/4 walnut down to 11⁄4″ thick for all four parts, and cut the stretcher and foot workpieces to size, according to the Material List dimensions shown above.
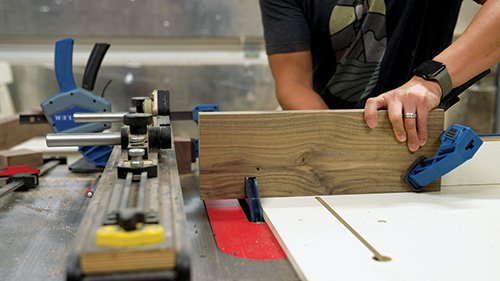
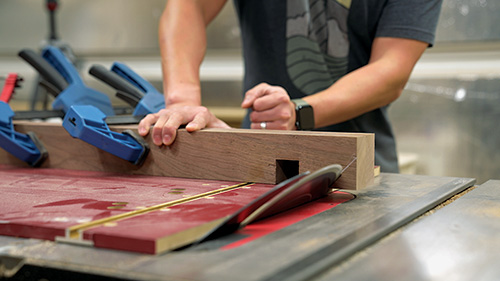
Now stack a wide dado blade in your table saw and raise it to 1-1/4″ so you can cut a pair of notches in each foot and corresponding notches in the stretchers to create these interlocking joints. Test-fit the joints before removing the dado blade to make sure the cross laps engage correctly. If they do, switch to a standard blade and tilt it to 45 degrees so you can trim off the bottom corners of the stretchers. It will lighten the look of the base. Sand the feet and stretchers through the grits up to 180, then glue and clamp the cross-lap joints together.
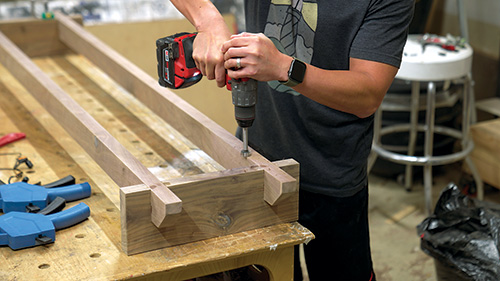
Steel figure eight fasteners are a handy means of attaching the base to the cabinet. I drilled four shallow “mortises” for these fasteners along the inside edges of each stretcher, and screwed the hardware into them. Then, invert the cabinet and base, center the base on the cabinet bottom and drive more screws through the fasteners to connect the two components.
While it isn’t shown in the drawings, I added a shelf to the cabinet’s open compartment. It hangs on adjustable shelf pins.
Complete your walnut storage cabinet with the finish of your choice. I removed the slides and hinges first before top-coating my project with varnish using an HVLP sprayer.
Hard-to-Find Hardware:
Blum TANDEM Plus BLUMOTION Soft Close Drawer Slide Kit — Full Extension (1) #46974
Rockler JIG IT Undermount Drilling Guide (1) #64695
Blum Soft-Close 110 BLUMOTION Clip Top Inset Hinges for Frameless Cabinets (2) #34807
JIG IT Deluxe Concealed Hinge Drilling System (1) #53420


