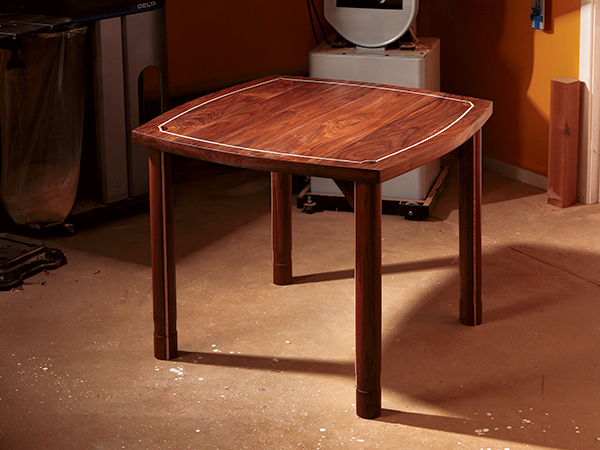
Of late, portable game tables that you can find at a retail store are predominantly plastic and metal versions with folding legs. They are lightweight, which also means that if you bump them while you are playing a game, they jump and slide around. Drinks and other stuff tip and spill, you can’t put your elbows on the table safely; they are real lightweights in every sense of the word. They are also, well, let’s say it — ugly.
But it was not always that way. Recently, my good friend Mary picked up a vintage bridge table at an estate sale. It had folding legs and a solid top … all made of curly maple (it was not a lightweight at all, but it was portable). Which got us to thinking about what we at the Journal could do to update the game table concept: a portable, storable table of the right height and size, that’s easy to set up — but is not so hard on the eyes. So publisher Larry Stoiaken, art director Jeff Jacobson and yours truly put on our thinking caps and got busy.
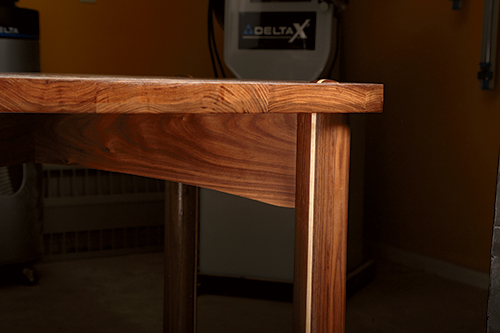
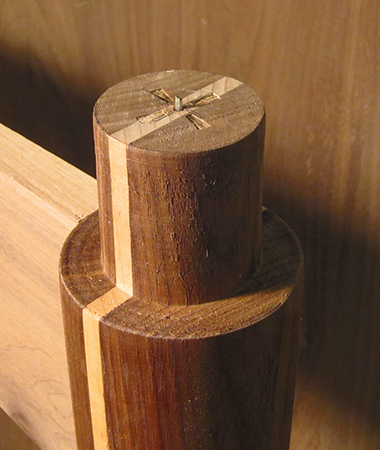
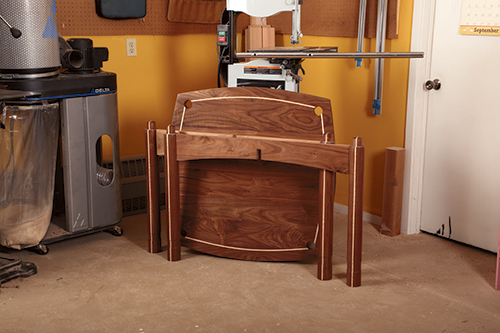
The challenges before us included that, while the table had to be easy to store, it also had to be sturdy enough that regular game playing wouldn’t cause it to wiggle and wobble. The solution? A pull-apart X-stretcher and leg design. The top, which is thick to add mass (to help fight wobble and bounce), sits on top of the legset and is secured by tenons that go through the top and are exposed for decorative reasons. To fight “the ugly,” we made the table out of walnut and added maple accents. The top has gently curving edges that harmonize with the curved stretchers, inlay and the turned legs — it’s a nice look for a modern game table.
Preparation is the Key
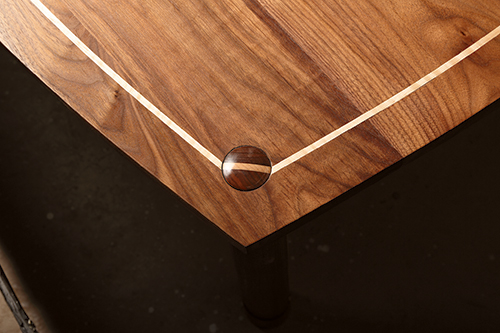
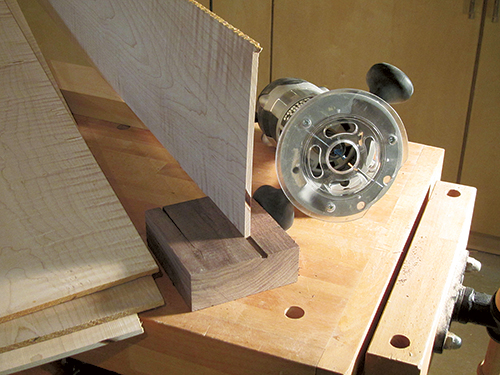
While this table only has a few parts to make, there is a surprising amount of preparation that is needed to avoid annoying challenges later on. Start out by getting all your lumber into your shop and letting it adjust to your shop’s climate. The top of this table will not have any support to keep it from warping (like attached aprons, for example), so letting it stabilize is important. Also, this table has 1/4″ maple inlay strips set into the top and matching maple sections in the legs. Before I started, I selected a 1/4″ router bit I would use to plow the inlay grooves, and I cut a groove into a piece of scrap lumber. I used that groove as a gauge to be sure my leg laminations were the same dimension as the inlay. That’s important, because the tenons on the legs pierce the tabletop, standing proud just a bit. The maple inlay will meet the leg laminations, and they should be the same size.
The next point to make is that the diameter of the tenons on the ends of the legs should match a drill bit that you have in your shop. So either find a bit in the 2″ diameter range in your collection, or get one before you start turning the legs — so you can match the tenon to an actual hole. Once again, I made a gauge of sorts by boring a hole with my bit into some scrap lumber, then I bisected the hole by cutting the scrap with a miter saw. That became my test piece as I was raising the tenons on the ends of the legs.
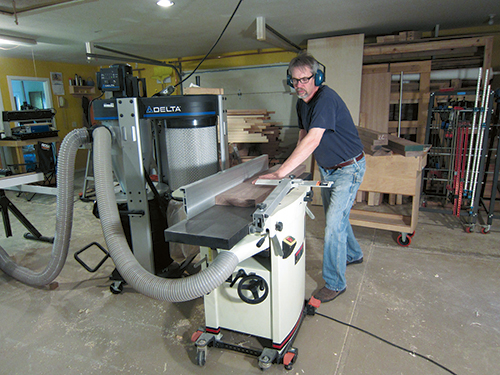
With those steps behind me, it was time to start preparing the lumber. I wanted to glue up an oversized blank for the tabletop and let it sit for a while, so that’s where I started. Using 1-3/4″ walnut lumber, I started harvesting the parts by selecting the most attractive sections of the lumber and cutting them roughly to length and width from the larger boards. I face-jointed the pieces to make certain that they were perfectly flat and then ran the whole lot through the planer to ensure that they were of uniform thickness as well. From there it was back to the jointer to edge-joint perfectly square edges onto each piece before hauling the pieces over to the table saw and ripping the non-jointed edges exactly parallel to the jointed edges. One more trip back to the jointer to prepare the ripped edge for glue-up, and I was ready to compose the top.
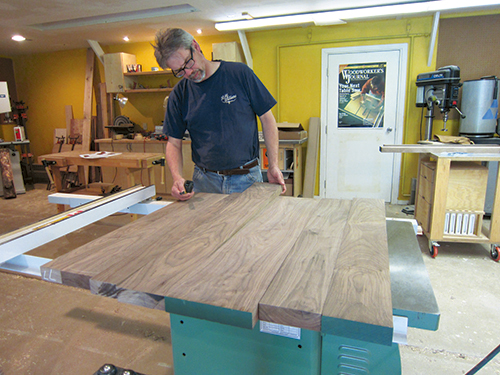
What I mean by “composing” the top is that, by aligning the various pieces of prepared lumber next to each other in different combinations, the look that the figure of the wood grain will present changes dramatically. While there is no hard-and-fast, right or wrong, way to put the top together, by taking time to try out various arrangements of the boards, I was able to greatly improve the look of the top. This is one of the subtle but important ways that a home shop woodworker can improve the look of any project.
When I was satisfied, I marked the top with a triangle and glued it together. Then I set the top aside until later.
Making the Laminated Legs
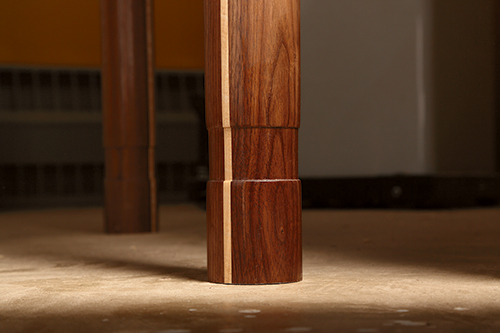
Each leg is built up of three laminations, two pieces of walnut and one of maple, as you can see in the Drawings. I made the maple pieces by resawing 3/8″-thick slices from a thicker board and surfaced them in my planer. (I also saved the extra to make the inlay strips later.) The walnut pieces started out at 1-3/4″ stock (the same as the top), but as the legs would end up at 2-7/8″ in diameter coming off the lathe, I did not need to use them at full thickness.
After face-planing the walnut, my plan was to make leg turning blanks that were exactly 3-1/8″ square, so I ripped the walnut to 3-1/4″ wide and then resawed the pieces to 1-7/16″ thick instead of just turning the extra thickness to wood chips in my planer. (I kept the falling stock to use another time.)
I then glued up the three-piece hardwood sandwich with the 1/4″ maple in the middle. When the glue had cured, I took the leg blanks to the jointer and created two dead-flat and perfectly 90° adjacent surfaces on each blank. Then I grabbed the blanks and took them to the table saw to square them up to 3-1/8″.
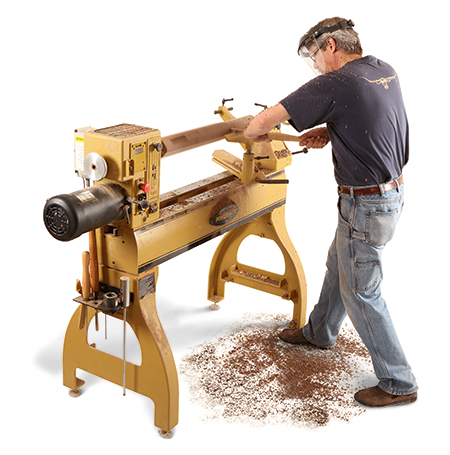
With the blanks straight and square, I cut them an inch or so overlong on a miter saw, with the ends true and square. Next, I set up my mortising machine to chop the 1/2″-wide mortises in the legs. I find it easier to do this accurately with the legs sticked-up before they’re turned round. You can find the location and dimension of the mortises in the Drawings. With the mortises completed, it was time to get going on the lathe. I located the center of the leg blank ends and used an awl to make a dimple to help mount the legs accurately between centers on the lathe.
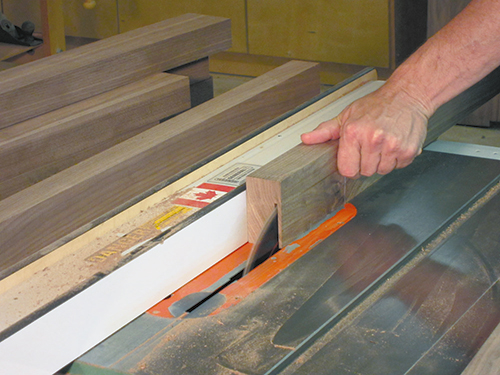
The legs roughed out very easily and, because I made the blanks so exact, as soon as they were round, they were basically ready to be smoothed out. Although I confess that I am not a great hand with a skew, I used one to smooth out the barrel of the legs. Following that step, I stopped the lathe and marked out a few details on the leg.
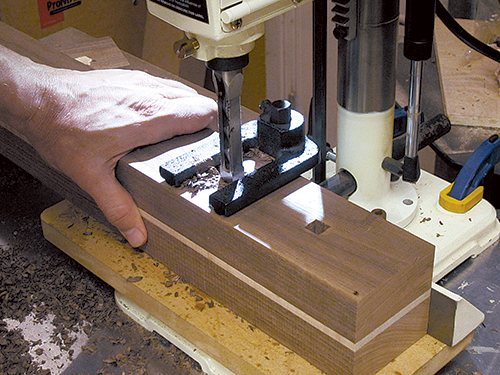
I marked the tenon shoulder at 2-1/4″ down from the end. This leaves it overly long, but I would need to get rid of the marks from the drive center, so I chose to cut off the extra bit later. I also marked the exact length of leg, measuring from the shoulder of the tenon, and where the recessed accent segment would be.
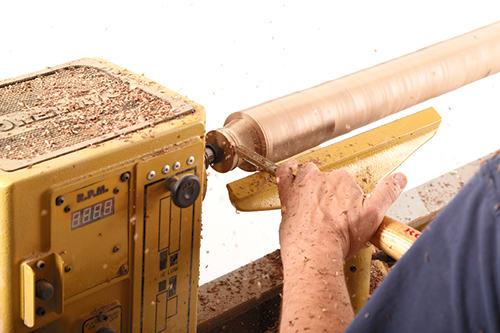
Then I spun up the lathe and formed the tenon, using the sizing gauge I mentioned earlier to get the right diameter. When that was done, I used a parting tool to establish the bottom of the leg, and then switched to a square-end scraper to form the decorative accent.
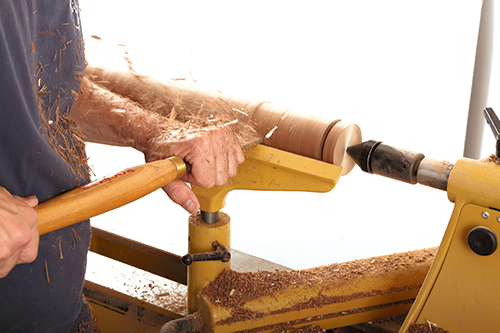
Sanding was the next task, and the leg was nearly done. I decided to apply a coat of shellac-based friction finish on each leg, so I stopped the lathe and put masking tape inside the mortise to keep it free of finish. The friction coat went on smoothly, and I was ready to take the leg off of the lathe. (Later, I trimmed the bottom of the leg on the miter saw, using the groove I had made to locate the cut.)
Creating the Stretchers
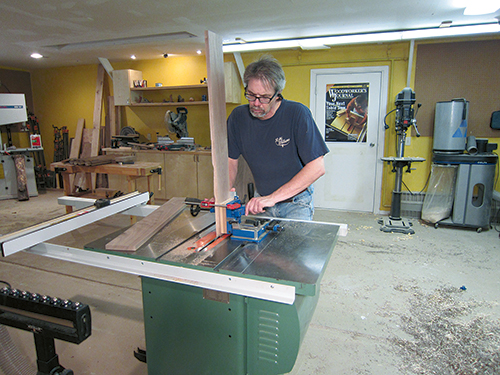
The stretcher stock is the only 3/4″ material used in this project. I cut my blanks to length and width and then reached for my table saw’s tenoning jig. I used some cutoff pieces from the stretcher to prepare the jig, adjusting the cut to fit the mortises in the legs. After setting the depth of the cut, I raised the tenons. Then I used the table saw to cut the short shoulders at the top and bottom of the tenons. The tenons fit the mortises nicely, but I still undercut the long shoulders of the tenons with a chisel so they better fit the rounded legs.

It was time to mark a gentle curve on the bottom of one of the stretchers and cut it using my band saw. Using the first stretcher as a guide, I transferred the curve to the second stretcher and cut it to match. Clamping the two pieces together, I used a random orbit sander to fair the curved edges, then sanded the faces of the stretchers smooth.
To complete the stretchers, I stepped to the table saw to form the half-lap joint into the middle of the flat edge of one stretcher (see the Drawings), but used a Japanese handsaw to cut the half-lap on the curved edge of the other. I completed that cutout with a chisel. After final test fitting, I clamped and glued the legs to the stretchers, using shop-made V-block clamping cauls. While the glue cured, I turned my attention back to the tabletop.
Detailing the Top
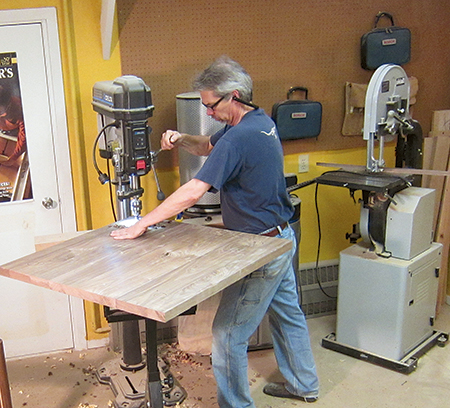
After taking the top out of its clamps, I scraped all the glue squeeze-out from both faces of the workpiece. Despite taking considerable care to align the pieces during glue-up, I needed to flatten both faces of the tabletop. You can do this a few different ways, but I find using a large hand plane (I used an 07) and planing across the grain to be the fastest and most effective technique. You could also use a belt sander as well (also sanding across rather than with the grain) and get good results. After both faces of the tabletop were flat and smooth, I followed with a random orbit sander up to 150-grit and then cut the tabletop blank to 37″ square. Now it was time to locate the holes for the tenons.
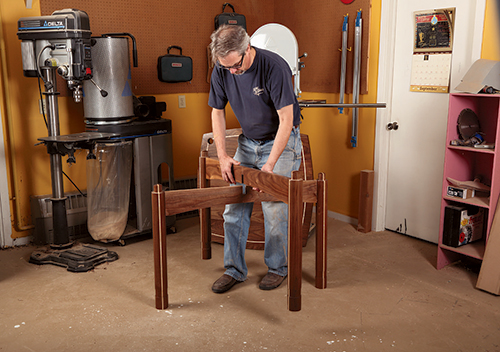
I suppose it would be possible to mark out the exact locations to drill the tenon holes using geometry and careful marks, but I am a bit lazy by nature. So I clipped off finishing nails and tapped them into the hole left by the drive center. Putting the tabletop on my bench (top side down), I drew an X from corner to corner. Then I clamped the leg subassembly together and placed it, tenons down, on the top. With the tenons on the X, I simply tapped the bottom of each leg, driving the clipped nails down to mark the center of the tenon into the tabletop. Drilling the holes was easy using the Forstner bit that I had sourced earlier.
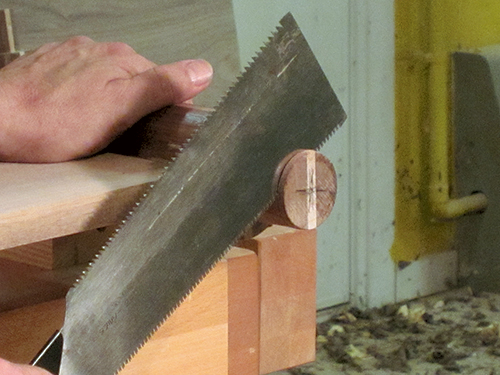
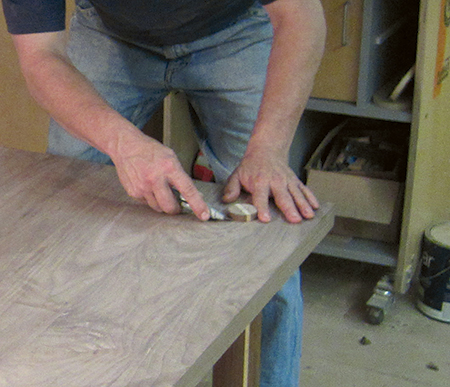
Now it was time to test the fit of the top on the legs. It fit well over the tenons, but due to inconsistency in the way I turned each tenon, the ends did not stick up past the top exactly the same amount. I solved this challenge by using a knife to mark the level of the tabletop on each tenon, and then I attached a 1/4″-thick spacer taped to the face of my Japanese handsaw and used it to scribe a line around the exposed tenons.
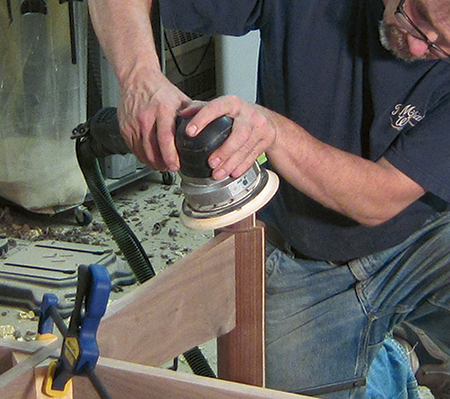
This gave me the marks I needed to trim the legs to their final length. That done, I rounded over the ends of the tenons with a random orbit sander. The curve of the dome-shaped ends stops at the knife line. I sanded the ends of the tenons up through the grits, and then applied shellac to seal them up.
Inlays and Shaping the Tabletop
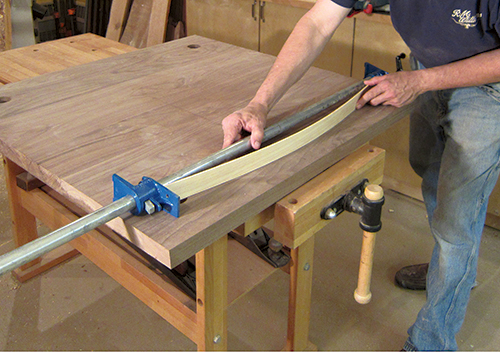
The end of this table’s construction was fast approaching, but some tricky details remained. Once again, I put the top onto the leg assembly. What I needed to do now was mark where the inlays needed to terminate on the tabletop. Using an 1/8″ bench chisel, I clearly inscribed two marks that plotted the width and the orientation of the maple leg section on both sides of the exposed tenon.
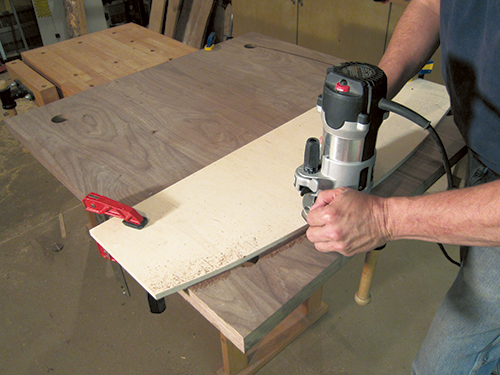
Next, I used an old trick to form a gentle but consistent arc. I ripped a piece of clear pine to 1/4″ thick, flexed it in a clamp and found the right shape on the tabletop. I transfered that shape onto a piece of 1/2″ plywood that was about 43″ long and 12″ wide and made the arc consistent across the length of the plywood. Cutting the shape on the band saw, I used a benchtop disc sander to fair it to the marked line. Chucking my 1/4″ straight bit into a router, I set up for the inlay cuts. Using a rub collar, I could set the router down on the plywood with the bit in the leg hole, and then peek to see if the bit was aligned to the marks in the tabletop. I clamped the plywood jig in place and then routed a groove 1/8″ deep. Alignment here is critical, because if the inlay and the maple segment of the legs don’t touch, it would look pretty wonky. I carefully plowed the remaining grooves.
The reason that I made the plywood jig 43″ long was so that I could use it to shape the edges of the table by template routing. This way, the curve of the table edge matches the curve of the inlay perfectly. Once again, I drew an X corner to corner on the top to help align the jig. Centering the plywood jig on the tabletop, I clamped it in place with the forwardmost aspect of the jig flush to the edge of the top and scribed the shape making sure the measurement on each corner-line was the same. Grabbing a handheld jigsaw, I rough-cut the curve, taking care to stay outside the line. With that done, I mounted a 3/4″-diameter pattern-routing bit in my router and, with the plywood jig clamped back in place, I cut the edge of the top to shape. My pattern-routing bit was about 1/2″ too short to cut completely through the tabletop in one pass, so I took the jig off, and completed the operation with the bit’s bearing riding against the cut I just made.
Using the extra 1/4″ maple that I had surfaced earlier, I ripped strips to 3/16″ wide. Taking them to the tabletop, I flexed them to shape and then cut them to approximate length. Then I did a bit of final fitting on both the grooves and the strips with 100-grit sandpaper. When they fit properly, I put a small bead of glue into the groove and spread it around with a small paintbrush dipped in water. Pushing the inlay in place with my fingers, I followed up with a mallet and a small chunk of wood to drive the inlay home in the groove. No clamps were needed as the glue cured.
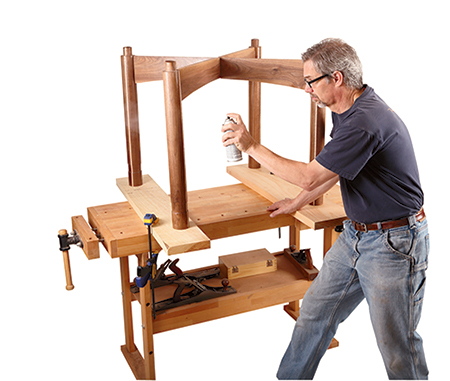
I reached for a hand plane to take off the excess inlay and then sanded the top through the grits to 220-grit on the upper surface and 150-grit on the underside. I applied three coats of shellac to all faces of the tabletop using a good quality brush, denibbing between coats, and then sprayed two coats of lacquer to complete the film coat. I also sprayed the legs with lacquer. When that cured, I applied paste wax to the inside of the leg holes and to the shoulders and around the tenons, to keep the finish from welding together in use.
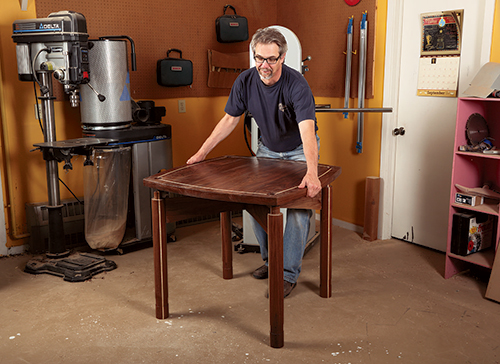
With that, the project was completed, and that meant game time was just around the corner!


