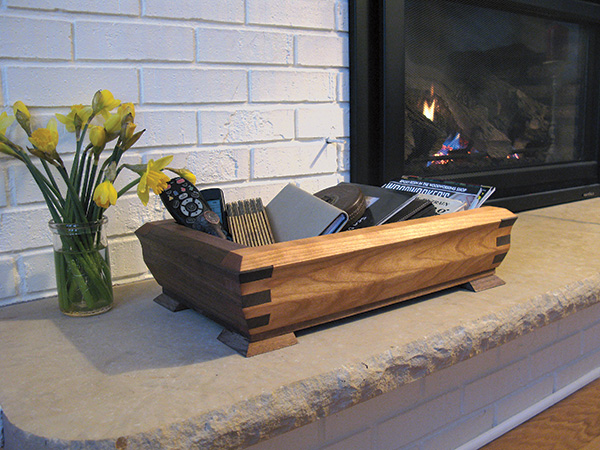
There are a couple of conventions that have imposed their strictures on our woodworking to a degree that we sometimes self-limit our designs to conform without even thinking about it. I am talking about 3/4″ stock and the utility of straight lines.
If you’ve heard the axiom, “If your only tool is a hammer, all your problems start to look like nails,” this is a similar situation. When we attempt to solve a woodworking problem, we often begin with 3/4″ solid wood and plywood as a starting point, and then consider what tools we have on hand. Most of our power tools are great at cutting straight lines, whereas curved shapes are more challenging. And thus we find ourselves with tried-and-true rectilinear projects that solve the problem just fine … but they might start to look really similar.
Multi-use Dado
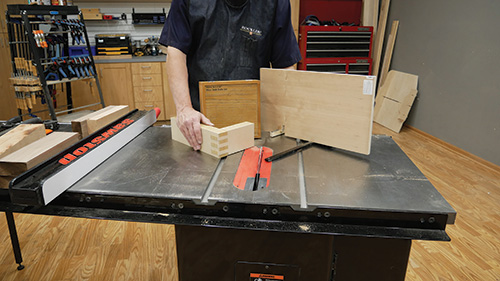
While Rockler’s Miter Fold Dado Set makes specialized folding joinery, it’s also a top-notch standard dado cutter.
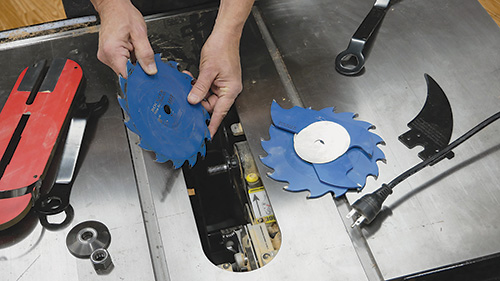
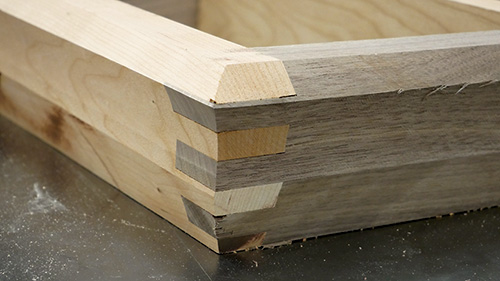
Here the author uses it to cut some substantial box joints in hardwood. The dado blade handled the cuts easily and cleanly.
Shaping Up the Sides, Ends
To help buck our usual conventions, my odd little tray intentionally starts out with lumber that you won’t find in a big box store. I used 1-3/4″-thick hardwood as my starting point. You can buy lumber surfaced to that dimension at Rockler Woodworking and Hardware stores or plane 8/4 stock to that thickness.
Why the thick stock? Well, notice how the sides of this tray appear to be formed by a giant Roman ogee bit. Of course you know that’s not the case, but you might be surprised to find out that all of this shaping was done on a table saw … all of it. I needed to be able to remove significant amounts of stock and not cut into the interior of the tray. The extra stock thickness enables this to be possible, and that will become more clear as you turn these pages.
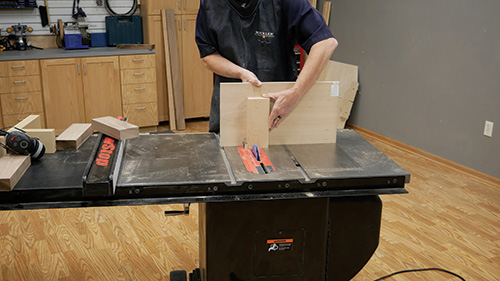
I kicked the project off by ripping the stock to width and then cutting it to length on my table saw. (Find these details in the Material List.) I came up with the length and width of the tray by using a “Fibonacci calculator” (I would not make this up) I found on the Internet. So the rectangle is formed in the Golden Ratio, and I didn’t need to do math to figure it out.
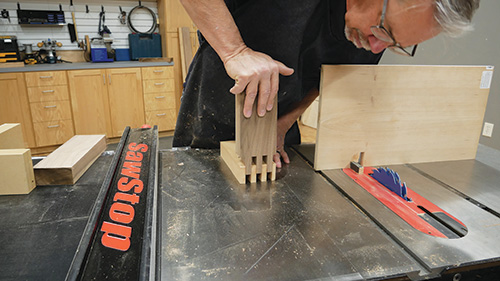
In an effort to completely leave the limiting shackles of 3/4″ dimensions behind, I decided that the box joint spacing would be cut at 1/2″ and that the bottom of the box and the feet would be formed from 1/2″ material. Constraints be gone!
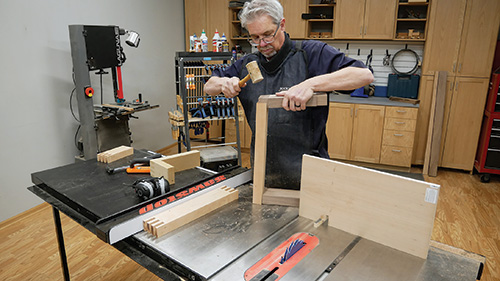
Because the cherry and walnut hardwood was so thick, these box joints would require removing a lot of material in each cut, so I opted to use a dado set I installed in my table saw. To form the box joints, I used a shop-made jig that I attached to a miter gauge. This is a time-honored technique but does require a series of test cuts to get the machining dialed in accurately. I started my test cuts in some MDF that I glued up to the 1-3/4″ thickness. It is inexpensive, so I could just keep chopping off the ends of the pieces, tweaking the jig one way or the other and then testing the cuts again until everything fit properly. I am not a brave person, so I tested the setup again on offcuts from the actual hardwood stock. When those test cuts proved accurate, I machined my actual workpieces.
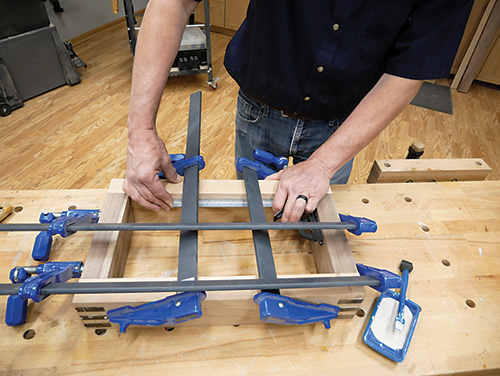
As you might expect, box joints this long may need a bit of convincing to slide together … with a mallet. After a dry fit, I glued and clamped the parts. Be sure to check that your tray is square at this point, because there’s no going back once the glue cures.
Cutting Coves and Angles
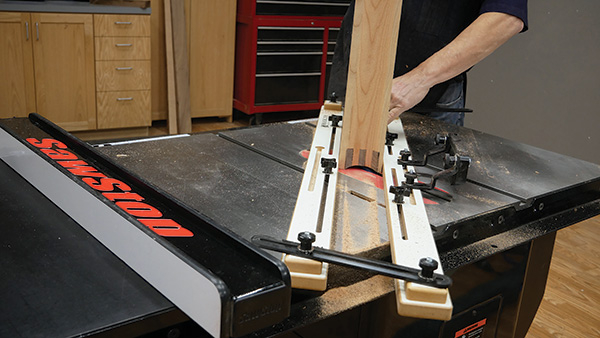
When the clamps come off, it’s time to add some shape to this heavy-duty glue-up. I shaped it by combining a cove cut down the middle of the sides and ends, followed by a couple of angle cuts on the top and bottom edges of the assembly. The end result gives a fairly classic urn-like flow to the box profile. You may be wondering, why shape the sides after gluing the pieces together? My reasoning for this is that I was worried that the box joints might tear out on their long edges if they did not have other material for support during the machining stage.
To form the cove, I used Rockler’s Cove Cutting Jig in the table saw. You can see the basic shape I cut in the Drawings. Because my assembly needed to stand vertically, I had to move the featherboard hold-down out of the way. And after I had the jig tightly secured in the table saw’s miter slots, I swung one of the articulating metal arms out of the way as well. I left the dado set in the saw for this cut, but you could switch to a standard saw blade if you wish.
I raised the cutter for each of three passes on the faces of the tray. Make the last cut very shallow and feed the tray slowly to save yourself a lot of sanding.
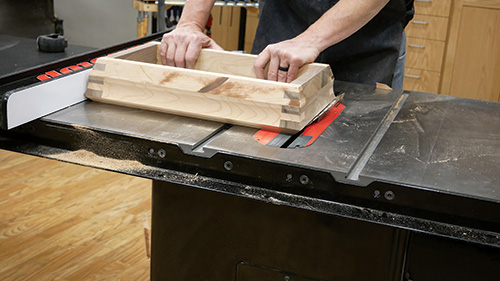
With the coves cut, I took the dado set out of the saw and installed a full-kerf 60-tooth blade instead. By cutting two different angles into the top and bottom edges, I could complete the tray’s gently flowing shape. The bottom angle is formed at 20 degrees, and the angle at the top is 45 degrees. I used a miter gauge to help control the piece while I was making these cuts to safeguard against binding and kickback.
Once the sides and ends were cut to shape, it was time to get busy sanding. The nature of the cuts I made and the lumber I chose meant that there were some serious burn marks to be removed. And the cove needed to be sanded mostly by hand. To do that, I wrapped sandpaper around a sanding sponge and employed some elbow grease. I started with 60-grit paper and did not skip a grit until I was done at 400 grit. I sanded both the inside and outside of the tray. In truth, once I got the burn marks and blade swirls removed with 60-grit paper, each successive grit did not take a lot of time.
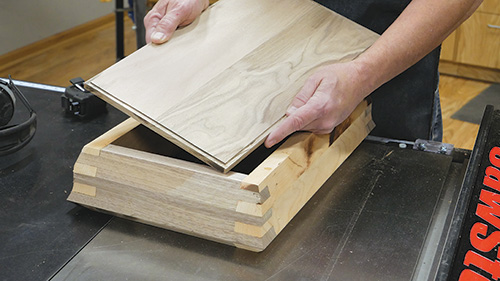
Next, I made the bottom panel and feet from 1/2″-thick walnut. The bottom is sized so that it steps back from the edges of the sides and ends, adding to the shape of the box. To create a shadow line, I cut a 1/8″-deep rabbet into the piece. See the Assembly Detail for its orientation.
The feet are 2-3/4″ square, with two of the edges cut to a 45-degree angle. Sand the bottom panel and the feet so you can get ready for this project’s final steps.
Finishing Up

Assembling the remaining parts could not be easier. Start by gluing the feet to the corners of the bottom. When the glue cures, glue and clamp the bottom panel to the box assembly. Try to minimize the amount of glue squeeze-out on the inside of the box — it’s fussy to remove later.
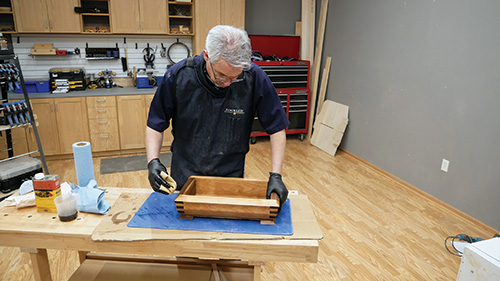
The last step is to apply finish. I chose wipe-on Waterlox because it pops the grain of walnut and cherry so well. Flood it on, let it soak in and wipe off the excess. Follow the directions and apply a minimum of three coats. Here’s where your careful sanding regimen really proves its worth.
That’s it … you’re done! And you’ve freed yourself — at least temporarily — from the usual “3/4” paradigm”!
Click Here to Download the Drawings and Materials List.
Hard-to-Find Hardware:
Cove Cutting Table Saw Jig (1) #22395
Precision Miter Gauge (1) #53310
Miter Fold Dado Set Plus (1) #51966


