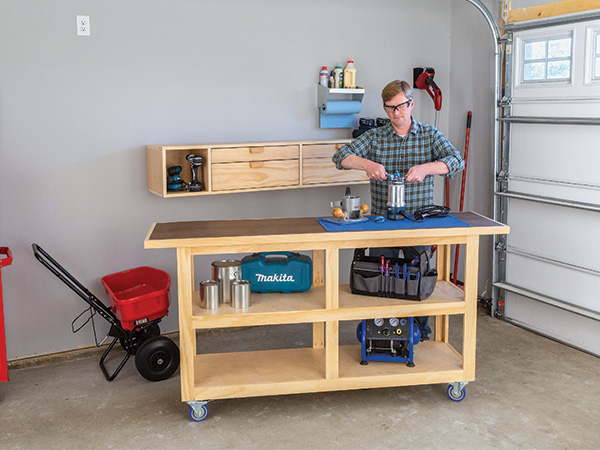
Most woodworkers wish they had more dedicated shop space. If the area you have for woodworking is carved out of a shared space, such as a garage or shed, or if it’s used regularly by multiple people, you’ll likely need to keep your woodworking tools organized and out of the way when not needed to make the most of the room you’ve got.
With that in mind, we asked Minneapolis woodworker Jacob Garrison to design a couple of workshop fixtures that provide both flexible storage and a work surface. The results are this wall-mounted cabinet with drawers and workbench on casters. The two are made to work well together, with the cart nesting under the wall cabinet when not in use.
We started by limiting them to a depth of no more than 20″ (less being even better). That way the workbench cart can be pushed against most garage walls so it won’t interfere with a parked car. Mobility also adds to its versatility: just roll the workbench out and use it wherever you need it most. Common home center plywood, hardboard and pine trim are smart choices to help keep this no-nonsense shop project budget friendly.
Building the Wall Cabinet
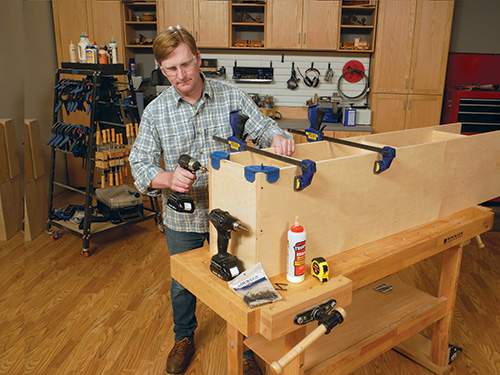
We’ve kept the wall cabinet’s design simple here so that even a beginner can build it with just a few tools. Following the Material List, lay out and cut the cabinet’s top, bottom, ends, drawer supports and back panel to size from a sheet of 3/4″ plywood. It’s easiest to cut the parts with a table saw, but you could also use a circular saw and straightedge.
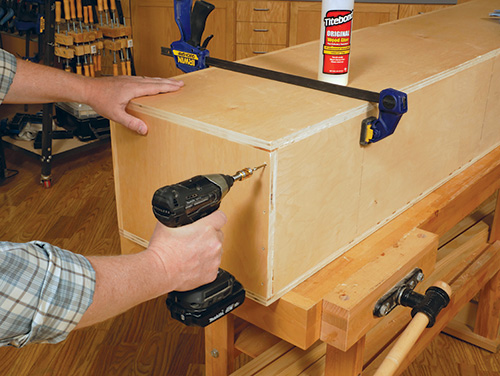
Assemble the cabinet carcass with glue and screws — we used trim head screws that don’t need to be hidden by wood plugs. Now add a pine face frame to the cabinet’s front edges with glue and brad nails to hide the plywood edges.
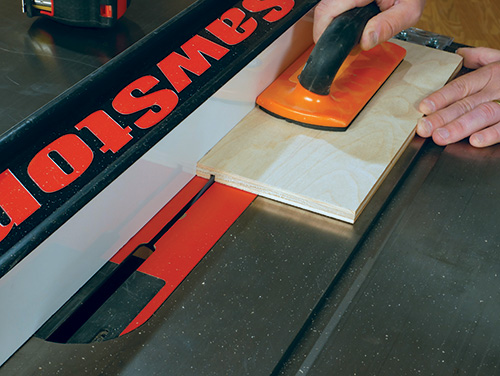
The cabinet’s drawers are shallow and wide to keep their contents organized without getting buried. Cut the drawer fronts, backs and sides to shape.
Their inside faces require a 1/8″-wide x 1/4″-deep groove, located 1/2″ up from the bottom edges, for installing the drawer bottoms, so plow them now with a table saw or a router and 1/8″-dia. straight bit.
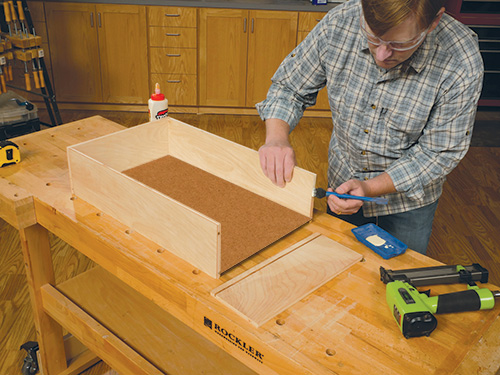
Dry assemble one of the drawers to measure its interior for a bottom panel, and cut the four bottoms from 1/8″-thick hardboard.
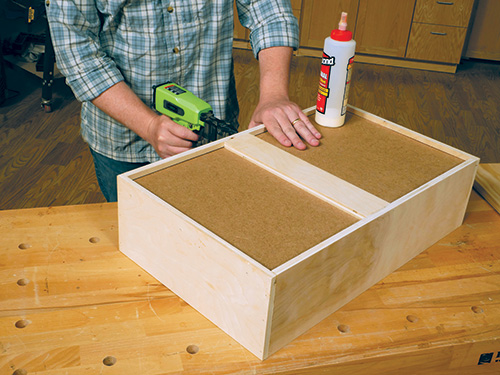
Assemble the corners of the drawer boxes with glue and brad nails. Then, install a 1/2″-thick support underneath the drawer bottoms to stiffen them.
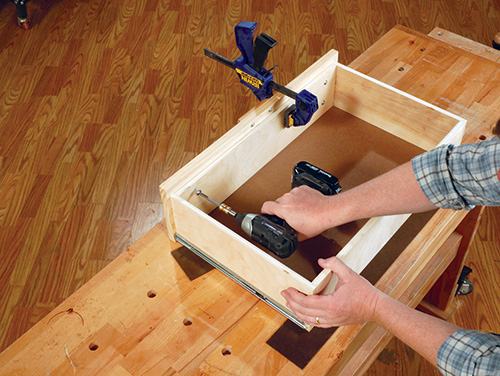
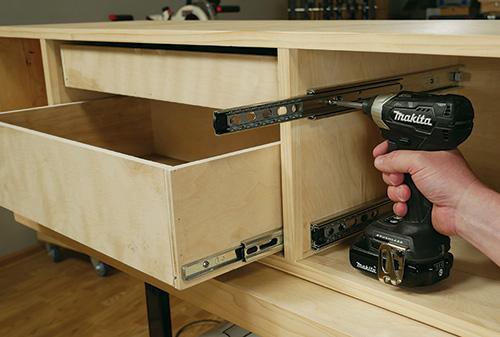
Fasten drawer slides inside the cabinet openings and to the drawers to hang them. Finish up the cabinet by attaching faces and pulls on the drawers. To mount the cabinet, just drive 3″ screws through its back panel and into each wall stud behind it.
Making the Workbench Cart
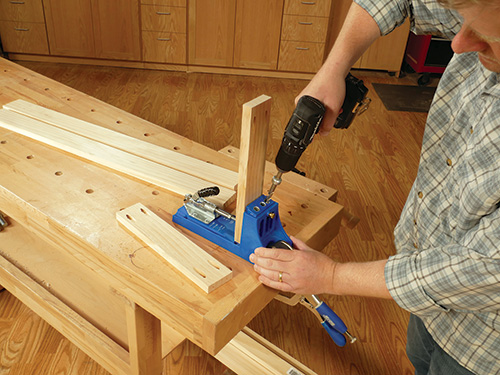
The workbench cart is also designed for easy construction. As you’ll see in the drawings and the photos to follow, it consists of long and short wood frames that support the work surface and two shelves beneath.
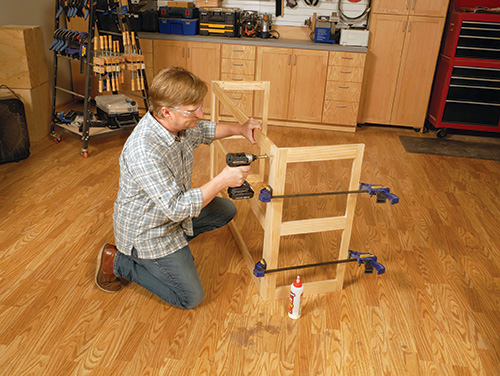
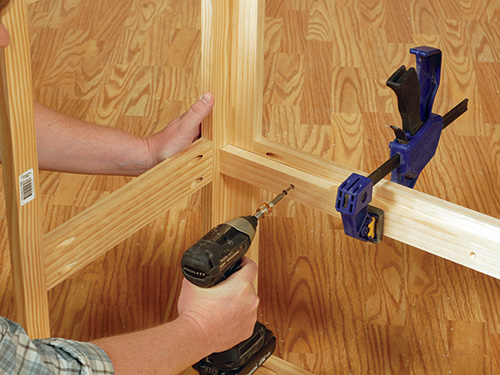
Cut the long and short frame rails and stiles to size, and assemble the four frames with pairs of 1-1/4″-long pocket hole screws at each joint. Bring the frames together to form the bench’s base by driving 1-5/8″ screws through the end stiles of the long frames and into the edges of the short frames.
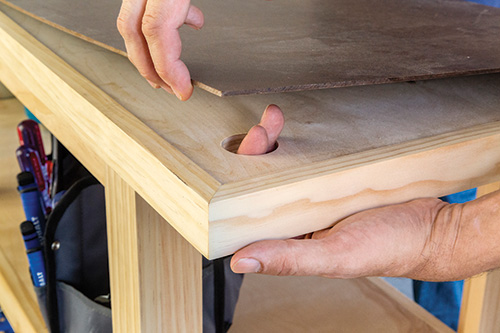
Now cut and install shelf supports inside the base with 1-1/4″ screws. With those in place, cut and install the plywood sub top on top of the frame and the shelves on the supports with glue and brads — this stiffens the cart and provides stability. Notice in the Drawings photos that the sub top has a 1-1/2″-dia. through hole drilled near one corner.
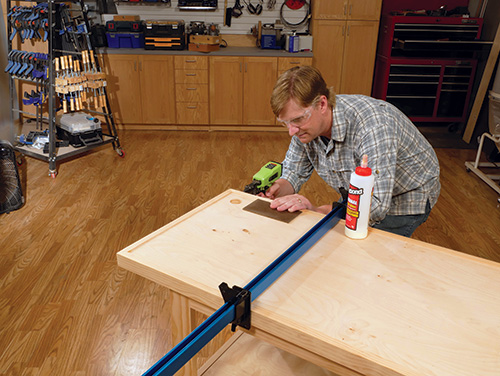
It will enable you to push out and replace the 1/8″ hardboard work surface if it should ever become damaged. Wrap the edges of the sub top with pieces of long and short trim, glued and brad-nailed in place, to form a shallow recess for the work surface.
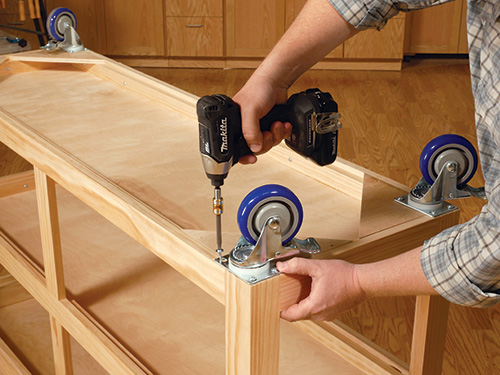
Finally, install a piece of triangular plywood blocking to the underside of the cart at each corner. Attach 4″ locking casters to this blocking with 1/4″ x 1″ screws to make this cart a breeze to roll around the shop and park wherever you need to use it for your next project.
Lock-Align System Can Upgrade Drawers
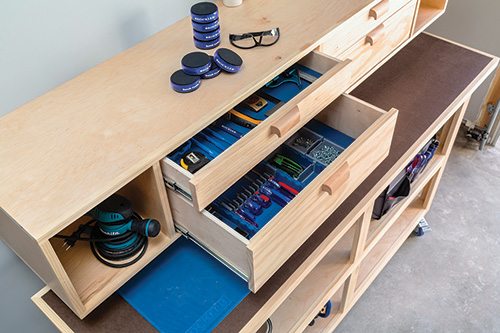
Rockler’s Lock-Align Drawer Organizer System is a collection of various interlocking components designed to store a variety of supplies. The system uses a combination of repositionable dividers that form a grid, plus bins or trays to line the drawer.
Hard-to-Find Hardware:
4″ Heavy-Duty Polyurethane Casters (2) #23030
75-lb. Full-Extension Drawer Slides – Centerline® 3612 (4) #23127
Trim Head Square Drive Screws 6 x 1-5/8″ (1) #61226


