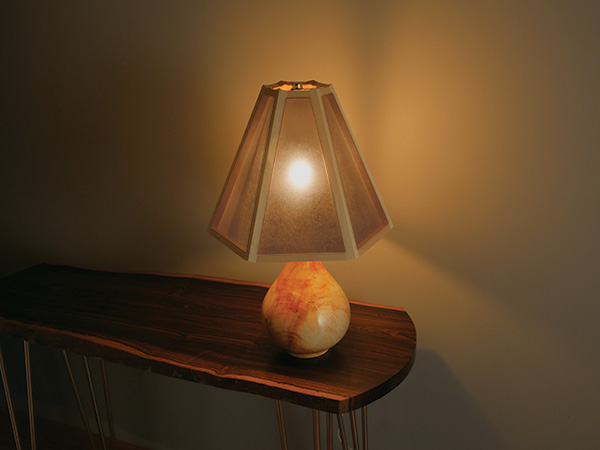
Sometimes it’s better to be lucky than good. I first heard that from a football coach, but it has proven to be true many times in my life. With these turned lamps, I’ll admit that I started out very lucky.
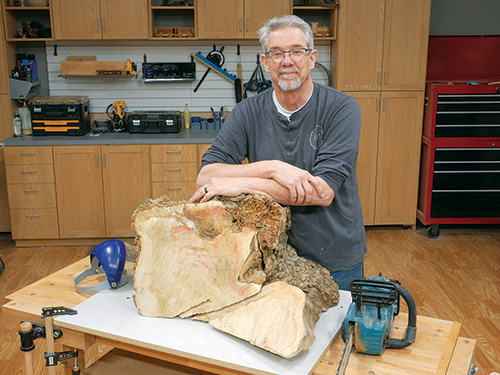
Then one day while driving by a municipal lawn waste site, I saw some big sections of tree trunks laying around. I often look for possible turning stock opportunities at this site and mostly I am disappointed, but not this time.
I was checking out what I thought was a big chunk of maple when I rolled it over and saw the significant red streaking running through the grain. It was box elder, a relative of maple. And on top of that, the section I was looking at revealed very curly grain; it looked like grain from a burl, but there was no apparent burl. The piece was big and heavy, and I had no chainsaw with me, so I squatted down and used my legs to lift it without sending me to a chiropractor. When I eventually sectioned up the piece, the grain was even better than I had hoped.
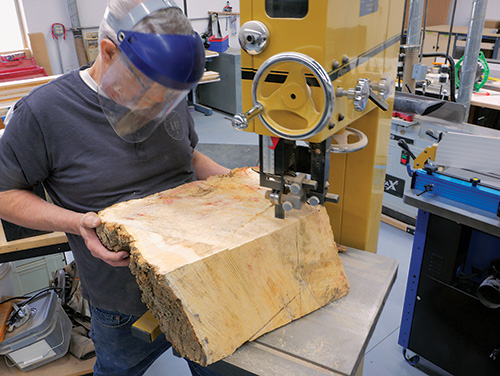
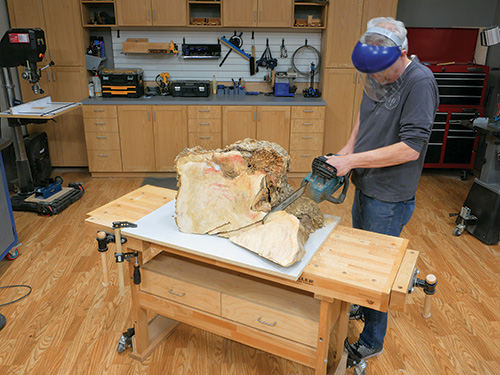
With input from Jeff Jacobson, our art director, I figured out how to saw up two large sections and a couple of smaller pieces to get the best yield from this massive log. My cordless chainsaw and a band saw helped me create two pieces that could be mounted on the lathe.
Rough-turning on the Lathe
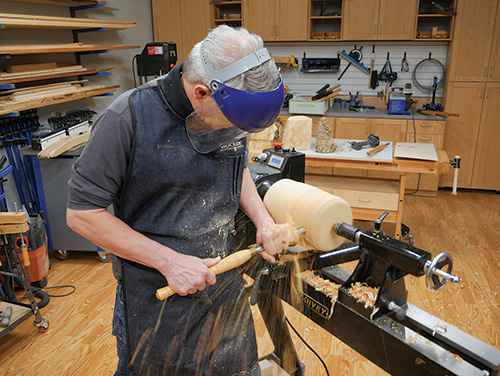
Next up, how to go about loading the first blank for turning. I chose to use a faceplate to mount the chunk. It was about 9″ long, 7″ wide and still very green, so it was pretty heavy. The faceplate coupled with pressure from the tailstock held it securely as I started to shape the piece.
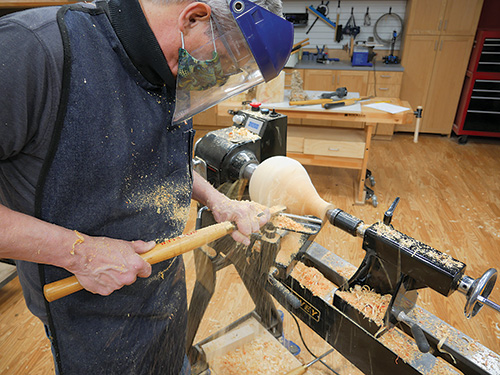
Using a spindle roughing-out gouge, I first reduced the blank to a rough cylinder. There were significant bark inclusions and the blank was not remotely balanced. But with a bit of patience, I cut enough away for it to spin smoothly. With the rough stuff done, it was time to consider the shape. We decided to build a shop-made lampshade, with its top much narrower than the bottom. So I settled on a curved shape for my turning with a similar ratio of narrow top to wide bottom — but whereas the shade would be geometric in composition, the base would be much more organic. Shaped like a vase or wine carafe, it has a short 3-1⁄4″-diameter foot, swelling to roughly a 6-1⁄2″ wide diameter and narrowing down to a small 2″ top end.
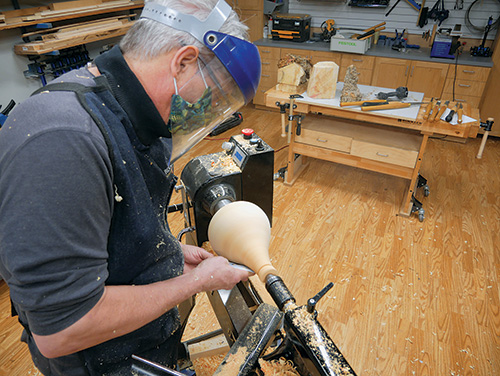
I really enjoy woodturning but confess I still have much to learn. Using various gouges, square- and round-end scrapers and carbide-insert tools from Rockler, I refined the shape until I was pleased with the results. I’m sure a more experienced turner would have achieved a smoother surface, but this curly green wood was still a bit fuzzy when I was done turning. Luckily, I’m nearly a rocket scientist when it comes to sanding! (Sigh.) While the box elder’s figure was fun to see as I turned the rough shape, the figure really showed its stunning character as I smoothed the piece with ever-finer sandpaper. I sanded the lamp body up to 320-grit.
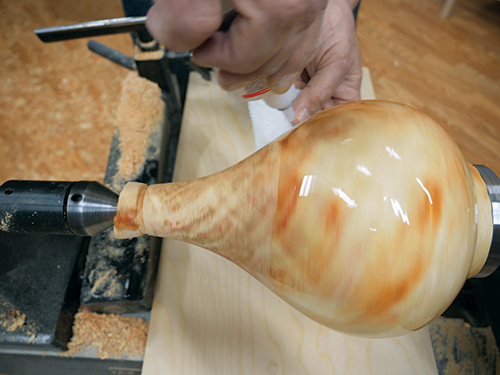
To begin the finishing steps, I decided to use some Glu-Boost Fill n’ Finish as a pore filler. It’s a cyanoacrylate product that basically does not cure until it is sprayed with a hardener. I turned the lathe down to its slowest speed (56 rpm) and carefully squeezed the product onto the lamp body while holding a clean cloth under the application area.
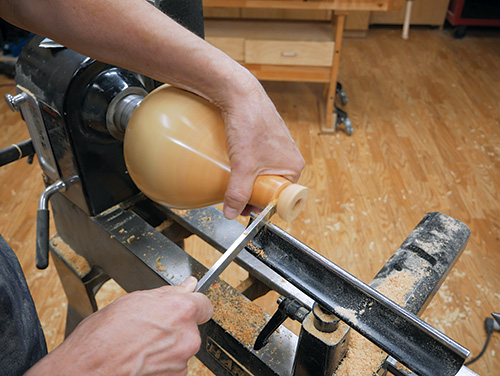
I rubbed the product into the grain and then sprayed the hardener on it. The results were amazing: a super-smooth surface with the pores perfectly filled. I sanded that surface with 320- and 400-grit sandpaper, then wiped on a thin coat of gloss water-based polyurethane. When it dried, I burnished the poly with a coarse paper towel and repeated the process two more times.
Ready for Hardware and Wiring
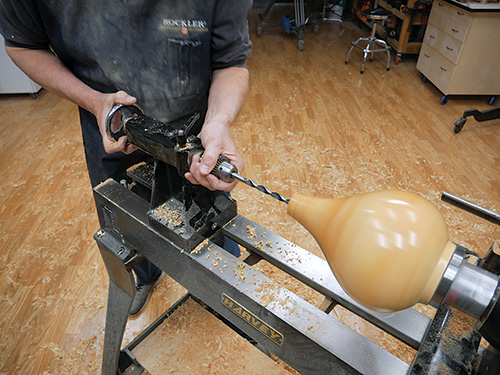
With that completed, I parted off the top of the turning and drilled a 3/8″-diameter hole through the lamp body from top to bottom, using a 9-13/16″ Fisch Brad Point Bit right on the lathe.
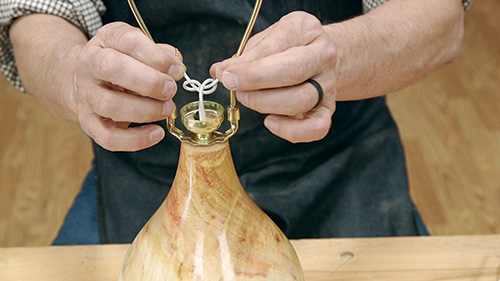
I unmounted the lamp body and used a Forstner bit to bore a recess into its base. Then on the router table, I formed a shallow slot to allow the lamp cord an exit from the bottom.
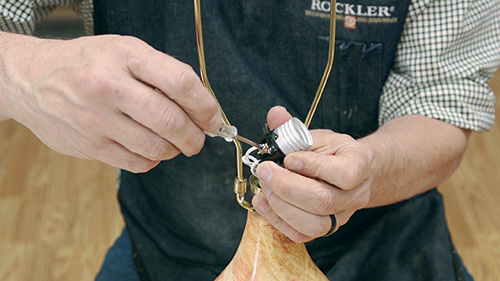
Installing the lamp hardware was super easy; I just followed the package directions. My wooden lamp body was then complete, so I turned another version. If you turn a lamp, you can try to make a shop-made lampshade to go with it. Rockler offers lamp shade options too, or buy one from other sources.


