PROJECT: Traditional Spoon Carving

PROJECT: Traditional Spoon Carving

The Swedish word sloyd means handicraft, including making things from wood, metal, fabric, glass, clay, paper and just about any other natural material. But the term sloyd also more broadly represents a systematic approach to teaching and learning these skills.

In the sloyd tradition, the first tool a child is given is a knife, and the first skill they learn is woodcarving. One of the classic projects in the sloyd tradition is spoon carving. There are a lot of ways you can turn a piece of wood into a spoon, but the sloyd method uses just an axe and a couple of knives.

Wood is harvested and cut into chunks or billets that are roughly the size of a spoon. Then material is removed, first with an axe followed by knives to reveal the finished spoon. You could just grab a piece of wood and a knife and start carving until you end up with a spoon, but you’ll get much better and consistent results when you have a deliberate plan.

Carving Learned Best in Person
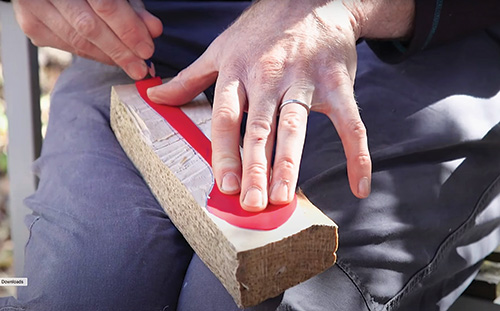
Tracing spoon outline on carving blank
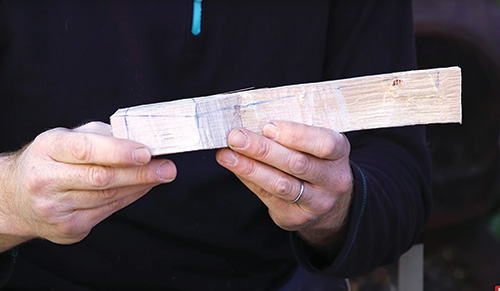
Draw the top view outline of the spoon on the wood billet. You can trace a template as shown here or draw the spoon outline freehand.

I recently spent the day with Erik Vevang, a builder and wood carver in Minneapolis. He and his wife Michele teach traditional Scandinavian carving techniques. I’ve carved a few spoons before, but my knowledge for those spoon projects came from books. It’s amazing how much faster and more effectively you learn, especially handcraft skills, when you are taught in person by someone with skill and experience.

It’s easiest to carve “green” wood, which is wood that is freshly cut and still has a lot of moisture content. This means you’ll be carving wood that is from your local area. In my neck of the woods, birch and fruit woods are most commonly used for carving spoons.

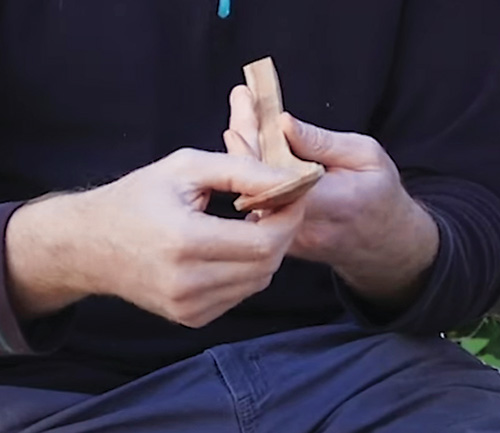
Erik first taught me several basic carving techniques. Each technique or grip is effective for different applications. Some are better for removing larger amounts of wood and others are intended for more delicate and detailed cuts. We practiced those techniques by carving a set of chopsticks. After all, how difficult could it be to carve two straight sticks? The first one wasn’t too difficult. The trick is making a second one that matches the first. If you’re new to carving, I recommend this exercise.

Axe First, Then Knives
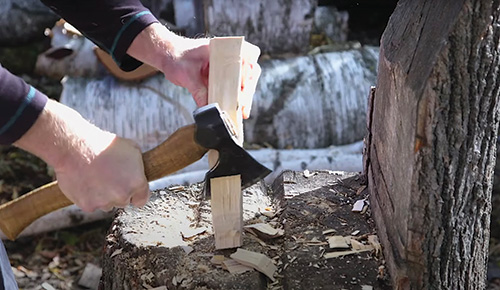
Cutting rough spoon shape with axe
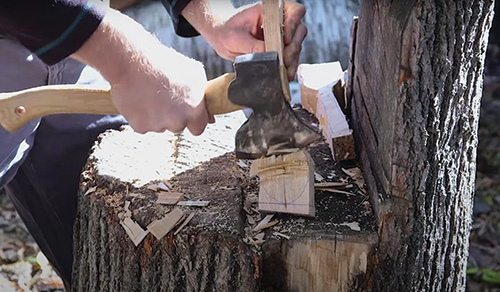
Chop out the spoon, cutting just outside the spoon outline. Vevang uses an axe to rough out the spoon’s shape, but you can also use a band saw or jigsaw.


Tracing shape of spoon side angle
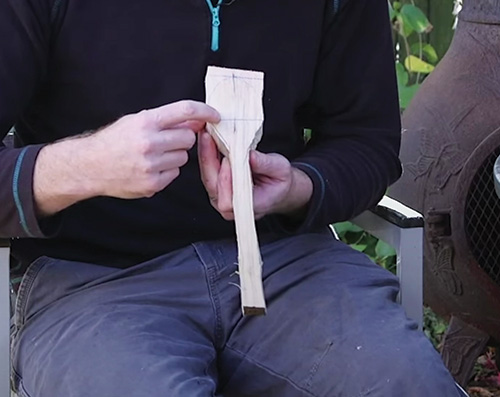
Draw the location of the bend or crank on the side and top of the billet.


Showing spoon bend as drawn on scoop portion
The bend is typically located roughly 3/4 of the way up from the end of the bowl.


Rough cutting full spoon layout with axe
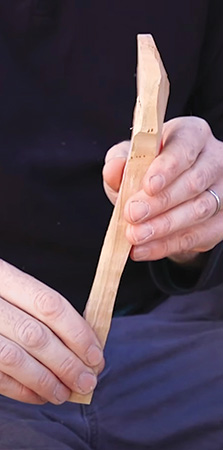
Use a saw to make a stopped cut on the top side of the spoon along the crank layout line and then rough-cut the side view shape of the spoon. Again, Vevang uses an axe for these cuts.


Rough cut spoon carving blank
The blank shown here will be a kitchen spoon, so its crank is shallower than would be used for an eating spoon.

Then we moved on to carving a spoon. Erik traces a template of the spoon style he is making on the wood billet. He uses an axe to roughly carve the top view spoon shape. Then he draws the side view and location of the crank or bend in the spoon and carves to those layout lines. At this point he is done with the axe and has a spoon blank. Making these controlled cuts requires a small, sharp axe. He grips the axe near its head and uses short strokes to increase control. An easier way to cut out a spoon blank is with a band saw, but that’s not the sloyd way.
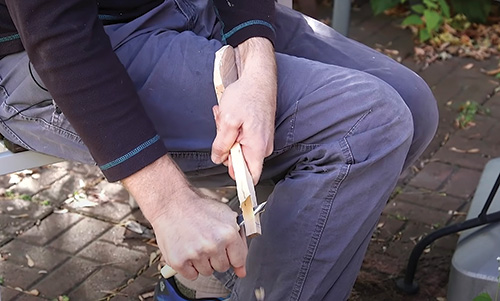
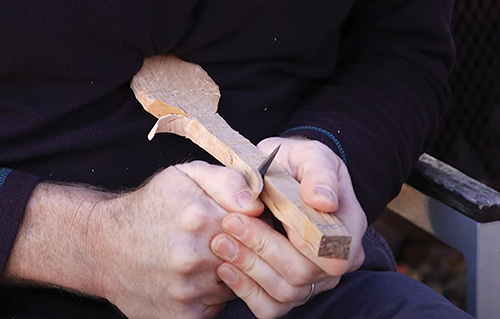
Making power cut by pushing knife through carving blank
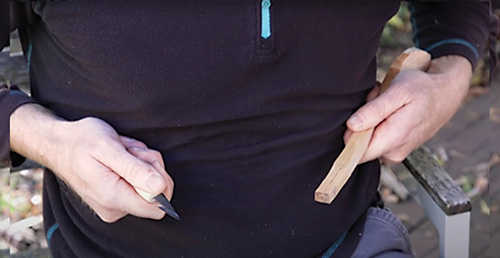
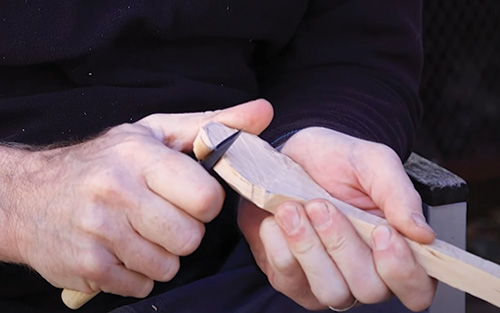
Redraw the top view of the spoon on the blank. The power cut is done with the blade facing away from you. Brace the spoon against your leg and extend your arm through the cut.


Pulling carving cut with spoon blank braced against chest
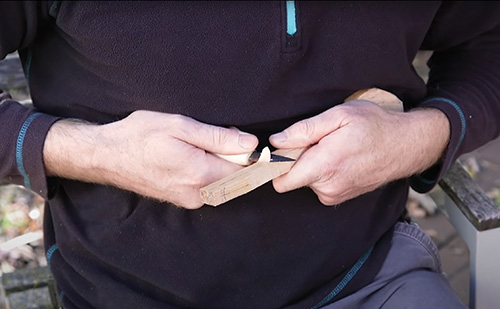
The pull cut is done with the blade facing toward you. Brace the bowl of the spoon against your chest, tuck your elbows against your body, lock your wrist and use your whole arm to pull the knife along the handle.


Demonstrating the chest lever cutting technique, holding knife against chest
Another effective technique for removing large amounts of material is the chest lever grip. Grip the knife with the blade facing away from you and hold the spoon and knife in front of your chest.


Finishing chest lever cut by pushing chest through knife cut
Using your back and shoulder muscles, pull your elbows back, pulling both the spoon and knife away from each other. This is also called the chicken wing grip because you pull your elbows back like wings.


Making shorter, quick cuts on spoon blank like a potato peeler
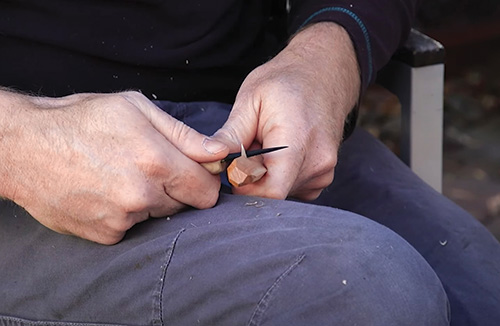
Grip the knife in the palm of your hands with the blade facing toward you, and use a squeezing motion to make the controlled cuts around the bowl. This cutting motion is sometimes called the potato peeler cut.


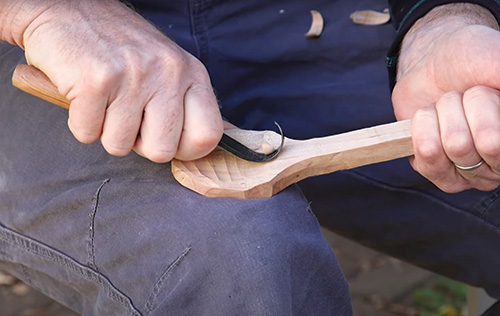
Carving scoop portion of spoon with a hook knife
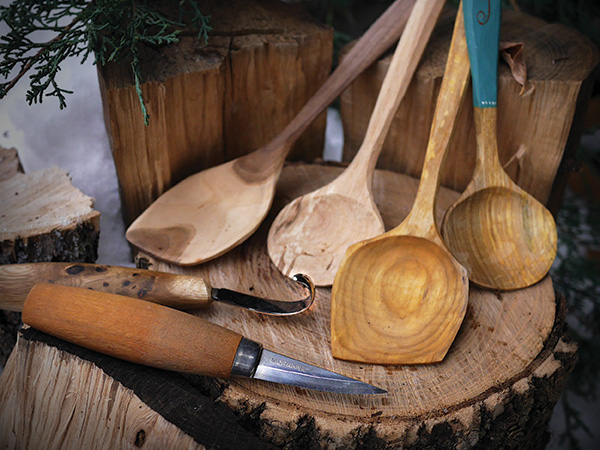
A hook knife is used to carve the bowl of the spoon. The potato peeler technique works well for carving the bowl. Be careful when making these cuts, and keep your knife-hand thumb below the edge of the bowl to avoid injury.

Erik follows a similar order of operations with the knife as he did with the axe, starting by carving the top view outline of the spoon. From there he moves to dishing out the bowl with a hook knife. It’s easiest to carve the bowl by working from the edges toward the middle. Next, he works on shaping the handle and back of the bowl. When he gets to the point that he feels the spoon is done, he sets it aside to dry for a couple of weeks. He returns to the dry spoon to make the final finishing cuts. It’s hard to remove a lot of material when carving dry wood, but it’s easier to make crisp and clean finish cuts at this point.
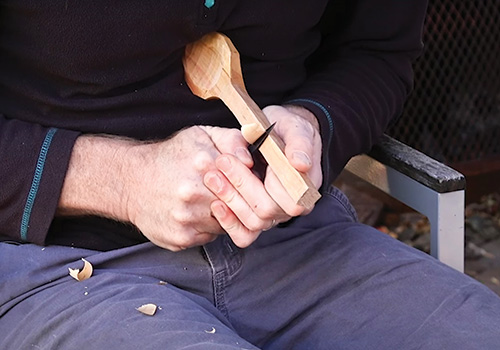
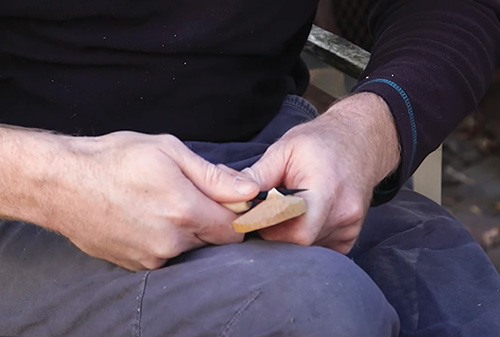
Finishing the shaping of the carved spoon's handle
Refine the handle’s shape, then carve the back of the bowl, being careful not to accidentally carve through it.


Carving spoon bowl with short pivot cuts
The pivot or thumb pivot cut is a good technique for these short, controlled cuts. Grip the knife with the blade facing away from you and pivot your wrist, using your opposite thumb as a lever.


Testing spoon scoop cuts with thumb
Use your fingers as calipers to gauge the thickness of the bowl.


Making final cuts to carved spoon handle end
Complete the rough carving by chamfering the end of the handle. When you think the spoon is nearly done, set it aside for a couple of weeks to dry before making final detail or finish cuts.


Display of different types of carved spoons

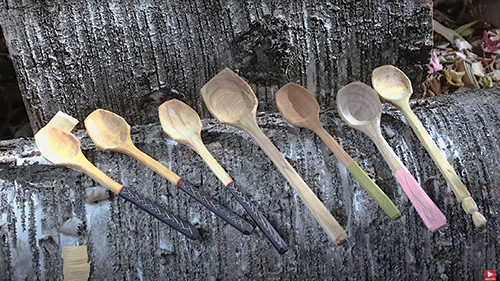
Erik’s style is to leave the crisp knife facets on the surface of the spoon. Others prefer to sand the surface smooth. You may also choose to paint the handle. The final step is to apply a simple wipe-on food-safe finish to the spoon, such as walnut oil, salad bowl oil, mineral oil or linseed oil.

Posted in: