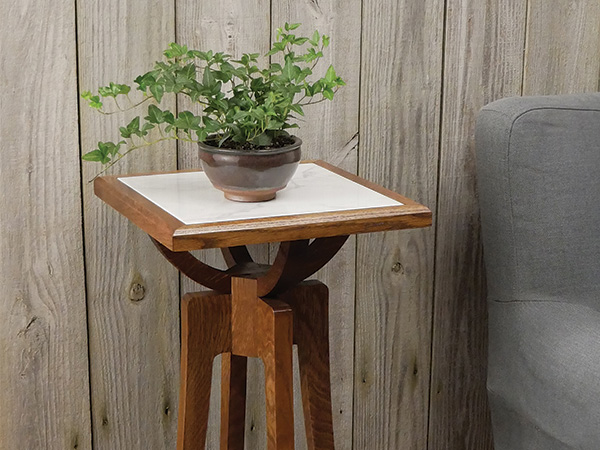
Plant stands are a very popular project and have been made in all manner of shapes and sizes. This elegant little version uses white oak that we colored with some Mission brown dye, and I think it turned out great. It was a fun shop workout. If you’ve got a band saw and a router table in your shop, those will be your go-to machines to get this project made.
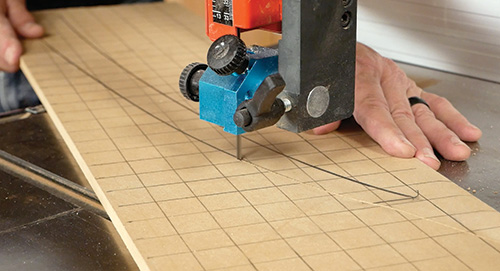
The stock for this project needs to end up a full 1″ thick. We always recommend that you get it in your shop and let it acclimate to your space. You are going to want to start with 5/4 rough stock and machine it to the one inch dimension.
With that done, set the oak aside for now, and grab some material to make templates — we used 3/8″ MDF, but 1/4″ MDF or hardboard would likely work just as well.
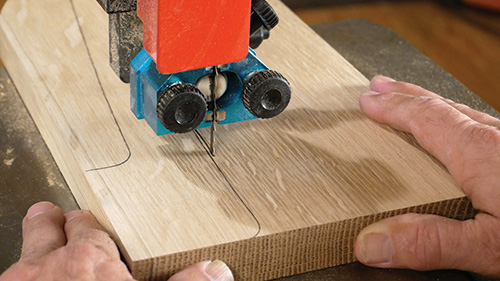
Use the gridded drawing to draw the leg to full size and create a template. Cut it out carefully on the band saw and then refine the shape by sanding, either with a machine or by hand. (We used a spindle sander.) Use your template to transfer the leg shape onto four workpieces, then rough-cut them with a band saw. Make the cut just outside the line on the legs; the less material the router bit needs to remove, the better the cut will look.
Template Routing for Accuracy
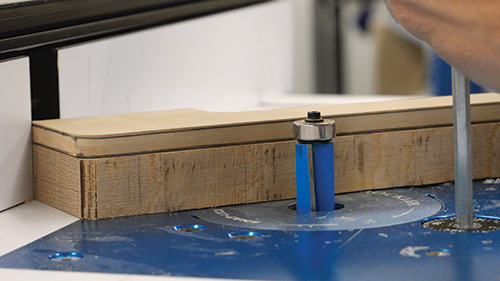
Now you can template-rout the legs to their final shape. The template you used earlier to transfer the shape to the leg blanks will now be employed to guide a router bit. I attached the template to each leg cut out with double-sided tape Next, I chucked a flush-trim bit into the router table and set the depth to align the guide bearing with the template. The bearing will guide the router bit to shape the leg so it matches the template exactly. Engage the bit against the hardwood carefully and keep it moving steadily to prevent burn marks.
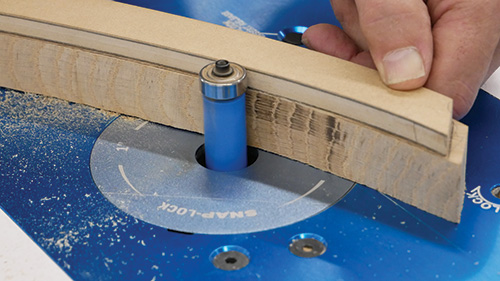
But here is an important point: don’t use the router to shape the bottom narrow ends of the legs — the danger of tearout is too great.
Forming the Center Column
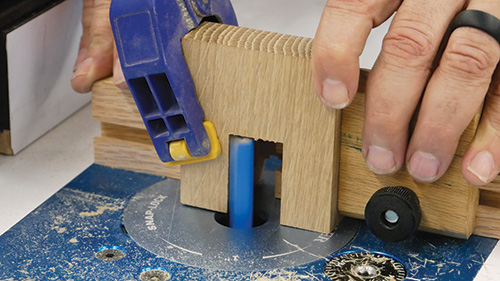
With the legs done for now, we need to move on to the center columns. These are small interlocking pieces of stock that will eventually join the legs together. That begins by cutting half-lap joints in them. Forming those joints is a multi-step process. First, mark the joints carefully — the goal is that they will just slip together when assembled. Remove most of the waste with a band saw.
Then step to your router table and, with a 1/2″-diameter straight bit that has 2″ cutting edges, remove the remaining stock, testing the fit on scrap wood. To do this accurately and safely, I used a miter gauge with a sacrificial fence attached and a stop block. Clamping the pieces to the sacrificial fence kept my fingers clear of the router bit as the stock was removed. Raise the bit in sequential cuts to make the task more controllable.
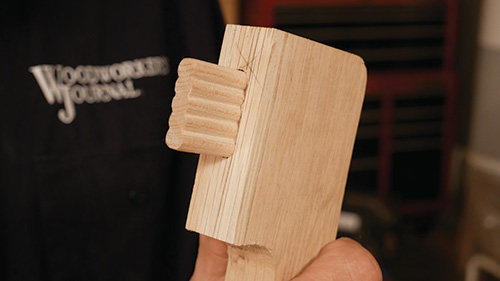
The last bit of machining involves drilling out mortises for Beadlock® loose tenons. The Beadlock system forms rock-solid joints. Making these mortises involves simply drilling a series of holes, and the system is very affordable. But, other types of loose tenons or doweling systems will also work.
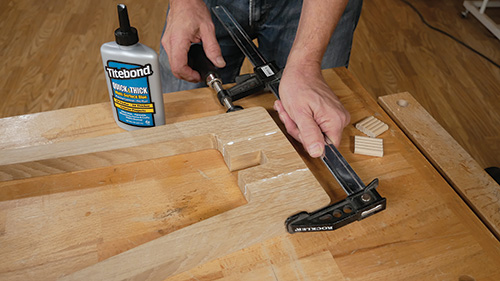
Now sand the legs smooth to get them ready for adding color in a short while. Glue and join each center column to a pair of legs with tenons inserted to form two flat leg subassemblies.
Making the Curved Supports
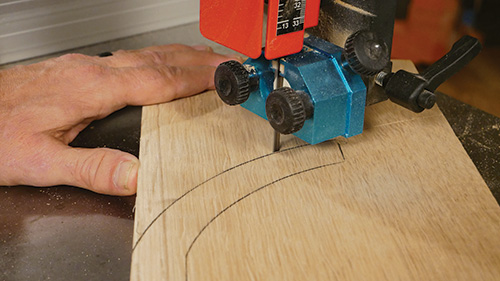
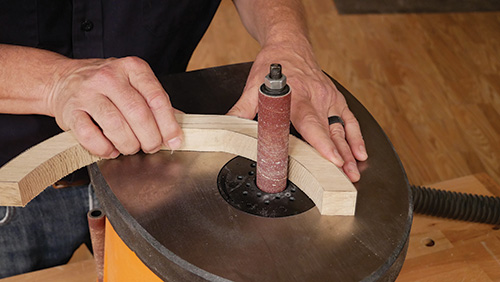
I once again used a template to help make the curved supports identical, just as I did with the legs. But in this case I did not use it to template-rout the final shape. In my opinion, the pieces are too narrow and could break during that process, which would not be good. Once I had the template ready, I transferred its shape to the white oak lumber and cut the two curved supports out at the band saw. I then refined them to their final shapes on a spindle sander.
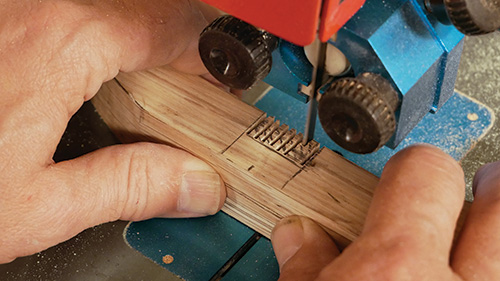
When I was happy with them, I formed the half-lap joints in the curved supports by making a series of side-by-side cuts on the band saw, then chiseling the remaining waste away. I tested the fit of the joint and used the chisel to pare away stock until the half lap was perfect. Final-sand the supports and set them aside with the leg subassemblies.
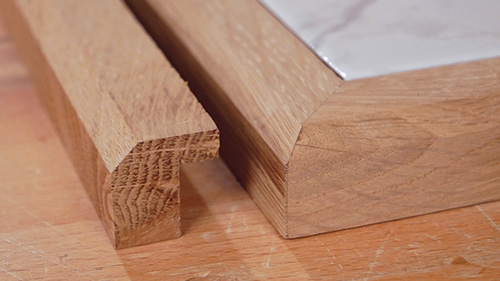
The next pieces to complete are the four frame moldings that surround the sub-top and tile. I made these, including the rabbet, on the table saw and then formed their bevels on the router table with a chamfering bit. You may need to adjust the rabbet to properly accommodate the tile you are using for the top.
Next, I cut the small triangular-shaped center column accents and sanded them smooth. Finish-sand all the other parts to prepare them for the colored dye.
Dye Before Glue
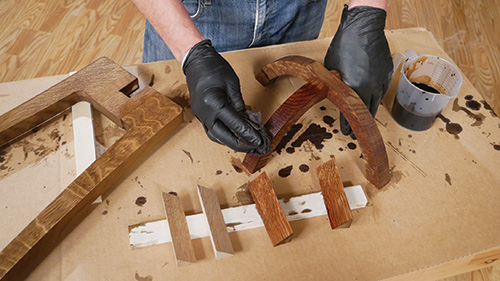
Why use dye rather than pigment stain? The biggest reason is that you can add all the color you want but without having to mask off the glue joints. (You can glue dyed wood together as if it were raw wood — so handy!) The other reason is that I like the color control that dye affords … the hues are essentially infinite. Here I used TransTint® Dark Mission Brown.
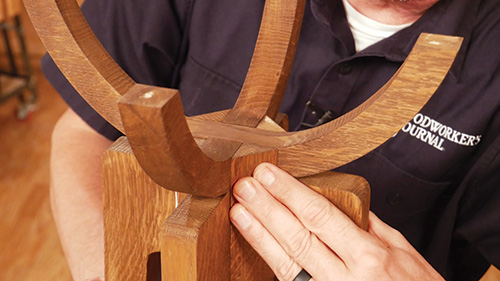
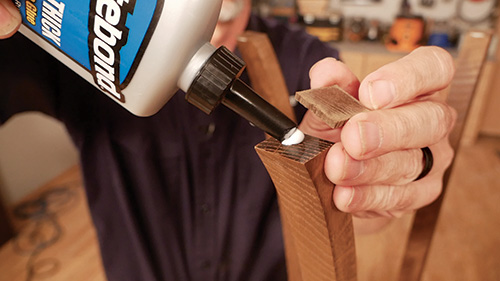
Quick & Thick glue from Titebond® works well on this project for a couple of reasons. First, its quick tack and drying quality really help in these specific glue-ups, especially with the column accents. Second, it works great with multiple materials, like the ceramic tile, wood and MDF that we are using on the top of the stand. As I mentioned, I glued these dyed pieces together without a hitch. The last thing to do was to glue some small pieces of hardboard to the legs of the stand. They will help to keep the short grain on the corners of the legs from chipping off, and they create nice little feet.
Finishing Up
With all that done, I buffed the piece down with a grey synthetic pad to remove any raised grain the water-based dye created when I flooded it on. Then I used an aerosol can of shellac to apply two seal coats of clear finish. Shellac is an easy-to-use product that will build up a film coat quickly. I followed that with a final coat of satin lacquer from a spray can as well — rattle can finishes are so easy to use.
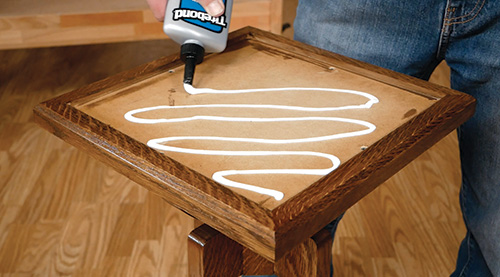
Grabbing the Quick & Thick glue again, I secured the ceramic tile to the sub-top and the project was done! All that was left to do was to find a nice plant.


