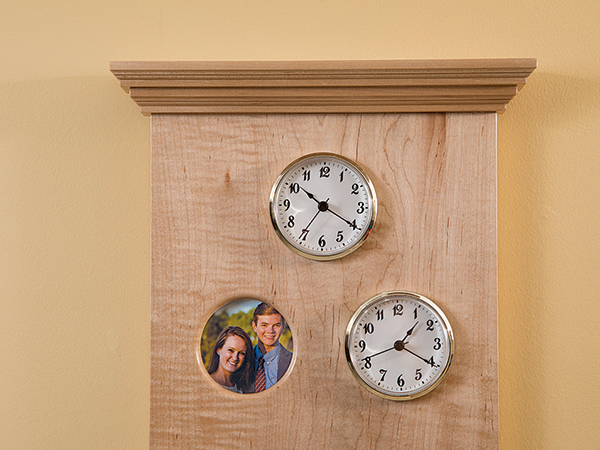
This twin clock’s unique styling can be adapted to many purposes. You could set your local time in the top clock and the time of a loved one who resides in another time zone in the lower clock, next to a picture of that person. He or she may be in the military, away at school or even on an African safari!
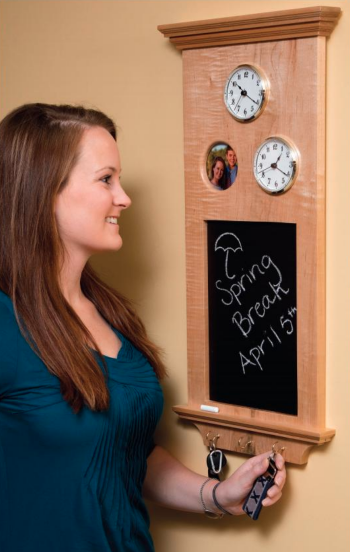
Another idea is that you could make the project without the upper clock and just put a picture of anything or anyone you love in the frame. Either way, you’ll have a handy key ring holder and chalkboard for reminders or inspirational quotes. However you choose to set it up, this attractive and multifunctional project also incorporates many different woodworking techniques to try.
Getting Started
Just about any wood species will work well for this clock. We chose soft figured maple and finished it with shellac. The shellac adds a warm golden tone to the wood, which matches the gold trim on the clocks. It also highlights the figure, while being easy to apply and fast-drying.
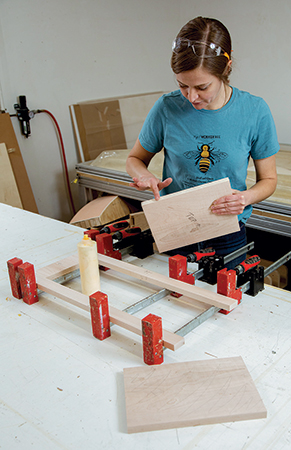
Start by making the main panel that will become the body of the clock. The body finishes to 11-1/4″ wide, so if you can’t find a piece of wood that wide, you will need to glue it up. If that is the case, take the time to arrange the grain pattern in a pleasing way. Make the blank oversized to start with. Clamp up the panel and set it aside for now.
Rough cut pieces oversized in width and length from extra stock for the top and bottom moldings. The molding for the bottom portion should be oversized in width by at least 2″ to make ripping on the table saw safer. Now cut two pieces for the top built-up molding to the exact size shown on the Material List.
Forming the Body
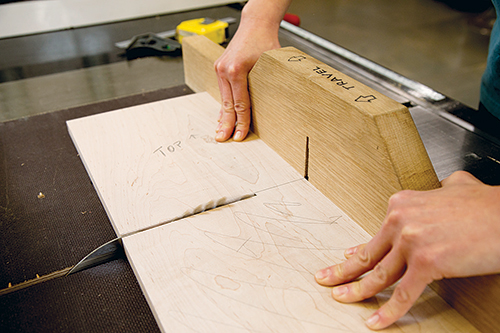
To get started on the body, you will be doing a bit of addition by subtraction. At the table saw, rip 1-5/8″-wide pieces off the edges of the blank and set them aside. Once you’ve cut the next parts, you will glue these pieces back together; mark them now so you’ll know what their arrangement should be.
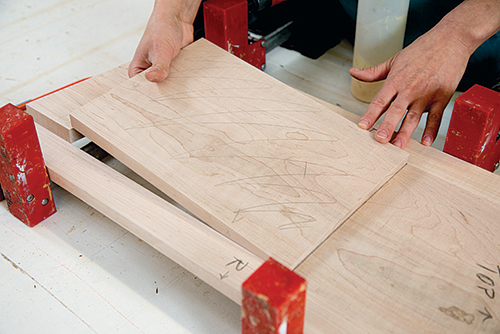
Next, using the crosscut sled on your saw, cut off what will be the top section of the body from the remaining section of the blank and then cut off the lower component.
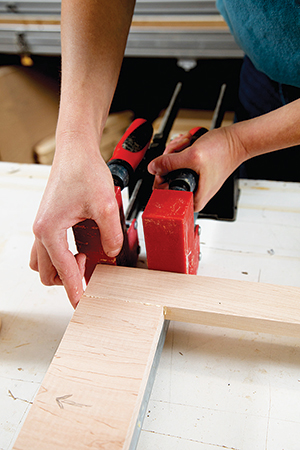
Test-fit the pieces together and measure to check your dimensions. Make any adjustments necessary. When you glue up the panel, align the top and bottom sections perfectly flush with the side lengths, leaving an 8″ x 12″ chalkboard space. Scrape off glue squeeze-out when it is still tacky. Once the glue joints dry, sand the panel up to 120-grit.
Routing Decorative Molding
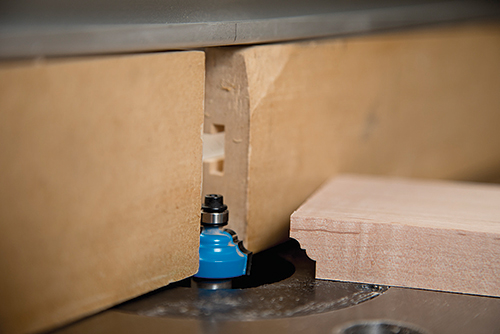
Setting the body aside for now, grab the molding stock you cut up earlier. Chuck an ogee router bit in your router table, because it’s time to rout the molding. Shaping profiles into the two top molding pieces is a multistep operation.
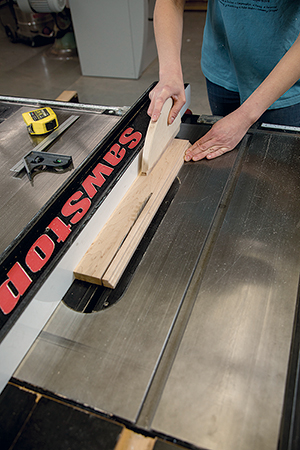
Rout the ends of the moldings first. Use a miter gauge with a sacrificial piece of stock behind the workpiece to avoid tear-out and to make the cut safely. Shape the profile in several passes, raising the bit a little each time to remove more wood. For each pass, shape the long edges after you’ve routed the short ends.
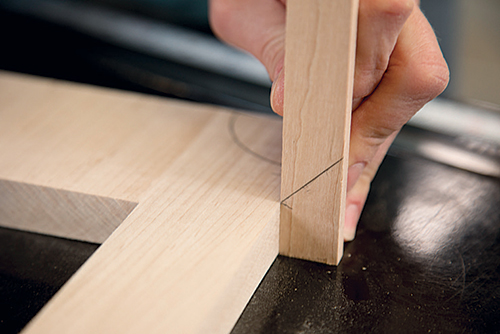
When you are done with the top pieces, grab the material for the lower molding. Machine one of its long edges, starting with a lowered bit as before. When you’ve got the shape you want, rip the molding to its final width. Now you need to wrap the lower molding around the body. We used a miter saw to make the cuts.
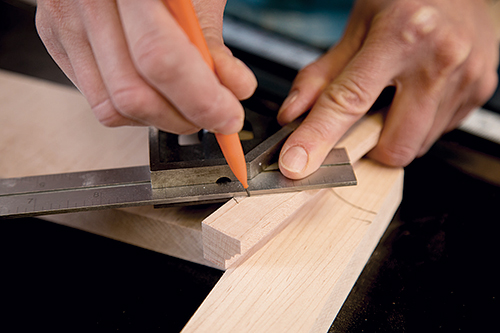
Mark out the miters and set up your saw for the cuts. We recommend adding a 3/4″-thick sacrificial fence and also using a piece of thin hardboard or plywood to make a zero-clearance insert for your saw.
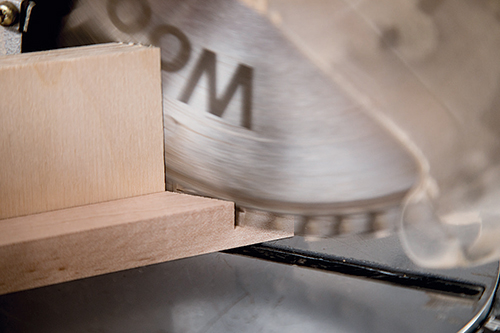
Cut the short “return” pieces (left and right) from the molding first. Then miter-cut the long front section. Once everything fits properly, set the moldings aside — you’ll attach them to the body later.
Square Hole Routing Jig
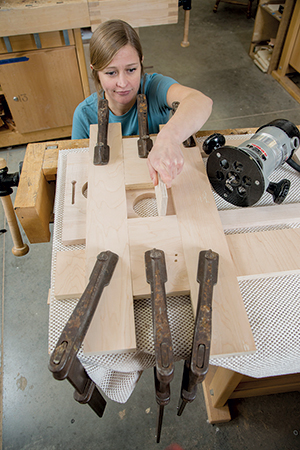
To form the “square hole” — technically called a housing — that captures the plexiglass pieces, we used a router with a bearing-guided pattern-making bit.
You can get rather fancy making an adjustable jig for routing squares and rectangles. We simply clamped oversized straight pieces of wood in a configuration the exact size of square we needed to cut. Your router base will tell you how wide the jig pieces need to be in order to have room for clamping and not hit the router.
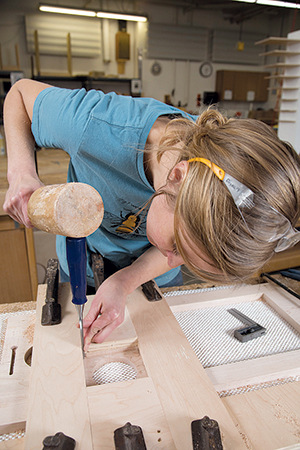
In this case, our author used 4″-wide side pieces to make clamping and acquiring the desired dimension easier. She also used a scrap piece 4″ wide space to lock in the other 4″ dimension. You will need a scrap piece under these pieces to provide a good way to clamp everything securely. Plunge your router and cut a 1/4″-deep, 4″ x 4″ square. Take several passes to minimize burning. Moving the bit’s bearing against the jig’s edges in a clockwise motion, remove only about 1/16″ material at a time. Adjust the depth of the router bit after each pass. To be safe, make sure you unplug the router while making adjustments.
Then use a mallet and chisel to square the corners of this rabbet. The jig gives you a nice reference surface for more accurate chiseling.
A Body Shape-up
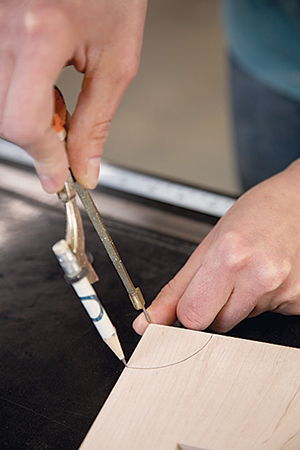
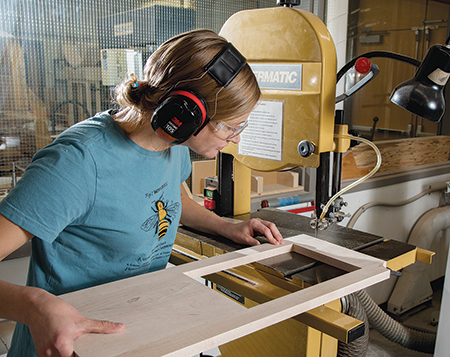
In order to make this project hold two clocks and hang on the wall, we’ve got a few more machining chores to complete. To make the decorative arcs on the lower corners of the body, use a compass to draw the 1-3/8″-radius circle cutouts on the bottom corners. Then cut the quarter circles out at the band saw or with a jigsaw. If you have a spindle sander, use that to sand these curves. Otherwise, you can wrap a large dowel with coarse sandpaper to remove the saw marks and smooth the edges.
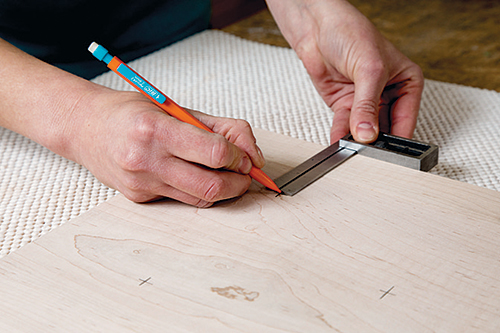
Next, lay out where the holes for the clocks and picture will go. There are a few ways to make these holes. The most straightforward, of course, is to use a 3″-diameter Forstner bit in a drill press.
If you don’t own a Forstner bit that large and you don’t want to spend the money to get one (they are not cheap), you could use an adjustable circle cutter instead — take your time and drill slowly, keeping your hands well away from the cutter’s spinning shaft. A third option would be to make a template with a 3″ hole that you can use to guide a router and a long piloted pattern bit. Or, bore these holes with a 3″ hole saw bit.
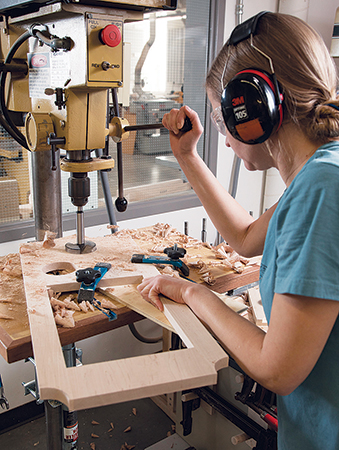
One of the cutouts also needs a 4″-square housing milled behind it. Rout the “square” hole and then cut two pieces of 1/8″-thick plexiglass to fit the opening. These will hold your forget-me-not photo sandwiched between them. You can cut plexi on either a table saw or band saw using most quality blades. For that same picture hole, use a 5/16″ roundover bit in a router to profile and soften the front edge of the opening.
Another routing task on the agenda is creating a keyhole slot in back to hang the clock on the wall. The large opening that will receive the chalkboard needs to have a rabbet formed into its back edge, too. Use a 1/2″ rabbeting router bit on the router table to mill the rabbet. Make a few passes of no more than 1/16″- to 1/8″-deep at a time until you’ve reached 1/4″- deep. You may need to make climb cuts if the grain direction is causing any tearout. Then use a sharp chisel to square up the corners.
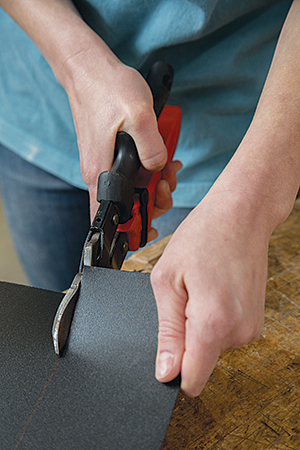
Now would be a good time to cut a piece of backer board that secures the chalkboard. Then cut the sheet metal magnetic chalkboard with tinsnips to fit its opening. The metal may crinkle a bit as you cut it, but remember that the chalkboard fits into the rabbet and is held in place by the backer board, so some edge roughness will be hidden. Still, cut the metal carefully to avoid excess distortion or raggedness. Practice by making a test cut or two.
Using a Keyhole Bit
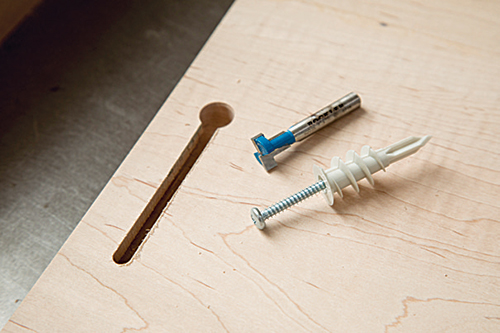
The most important thing in using a keyhole bit is to make the cut in one pass, then turn off the router and remove your stock.
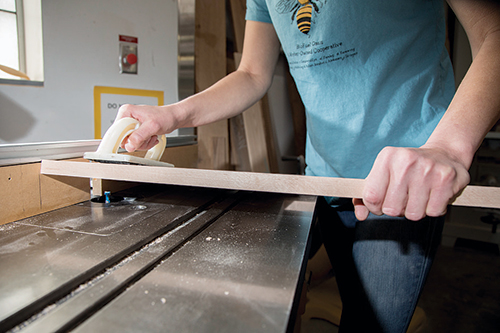
That means it is important to test the cut on scrap stock — not only to check out the position and depth of cut, but the process of making the cut.
Completing Last Details
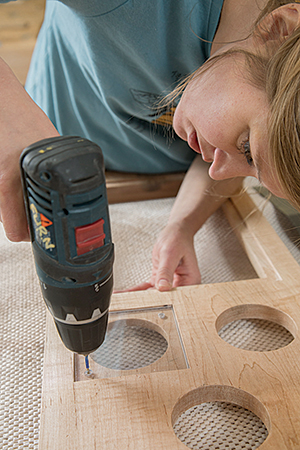
You are almost done! Drill 1/8″ holes in two of the corners of the plexi so that you can use #8 x 1/2″ screws and washers to hold the picture in place. Drill pilot holes for the screws into the wood with a 3/32″ drill bit. Go ahead and pre-drill for the cup hooks on the front. If you are careful, you can also drill pilot holes for the screws with washers that will hold the chalkboard in place.
Sand the main wood panel up to 220-grit. Then, attach the top moldings to the body. We used glue and a pneumatic brad nailer to speed this operation up.
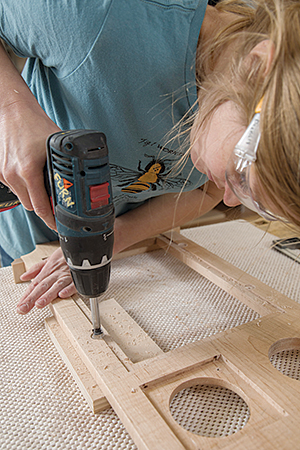
Next, glue and clamp the lower molding pieces in place. This time, we used a few pin nails on the underside of the bottom molding in the front and on the sides where they were not as visible. Remove any glue squeeze-out as needed.
Once the glue dries, make sure everything is sanded up to 220-grit. The mitered corners and all edges need to be softened now. Break the edges by hand sanding with 320-grit paper, and go over the front panel with the same grit.
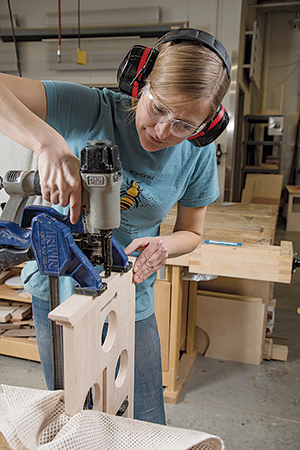
You are ready to apply finish. Our author used five light coats of spray-on shellac. Wait until it becomes tacky before re-spraying. When the finish cured, she used steel wool to apply furniture paste wax to even out the shellac and take down its glossy sheen. Work in small areas, and buff off the wax before it dries with a soft cloth. Another benefit of wax is that it makes surfaces soft and smooth to the touch.
Now all you need to do is screw the chalkboard and the picture in place and install the cup hooks. Set the clocks to the appropriate times, and just pop them into place in their holes. Super easy.
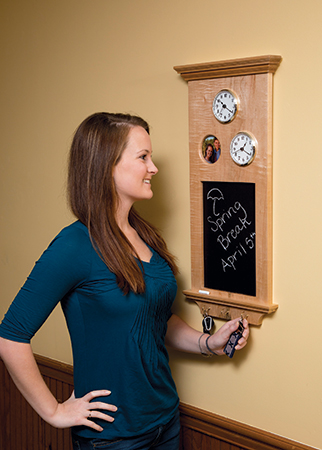
You can use a plastic drywall anchor to hang this piece on the wall. Different sizes can hold up to 50 pounds.
We hope that whomever you make this project for will return safely home or visit often in order to see your lovely craftsmanship and expression of love.


