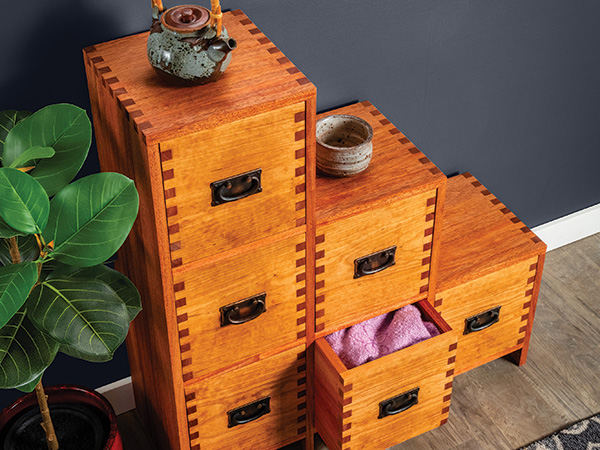
Creating pleasing, eye-catching geometry should always be one of our goals as woodworkers. And this stepped chest, which is loosely based on 19th century Japanese Tansu styles, will definitely give you that chance! The corners of its three-tiered carcass and six drawers showcase the best of what box joints have to offer: a repeating interplay of lighter face grain and darker end grain in those interlocking pins. Notice here that the pattern on the drawers doesn’t break from top to bottom on the chest, regardless of whether the drawers are separated by shelves on the tallest and center tiers. The joints progress as light-dark-light-dark, all the way down.
Another design factor worth considering carefully is grain pattern. That was very important to me. I wanted the horizontal grain of the drawer fronts to flow across the chest, so I cut those pieces sequentially from a long panel of stock to ensure that it would happen.
Same goes for the grain pattern around the carcass. I was aiming for a waterfall effect, flowing up the long side and cascading down the steps. Paying attention to grain patterns this way harmonizes similar elements. No drawer front or carcass panel calls more attention to itself than another. That way, wood grain unifies the design rather than disrupts it.
Have you noticed yet that I used figured cherry for the drawer fronts but quartersawn African mahogany for the other visible parts? I think the contrast between swirly cherry grain and ribbon-stripe straight grain of the mahogany looks great!
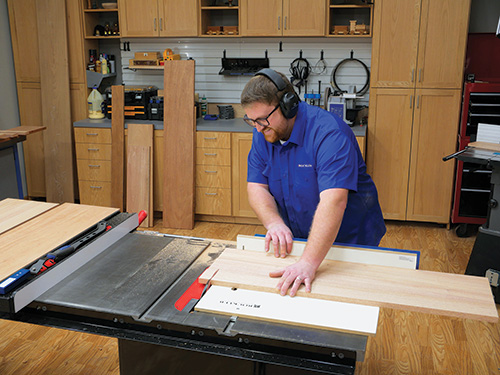
From a construction standpoint, I’ll make two suggestions: Get comfortable making box joints before you build this project. They’re not difficult, but they do require meticulous machining so they slip together without force and close seamlessly. Second, round up a LOT of bar clamps. You’re gonna need ’em!
Routing Carcass Box Joints
This chest’s carcass will require about 13 lineal feet of 12″-wide stock, so select enough 4/4 lumber to create panels for the first six parts on the Material List. African mahogany is one of those species you can often find in unusually wide boards, so if you can create your carcass panels from single board widths, more power to you!
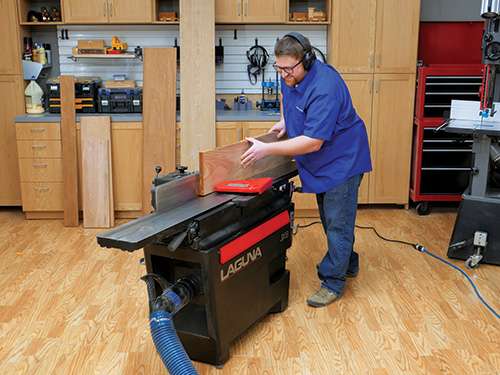
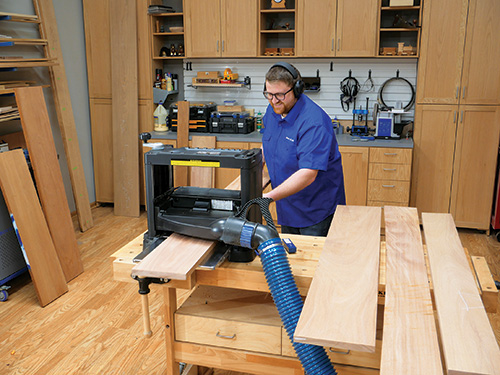
Since I had to glue mine up from narrower boards, I paid careful attention to grain matching in order to blend the glue lines so they wouldn’t stand out. I planed my stock to 13/16″, glued up the panels and surfaced them down to 3/4″ after they came out of the clamps.
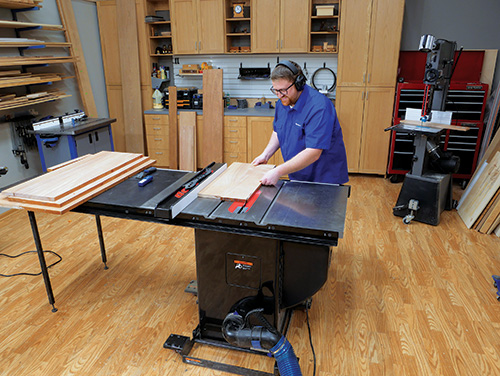
Trim the right and left end panels, the two inner panels and the right, left and center top pieces to final length. Before you have a chance to forget their arrangement, carefully label each of these workpieces so you can keep their grain flow and orientation correct from here on out.
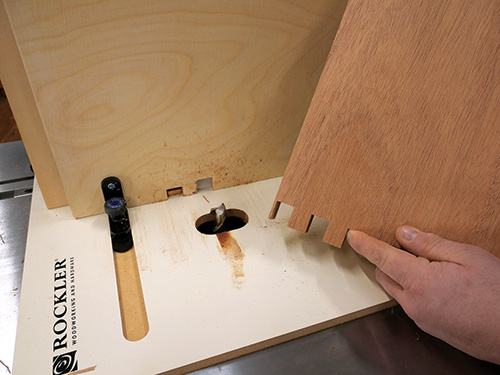
It’s time to cut those box joints in the carcass panels, so study the Exploded View Drawing. Notice that each vertical panel has a slot cut on the front edge of its box joint and a pin at the back. The pattern of the top panels is reversed — there’s a pin on the front and a slot at the back. So be sure to order the cuts on your box joint jig with this arrangement in mind.
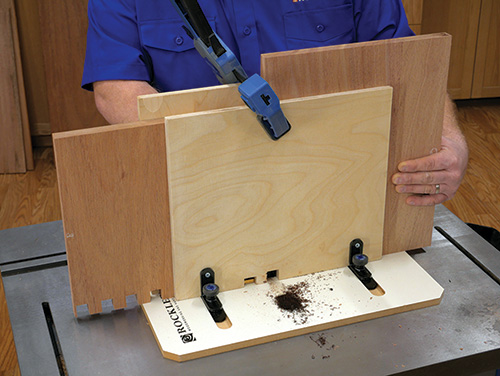
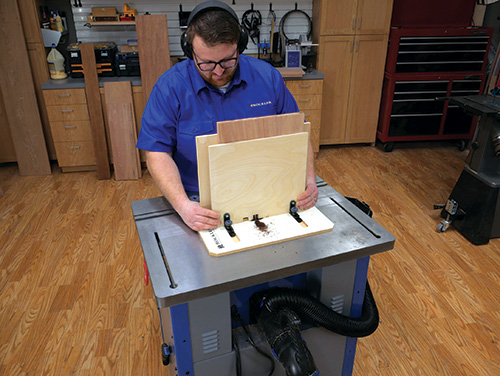
I used Rockler’s new Router Table XL Box Joint Jig and a 3/4″-diameter upcut spiral bit on my router table to mill these joints. The oversized jig works similarly to Rockler’s smaller box joint jig. It features a brass indexing key to set up the routing pattern and a base that clamps to the router table’s miter slot to secure it. A metal sled slides in a pair of grooves on the base to cut the slots, and it’s large enough to fasten sacrificial fences in front and back to support really big workpieces like these.
Follow the instructions that come with the jig to set it up so you can mill the pin-and-slot patterns across the carcass panels. If you’ve used Rockler’s smaller jig before or even made box joints on a table saw with a miter gauge jig, the process will be very familiar here.
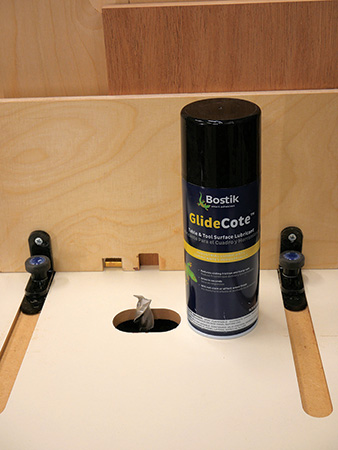
I did learn a few important machining tips that I’ll pass along now. For one, routing 3/4″ x 3/4″ slots in single passes is demanding work for the router and router bit. In order to preserve the bit’s cutting edges, I sprayed it between passes with Bostik GlideCote, a dry lubricant that made the cutting process easier with less burning. I also routinely cooled the bit with compressed air.
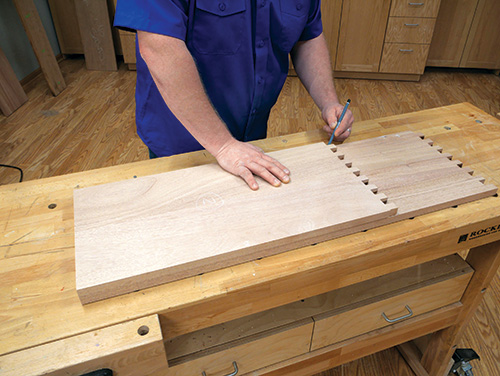
Cumulative error can impact long runs of box joints. In this case, my last slot cut on the top panels often left me with a sliver of extra stock along the edge. I compensated for this by making the final slot and pin just a tad wider than the others to trim this sliver away.
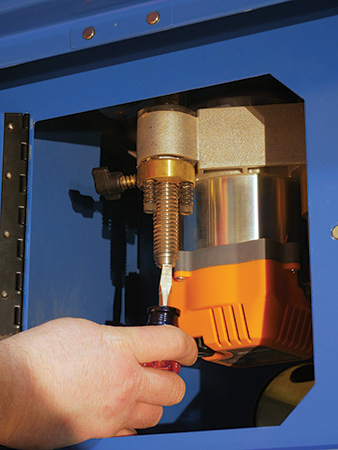
Also, you may need to raise or lower your router bit slightly to tweak the cutting depth. My router jig was in the way, but I could still make this adjustment by turning the threaded post of my router lift up or down from underneath the router table. That was really helpful!
Milling Stopped Dadoes
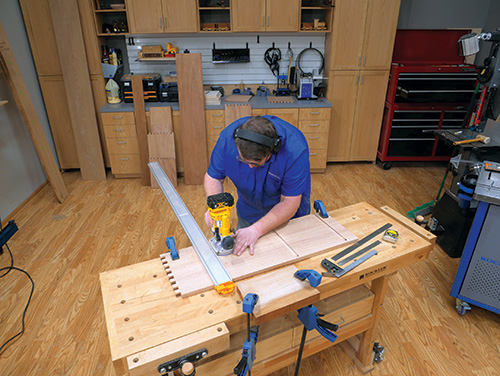
The six shelves, as well as the left ends of the top right and center panels, fit into dadoes in the vertical carcass panels that stop 3/8″ short of their front edges. I laid out these dado positions for the right and center top panels using the right end panel and right inner panel as guides; the bottoms of the joint slots on these two vertical panels set the location of the top panel dadoes. Follow the Shelf/Top Locations Drawing on the preceding page to lay out the other 12 shelf dadoes — they line up with one another from tier to tier.
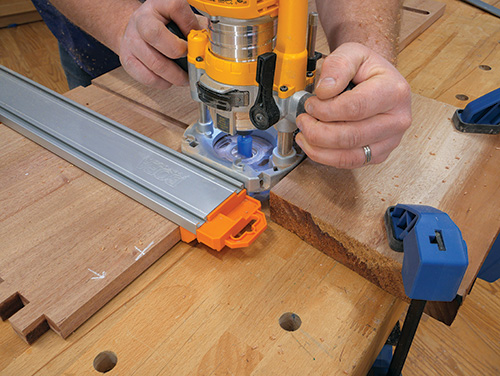
I planned to use sheet stock for the shelves rather than solid wood. If you do the same, choose a bit for routing the dadoes that matches the exact thickness of your shelf material, especially if you choose plywood that differs from the thickness of the center and right solid-wood top panels.
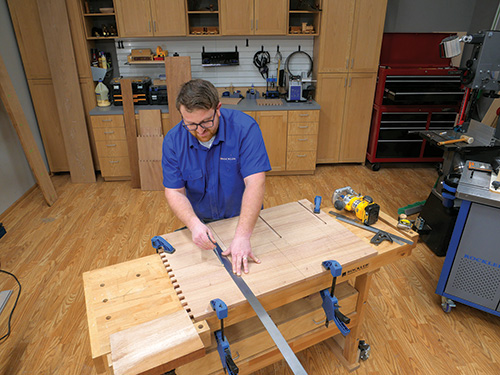
Plow all of the dadoes 1/4″ deep. I guided my router against a clamped straightedge for this operation to ensure that the cuts would be straight. Be careful to stop your dadoes appropriately.
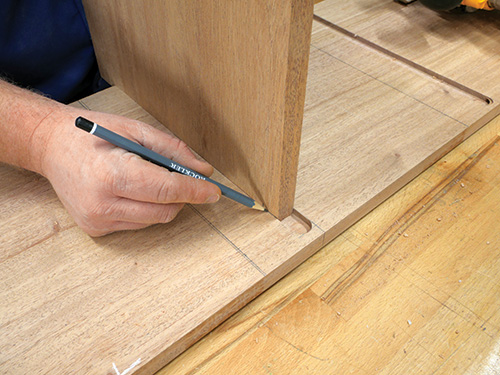
Because the stopped end of these dadoes is so narrow, I clamped a scrap stop to my bench behind the carcass panel to act as a stop for my router base, preventing me from routing too far.
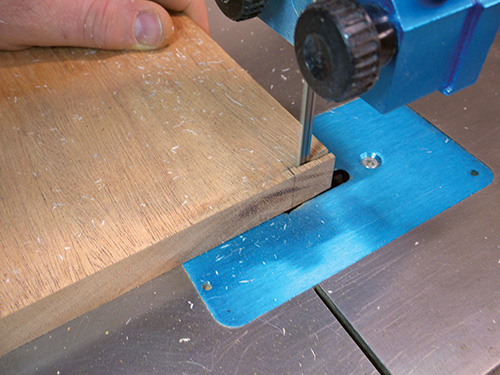
Once the dust settles from cutting the dadoes, mark and trim the front left corners of the right and center top panels so the front edges of these panels can overlap the stopped ends of the dadoes and be flush with the front of the carcass.
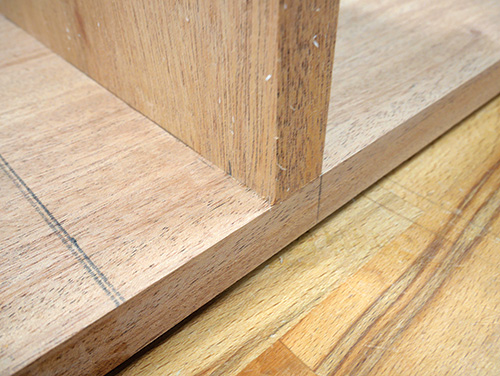
Next, it’s time to rout grooves for the cabinet’s three back panels. Prepare for it by switching to a 1/4″ straight or spiral bit in your router table, and raise it to 1/4″. Set the fence 1/4″ away from the bit. Now flip back to the Exploded View Drawing again to see where these cuts start and stop.
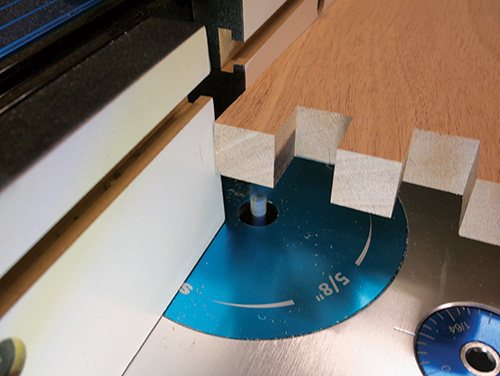
Notice that they stop 1/4″ down from the top ends of the rear pins inside the left tier. Same goes for the inner face of the right inner panel and the right end panel. However, for the right faces of the left and right inner panels, the grooves extend only to the top panel dadoes — that’s the third one up for the center tier and the second one up for the right tier.
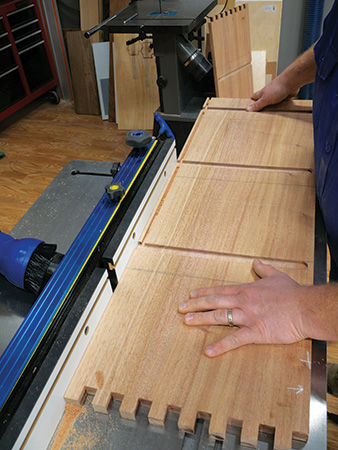
When you’re plowing these grooves, be sure you know where the cutting limits of the bit are. Why? Because depending on the cut, these grooves stop in different places or even must start as “blind” drop cuts onto the bit. Think carefully about each groove, and stay focused!
When the grooves are done on the vertical panels, cut back panel grooves all the way across the inside faces of the three top panels.
Assembling the Carcass
Go ahead and cut the six shelves to size so you can carry out a full dry-fit of the carcass parts you’ve made so far. Make sure the box joints slip together properly and the shelves seat completely in their dadoes. If all looks good, sand the inside faces of the parts up to 180-grit.
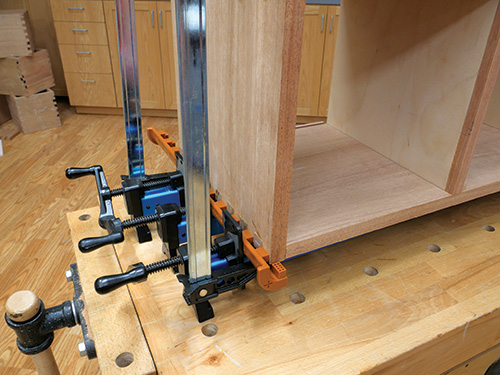
I assembled the carcass in three stages to keep the gluing and clamping process manageable. First, I glued up the left tier with the shelves in place. I used Rockler Clamp-It Assembly Squares to help square up the corners, plus clamping cauls applied to the box joints to push them together snugly. Once that subassembly dried, I installed the center tier components onto it with glue and clamps. Then I added the right tier.
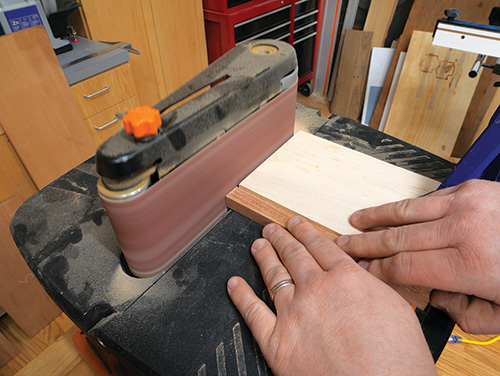
Next up, the front edges of the shelves need to be hidden. I selected a nice piece of mahogany and ripped it into 3/4″ x 3/4″ edging strips. Crosscut the edging slightly long so you can sand the ends as needed for a push-fit into place on the shelves.
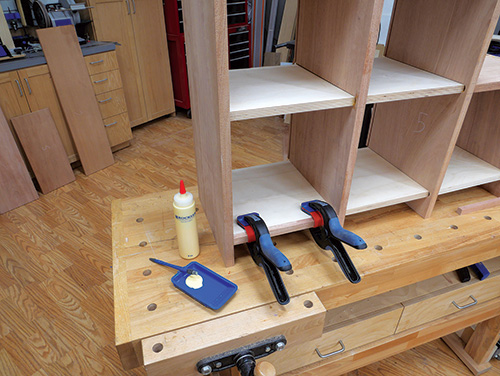
Sand their faces smooth, and glue and clamp the edging to the shelves. Rockler’s Bandy Clamps are a nifty solution for attaching edging like this, but if you don’t have some in your shop, you can also hold the pieces in place with strips of painter’s tape.
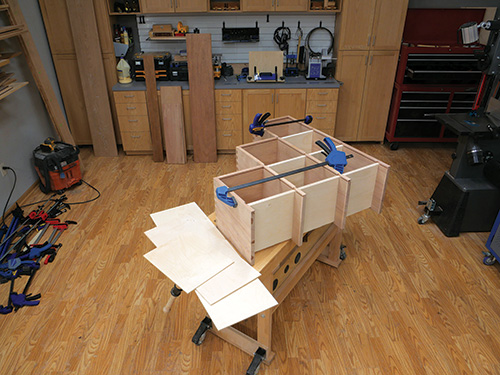
Wrap up the work on the carcass by measuring its openings for the three back panels and cutting them to size from 1/4″ plywood. It’s a good idea to verify the actual widths of the back panels you need by measuring each opening from groove bottom to groove bottom; sometimes a panel might need to be a tad narrower or wider than the Material List dimensions specify. Finish-sand your back panels and dry-fit them in their grooves. If all looks good, go ahead and glue them into place.
Building Drawers
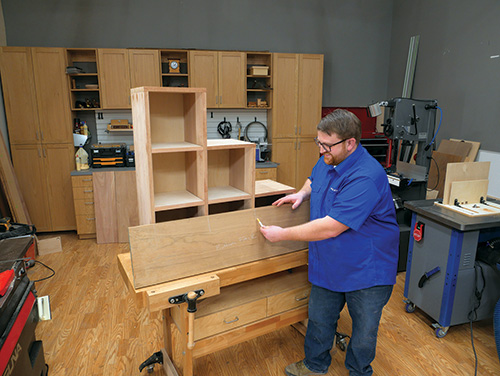
If you’ve prioritized grain pattern so far like I have, be just as fussy when you glue up stock for your drawers. I prepared mahogany panels that were long enough to harvest two sides and a back panel for each drawer. That way, I could once again create a continuous grain pattern around the mahogany sections of the drawers. I ripped these panels to width carefully so they were able to slide into the carcass openings with a bit of play, to allow for seasonal expansion but not be a sloppy fit. I also prepared a long cherry panel for the drawer fronts and sectioned it off so the drawers that would be positioned side by side would have drawer fronts that came from adjacent pieces of the panel.
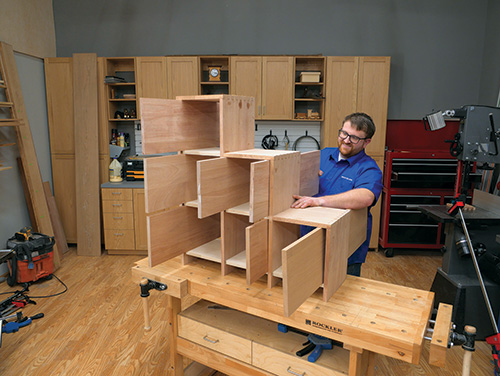
Crosscut your mahogany and cherry panels to create fronts, backs and sides for each of the six drawers. Be sure to mark them carefully to keep their orientation clear, in terms of which parts form which drawer and how the four parts of each drawer box are arranged.
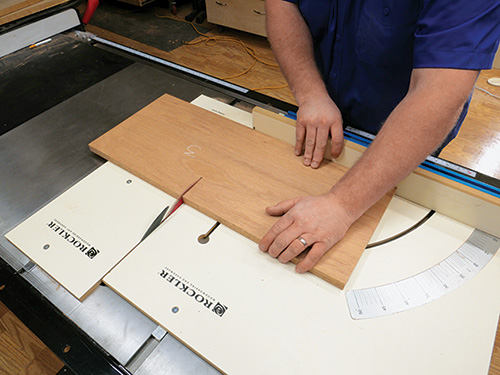
Then head back to your router table to set up the box joint jig and 3/4″ router bit again. Dial in its settings on some test scraps to confirm that the joints will fit together correctly. Then, you know the drill: mill the pin and slot patterns on all four panels of each drawer. Be sure you’re clear about the fact that every drawer front and back begins its box joint pattern with a pin on top and a slot on the bottom. In turn, that means the drawer sides will have a slot on top and a pin on the bottom instead.
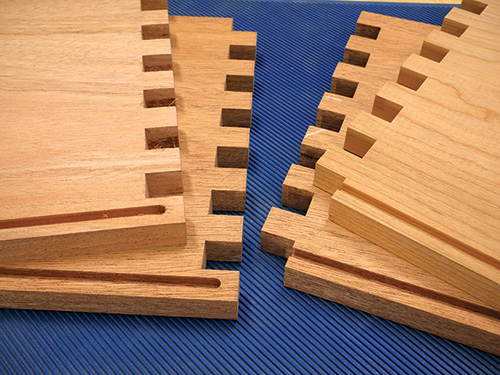
Dry-fit the six boxes together to make sure the joints are good to go. At that point you can tear down your box joint jig setup and switch your router table over to the 1/4″ bit again for plowing more 1/4″-deep grooves for the drawer bottoms. Position the grooves 1/4″ up from the bottom edges of the drawer parts. For the drawer fronts and backs, go ahead and run these grooves all the way across the inside faces of the parts — the bottom box joint slots will hide them. For the drawer sides, however, these grooves need to be stopped 1/4″ in from the ends of the bottom pins. Mark each drawer side for where to start and stop those grooves, and mark the limits of the router bit on your router table fence as well. After all this work, now’s not the time to make a mistake and ruin a drawer side by cutting the grooves too far!

Cut six drawer bottoms to size from 1/4″ plywood, finish-sand all the drawer parts and glue each drawer together. Here’s where all those bar clamps I suggested you find at the start will come in handy: I used eight clamps per drawer, with pairs of scrap cauls at each corner, to help close the joints.
Finishing Up
Sand the outer surfaces of the carcass smooth, and do the same thing on the drawers. Then mark and drill for the drawer pulls, centering them on the drawer fronts. I chose Rockler’s Solid Cast Brass Ring Pulls for my chest. After that, I applied three coats of Watco Danish oil to the carcass and drawers, installed the pull hardware and found a nice spot in my home for this unique little chest.


