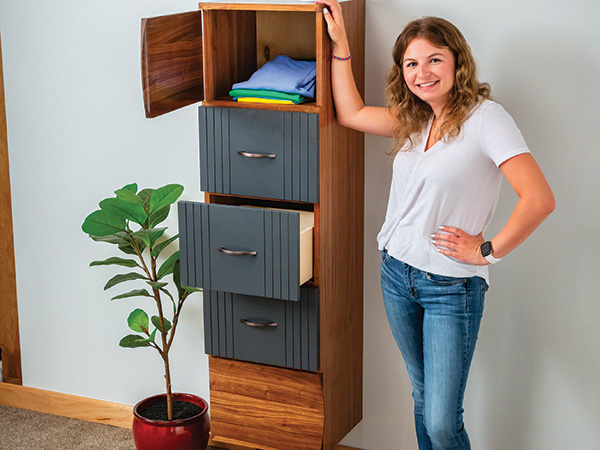
Every now and then, it’s fun to turn convention on its ear! And that’s exactly what Senior Art Director Jeff Jacobson has done with this tall, wall-mounted dresser’s design. It includes top and bottom storage compartments behind doors and three drawers that ride on undermount slides.
The dresser is only about 15″ wide, so it might be perfect for a narrow wall space or small bedroom. But notice that its three unconventional legs are centered underneath, so the dresser must be mounted securely to a wall stud. It’s not one you can move around a room, but it’s surely bound to be a conversation piece!
Building the Carcass
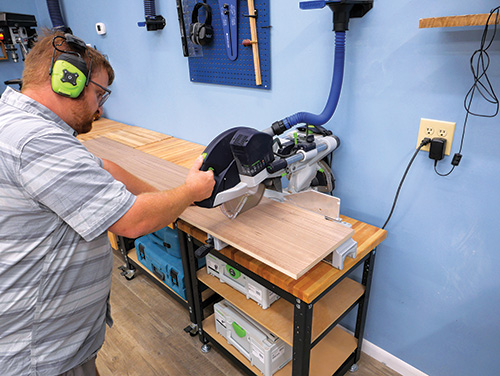
Get this dresser project off to a fast start by breaking down a sheet of walnut-veneered plywood into two carcass side panels, a top and bottom and four dividers, according to the sizes specified in the Material List. I used a track saw and my sliding compound miter saw with fine tooth blades for that job to help minimize tearing out the fragile face veneer.
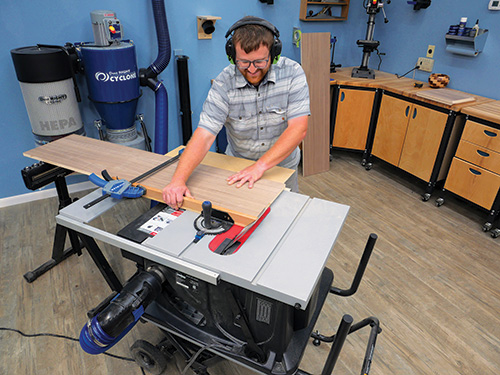
Notice in the Exploded View Drawing, that the top, bottom and side panels have mitered corners to help extend the illusion that this dresser’s carcass is solid wood. So very carefully trim the corners of those parts at your table saw with the blade tilted exactly to 45 degrees.
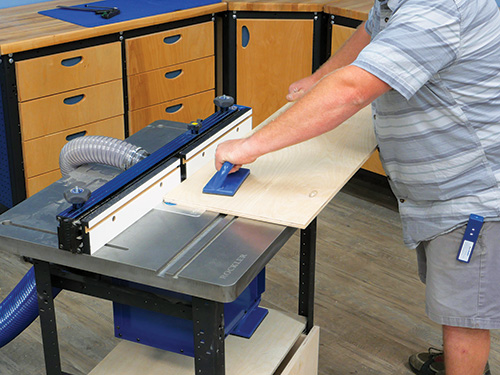
Then I dry-assembled the mitered parts to check their fit and so I could measure for a 1/2″-thick plywood back panel. Cut the panel to size now, too.
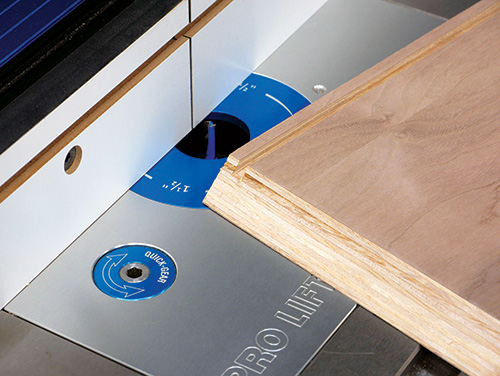
In the Drawings, you’ll see that the top, bottom and sides require a 1/4″ x 1/4″ groove cut 1/4″ in from the back edges of the parts. This groove around the carcass fits a 1/4″ x 1/4″ rabbet, milled into the edges and ends of the back panel, to both lock it securely in place and enable the back panel to be installed flush with the back edges of the dresser.
Remember, it’s the wall attachment point for the project. So, head to your table saw or router table to mill the grooves and rabbets with a 1/4″ dado blade or straight bit. Carry out a full dry-fit again to make sure the back panel fits into the carcass easily and the mitered corners close well.
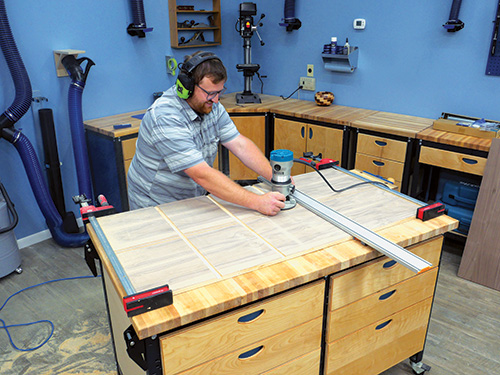
At this point, we can cut four 1/4″-deep x 3/4″-wide dadoes across each side panel to house the four dividers. I clamped them together, side by side, and milled the dadoes across both side panels in long passes with my router and a straightedge to ensure that the dadoes would line up evenly.
The plywood top and bottom divider panels are narrower than the middle dividers so their front edges can be covered by a 3/4″ x 3/4″ solid-wood trim piece. Go ahead and make up those trim pieces from walnut, and glue and clamp them to the front edges of the two dividers.
Preparing for Doors
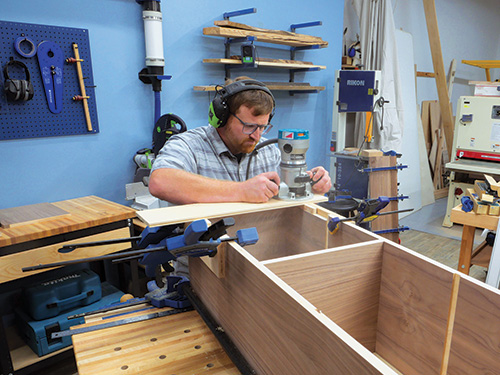
The dresser’s two doors recess flush to the front edges of the top, bottom and dividers, so we need to cut 13/16″-deep notches that extend from the carcass top down to the top divider and up from the carcass bottom to the bottom divider (see Drawings) on both side panels.
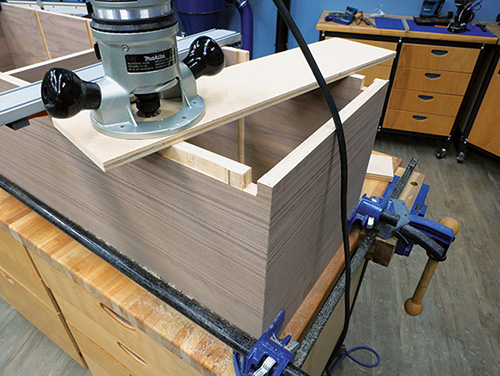
As you can see, I took care of that job with my handheld router mounted to a scrap plywood base and a 1/2″ straight bit. I carefully removed the face veneer in these notched areas first to prevent tearout, then hogged out the rest of the inner plies to leave clean openings. Alternately, you could use a jigsaw if you like.
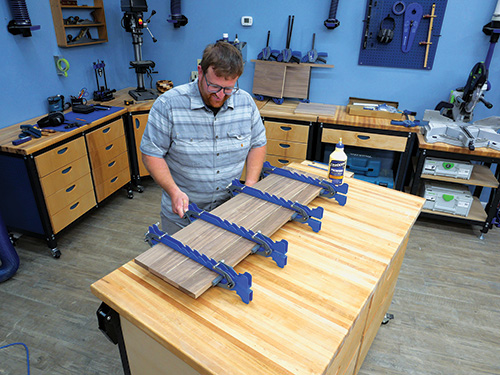
You’re ready to glue up a 3/4″-thick blank of solid walnut to create the two doors. I chose walnut stock for my doors with a pleasing grain pattern and no sapwood, so each door’s appearance would really complement the face of the dresser. Sand your door panel smooth when it comes out of the clamps, and rip and crosscut it to create two doors at final size. Then take a close look at the Drawings again and at the photo series above to get a clearer understanding of how the fingerpull edge on each door works.
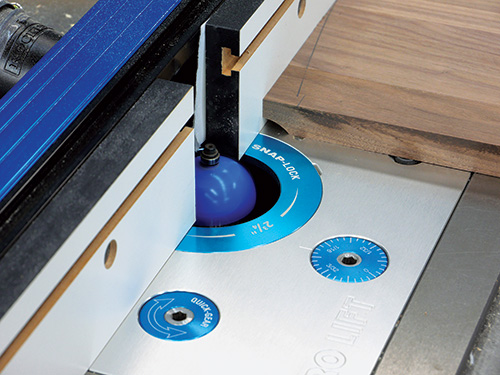
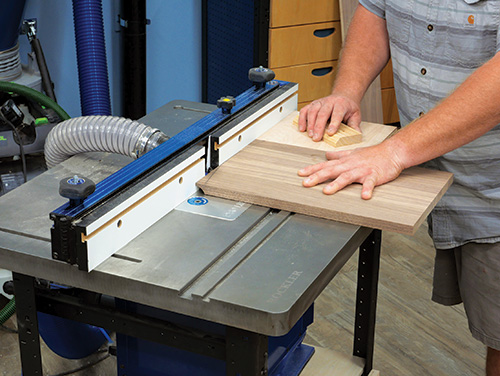
The sculpted lip on the door edge is created partially with a 1-7/8″-diameter cove bit in the router table, set to 9/16″ high and projecting 3/4″ out from the router table’s fence. The flat, fingerpull edge of the door receives this profile cut first, then a portion of the coved area is removed by cutting the routed edge of the door into a gentle, broad arc. The outer edges of the coved recess disappear, with the full cove shape remaining only in the apex area of the arc. Pretty cool, huh?!
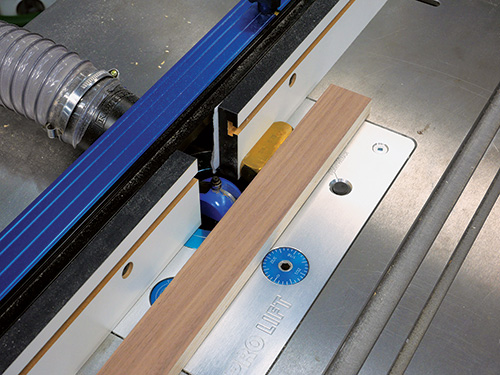
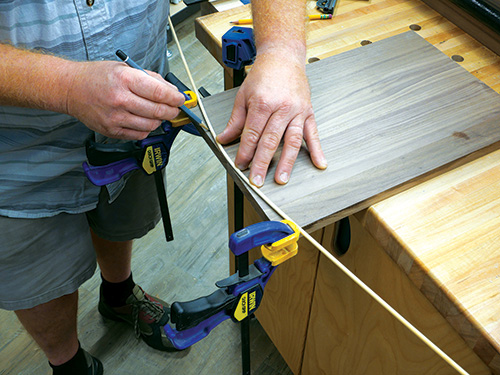
I used a thin dowel, flexed between a couple of clamps on the door, to draw the arc shape, then headed to my router table to make the cove cuts. Again, even though routing these coves will have you looking down at a curve drawn on each door, what you’re making is a simple cove cut along a flat door edge.
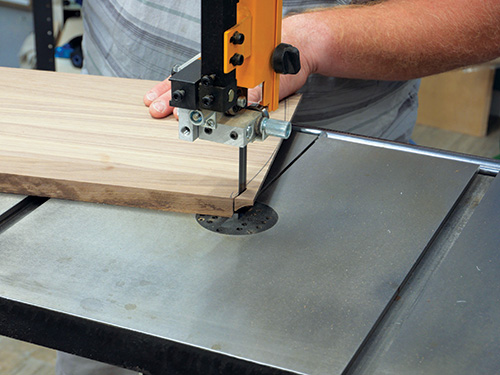
Once the coves are routed, take both doors over to your band saw to finish up the fingerpulls by sawing along the arcs. Complete these door details with some hand-sanding to remove any burn marks left by the router bit and to smooth the sawn edges.
Preliminary Hinge Installation
Brass knife hinges are about as sleek as hinges get, and instead of seeing long hinge knuckles along the edges of the dresser, as you would with butt hinges, or chunks of hinge hardware inside when you open the doors, as with Euro-style cup hinges, knife hinges are much more refined and subtle. There’s just a thin bar of brass for each hinge leaf, recessed into the top and bottom edges of these doors and the adjacent faces of the dresser’s top and bottom panels and dividers. The downside to knife hinges, though, is that installing them is more exacting than other hinge options. They offer no adjustability once installed. So, working patiently and precisely is the name of the game for getting these hinges hung on the project correctly.
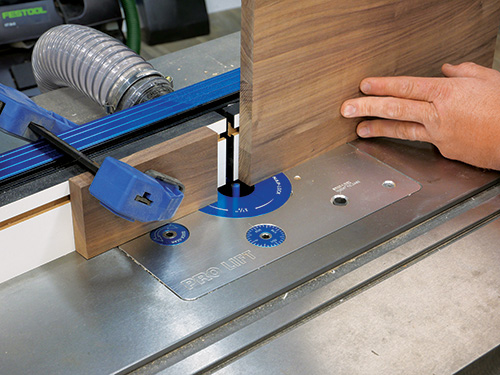
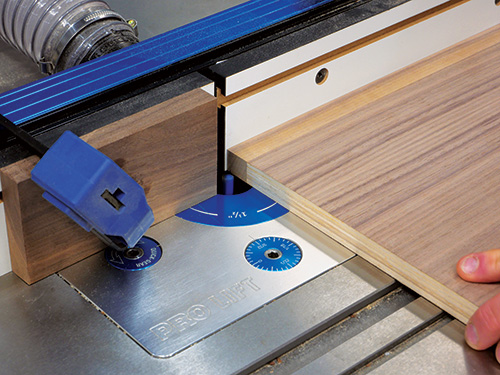
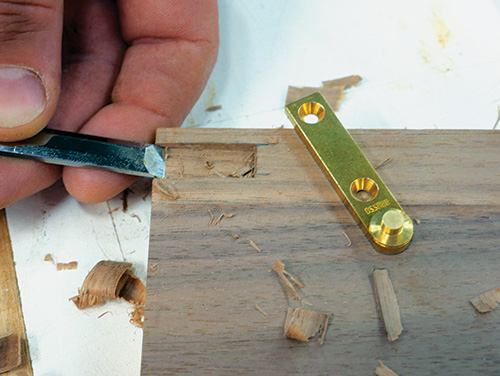
The first step of the installation process is to lay out the hinge-leaf sizes and locations on the top and bottom edges of the doors. I used a cutting gauge, a small square and a knife to incise the hinge-leaf mortises on the doors to make sure they would fit the hardware like a glove when I was done. It’s also important that the pivot points of the hinges are located completely outside the faces of the dresser, so keep that in mind when setting the mortise lengths on the doors. Removing the waste from the hinge-leaf mortises is quick and easy if you run the doors on-edge against your router table’s fence and use a 3/8″-dia. straight or spiral bit to zip away most of the waste. I clamped a scrap piece of walnut to the outfeed side of the fence to act as a stop block, preventing me from accidentally routing too far (it’s easy to make this mistake, believe me!). I then squared up the mortises with a chisel.
That takes care of the door-side preparation. Now the hinge locations need to be marked and the other hinge leaves cut accurately on top and bottom divider panels and the carcass sides. That’s easy to do on the divider panels with a similar router table setup that you used for the door-leaf hinges. But marking the hinge-leaf locations on the carcass side panels is trickier. That’s because the front edges of the carcass need to be covered with walnut veneer edge tape to hide the center plies, and it takes up a thickness.
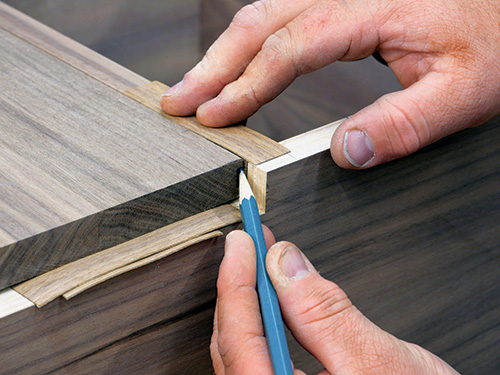
The door also needs to end up flush with the front edges of the dresser when closed. My solution was to use strips of walnut veneer as spacers to shim up the door where it would need to be in the carcass recesses. Once each door was accurately placed, I could mark their locations onto the side panels with a sharp pencil, then extend those lines as needed where the hinges would cross over the side panels to account for their pivot points.
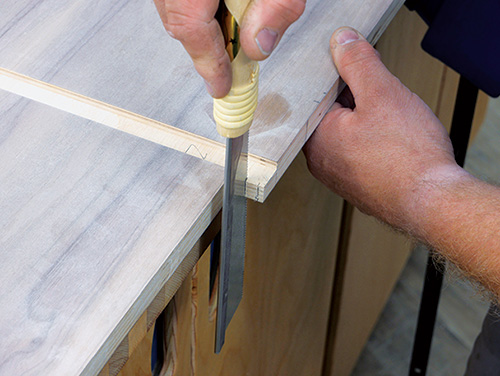
A narrow, flush-cutting backsaw was just the ticket to saw shallow pairs of layout lines for the hinge mortises on the edges of the carcass side panels, and I removed the waste in between the saw kerfs with a sharp chisel.
Assembling the Carcass
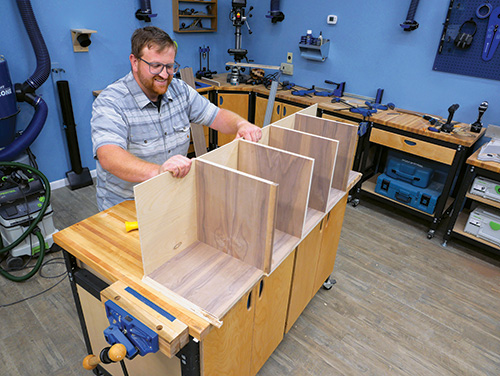
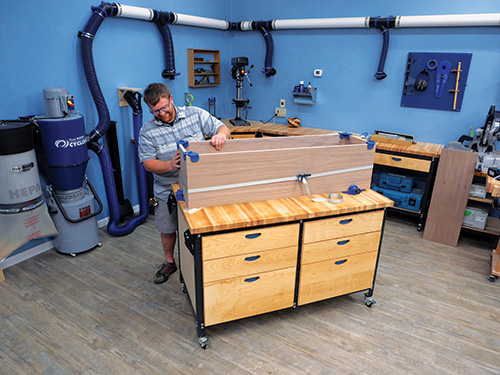
With the hinge prep work behind you, give all the plywood parts a final sanding, then go ahead and assemble the carcass top, bottom sides and dividers with glue and clamps.
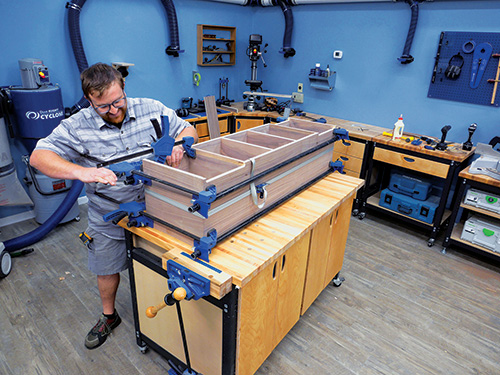
Make sure the assembly is square and that the four miter joints at the corners are as close to airtight as you can get them.
Making and Installing Drawers
Because this dresser is pretty narrow, the drawers don’t have to be heavy-duty. Some good quality 1/2″ plywood is all you need to build the drawer boxes. Cut panels for the fronts, backs, sides and bottoms to size, according to the Material List. The corner joints are 1/4″ x 1/4″ rabbet-and-dado style. You can see how to machine the joints in his article. Locate the drawer bottom grooves 1/2″ up from the bottom edges of these drawers, however, because you’ll need that clear space underneath for installing the undermount drawer slides used here. Finish-sand the drawer box components, and assemble the three drawer boxes with glue and clamps.
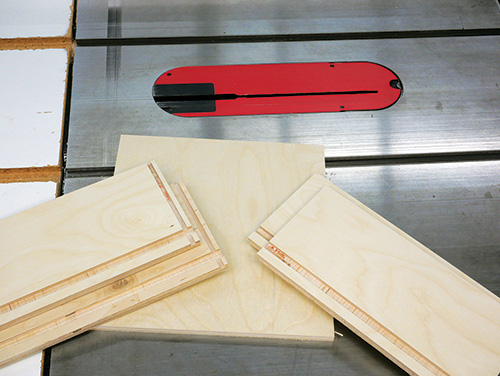
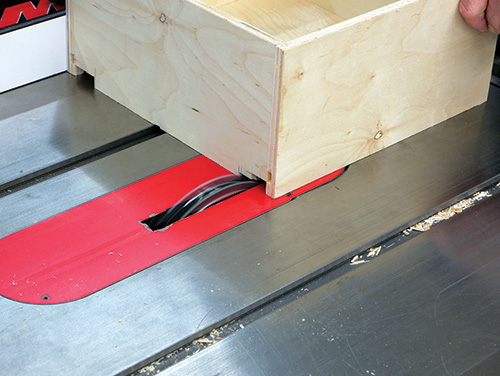
Rockler’s Soft-Close Undermount Drawer Slides require a 1/2″ x 1-3/8″ notch cut into the bottom back corners of the drawer backs so they’ll fit over the slide hardware. I cut those notches at the table saw with a wide dado blade. The instructions that come with the slides will also inform you that a hole needs to be drilled above these drawer notches to accommodate a sharp prong on the slides that helps to lock the drawers and slides together. Bore those holes now, too.
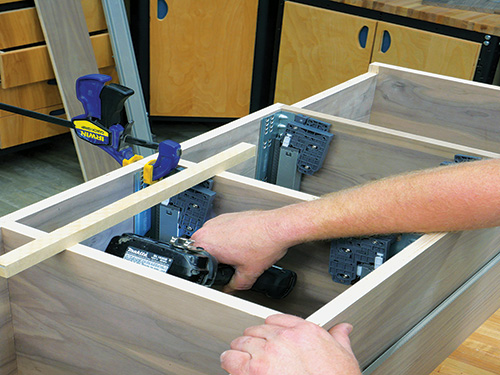
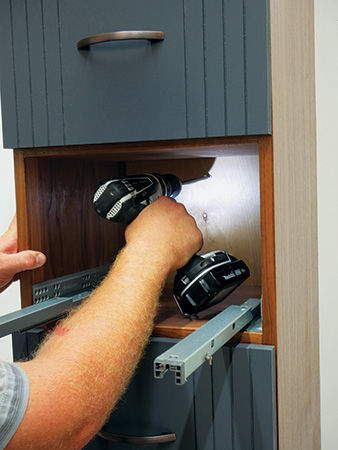
The main steel component of the slides fastens to the inside walls of the carcass, and a second component fastens to the inside front bottom corners of the drawers, underneath the bottom panels. Follow the hinge instructions that come with the hinges carefully to create the proper setback for the slides inside the carcass, and install them with screws. Then attach the “drawer” components of the slides to the drawers with more screws. Check that the setup works.
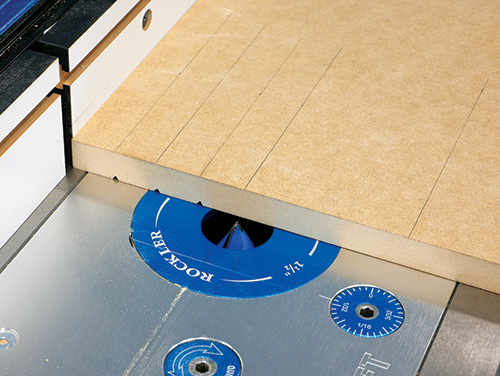
I painted the faces of these drawers, made from 3/4″ MDF, and used a V-groove bit in the router table set to 1/8″ high, to plow a series of decorative grooves into the faces one inch apart. You could space them differently if you’d like. Once you’ve painted the drawer faces, attach them with short panhead screws. Select your drawer pulls — I like the look of oil-rubbed bronze with dark woods like this — and install them.
Finishing Up
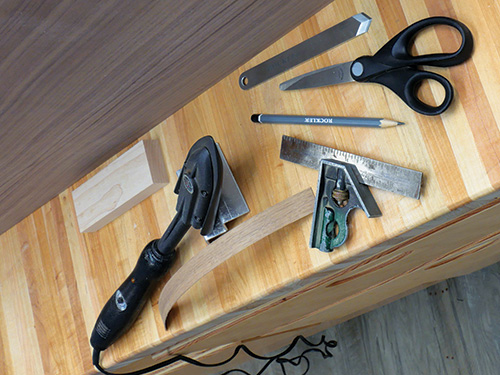
With all the hardware in place, you can go ahead and apply adhesive-backed walnut veneer edge tape to every exposed plywood edge to cover them up. I also added edge tape to the front edges of the walnut trim on the top and bottom dividers to bring those edges flush with the other carcass edges.
You still have a center leg and two outer legs to complete. I made mine from three pieces of walnut plywood, cutting their front and back curves at the band saw and hiding those edges with veneer tape. I centered the legs on the bottom of the dresser and spaced them 2″ apart. A few countersunk 2″-long screws, driven down through the dresser’s bottom and into the tops of the legs, is all it takes to fasten them in place. Again, remember that this unit must be attached to the wall with screws. Its design will not allow it to be freestanding.
Your choice of finish for the plywood components of this new dresser is entirely up to you. I suggest shellac, lacquer or oilbased varnish to really bring that walnut grain and color to life!
The only step left is to position it where you want it to be and fasten the dresser to a wall stud through the back panel with four to six #10 x 3″ screws, and it’s ready for use.


