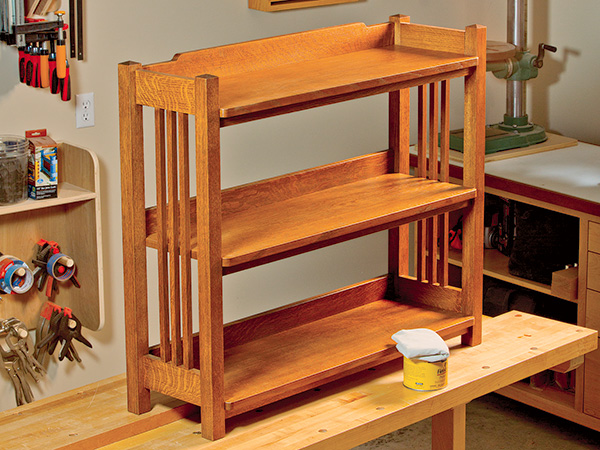
There seems to be a cyclical nature to shop sizes — most woodworkers start small when they take up the craft, then end with small shops again late in life. But small shops and the smaller benchtop machines that suit those spaces shouldn’t keep a woodworker from continuing to build substantive and challenging projects. This compact Stickley-inspired three-shelf bookcase is designed with mortise-and-tenon joinery and detailed with cloud lifts, slatted accent stiles and pyramid-topped legs.
Starting with the Legs
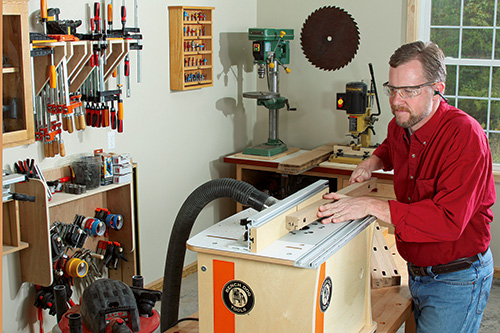
It would take 8/4 stock to make the four 1-1/2″-square legs (pieces 1) from single pieces of lumber, and that’s tough to come by. So, here’s an affordable approach that also provides more consistent grain pattern on all four faces of the legs: make them from doubled-up 4/4 riftsawn stock instead. Riftsawn, in which the growth rings run roughly 45° to the board faces, exhibits a more uniform, linear grain pattern from face- to edge grain. That helps the long glue seams on these legs to all but disappear in the blended edge grain. After surfacing two wide boards to 3/4″ thickness, face-glue them together. When the glue cures, rip the four legs to rough width, square them up and cut the legs to final length. Arrange the legs together, marking which faces you’ll want to see from the front and sides; orient the glue-seamed faces to the sides and solid faces to the front and back.
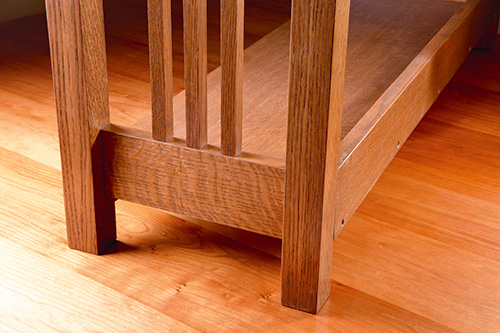
There’s a good deal of mortising to do on these legs: five mortises each in either 1/2″ or 3/8″ widths, depending on the joint. Carefully lay out the mortise locations on a front and back leg, using the Drawings on page 70. Then, transfer corresponding mortise layouts to the other front and back leg for consistency. Remember, the front and back leg pairs are mirror opposites, not duplicates. Double-check your accuracy before setting up your router table to begin the milling process.
Another tip to stay organized is to cut all the mortises of one width first before switching router bits to cut the remaining wider or narrow mortises. We started with a 1/2″ upcut spiral bit to rout the short front shelf support mortises, followed by the three back stretcher mortises. Mark your router fence to identify the outer edges of the bit, then mill the mortises in a series of “drop cuts” against the fence to reach the final mortise depth of 1/2″. When these are done, chuck a 3/8″ spiral or straight bit and adjust the fence settings as needed to tackle the pair of 2-3/4″-long side rail mortises; they’re also 1/2″ deep. Chisel the mortise ends square.
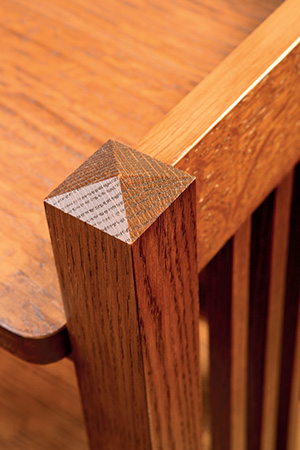
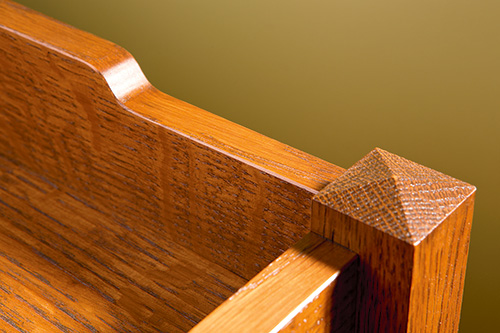
Now you can head to the table saw to cut pyramid tops on the legs. Tilt your saw blade to 18.5°, and make a series of four beveled crosscuts 1/4″ down from the top ends of the legs to raise the peaks. Use a sharp blade! Tip: hold the legs against a wide scrap fence on your saw’s miter gauge to support these cuts. Make a kerf cut through the fence to help position each beveled crosscut accurately. Or, start with a very long fence so you can clamp a stop block to register the leg bottoms instead.
Completing the Side Assemblies
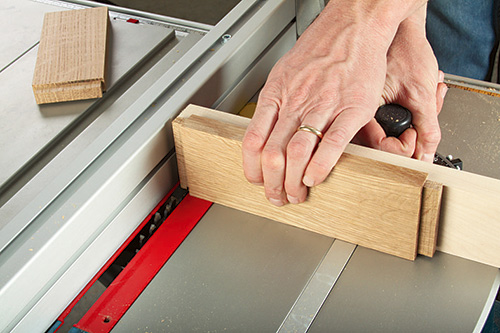
Set the legs aside, and mill stock for the four side rails (pieces 2) next. Their 3/8″-thick tenons are offset on the rail thicknesses, with 1/4″-wide shoulders adjacent to the inside faces of the rails and narrower 1/8″ shoulders on the outside faces. This way, the side rails will install flush with the inside faces of the legs and against the shelf ends. Cut the 1/2″-long tenons on your table saw supported by the miter gauge — remember to change the blade height accordingly when cutting the two different shoulder sizes. A test piece cut first is always a good failsafe in these situations. When the tenons are finished, mark and drill three 5/16″-diameter holes about 1-1/16″ deep for the dowel pegs that will fix the accent stiles in place. Use a doweling jig and drill/driver outfitted with a brad-point bit, or bore the holes at your drill press, holding the rails against a clamped fence.
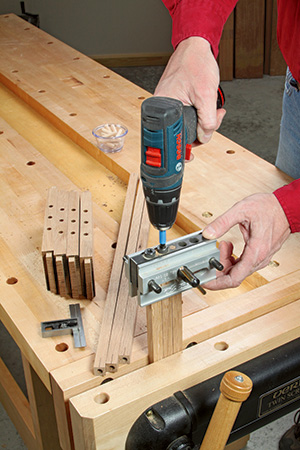
Wrap up the parts you’ll need for the bookcase’s two side assemblies by making the six accent stiles (pieces 3) from sticks of 5/8″-square stock, with 11 ⁄ 16″-deep holes bored into both ends. Gang-clamp the stiles several at a time in your doweling jig to hold them squarely and evenly while you drill the centered dowel holes. Cut 12 dowel pegs (pieces 4) from a 5/16″ rod and chamfer their ends to make them easier to tap into place.
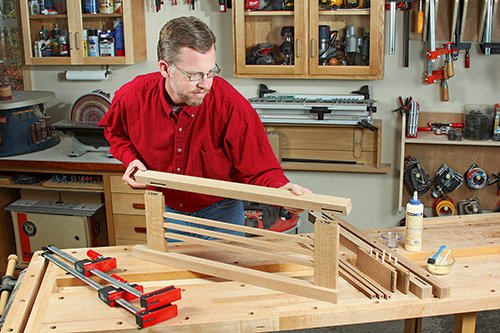
Sand the legs, side rails and accent stiles up to 180-grit, and dry-fit the two side assemblies. If all seems in order, glue and clamp the parts together, checking the diagonals for square.
Building the Shelf Stretchers and Supports
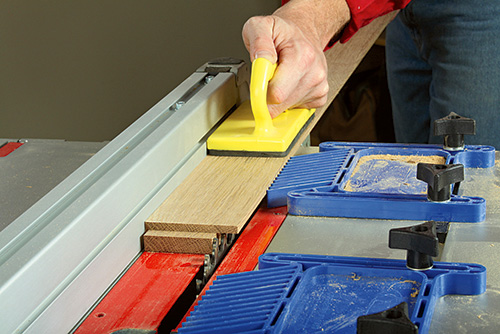
The three back shelf stretchers (pieces 5 and 6) have a unique tenon style: there’s no shoulder on the inside face, a 1/8″ shoulder on the top edge, a 1/4″ shoulder on the back face and a 1/2″-deep, 3/4″-wide rabbeted cutout that takes the place of what would otherwise be the bottom shoulder. It allows these stretchers to sit flush with the back of the bookcase, and the tongue of their rabbeted bottom edges to serve as an attachment point for the back edges of the shelves.
You’ll want to make a test piece for dialing in the cuts required to make the top support tenons and a separate test piece for cutting the center/bottom support tenons — the tenon positions vary because of the cloud lift shape on the wider top support.
While you can mill the tenons by ordering the saw cuts however you like, here’s a suggestion: mill a 5/8″-wide shoulder into the top edge of the top stretcher; it’s just 1/8″ for the center and bottom stretchers. Use your miter gauge and a wide dado blade buried in a sacrificial fence.
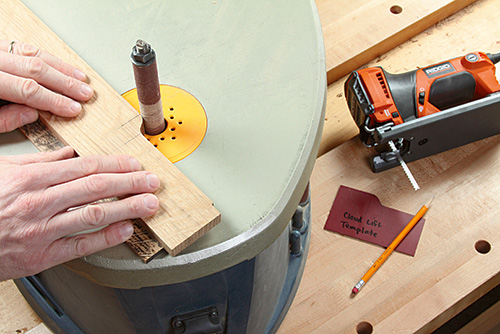
Make the 1/4″-wide rear-facing shoulder cuts on all three parts next, and finish up with the 1/2″-deep, 3/4″-wide bottom rabbet cuts last. Once the tenons are roughed to size, lay out and cut the cloud lift shapes and their adjacent “flats” along the top edge of the top back stretcher. Smooth these cuts and curves carefully with a file and sandpaper, or use an oscillating spindle sander if you have one.
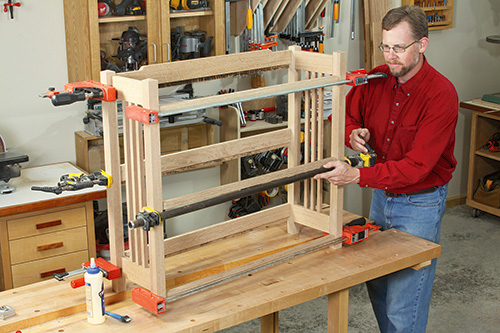
Now make the front shelf support stretchers (pieces 7). The tenons are 1/2″ long and centered conventionally on the ends of these three parts. Shave the tenons with a hand plane if needed, to tweak their fit in the mortises, then dry assemble the six cross-supports between the bookcase sides. Final sand them before gluing and clamping the big framework together.
Wrapping Up with Shelves and Finish
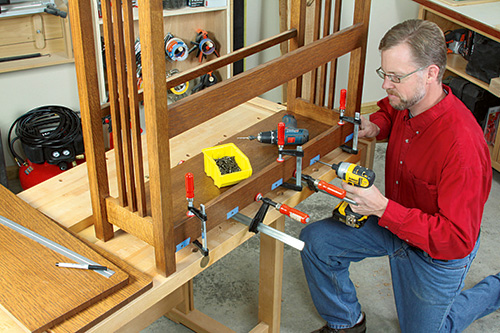
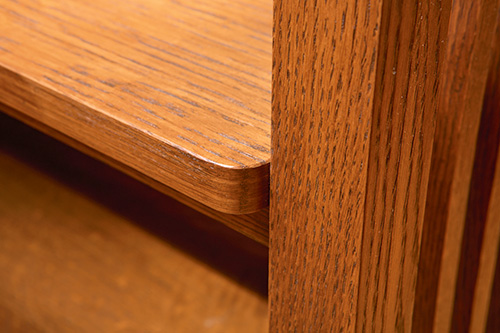
Set the frame aside for a spell, so you can edge-glue some nice quartersawn stock to make your three shelves (pieces 8), then rip and crosscut them to final size. Round their outer front corners with 1/2″ radii to add a subtle and attractive detail. Once you give the shelves a final sanding, all the bookcase parts are ready for finish — do it now while the shelves are loose. We used General Finishes Antique Walnut gel stain to mimic a traditional ammonia-fumed look, then topcoated with satin lacquer.
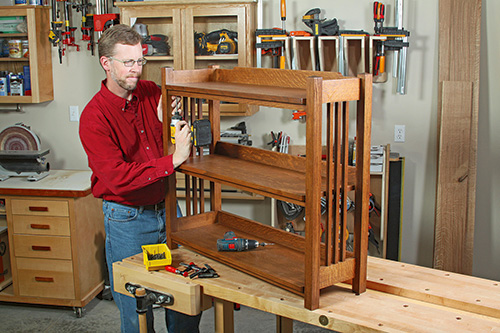
When the finish dries, drive five countersunk flathead wood screws through the tongues of the back stretchers and into the back edges of the shelves to pin them in place. Follow this with three or four 1-1/2″-long countersunk wood screws driven up through the front shelf supports and into the bottom faces of the shelves to secure them in front. Since these quartersawn shelves will expand and contract through their thickness and minimally across their width, unlike flatsawn stock, don’t worry about wood movement issues by anchoring the shelves widthwise and restricting them. All will be well. Enjoy your new bookcase!


