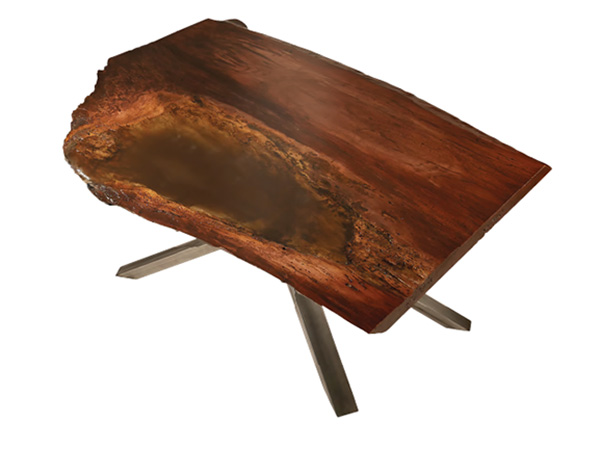
This table is an example of a couple of unusual milestones in my woodworking experience. First, while I can’t be dogmatic about this, it is likely the heaviest table I have ever built. And second, in terms of material expense, it might be the most expensive single piece of furniture I have ever created. Now, neither of those things are good or bad in and of themselves, but combined together, I have to admit this turned into a pretty epic project with a special learning curve: pouring epoxy.
Preliminary Design Choices

I’ve been very interested in trying a unique looking set of metal legs called a Straw Bundle “Light” Table Base. Made of steel tubes cut and welded at dramatic angles, they struck my fancy. And yes, if you’re thinking these legs added to the aforementioned weight and expense of the table, you are spot on.
When I saw the spalted maple slab, I remembered those legs. It occurred to me that I might be able to use that wood to make a tabletop for which the legs would be appropriate. It took a bit of noodling, but our art director Jeff Jacobson and I came up with a plan. However, the plan did have something of a hole in it — a really big hole surrounded by punky (okay, rotted) wood fibers.
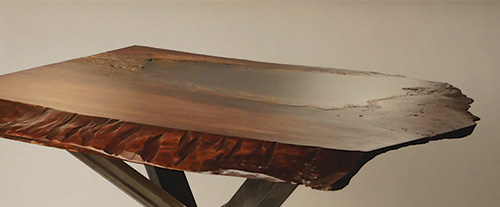
Anyone who has looked at woodworking videos on YouTube in the last score of years has likely not been able to avoid the hundreds of examples of “river” tables — two interesting pieces of lumber joined in the middle by a river of epoxy resin to make a tabletop. There is a reason that they are as popular as they are: river tables look stinking cool. While this lumber was not great for a river table, its unique configuration did lend itself perfectly to becoming a “pond” table. So with the axiom “still waters run deep” bouncing around in my mind and absolutely no experience in pouring resin, that is what I decided to do.
Turning a Slab into a Tabletop
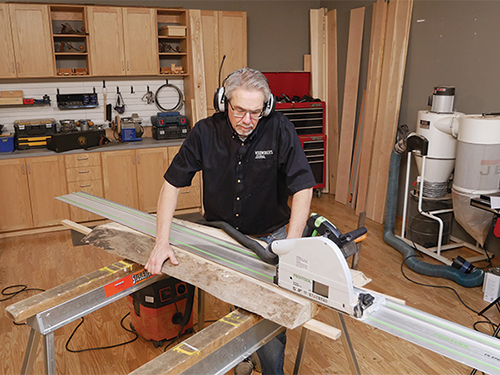
Turning the lumber into a tabletop required some pretty basic woodworking, made more interesting by the thickness of the slab and the rough nature of the maple. I started by crosscutting the board with a track saw, creating two pieces that would be joined later to make a wider glued-up tabletop. With that done, I took a straightedge and located the high points of the boards, then I used an 07 jointer plane to knock them down. I could have continued with the 07 to flatten the boards completely, but I have a wide belt sander at my disposal, so that’s how I continued. Once the two boards were flat and smooth, I used the track saw to rip one edge of each piece of the tabletop, then a jointer to flatten those edges into a long glue joint.
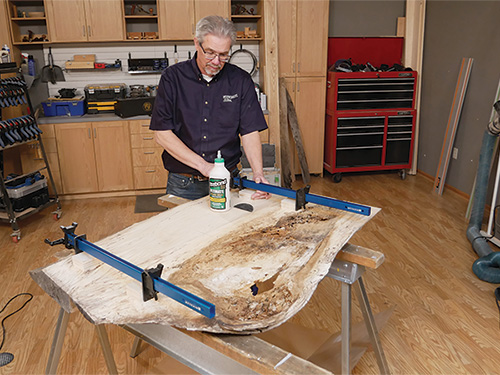
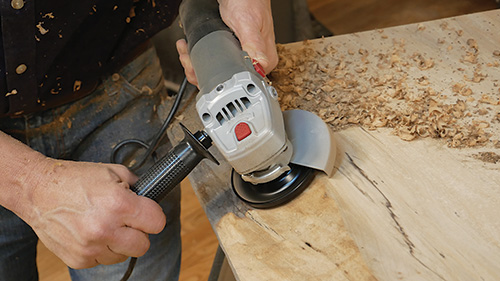
I didn’t want to crush the live edges with clamp heads, so I attached some temporary clamping cauls to the boards with hide glue. In addition, I used loose tenons to help me align the table during clamp-up; it came together well. After removing the clamping cauls and sanding the surfaces up to 220-grit, I removed some of the weathered wood and added texture to the up-facing waney edge with a power carver. Then it was time to push ahead with staining and filling the “pond” with a deep pour resin.
Staining and Prep Work
The maple had a lot of dark spalting lines, but the rest of the fibers were very light colored. The quality of the wood fibers varied so much that I feared it wouldn’t take a stain evenly. So I decided on a multi-step process for adding color. I selected an Old Masters Red Mahogany Wiping Stain and then mixed a portion of it half-and-half with mineral spirits. I flooded it on and wiped it off.
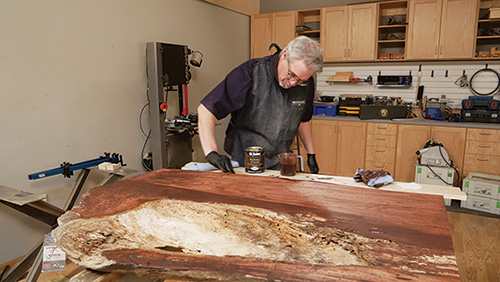
This thinned mixture penetrated the eroded fibers and punky grain well, and it was a lighter color than the full-strength stain would have been. When it dried, I put a coat of sanding sealer on the top and bottom faces of the tabletop. Through this process I left the hole in the tabletop alone … no color, no sealer.
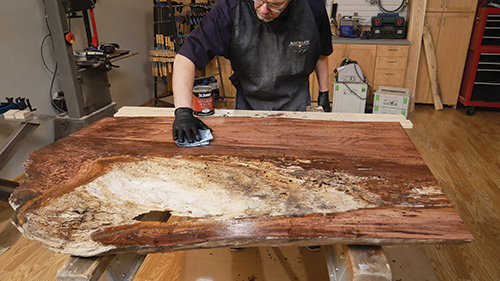
Preparing to pour the epoxy was critical to the success of this technique. First, I sealed the top and bottom punky grain with a penetrating epoxy. Then I applied a coat of paste wax to my melamine work surface so the epoxy wouldn’t bond to it. I put thick beads of silicone on the bottom of the tabletop around the opening in the pond and clamped it firmly to the melamine. I also applied a “dam” of modeling clay to close off the edge of the pond. I was now at the point of no return. It was pour time!
Adding Deep Pour Resin
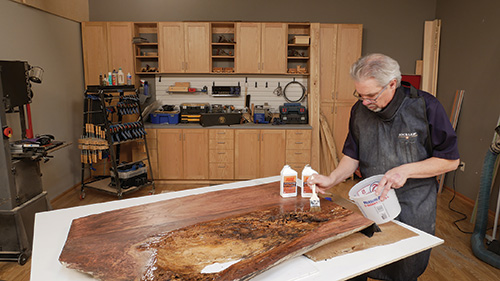
Resins come in different formulas. I wanted a version that would allow me to pour thick layers, so I used MAS Deep Pour Epoxy consisting of three parts resin to one part catalyst.
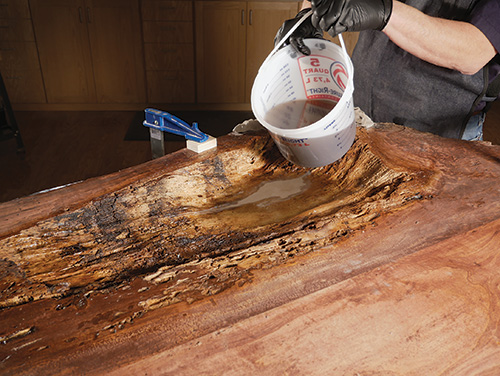
Two aspects of this product are its relatively thin consistency and its long cure time. Those combine to make a deeper pour more successful by allowing air bubbles the time and ability to escape.
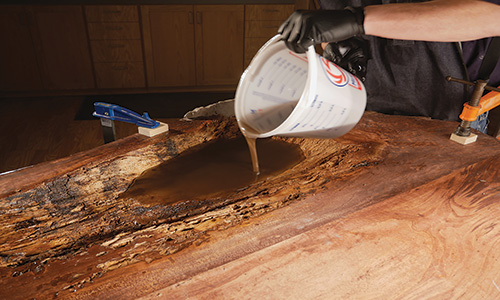
Other one-to-one epoxy products recommend not pouring much thicker than a 1/4″ or 3/8″ layer. With my pond being more than 3″ deep, you can see why I wanted to use the Deep Pour product. I added color to the resin with the idea of making the pond look darker as it gets deeper.
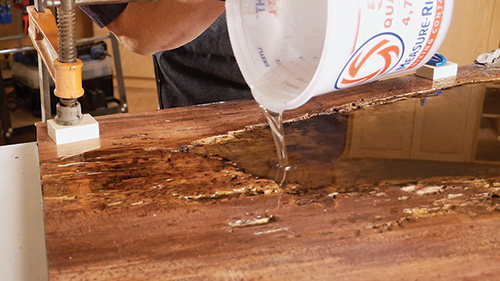
I poured four 1″ layers to fill the void, as some of the resin leaked out on the first pour, allowing the epoxy to cure for 24 hours. The slow cure aspect of the deep pour formula means that it does not heat up as much as other formulas.
Glazing Balances Wood Tones
When I first stained the tabletop, the color didn’t blend the wood tones well. So I used a technique called glazing to balance the look. To get started, I wiped on a coat of Old Masters Gel Polyurethane. When it cured, I removed the dust nibs with 400-grit sandpaper.
Next, I wiped full-strength stain down the center of the tabletop and around the edges. Then, with a dry paintbrush, I feathered out the stain to make the color pattern look more natural and attractive. Because the stain was on top of a smooth layer of poly, I could manipulate it easily — that’s the glazing aspect. And if I didn’t like what I saw, I could wipe it off with a clean rag and start over. I was able to hide the stark color difference on either side of the glue joint and highlight some of the spalting with this process. When I was satisfied, I let the glazing dry and then applied several more coats of poly to seal in the stain. The poly has a satin sheen, so I didn’t put it on any of the epoxy resin, which is shiny when it cures. This way, the pond’s glossiness makes it stand out.
My last step was to attach the Straw Bundle legs to the tabletop, completing the project. All in all, this most eclectic table was a very enjoyable build.


