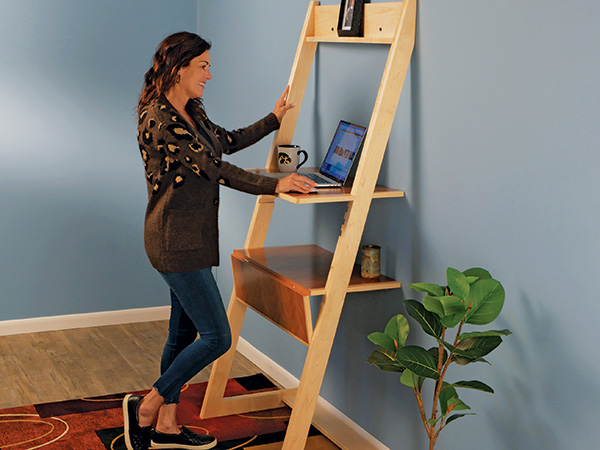
Standing desks have become quite popular lately. But if you’re like me, I want to sit down at them sometimes, too. That’s why this wall-mounted design will give you both options. Its upper removable desk panel slides into four dadoes so you can choose the standing height that suits you best — at 44″ or three optional positions down from there. A lower desk panel, situated at the more typical 30″ seated height, folds up for use or down where it’s out of the way. Once installed, this desk only projects about 20″ out from the wall, so it doesn’t take up a huge amount of floor space, either.
Forming the Uprights and Supports
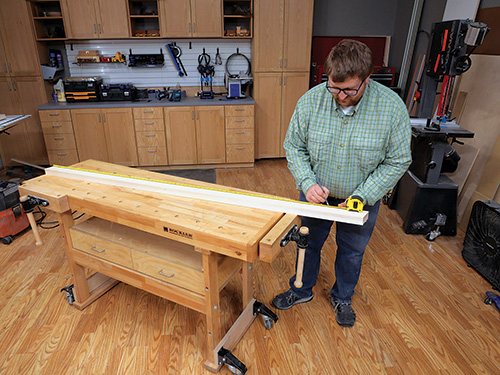
Get this project underway by face gluing 1-1/2″-thick stock together to make up two blanks for the uprights that measure 2-3/4″ wide by 75-1/2″ long. Laminate a third 1-1/2″ -thick blank for the supports, and size it to 2-3/4″ x 36″ long.
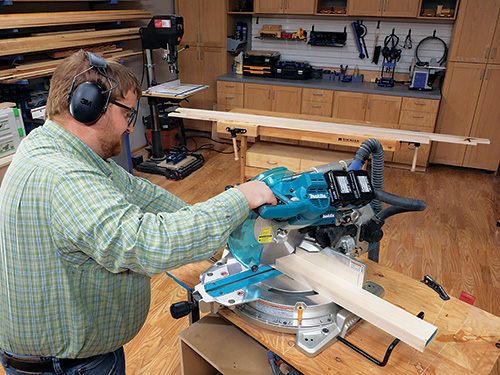
When these blanks come out of the clamps, step over to your miter saw and swivel it to 15 degrees. Miter cut the support blank in half to form an angled end on each of the two support workpieces.
Then trim both ends of the long upright blanks to 15 degrees as well, orienting these angled ends parallel to one another. Swivel your miter saw back to 0 degrees again so you can crosscut the supports to their final 16-3/4″ length.
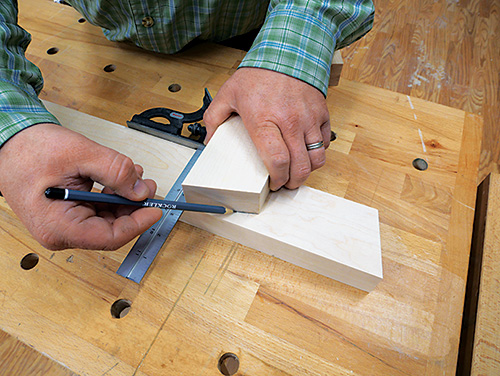
With that done, it’s time to mark and trim the top ends of the uprights to another 15-degree angle so they’ll rest against the wall correctly. To lay that cut out, make a mark 67-5/8″ up from the bottom inside corner of each upright. Lay out the cutting line on each upright using the angled end of one of the supports and a combination square.
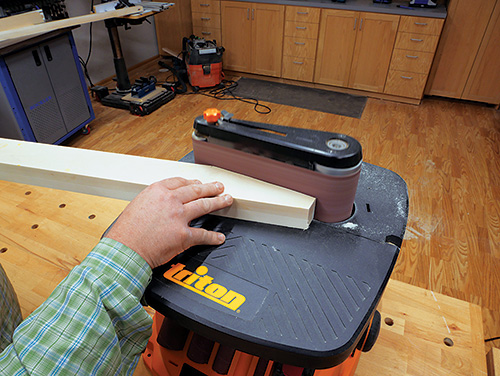
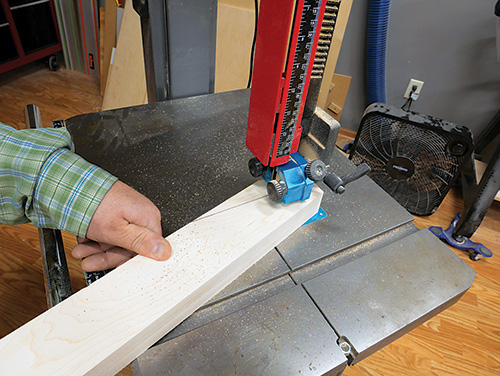
Mark these steep angle cuts, and cut off the waste pieces at the band saw or with a jigsaw. Set one of the wedged offcuts aside, and sand the cut edges of the uprights smooth.
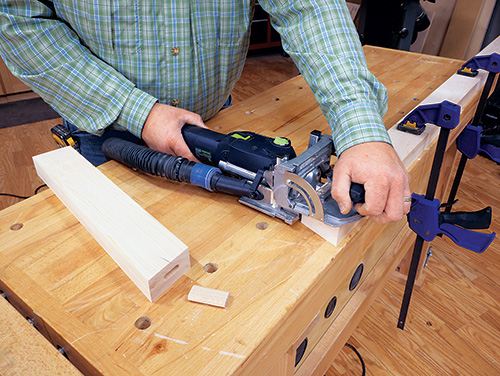
While any stout, loose-tenon joinery will work to attach the angled ends of the supports to the back edges of the uprights, I opted for 10 x 55 mm Festool Dominoes and cut a single joint for connecting each upright to a support.
Laying Out and Milling Dadoes
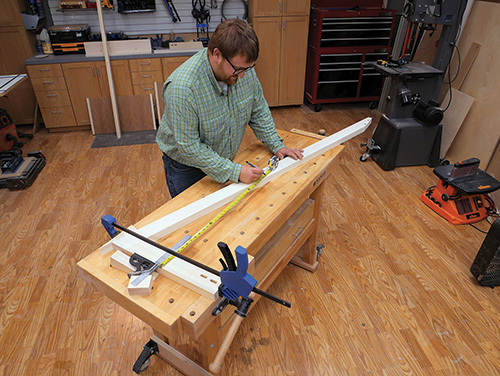
Dry fit the supports and uprights together to form two subassemblies, then I measured off the supports with a combination square and a tape measure to locate the positions of the 30″ and 44″ dadoes on the uprights.
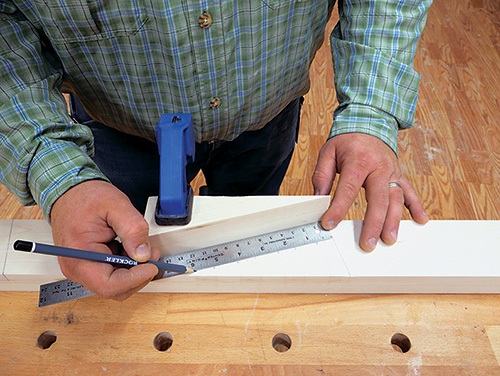
Here’s where the wedge-shaped scrap you set aside will come in handy. I first used the scrap’s angle-cut edge as a reference for positioning my ruler so I could step off each of the four 3/4″-wide dado locations, spacing them 1″ apart.
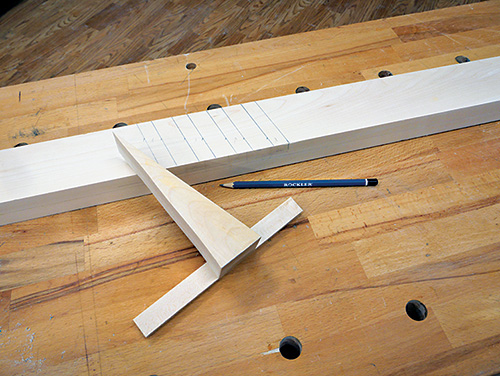
Then I attached a straight scrap to the short end of the offcut to form a guide for drawing the dadoes across the uprights at their correct angle.
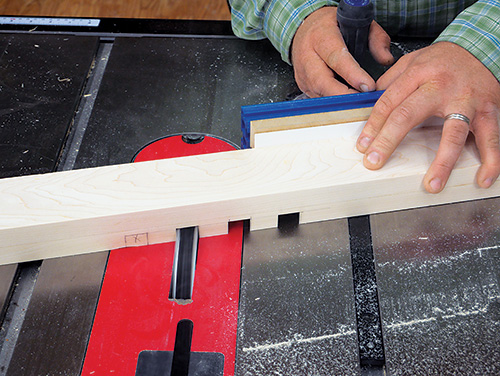
Now load a 3/4″-wide dado blade in your table saw and raise it to 1/2″. With your miter gauge swiveled to 15 degrees left or right as needed, carefully plow the four dadoes in each upright.
Assembling the Desk Frame
Follow the Material List to cut the upper rail, shelf and footrest to size. I used a flexible batten to draw the front curve on the shelf. Cut that to shape, too. Sand these parts smooth. Go ahead and glue the uprights to the supports with their loose tenons in place. When those joints cure, sand the two subassemblies smooth.
Now mark the ends of the upper rail and footrest for a pair of loose-tenon joints. Lay out the corresponding locations for these joints on the uprights and supports. Position these parts so the top edge of the upper back rail is 7/8″ down from the top ends of the uprights and the footrest is flush with the back ends of the supports and 1/2″ down from their top edges. Mill the eight mortises for these joints — I decided to use the same 10 x 55 mm domino sizes here, too. Next, fasten the upper rail to the back edge of the shelf with screws so the shelf aligns with the rail’s bottom edge. Then glue and install loose tenons in all the mortises to bring the upright/supports, upper rail/shelf and footrest together to complete the desk frame.
Making the Two Desk Panels
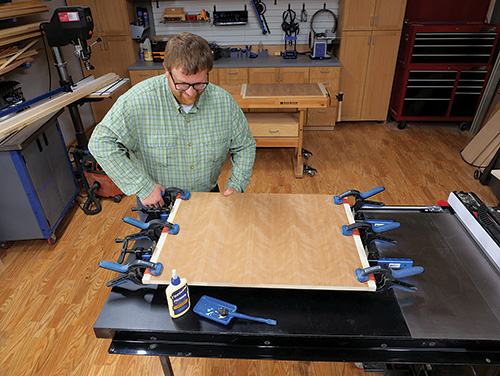
Each of the desk’s two panels consist of 3/4″ plywood banded with 1″-wide solid-wood edging on the sides and 1/2″-wide edging on the front. Make up these panel blanks, and glue the edging to them so the front edging overlaps the side edging. Sand the panels smooth.
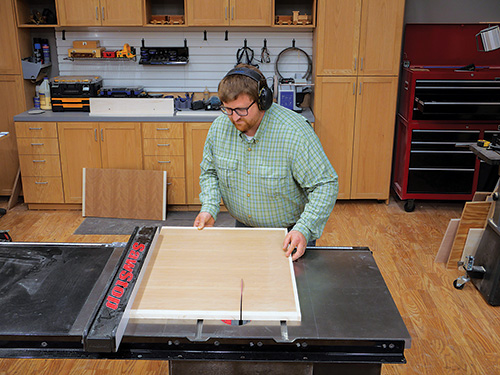
The drop-down front end of the lower desk panel is 7-1/2″ wide, so take that panel to your table saw and crosscut the front piece free. Then trim this front panel’s side edging from 1″ down to 7/16″ wide so it will fit between the uprights when it’s lowered. I applied peel-and-stick veneer edge banding to hide the panel’s exposed plywood edges.
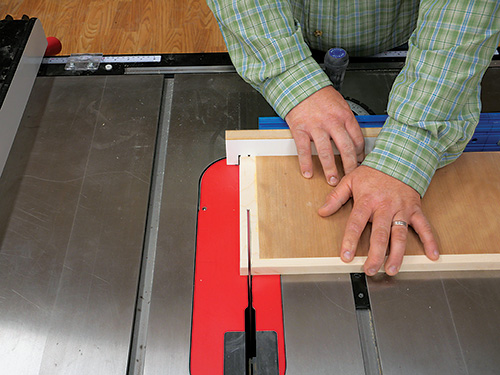
Next, set the desk frame into place against a wall so you can complete the upper desk panel. Notice in the Exploded View Drawing that a couple of stops still need to be added to the side edging of the upper desk panel.
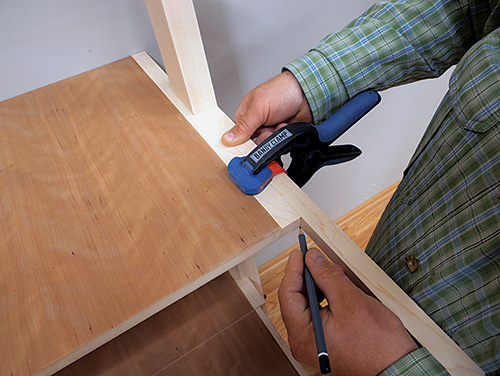
Slide the panel into the highest dadoes, and make up an 18″-long strip of 1″-wide stock for the stops. Bevel cut its ends to 15 degrees. Hold the angled ends in place against the supports to mark where to crosscut each stop to length. Glue these stops to the upper panel’s side edging.
Final Hardware and Installation
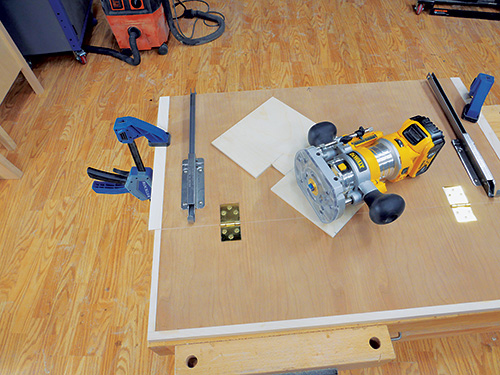
There’s still some hardware to install on the lower desk panel. I connected its front and back sections with two drop-leaf hinges. A pair of metal drop-leaf supports went on next to hold the front lower panel upright during use.
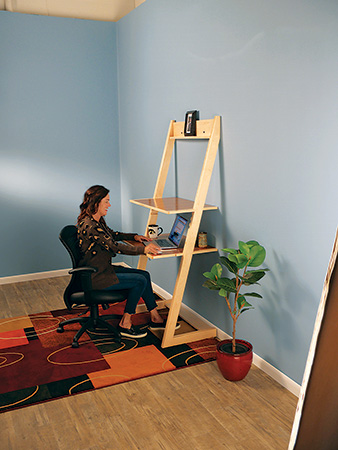
Glue the lower desk panel into its dadoes, then topcoat the desk parts with a durable finish before fastening the upper rail to two wall studs using heavy-duty screws. Slide the upper desk panel into place, and you’re all done!
Hard-to-Find Hardware:
Brass-Plated Drop Leaf Hinges (1) #29256
Metal Drop Leaf Support (1) #30006
Peel-and-Stick Edge Banding (1) #46502
3″ #10 Powerhead Screws (1) #53094


