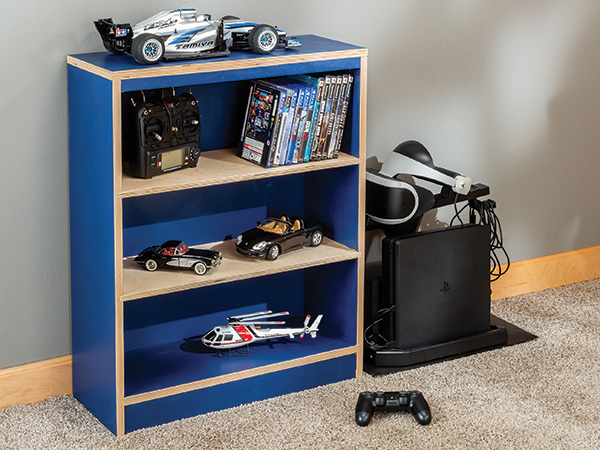
A basic bookcase is not only one of the most functional pieces of furniture you can make but also a mini seminar in several woodworking skills and techniques, wrapped in a single project. Dado, rabbet and pocket-hole joints are highly adaptable to just about any more advanced project, and you can never get enough practice with basic shop tasks like cutting parts to size, sanding and finishing. This project will improve your shop skills, and I’ll bet it kick-starts your creative juices, too.
Material Choices Add Interest
This bookcase was built from three different thickness of Baltic birch plywood. I chose to use different thicknesses for the frame and shelves to make the design more interesting. You could also make the frame and shelves out of solid lumber such as pine or choose a hardwood instead for added durability.
Cut all the parts to size with a table saw or circular saw using the Material List as your guide, with the exception of the side panels. To make the dado plowing process easier, cut a blank of plywood large enough to make both sides from the same piece: 3/4″ x 18-5/8″ x 29-3/8″. The 18-5/8″ dimension is the width of two sides, plus the thickness of a saw kerf. Examine your stock and decide which faces and edges will be the “presentation” sides. That means you’ll want the nicest-looking surfaces facing outward on the sides and upward on the shelves, bottom and top. Even if you are painting the project, it’s a good idea to keep minor blemishes or odd grain on the inner and downward faces. Label the components to ensure that you’ll keep these nicer faces oriented in the presentation direction as you continue. For clarity, I like to use painter’s tape and a dark marker rather than a pencil.
Starting with Cabinet Joinery
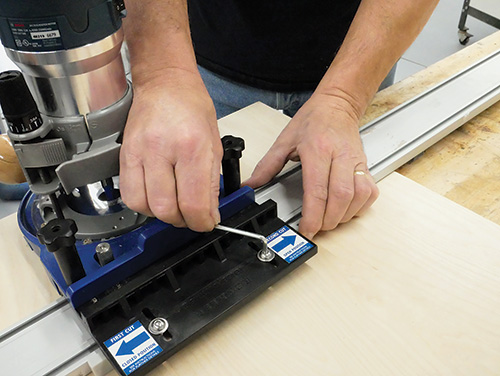
This bookcase’s joinery is fairly straightforward and can be done quickly, especially if you use a dadoing jig. The 1/2″-thick shelves and 3/4″-thick bottom fi t into 3/8″-deep dadoes in the the back edges of the side panels accommodates the cabinet back. We’ll cut the dadoes first.
Mark the dado location for the bottom panel and each shelf on the blank for the side panels you cut earlier. (These locations are provided in the Drawings, but you can easily adjust these measurements to suit whatever shelf spacing you prefer.)
Using the height of the kick plate as your starting point, mark the first 3/4″-wide dado for the bottom panel at 2-1/2″. Then mark 1/2″-wide dadoes for the shelves at 11-1/4″ and 19-3/4″ up from the bottom edge of the sides blank.
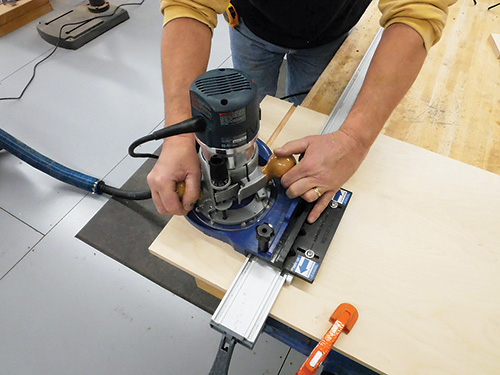
Now you’re ready to plow these dadoes, but be aware that plywood is often not exactly the thickness that it’s labeled. A piece of 3/4″-thick plywood, for instance, may actually be 11/16″ or 23/32″ thick.
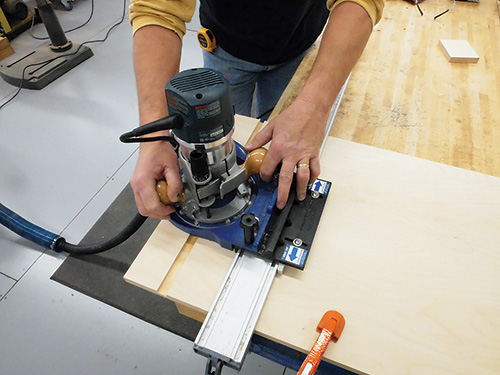
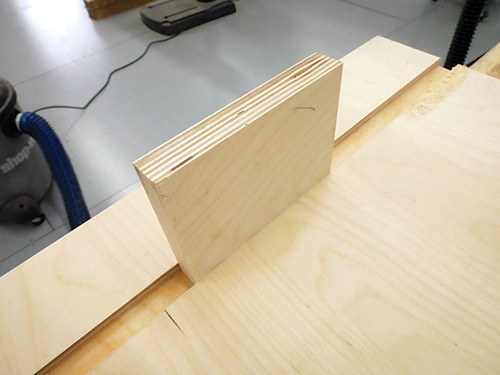
So using a 3/4″-diameter bit to cut the shelf and bottom-panel dadoes will make them too wide. When routing dadoes for plywood, it’s better to make multiple passes with a router bit that’s smaller than the thickness of the plywood, in order to “sneak up” on a perfect fit.
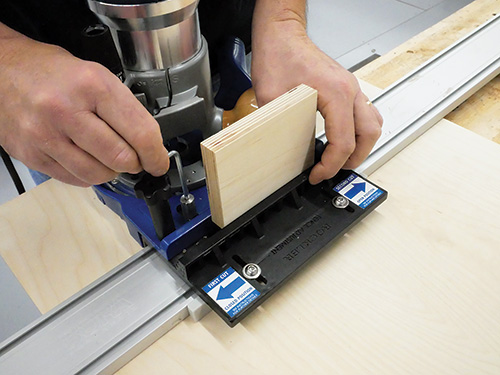
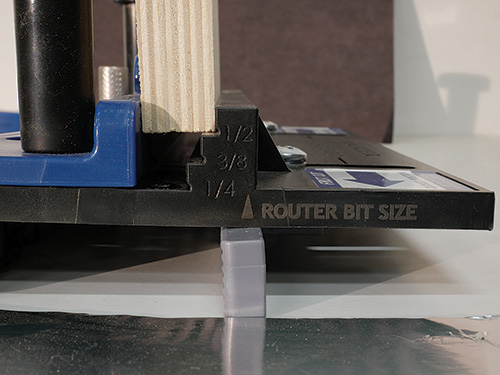
You can make a jig to do this, but I used Rockler’s clever new Perfect Fit Dado Jig instead. It features a mechanism that sets up the jig to perfectly match the width of the dado to the workpiece. The jig travels along a clamped straightedge.
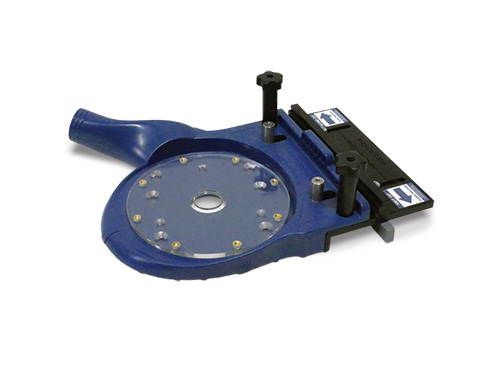
If you do the same, set up the jig to match the thickness of the bottom panel. For the bottom, use a 1/2″-diameter straight or spiral bit to form the 3/4″-wide dadoes. Repeat the same process to rout the two 1/2″-wide shelf dadoes, but instead of a 1/2″-diameter bit, you need to switch to a 3/8″-diameter bit for the narrower dado cuts.
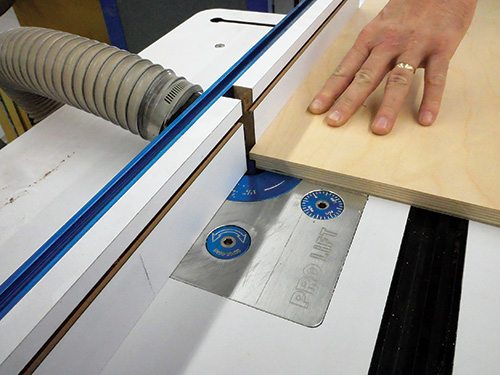
The bookcase’s back panel fits into rabbets on the rear edges of the two sides. Head to your router table and set it up to form a 3/8″-deep by 1/4″-wide rabbet cut. By milling these rabbets last, you’ll remove any tearout from the back edges of the side panels that was created by the previous dado cuts. Then split this workpiece into two 9-1⁄4″-wide side panels at the table saw.
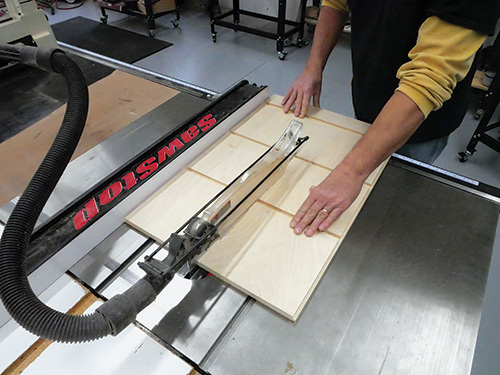
At this point, all your workpieces are prepped and nearly ready for assembly. But before moving on, sand them smooth — it’s much easier to do this now.
Boring Pocket Holes
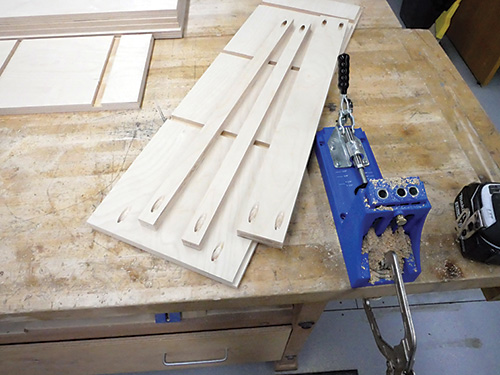
We’ll use pocket holes and screws to secure the bookcase’s top, kick plate and rails. Set up your pocket-hole jig and bore two screw pockets in the top end of the sides.
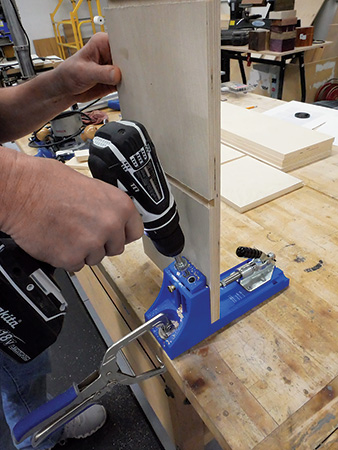
In the same manner, drill a pair of evenly spaced pockets on the inside ends of the kick plate. For the narrow two upper rails, a single pocket hole on each end is all you need.
Paint First, Then Put It Together
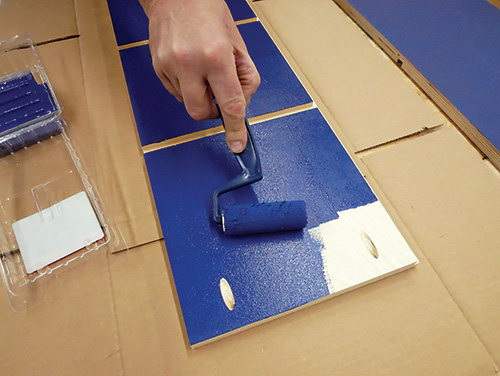
I chose to paint the faces of all the parts but leave their edges and the shelves bare as a decorative accent. A small foam paint roller is an excellent applicator for this job; it lays down a smooth, even coat that dries quickly.
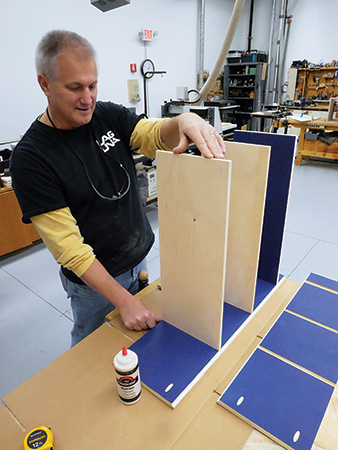
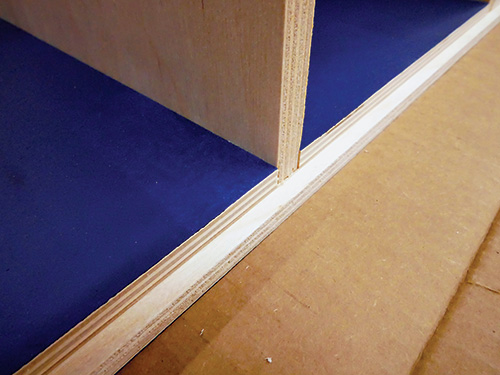
The contrast between the painted panels and the plywood edges creates a clean, modern look, and the void-less construction of Baltic birch plywood makes exposed edges like this possible. Leave the bare edges unfinished so glue will create a stronger bond.
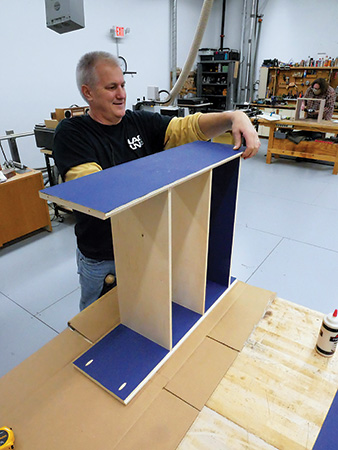
Once the paint dries, you’re ready to put this bookcase together. As with any woodworking project, dry fitting the parts with clamps is a must. This process verifies that all the pieces go together properly and gives you an opportunity to test your assembly process before you reach a point of no return. After all, glue is permanent!
Apply glue into the dadoes on one bookcase side and, being careful to mind your directional labels, set the shelves and bottom into place so they’re flush with the bookcase’s front.
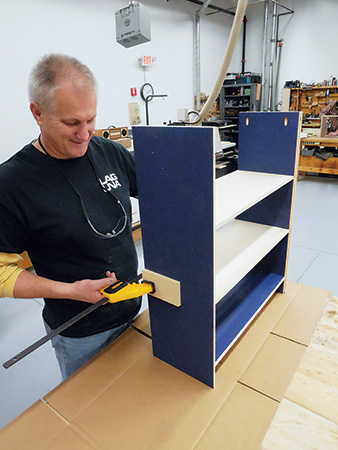
Because these parts are 1/4″ narrower than the side panels, they should also be perfectly flush with the back-panel rabbet.
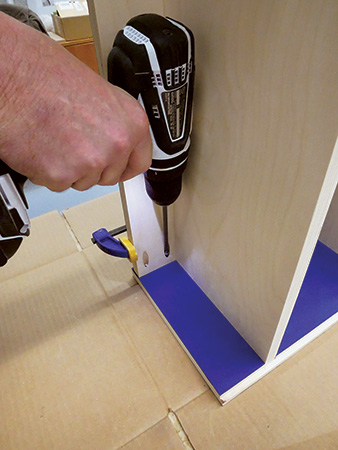
Go ahead and apply glue into the dadoes on the other side panel and fit it into position on the shelves and bottom panel. Clamp everything up as you had practiced, and check it for square.
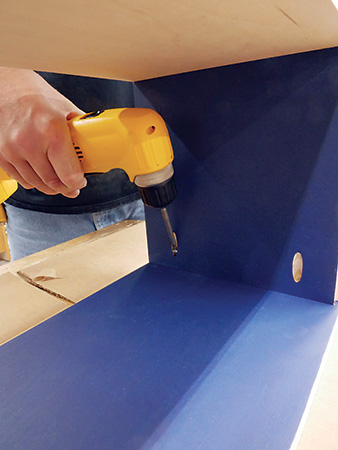
When the subassembly dries install the remaining pieces, except for the back panel. Use both glue and screws when you mount the kick plate, but pocket-hole screws are all you need for securing the rest of the parts.
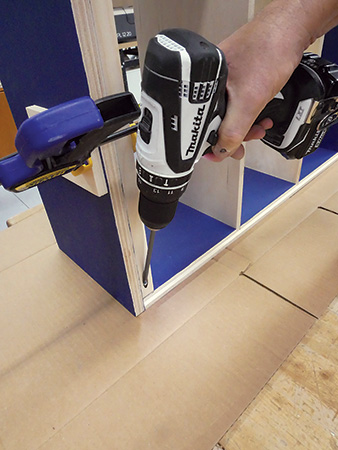
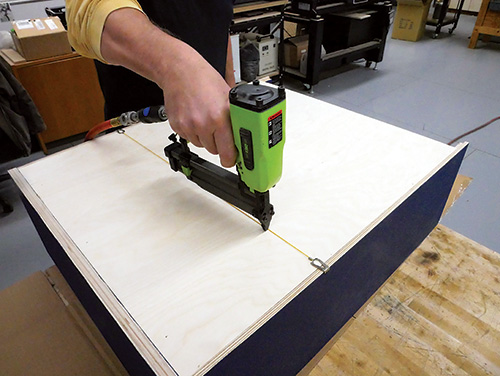
The final step is to set the back panel into its rabbets and attach it with 3/4″ brad nails. One big benefit to a tightly fitting and well-secured back panel is that it makes a structure like this more rigid and keeps it square under load.
Bookcases are often gateway projects to bigger and more sophisticated woodworking pursuits. But I think this little bookcase is a wonderful piece of furniture in its own right.
Click Here to Download the Drawings and Materials List.
Hard-to-Find Hardware:
3/4″ Baltic Birch Plywood, 24″ W x 30″ L (2) #63453
1/2″ Baltic Birch Plywood, 24″ W x 30″ L (1) #63446
1/4″ Baltic Birch Plywood, 24″ W x 30″ L (1) #63420
General Finishes Milk Paint, Pint, China Blue (1) #73131
Perfect Fit Dado Jig (1) #59385
Wooster Short Stuff Touch-Up Kit (1) #53197
EZ-Mark Line Cords (1) #32527


