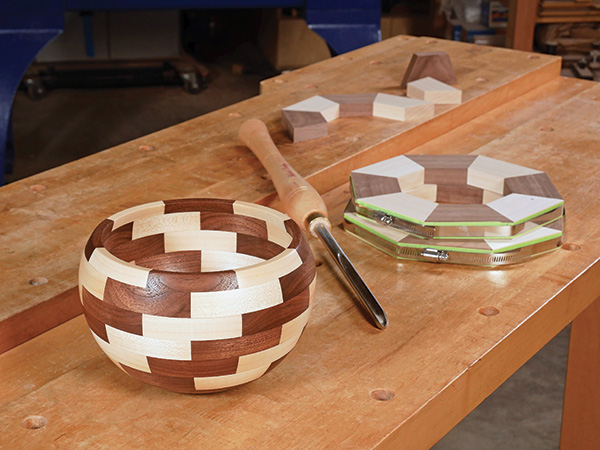
I enjoy turning bowls, but I don’t always have green log chunks or seasoned bowl blanks on hand when the inspiration hits. That’s where a segmented bowl like this can really open up your options. All you need is some scrap board lumber to assemble into rings of miter-cut and glued segments. The more rings you stack up, and the larger their diameters, the bigger the bowl becomes.
Starting with Segments
To get your bearings with segmented turning, I’ll suggest you start as I did with the simple bowl shown here. It’s made of six rings of eight segments each. The largest ring is 10″ in diameter and the smallest is 7-1/2″. I made my segments from 3/4″ stock to make each ring easier to glue together, and the segments are 2″ wide to provide substantial wall thickness for the bowl blank. This way, you’re not limited to a closed form like I’ve made; if you want to shape the profile to a more open, sweeping rim or change the curvature from the “orb” shape I’ve created here, the same blank should give you options to get creative.
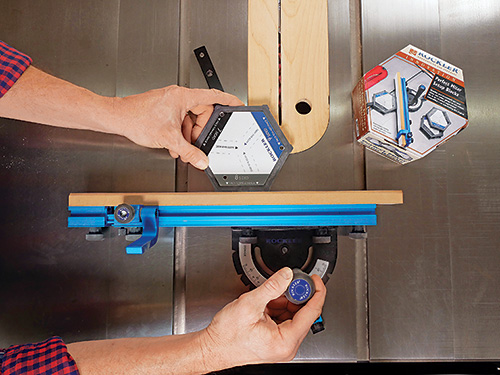
After you’ve rip-cut some long strips of 2″-wide stock, it’s crucial that the 22.5-degree miter angle you’ll need for cutting the segments be dead-on. Even a fraction of a degree off will create cumulative error that will prevent the eight ring segments from closing properly on the final joint. To help zero in on this angle setting, I used Rockler’s Perfect Miter Setup Blocks to check my miter gauge’s fence angle. These blocks enable you to set a miter gauge for cutting four- to 12-sided polygons without measuring or math.
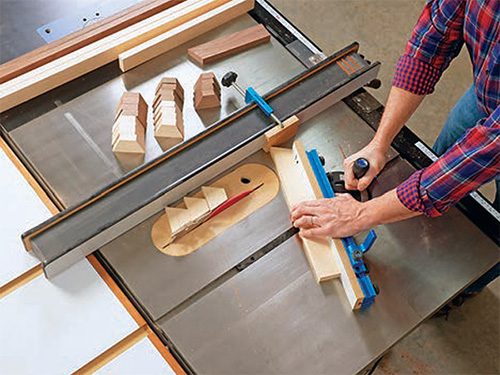
With your miter gauge carefully adjusted, follow the Material List to cut 48 segments to the lengths shown. I used a step-off block clamped to my table saw’s rip fence to set each of these segment lengths. Make sure your blade is also exactly square to the table. Stay alert when carrying out these repetitive cuts and while working so closely to the blade.
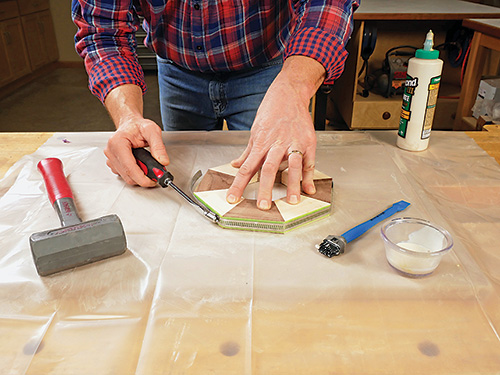
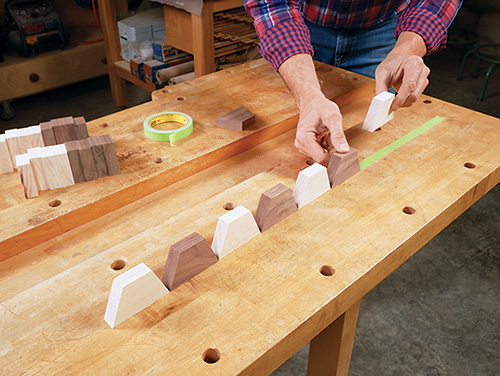
Dry assemble the segments of each ring to make sure the final joint closes. Then stick their long edges to a piece of painter’s tape, with the mitered corners just touching, to hold them in place for gluing. Spread glue on the angled mating surfaces and roll each ring up, taping the final joint closed. If you have a strap clamp, you can use it to squeeze the joints more tightly still. I opted for large, automotive-style steel hose clamps instead so I could glue and clamp all six rings individually but at the same time. They work great for this job!
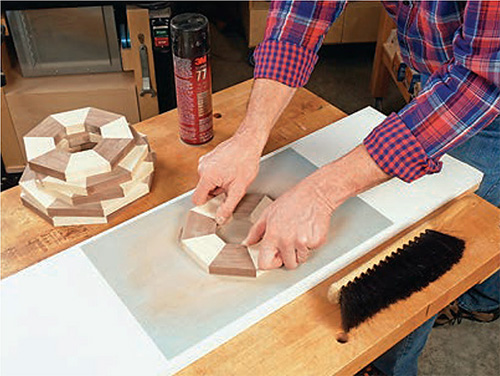
When the glue cures and the rings come out of the clamp or clamps, their faces likely won’t be as flat as they should be to face-glue together. So give them a good sanding to flatten any mismatched joints. A couple full sheets of 80- or 100-grit sandpaper mounted to a piece of MDF or melamine board makes a low-cost sanding surface. I flattened my rings on a horizontal belt sander to speed the process along, but either option works fine. Check your sanding progress carefully; the ring faces should be as flat as possible to create super thin glue seams on the final blank.
Assembling the Turning Blank
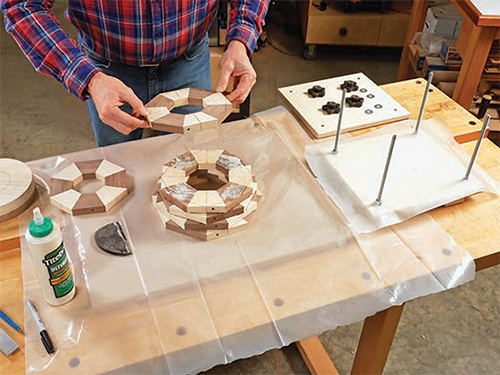
In addition to the six rings, you’ll also need a piece of solid stock for the bowl’s bottom. I glued my walnut bottom piece to a scrap of poplar that served as a mounting surface for faceplate screws. Cut this bottom glue-up round.
Stacking the rings from largest to smallest and staggering the glue seams is what forms the “stepped” and spiraling pattern up the sides of the bowl blank. Create the arrangement you like, but be sure to stagger the glue seams. Then mark the rings in some way so you can order them quickly as you glue them together. I marked mine with small black dots that formed a line up the blank.
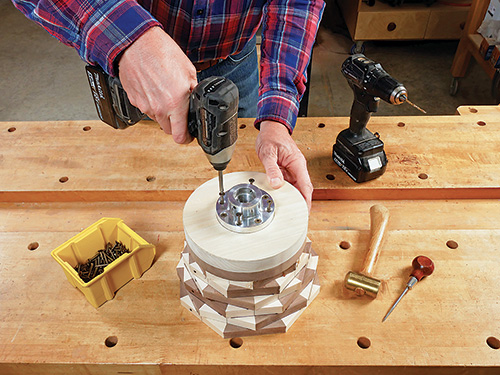
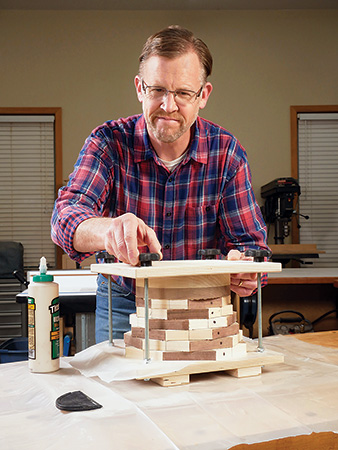
While you could glue this blank and bottom piece together with a board and some heavy weight on top, I chose to make a simple clamping press from scrap plywood, some 5/16″ all-thread, washers, locknuts and star knobs I had on hand. It provides tremendous and even clamping pressure, and I can reuse this press over and over again. Whatever you decide to do, spread glue over the face of each ring, stack the rings so your registration marks line up and clamp the blank and bottom piece together. Allow the glue joints to dry overnight. Any common woodworking glue will offer plenty of strength for this blank — yellow or white PVA, epoxy, polyurethane or hide glue. (I used Titebond III to give myself a bit more open time for the various gluing and clamping stages to create the rings and blank.)
Now for the Fun Part!
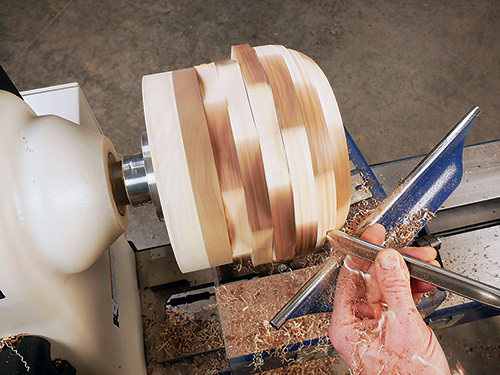
Screw a faceplate to your glued-up blank, and it’s time to get down to making some shavings fly! One benefit to segmented bowl blanks like this is the absence of end grain — most of what you’ll be turning away is edge grain, so the cutting process will feel easier than when turning solid wood that’s a mix of both end and edge grain.
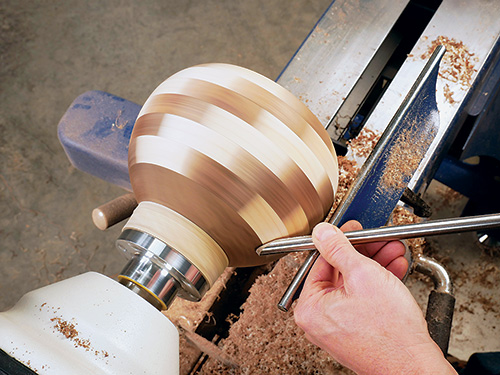
I started by shaping the outside of my bowl to establish its basic profile. Use a bowl gouge or carbide-insert turning tool to remove all of the blank’s straight facets and bring it into round. From there, I used basic bevel-rubbing and shear-scraping cuts to further refine and smooth my bowl’s closed-rim orb form. I also reduced the bowl’s bottom piece and glue block so I could shape this portion while the bowl was still mounted to the faceplate.
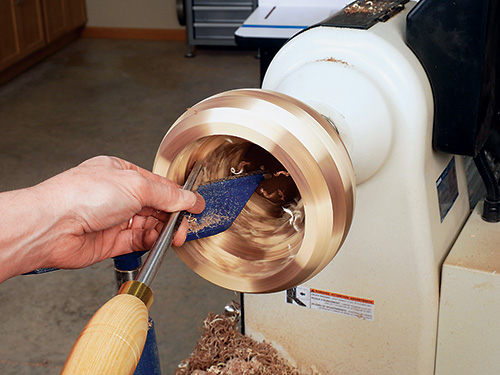
When you’re happy with the outer profile, swing the tool-rest around to the blank’s inside and begin to remove the bulk of the interior waste. But here’s a word of caution: if you use a bowl gouge for this operation, cut from the rim of the blank down into the interior rather than starting from the bottom and working your way up. Doing that will collide the tool’s edge into a series of bone-jarring flat surfaces that will make you wish you had known better!
Once the “flats” are cut away, the turning gets easier. Continue to thin, shape and clean up the bowl’s walls with a gouge and scraper as you normally would. The process goes pretty quickly. Once my bowl’s walls were about 5/16″ thick, I refined the rim and sanded the interior and exterior up to 220-grit.
Flip the Bowl to Finish the Foot
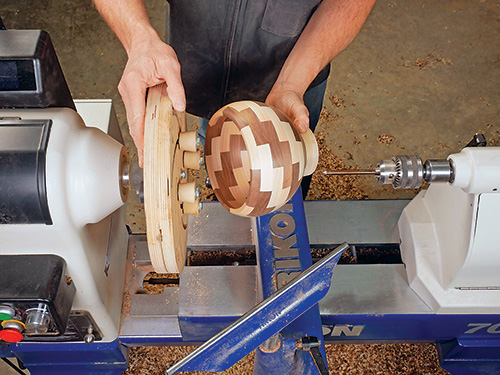
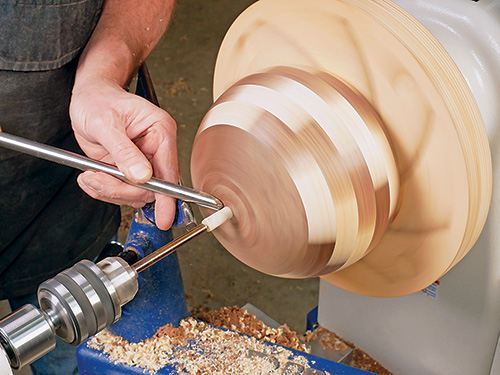
Now reverse-chuck your bowl. Unscrew your bowl from the faceplate, turn it around and reinstall it on the lathe however you prefer. I mounted mine on a Longworth-style chuck, but a jam chuck would work fine, too. I used my tailstock and a free-spinning Jacob’s chuck with a length of drill rod installed in it to press my bowl against the Longworth chuck. From there, I could turn away the poplar mounting surface, shape a small foot and turn a slight hollow inside the foot. At that point, I backed off my tailstock, turned away the nub of poplar that had supported it and finished turning the foot. A bit of final sanding completed my bowl.
Finish your bowl as you wish. I wiped on some Danish oil and followed with several light coats of spray lacquer.


