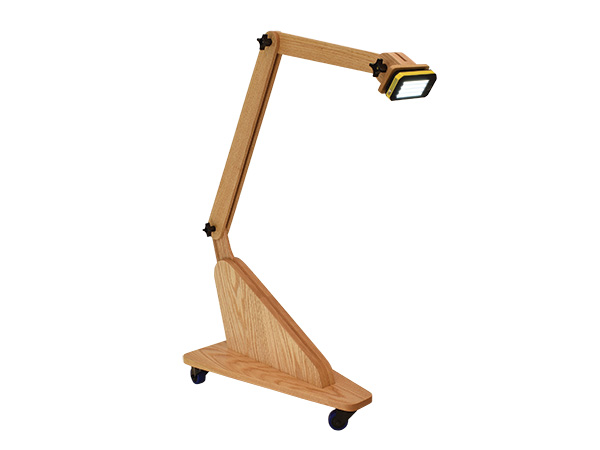
For brushing finish without missing spots, a “raking light” angled to reflect off the wet surface is indispensable. Whether finishing a high tabletop or bookcase, a low coffee table or even the sides of a cabinet, the articulated arm of this rolling task light adjusts to shine wherever it’s needed.
Getting Started
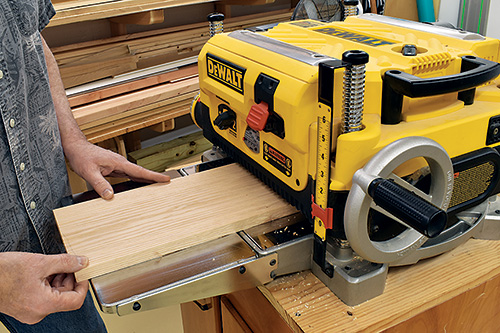
Plane 3/8″-thick stock for the arms, the center layer of the three-part base and the light’s mounting plate. Hardwood such as oak is best to make the articulated arm sufficiently rigid, and heavier stock in the base keeps the center of gravity low.
The base platform is 12″ wide, while the vertical base components measure 14-1/2″ wide, so glue blanks up from multiple pieces. This not only gives you the needed width, but carefully arranging individual pieces also helps to avoid warping in the completed components.
Creating the Arms and Base
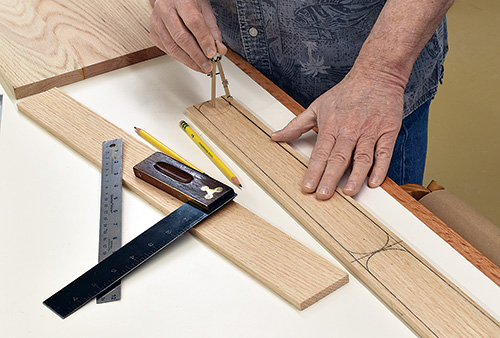
continuous taper that runs through both upper and lower arm sections.
Rip a 40″-long piece of 3/8″ stock to 2-1/2″ wide to make the upper arm and one of the two lower arms. Cut another 2-1/2″ x 24″ piece for the second lower arm. The longer workpiece allows you to mark a continuous taper from one end of the two-part arm to the other, starting at 2-1/2″ wide at the bottom of the lower arm and reducing to 1-5/8″ wide at the top of the upper arm. If you prefer, plot patterns onto your stock.
Now draw the rounded ends. The compass’s pinpoint (see Drawings) marks the exact spots for drilling bolt holes later. Separate the two arms from the longer piece then cut just the upper arm to shape.
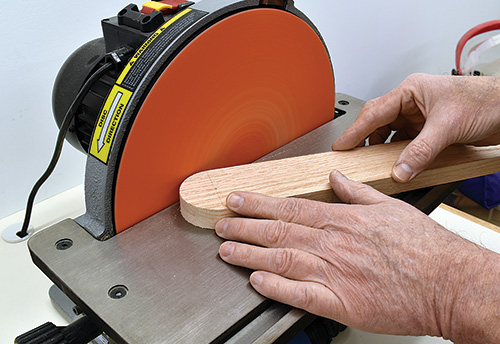
The most efficient way to process the lower arms is with the workpiece you’ve laid out atop the other unmarked workpiece. Join them with a single 23-gauge pin nail though the compass points (or use carpet tape), then cut and sand at the same time to make identical workpieces. Afterward, pry the pieces apart. Pull out the nails with pliers.
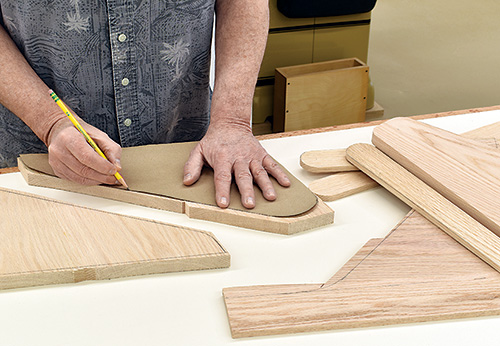
The base platform is just a trapezoid that measures 3-1/4″ wide at one end and 12″ at the other. Mark it to shape and cut it out. Create a paper or cardboard pattern, using the gridded as your guide, to lay out two outer bases and one inner base piece. Cut these to shape, but don’t cut the top end of the neck round just yet.
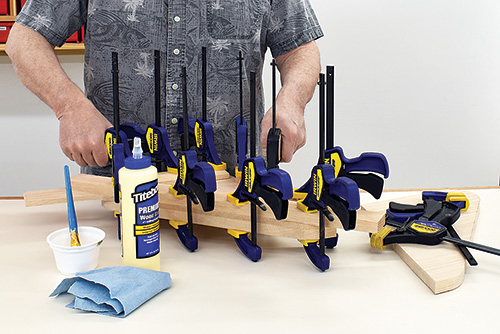
To minimize sliding, glue and clamp the inner base to just one of the outer base pieces. Allow the glue to set, then glue and clamp on the remaining outer base piece. When it dries, use sanders to refine and smooth both base components.
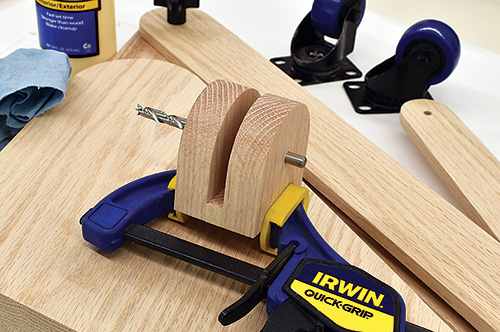
Now drill 1/4″ pivot holes through the arms on your compass marks. (Again, stack the lower arms to do this.) To get the lower pivoting action correct, lay a lower arm component along the top of the base so the arm’s wide end lines up with the center of the base’s extended neck. Pencil a mark onto the neck through the pivot hole, then use a compass to mark the round end of the neck for cutting. Cut it out and drill a 1/4″ hole through the neck on the layout mark.
Making the Light Plate
Mark and cut out the light mount plate and the two sides of the light mount swivel. Stack the swivel pieces and drill a 1/4″ hole through them, per the pattern. Glue them up with a 3/8″ x 3/8″ spacer at the bottom. Keep the bolt holes aligned when clamping the parts. When the glue dries, center the light mount swivel on the light mount plate, and glue and clamp it into place.
Final Assembly
Center the base on the base platform 2″ in from its rear edge, and mark the location. Lay out the base’s bottom face for three installation screws so you can drill countersunk pilot holes for them.
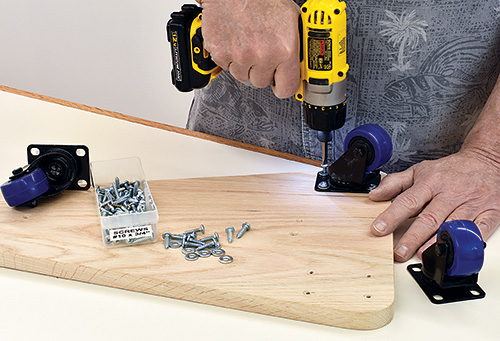
Drill pilot holes in the corners of the base, and attach the casters with screws and washers. Now apply glue to the bottom of the base, set it atop the base platform and secure it from underneath with 2″ screws.
Give everything a final sanding before applying a finish. Then assemble the arm and light mount swivel with 1/4″ x 1-1/2″ bolts and star knobs. Install the lower arm on the base with a 1/4″ x 2-1/2″ bolt and star knob.
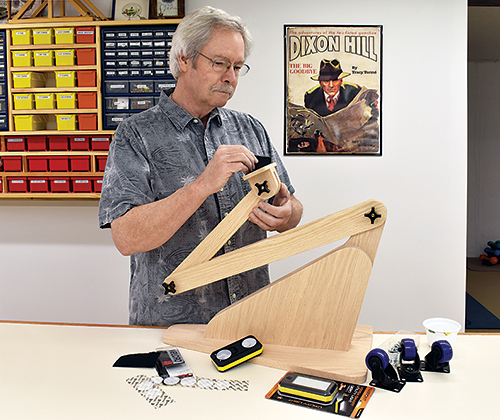
To secure the light itself, apply hook-and-loop tape to the back of the light and to the face of the light mount.
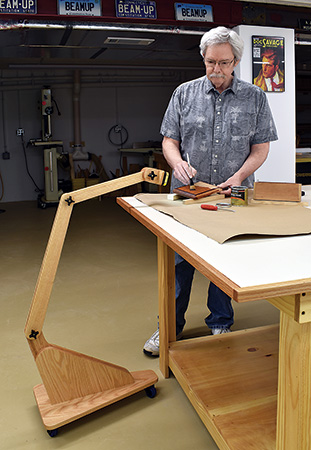
I chose this particular battery-powered light because it’s very bright with two settings (120 and 900 lumens), weighs only 3.6 ounces and there’s no power cord to get in the way. If you use a different light, adjust the size of the mounting plate accordingly. If the light you choose is heavier, you may need beefier bolts and knobs, and perhaps some thin neoprene washers, to keep the arm tightened in position.
Click Here to Download the Drawings and Materials List.
Hard-to-Find Hardware:
Versa Smart 900-Lumen Utility Light (1) #65546
2″ Black & Blue TPU Swivel Caster (3) #63728
Rockler Easy-to-Grip 4-Star Knob, 1/4″-20 (3) #59277


