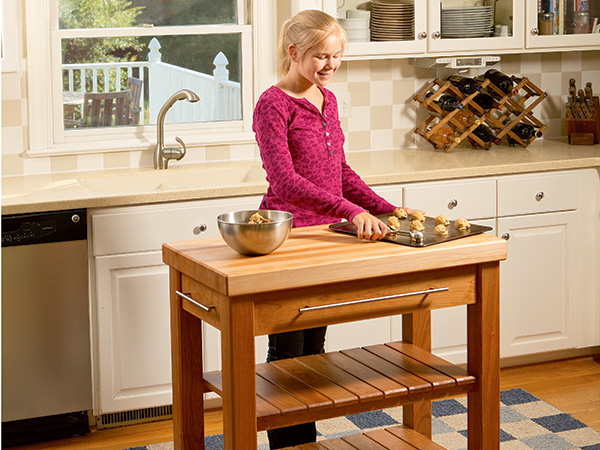
You can never have too much counter space. This kitchen island workstation project plan features a thick maple butcher block top that should be ideal for serving, cooling baked goods or carrying out chopping tasks. Underneath, there’s a spacious drawer for kitchen utensils that’s mounted on full-extension drawer slides. The island is substantial without being too heavy to roll around on its casters, while adding almost 15 sq. ft. of counter and storage space, if you include the top and both fixed shelves. I used cherry lumber, accented with brushed stainless steel drawer pulls, which adds a touch of sophistication to what will surely become a well-used addition in our kitchen. Here’s how to build one for your home’s chefs.
Making the Top
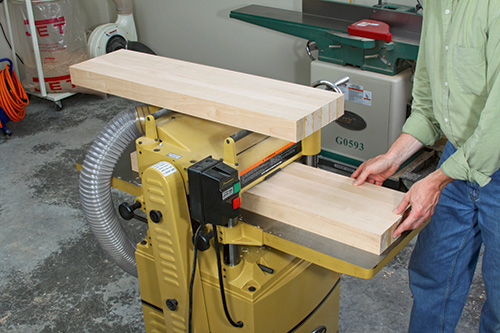
Let’s get this kitchen island project rolling, starting from the top. Notice in the Material List that the top’s overall width is 20 inches. Since this is a glued-up butcher block, where the stock is face-glued together so the edge grain is oriented vertically, you’re going to see all of those individual edge laminations every time you use the island. It’s important that they’re of equal thickness, or the top won’t be visually “balanced” across its width. I had a few planks of 8/4 hard maple on hand, so I knew my laminations could be up to about 1-3/4″ thick, but again, I wanted them to be of uniform proportion. After some simple division, I determined that if I planed my stock to just shy of 1-11/16″ thick, I could create that 20″ slab with 12 matching laminations.
After jointing and planing my stock to thickness, I ripped a dozen strips to 2-9/16″ wide and left them about an inch longer than needed. You could proceed to facegluing the whole works together, but that would introduce 11 slippery glue joints all at once — an awfully squirrelly animal to clamp flat. Here’s an easier approach: I glued up two subgroups of six laminations instead. They’re much simpler to manage and still narrow enough so I could run them through my planer to flatten the top and bottom faces.
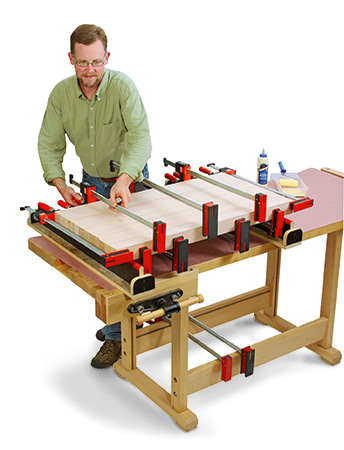
In this regard, here’s a word of caution: my planer has a helical cutterhead with inserts that cut at a skewed angle. If yours has conventional straight knives, I’d advise taking your top to a cabinet shop or high school woodshop and have it flattened and thicknessed on a wide drum sander. Or use a belt sander or hand plane instead. There’s a chance that a few of those laminations might have reversing or interlocked edge grain, which could tear out if power-planed.
Once my glued-up blanks were fully dry, I brought the two together easily with a single glue joint. That done, I turned to a card scraper to level the seam, then sanded the blank’s faces up to 150-grit.
Squaring up the ends of the top also posed a bit of a challenge: you’d need a big crosscut sled to do this safely on a table saw, and the top is pretty heavy to boot. So, I opted to use a clamped straightedge guide and my Festool TS 55 track saw. Two carefully made crosscuts per end — each partially cutting through the blank’s thickness — did the job I needed. More scraping and sanding erased the remaining saw blade marks.
Our design calls for 1/4″ chamfers all around the top, so I routed them in this order: corners first, then top and bottom ends, and finally the long edges. Once this is done, do your final sanding up to 180-grit and set the top aside.
Building the Lower Framework
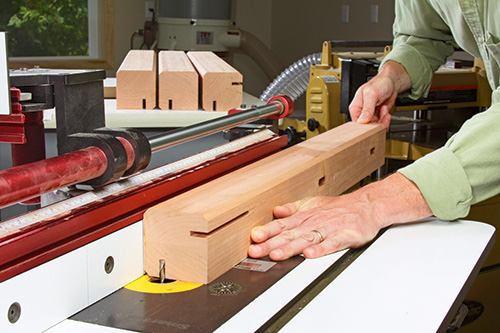
The legs for my project started out like the top — as two face-glued laminations that form the 3″-thick blanks. Once those were jointed and planed square, I chamfered their three outside edges and then cut the legs to final length. Study the Drawings and you’ll see that both the aprons and shelf stretchers attach to the legs with mortise-and-tenon joints. I laid out and cut the 1″-deep, 1-1/4″-long stretcher mortises with a 1/2″ upcut spiral bit at the router table in a series of deepening passes. Mark your workpiece and either the table surface or the router fence to help you start and stop these “drop cuts” accurately. Then switch to a 1/4″-diameter bit to mill the 3/4″-deep apron mortises — these pass straight through the tops of the legs; you can make them with one setup of the router fence, but you’ll need to change the orientation of the legs on the table so the mortises either start as a drop cut from the stopped end or as a run-in cut through the top end of the leg.
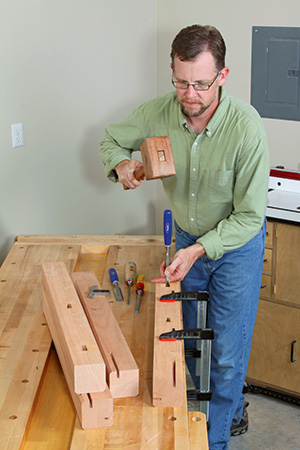
When the mortises were all machined, I chopped their ends square with a chisel. I think it’s easier than rounding all the ends of the tenons. Now go ahead and make up blanks for the side and back aprons and four stretchers. Then head to the table saw and mill tenons to fit the leg mortises, using the method and blade you prefer best. The stretchers have 1/8″ shoulders all around the tenons, but the aprons have a single 1/2″ shoulder at the bottom end and two 1/4″ side shoulders.
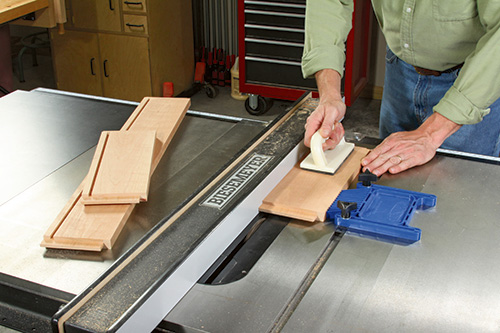
We’ll use conventional wood tabletop fasteners later for attaching the top to the aprons, so plow a 1/4″-wide, 1/4″-deep groove along the inside top edges of the aprons while you’re still at the table saw. Position these button grooves 1/2″ down from the aprons’ top edges.
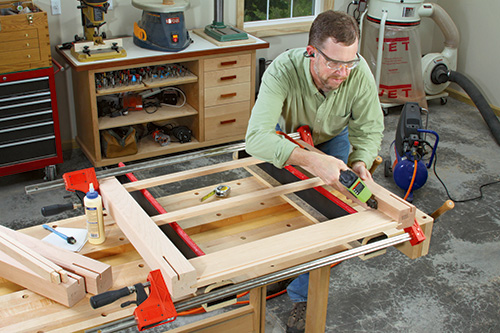
Give the legs, stretchers and aprons a thorough sanding to 180-grit. When that dust clears, it’s time for some assembly. For convenience, I “stepped out” the subframe assembly this way: first, I joined the long back apron and two stretchers to the back legs with glue and clamps, then repeated that process with the two front legs and their corresponding stretchers. For both of these assemblies, I cross-pinned the apron tenons to the legs with angled 1″ brads and used longer 1-1/2″ brads for locking the stretcher tenons. The brads create a mechanical connection if the glue should ever fail, but they also allowed me to free up my long clamps as soon as the glue was set.
While those cure, prepare the 18 shelf slats. Here, I crosscut some wide cherry blanks so I could chamfer their ends more efficiently at the router table before ripping the slats to width, two per workpiece. I also drilled a single counterbored screw hole 1″ in from their ends at the drill press to keep the holes neat and uniform. Final-sand the slats now before attaching them.
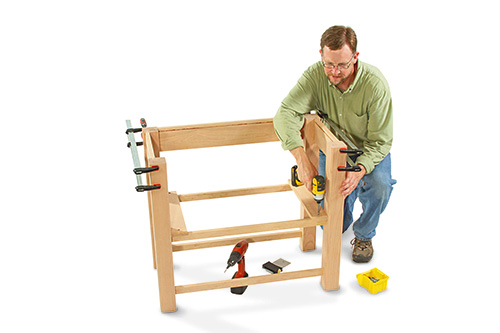
Two of those slats will help give the subframe more stability and squareness when you bring the front and back leg assemblies together with the side aprons. I first glued and clamped the aprons into their mortises in the legs, then screwed two shelf slats flush against the ends of the upper stretchers where they meet the legs. Give them 5/8″ of overhang, and secure them with 1-1/2″ wood screws. Pin the apron tenons with more angled brads.
I’m a believer in finishing a project as you go along and when it makes the most sense. In this case, I’d advise finishing the island framework now before all of those other slats are in place. It’s much easier to finish while the part surfaces are mostly accessible. I actually started the finishing process by setting the framework and slats outside on a sunny day for an afternoon. The UV light “jumpstarted” that warm, cherry patina. I top-coated the framework and bottom faces of the slats with clear dewaxed shellac to add some grain depth, then followed that with water-based poly for durability. Keep the top faces of the slats bare for the moment.
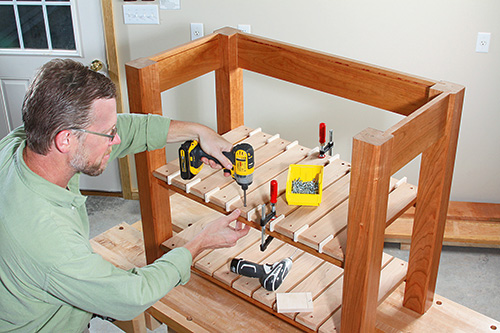
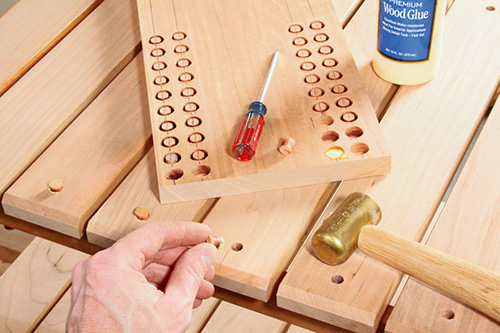
When the finish cures, install the remaining shelf slats. You should be able to use 5/16″-thick spacers between each of the slats to spread them evenly across the lower shelves. Once they’re screwed down, install 3/8″ tapered wood plugs with glue to hide the screw heads. Trim and sand the plugs flush, then finish the top slat faces. I mounted the short side handles next, centering them on the side aprons to wrap up the island framework.
Assembling the Drawer
Jeff and I decided to keep the corner joinery of the drawer box simple but sturdy. It’s just rabbets on the ends of the drawer front and back that fit into corresponding dadoes in the drawer sides. Actually, the larger issue for me was sizing this drawer box accurately to fit between the drawer slides — their outer housings are a tad shy of 3/4″ thick.
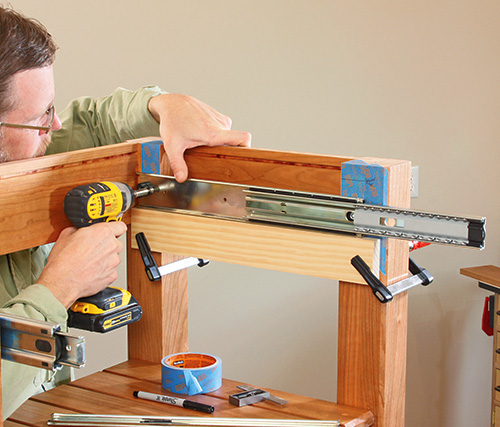
To size the drawer parts accurately, I started by fastening the slides to the legs to get a true calculation of the span between them. Position the slides so the bottom edge of the hardware is 4″ down from the tops of the legs and the front ends are 1-1/4″ in from the leg faces. I held the slides in position with scraps and clamps to help align them accurately.
You can cut the drawer sides to size straight off the Material List dimensions, but measure carefully between the drawer slides before cutting your drawer’s front and back pieces to final length. Subtract 1/2″ from the span between the slides (this accounts for the drawer side thickness that remains beside the corner joint dado cuts) and add 1/16″.
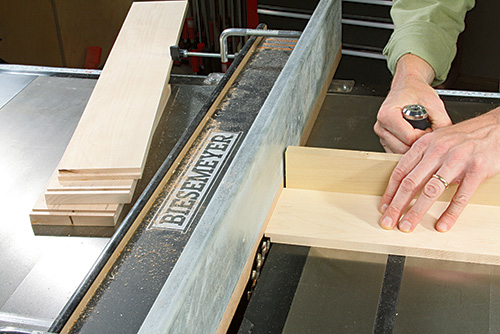
That last tidbit of length will make the drawer box fit slightly tight between the slides. Go ahead and make your drawer front and back pieces, cut the rabbet-and-dado corner joinery and mill the drawer bottom grooves. Cut the drawer bottom to size. Sand all of the parts, and assemble it carefully to be sure the drawer is square.
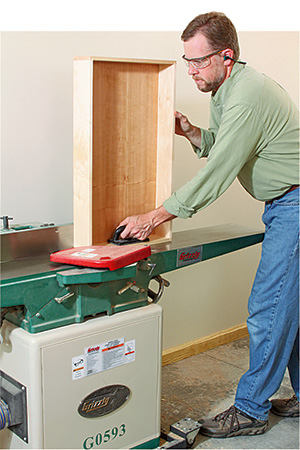
After the glue dries, set your jointer for a whisper-thin cut. Take an equal number of passes off the outside faces of both drawer sides until the box slips easily into place between the slides; doing this gives you precise control and prevents the drawer from binding the slides during operation — either because it’s slightly too wide or too narrow.
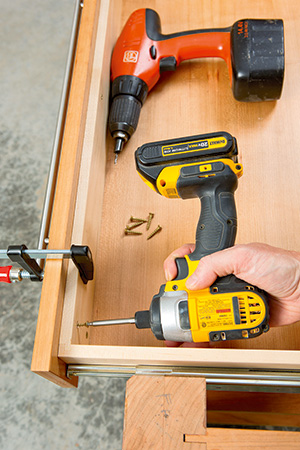
Screw the slides to the box to check the slide action, and leave it in place. Make your drawer face from a nice piece of cherry stock, apply finish and mount the drawer handle to it, countersinking the screw heads. Clamp your drawer face to the drawer box; position it evenly between the legs and just shy of their top ends to form even reveals all around. Attach the drawer box to the drawer face with screws.
Wrapping Things Up
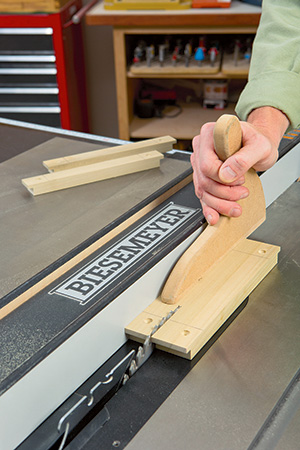
Use a wide dado blade buried partially in a sacrificial fence to make the 1/4″ x 1/4″ tongues on the ends of some 3/4″ scrap for your tabletop fasteners (see the Drawings). Bore a single and centered countersunk screw hole in the “thick” portion of each one before cutting them to width and length.
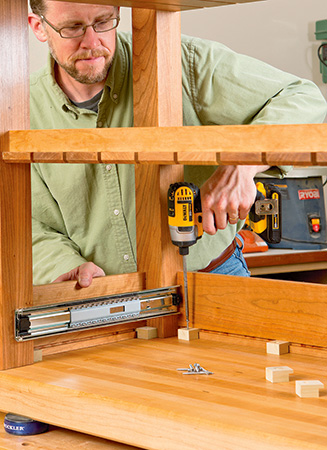
Now carefully turn the island frame over and screw the swivel casters in place — the front pair lock; the back set doesn’t. Then invert the butcher block top on your worksurface and center the frame on it. Fasten the aprons to the top with eight fasteners. Place two on each side apron butted inside and against the legs; spread the other four out evenly along the back apron. Secure them all with screws.
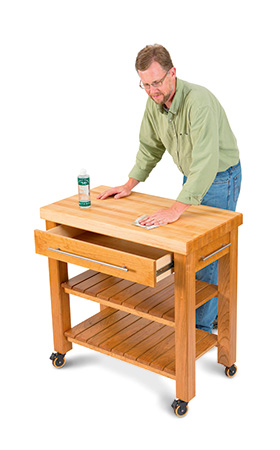
Since our family will make this island a functional part of meal prep, I’ll be treating the top with butcher block oil often for a food-safe and replenishable finish.
Click Here to Download the Materials List and Drawings.
Hard to Find Hardware
16″ Full-Extension Drawer Slide (1 pair) #45908
Stainless Steel Bar Pull 494mm (1) #58102
Stainless Steel Bar Pulls 270mm (2) #54463
Casters (2) #37882
Locking Casters (2) #30705
Butcher Block Oil (1) #15950


