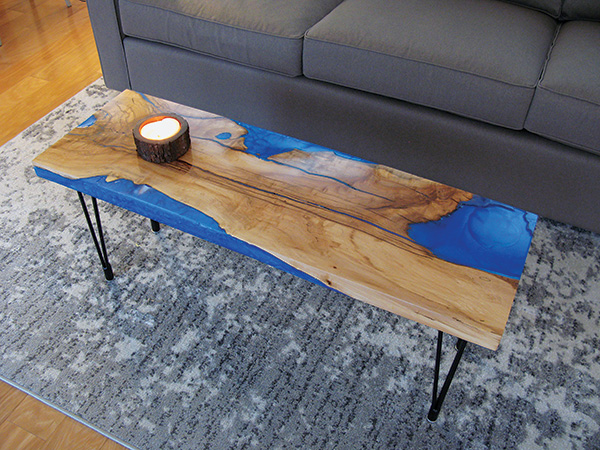
One of my favorite country songs (and I have many) has a verse that goes, “I’m just an old chunk of coal, but I’m gonna be a diamond someday.” I love that verse for so many reasons, but I was thinking of it when I found this piece of maple lumber that was really, well, awful. It was spalted, fractured and had a bow along its length. But it also had a fascinating shape with curious and intricate details. A chunk of coal indeed.
Preparing the Board
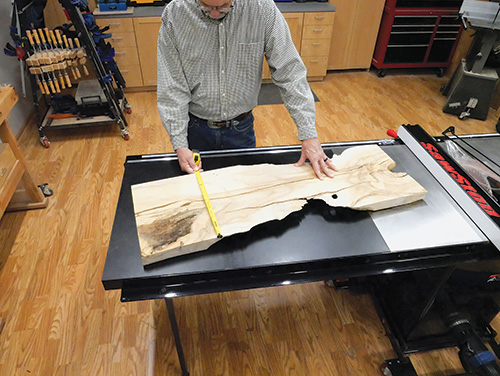
To get this project started, I needed to square up the ends and sides of the board so that I could snugly fit it into a
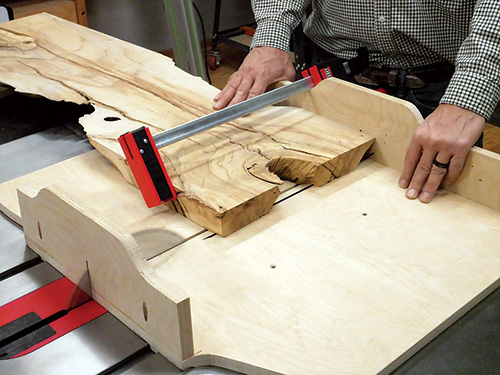
form that would control the epoxy. The odd shape of the piece ensured that I could not simply push it across a table saw to get a straight edge, so I had to improvise. I secured a piece of plywood to the board with a screw at each end.
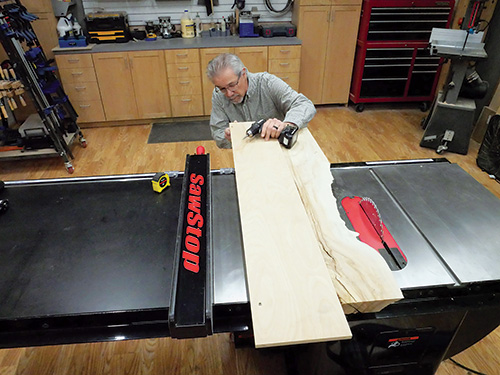
I was then able to use that as a reference edge to slice the opposite side dead straight. Then I mounted the plywood to the other side of the board, aligning it with the straight cuts that I just made, and I repeated the process to get to parallel sides. Next, I squared the ends of the board using a crosscut sled on the table saw. The screw holes from mounting the plywood guide were cut off in this step. When working with wood as fractured as this sort of stock, face shields and other protective gear are a must. Chunks of wood were flying around during these cuts.
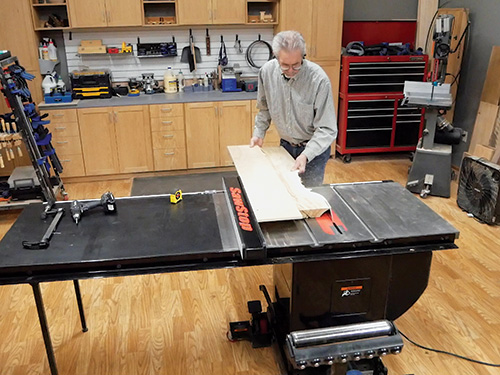
With the edges and ends squared up to one another, there was the little matter of the bow in the board to deal with. I was able to solve that problem and an additional complication with the same effort in the following step.
One truth about epoxy resin is that it is not cheap. This specific piece of wood’s shape left some huge voids to fill, and the back of the board sloped away from the top, adding to the volume of epoxy that would be required. What I did next helped both the bow and the volume problems.
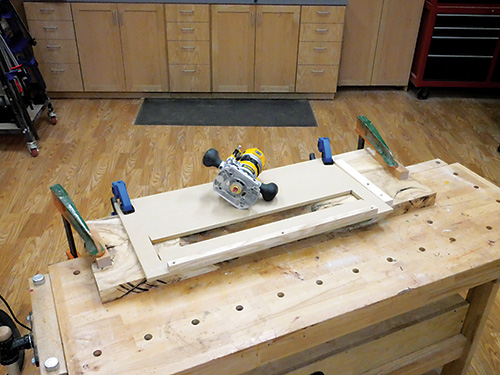
I decided to fill in some of the void area with a plug of sorts made from plywood. Clamping both ends of the board to the workbench flattened the bow while I worked. I routed a 3/4″-deep rectangular shape into the back of the board.
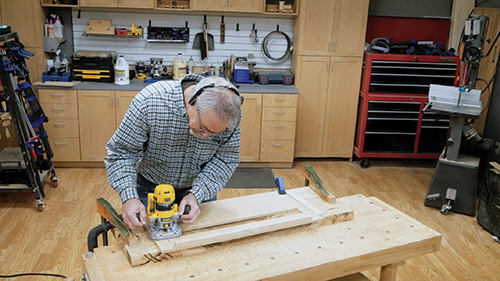
Using a rectangular cutout in a piece of 1/4″ MDF, I was able to rout the opening a bit at a time. The plunge router had a rub collar on it that guided the cut. I used a piece of wood clamped at the end of the jig to keep it aligned with each new position of the jig. When I started routing, the MDF was a bit too flexible as it was unsupported over the large voids, so I needed to glue a stiffener onto one edge of the jig.
Those sorts of accommodations are just what you need to do as you invent your work methods on a one-off project like this. Just go with the flow and don’t be afraid to change to “Plan B” if you need to.
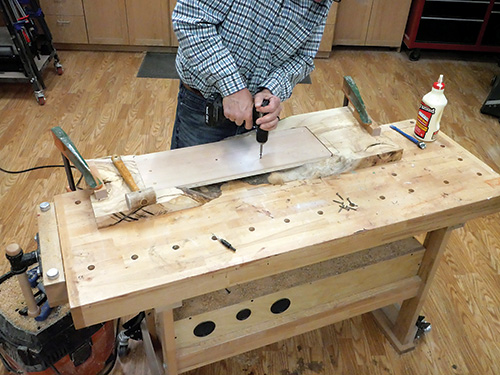
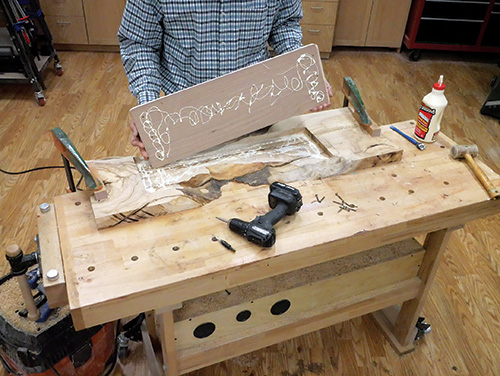
The plywood plug extended well into the voids on either side of the back of the board, saving epoxy expense. By fitting the plywood very tightly into the routed opening and gluing and screwing it securely in place, the bow could not spring back — an important improvement to the stock. With those steps done, it was time to do some sanding to smooth the top and remove the saw marks from the edges and ends.
Creating a Melamine Form
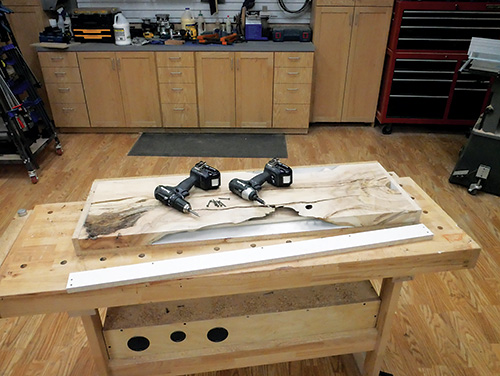
Next, I needed to build a form around the piece for pouring. I used 3/4″ melamine board for the form because is it very smooth and glue does not stick to it well — don’t forget that epoxy resin is a powerful adhesive. The other advantage of the smooth melamine finish is that the ends and edges of the resin blank would harden with a smooth surface that’s free of wrinkles, bumps or grain patterns molded into it. I cut the bottom of the form to exactly the size of the maple blank. Then I ripped the side and end pieces of the form so they were dead-even with the top face of the maple as it lay on the form’s melamine bottom. I wanted those top edges to show me when to stop pouring the resin when I got to that important step.
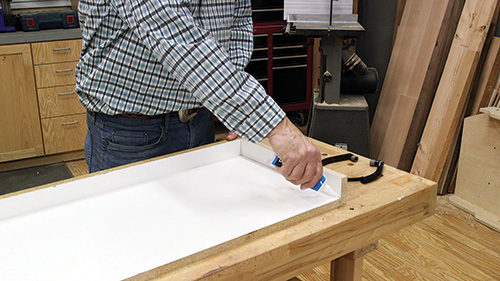
Here is something else you need to know about epoxy resin: it will flow everywhere … both where you want it to and everywhere you don’t. For that reason, I used silicone caulk at the joints in the form and screwed the piece together tightly. Then I clamped the corners so that they were extra tight. Even with all this effort, some epoxy still leaked out of the form, but just a little. If you give this sort of thing a try, make every effort to fabricate your form so it’s super tight. With the form made, I applied a thick coat of wax over its entire interior to ensure that the epoxy would not stick to the form. Note to self: next time use a lot more wax.
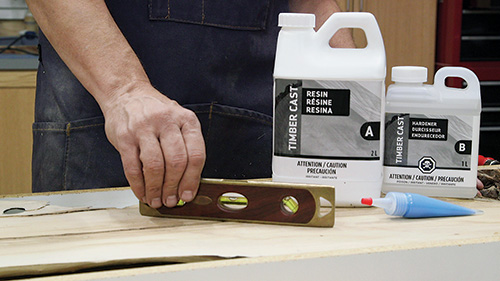
I was almost ready to pour the resin, but first I put a layer of cardboard under the form to protect the workbench from any leaking epoxy. Lastly, I leveled the form and maple blank so the epoxy would flow perfectly level with the wood and the form.
Proceeding with the Pour
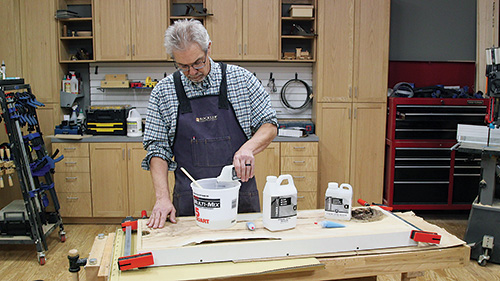
You might be wondering how much epoxy you will need for the job. Solving that question takes a bit of math. You measure and then estimate the number of cubic inches of space in all the voids (Length x Width x Depth). Then you take the total number of cubic inches and multiply it by 0.016387, which gives you the number of liters of resin you will need. (Always get a bit more epoxy than you think you will need. Always.)
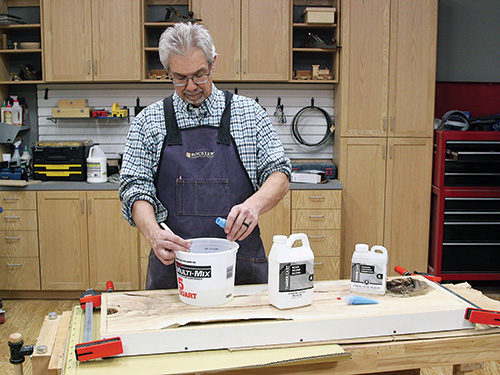
Using the Timber Cast Epoxy and colorant is very easy, because their proportions are pre-measured. Just mix them all together and stir for at least five minutes by your watch. Mixing it well is critical to success. When it’s thoroughly blended, go ahead and pour it into the voids. Keep a sharp eye out for leaks.
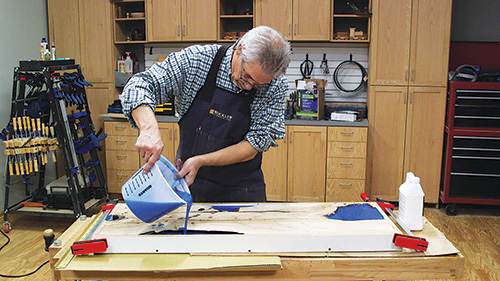
A piece of wood as fractured as this one will absorb a lot of resin over time. So for this project, I kept checking on it regularly over about the next eight hours. Each time, I needed to refill the voids and cracks as the resin level had gone down. After that stopped, the resin needed to cure for over 24 hours.
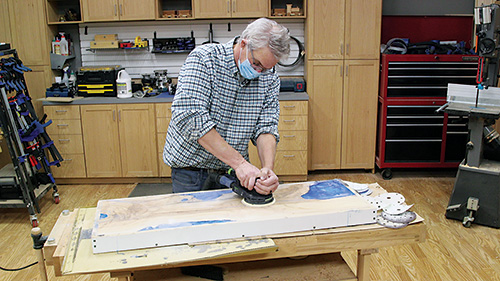
When it fully hardened, the next step was more sanding. I started with 60-grit and worked up though 500-grit. After that, I applied two coats of spray shellac from an aerosol can to seal the exposed wood and let that cure. I then polished the surface with a 1500-grit pad, wiped away the swarf and sprayed two coats of gloss lacquer (also from a rattle can) to complete the finish.
I installed a new type of metal hairpin legs from Rockler to the tabletop that have adjustable leveling feet. My lump of coal had now taken on diamond-like qualities, as a curious-looking piece of wood had become a coffee table.


