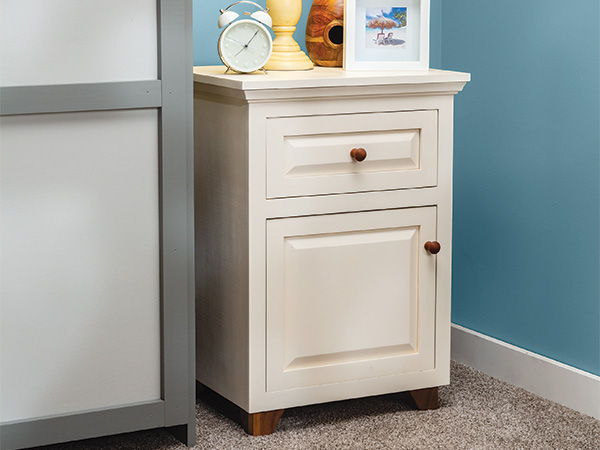
Recently, one of our co-workers had a chance to build a bank of kitchen cabinets to help out a friend. The experience reminded him that even relatively basic woodworking, such as bread-and-butter cabinetry, requires a skill set that can get rusty if you don’t practice it now and again. And that’s where this handsome little cabinet can help: it’ll give you good reason to brush up on several core techniques while also producing a base cabinet that can find a spot in any home for numerous useful purposes.
Building the Carcass
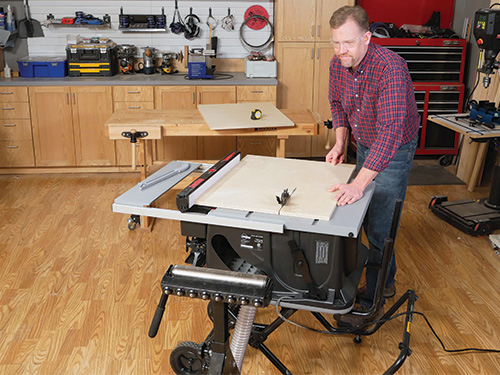
Constructing the carcass is a logical starting point for any cabinetry project. Get this one underway by cutting panels for the two sides, back and bottom, according to the Material List. While it doesn’t really matter on a painted cabinet, pay attention to the grain direction if you decide to go with a clear finish instead; it should run vertically on the side and back panels.
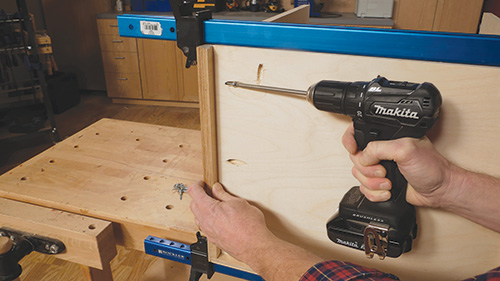
Notice in the Exploded View Drawing that there’s no specific joinery identified for these first four carcass parts. The back and bottom panels simply butt against the inside faces of the sides. The choice of how to reinforce these joints is entirely up to you. You could use brad nails and glue, wood biscuits, dowels, Festool Domino tenons or pocket screws. We opted for pocket screws, boring the screw pockets into the back face of the cabinet back panel and the bottom face of the bottom panel. We also bored screw pockets on the inside faces of the side panels near the top, for installing the cabinet’s top panel.
Lay out the position of the bottom panel on the side panels so its bottom face is 3/4″ up from the bottom edges of the sides. Spread glue onto the contact surfaces of the parts and clamp up the assembly. Make sure not to over tighten the clamps in the process, which could rack the carcass out of square. We drove 1-1/4″ fine-thread pocket screws to secure these connections.
While the glue cures, you can turn your attention to the face frame. For a painted cabinet, ordinary 3/4″ poplar is an excellent choice: it cuts, routs and fastens like a champ without costing an arm and a leg. And, better still, its closed grain is ideal for painting.
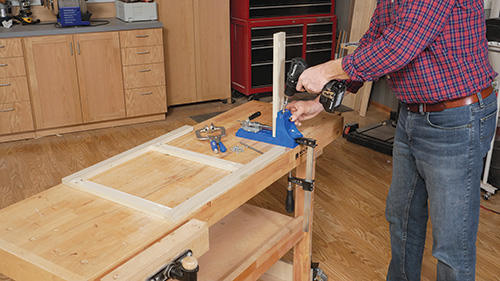
Measuring off of your cabinet to be certain of final part lengths, rip and crosscut the face frame’s two stiles and wide and narrow rails. Here again, the simplicity and sturdiness of pocket screw joinery is why many production cabinet shops build face frames with pocket screws exclusively. If this is the joinery option you choose, lay out pairs of screw pockets on the ends of each rail and bore them. Then, locate and mark the position of the middle rail on the stiles, using the Face Frame Drawing as a guide. Assemble the parts by driving screws into their pockets — there’s no need for glue on these joints.
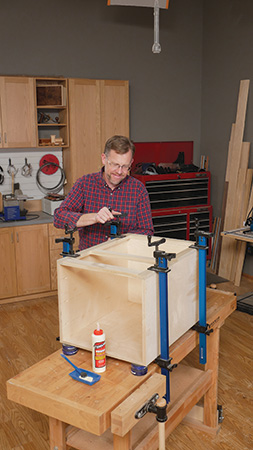
Remove the clamps from the carcass so you can check the fit of the face frame on it. Its ends and edges should line up evenly. Give the face frame a quick sanding, if any of the joints need flattening, then glue and clamp the face frame to the front edges of the cabinet. Some woodworkers nail face frames in place, but glue alone is strong enough here.
Building the Door
Then proceed by measuring the inside door opening on the face frame, and cut a pair of stiles 1/8″ shorter than the opening. The rails will have 1/4″-long tongues on their ends that fit into mating grooves in the stiles. Crosscut the rails to 13-1/4″ long to account for these joints.
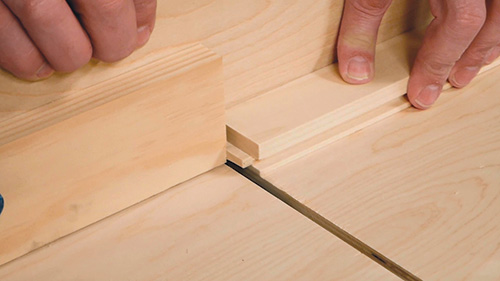
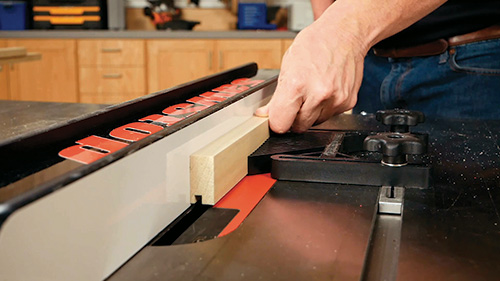
Step over to your table saw and set up a 1/4″-wide dado blade. Raise it to 1/4″ and plow grooves along one edge of each stile and rail. Position these offset grooves 1/8″ in from the back faces of the parts. After cutting the grooves, raise 1/4″-long offset tongues on the ends of the rails to fit the grooves.
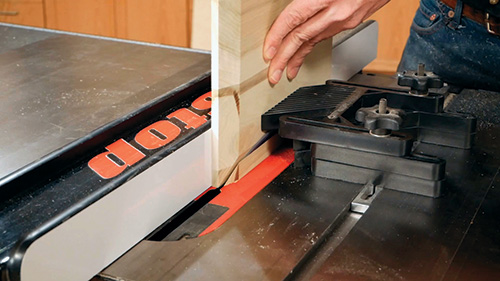
Next, dry assemble the door frame joints. Measure the inside opening of the frame to determine the final size of the center panel, and glue up a panel blank. Tilt your table saw blade to 20 degrees off of vertical for cutting the four face bevels around the panel edges. When the panel is standing on edge against the rip fence, the blade should intersect its bottom edge about 1/4″ in from the back face. Raise the blade just high enough to cut the bevels, install a tall featherboard and make these four cuts.
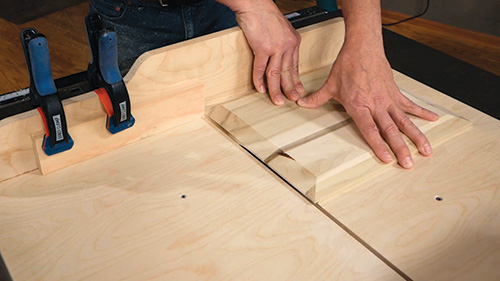
Finally, notice in the panel detail drawing above that there’s still a 1/4″-wide, 1/8″-deep rabbet to plow around the edges of the back face so the panel will fit into its frame grooves. We made these on a crosscut sled with a dado blade.
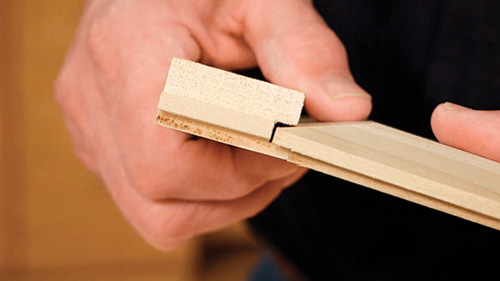
Scrape and sand the door panel to remove any saw marks. Go ahead and glue the door together, limiting the glue to only the tongue-and-groove corner joints, so the panel can expand and contract freely when needed.
Assembling the Drawer
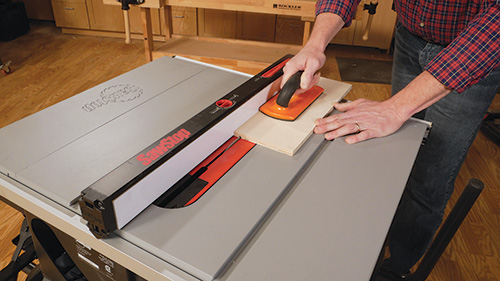
This cabinet’s drawer box construction couldn’t be simpler: its corners are just glued and nailed together. Build it by first cutting the front, back and sides to size from 1/2″ plywood or solid lumber. Then, head back to the table saw to plow a groove along the inside faces of the four drawer parts, 1/2″ up from their bottom edges. Make these drawer bottom grooves 1/4″ deep and just wide enough to fit the thickness of the material you plan to use for the drawer’s bottom panel.
Clamp the parts together to check the final length and width of the panel you’ll need to cut for the drawer bottom, and make it now. Finish-sand the drawer box parts. When you glue and clamp it up, check the diagonal measurements to be sure they’re equal (and the box is square). Reinforce these butt joints with some 1-1/4″, 18 gauge brads after the clamps come off.
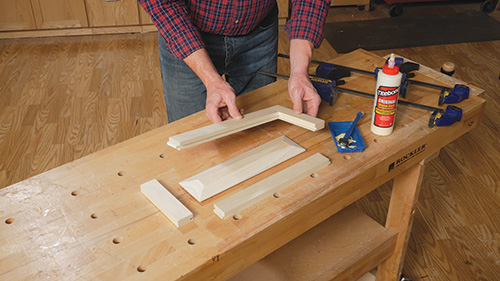
As you can see in the Exploded View Drawing, there’s still the matter of making the drawer’s front raised-panel framework. Follow the same procedure to machine and assemble this frame as you did for constructing the door. However, be mindful of one safety caveat: take extra precautions when sawing the short end bevels on the drawer’s narrow raised panel. Were this panel more square than rectangular, you could saw the ends just as you do the edges. But, the ends are too narrow to guide by hand against the rip fence and through the saw blade without running the risk of the panel rocking forward or backward and inviting a dangerous kickback situation.
For safety’s sake, saw these narrow end bevels with the workpiece clamped securely in a table saw tenoning jig. If you don’t have a metal version, here’s a reason to make one from scrap using an online plan (they’re plentiful). It’s a good jig to have on hand in any wood shop for a variety of cutting applications.
Sand the rails, stiles and panel, and assemble the drawer face framework’s tongue-and-groove joints with glue.
Hanging the Door and Drawer
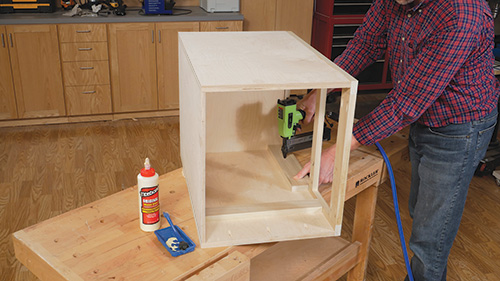
Next, cut and install a pair of 3/4″-thick slide supports inside the cabinet. Center them vertically on the drawer opening. Once those are glued and brad-nailed in place, make up a hinge mounting plate and attach that to either the left or right inside wall of the cabinet, depending on which way you want the door to swing. Butt this plate against the back of the face frame before gluing and nailing it permanently.
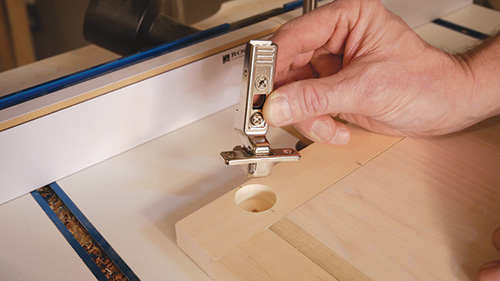
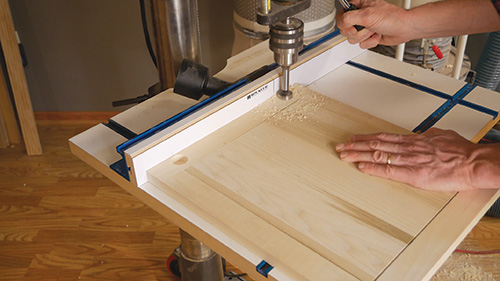
With those tasks behind you, it’s time to drill a couple of 26 mm-dia. stopped holes in the door back for installing a pair of Mini Blum Frameless Inset Hinges. Locate these cup holes 2″ in from the top and bottom ends of the door. Bore them on a drill press against a clamped fence for accuracy. Then, fit the doorside hinge components in these holes; align the hardware so it’s perpendicular to the door stile, and fasten the hinges with the included screws.
Position and hang the door in its opening, driving the cabinet-side hinge screws into the hinge mounting plate. Check the door for proper swing clearance, and use the adjustment screws on the hinges to fine-tune these settings. Cut and install a triangular door stop against the back of the face frame to prevent the door from closing too far.
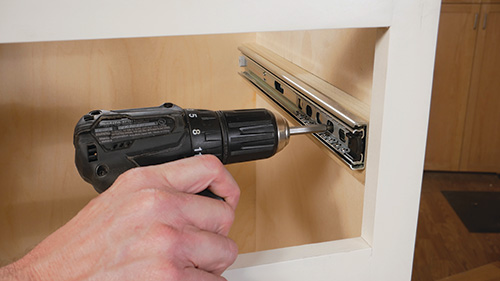
Now it’s time to hang the drawer. Follow the instructions that come with the slide hardware to mount them inside the drawer opening. Be sure that the front ends of the cabinet-side components of the slides align flush with the back of the face frame.
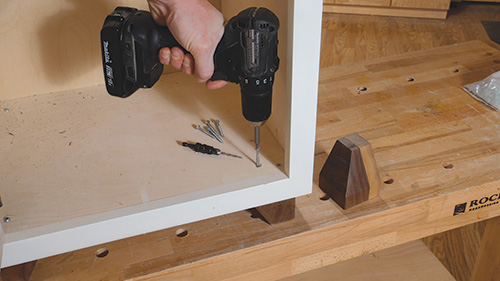
Fasten the drawer-side members of the slides to the sides of the drawer box with screws. Here, the front ends of the hardware should be flush with the front of the drawer box. Once those are in place, fit the slides together to check the drawer’s alignment and action. Make any adjustments to the slides that are needed, then carefully mount the drawer’s raised panel framework to it. (Double-sided carpet tape can provide a “third hand” to get this framework temporarily centered before fastening it to the drawer box from the inside with 1″-long screws.)
Painting and Finishing Up
Cut a plywood panel for the cabinet’s top, and band its front and side edges with 1/4″ solid wood, glued in place, to hide the edge plys. When the glue dries, sand and install it on the carcass — ours secured with pocket screws. Then, miter-cut and install 3/4″ moldings of your choice underneath the front and side edges of the top with glue.
Once that’s done, your cabinet is ready for finish; remove the hardware as needed and apply a quality primer and paint, sanding lightly between coats. Install knobs on the door and drawer, and remount the metal hardware.
There are many hardware or shop-made options for cabinet feet; we settled on blocks of glued-up walnut, tapering their two inside faces on the band saw. If you choose to do the same, install them with pairs of flathead wood screws.
Hard-to-Find Hardware:
100-lb. Low Profile Full Extension Drawer Slides – Accuride 3732 (1) #35565
Mini Blum® 90° Clip-On Frameless Inset Hinge (1) #38411


