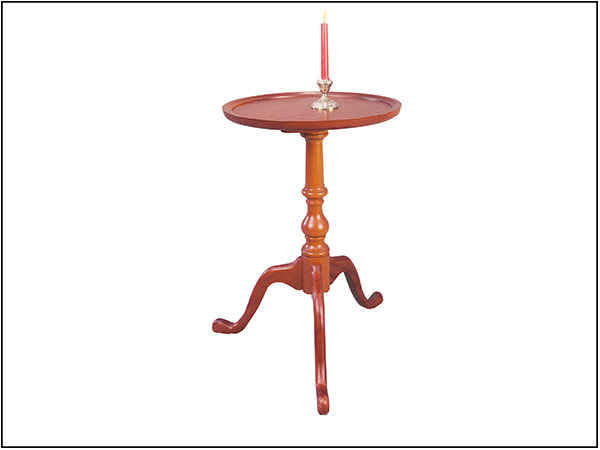
If you are thinking that it is time to try out your turning skill on a furniture project, this little candlestand or tea table is just the ticket. A tilt-top tea table represents a nice balance between spindle and faceplate turning and, in this case, requires the use of a shop-made jig to mill the dovetail slots to attach the legs.
The elegant Queen Anne design dates from the mid-18th century but still turns heads in contemporary settings. The TV trays of their day, tilt-top tables were made for quickly situating a candle at a convenient height for reading and conversation, or to hold each individual’s dishes during a serving of tea. (No Duck Dynasty® in those days; they actually had to talk to each other for entertainment.) The tables could be stored folded against a wall during daylight hours and are still grand for taking a solitary meal or to hold a laptop at an ergonomically correct height when seated in a chair.
The stem of the Queen Anne table is a spindle turning tour de force. I suggest mahogany as the wood, as it is true to the originals and is one of the easiest woods to turn, and it can be scraped with dull scrapers with success. The top of the table can be formed from a disk of 3/4″- to 1″-thick wood which can be band sawed or routed with a circle jig and sanded without the need of a lathe at all. Although the table is certainly elegant, don’t let that frighten you. Even turners of moderate skill levels will have no trouble getting good results with this project.
Enough palaver, let’s go out to the shop and get to work.
Turning the Stem
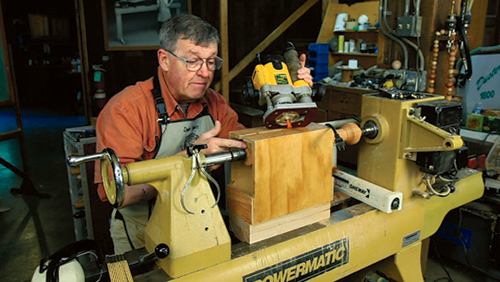
The stem is at the heart of the table and it is straightforward spindle turning, albeit of a robust 3″ diameter. Careful layout and sharp tools carry the day. If your tools are not as sharp as they should be, I cannot overemphasize the forgiving nature of mahogany! (But you should really learn to sharpen your tools.)
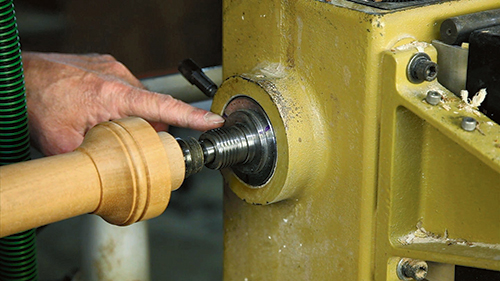
Mount your stock between centers and look to the Drawings for the details of the stem’s shape. As you turn the stem, it does not need to match the drawing perfectly: you are striving for a lovely shape, not computer-generated exactitude. The tenon on the end of the stem must be sized to tightly fit the hole in the support block — but that is it for super-accurate dimensions.
Milling the Sliding Dovetails
The most daunting problem in making the stem is milling three dovetail-shaped slots to attach the legs to the base of the stem, and having them spaced exactly 120° apart. This is accomplished handily with a very simple jig which I outline the construction details for in the sidebar on the following page. If your lathe lacks indexing, it is easy to step off two radiuses of the finished stem diameter, thereby dividing the circumference of the stem base into thirds.
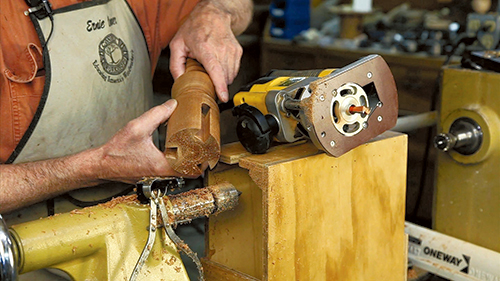
You’ll then need to figure a way to lock the spindle with a clamp when each of the marks is aligned to the center of the guide-bushing slot in the jig. At that point, it is a simple routing operation to form the dovetailed slots.
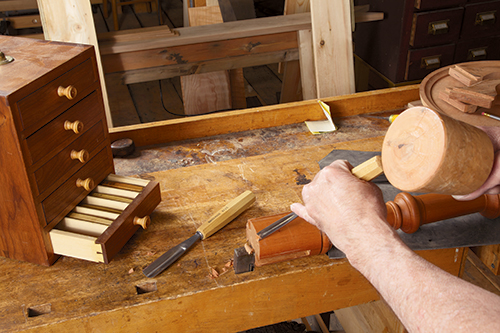
Once the slots are cut, their rounded end needs to be squared out with bench chisels to the exact 3-1/4″ height of the leg. One other detail in the Queen Anne design is carving a pattern between the legs. The detail requires a V-shaped veining gouge and a second gouge of about 8-sweep.
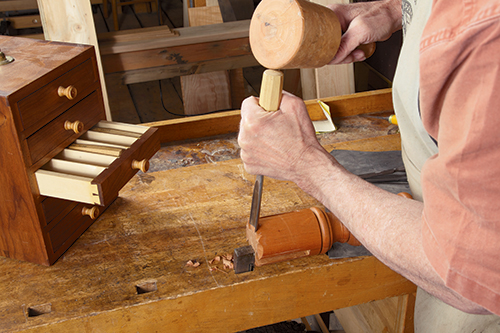
The carving is no more than a generous chamfer that slopes to the center of the stem at about a 15° angle. Again, like the spindle turning, this carving is within the scope of most woodworkers’ talent. You are not carving a relief frieze of a da Vinci copy, it is just a bit of shape that complements the curves of the legs.
Lathe Dovetailing Jig
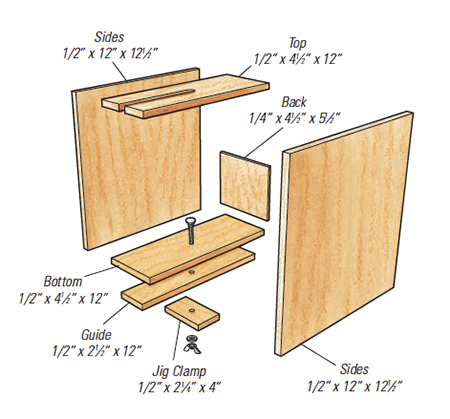
This simple box-like jig provides an accurate means of guiding your router as you cut the dovetailed grooves on the bottom of the stem. This jig fits my Powermatic full-sized lathe, so you may need to adjust some of the dimensions to accommodate your machine. The guide aligns the jig between the ways of the lathe, and the jig clamp holds the jig in place. The routing slot is centered in the top and is machined to precisely fit a rub collar on the bottom of your handheld router. The back piece of the jig is sized to leave an opening large enough for the stem to fit through while it is between centers. Keep the jig around your shop; you’ll be surprised how often you might want to use your router to cut a groove or plunge drill some holes in a spindle.
Turning the Top
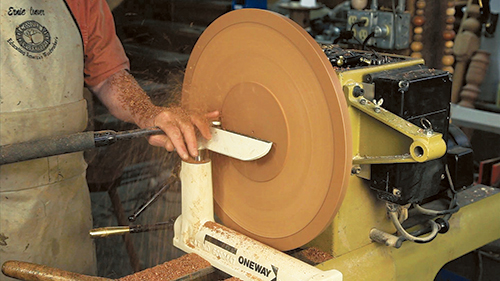
The top is a bit more challenging than the stem. It is difficult to find 18″-wide material today, but a glued-up top will work fine and is what I used for this article. While I made mine 18″, anywhere down to about 14″ would be fine. Much depends on the swing of your lathe if you are going to turn the top. Band saw the square blank to your decided diameter and mount it on a paper chuck. Make a glue block by mounting a 6″ circle on a faceplate or screw chuck and scrape it flat.
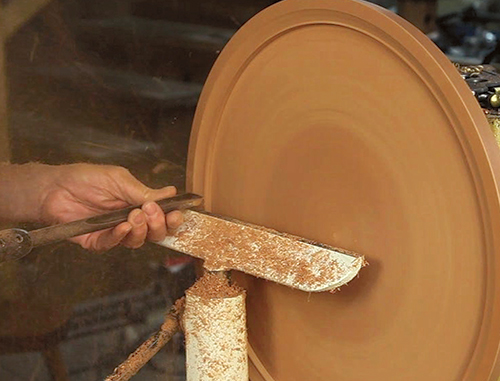
During the glue-up, interpose a piece of brown kraft paper between the glue block and the top with PVA glue on both sides of the paper. I use old grocery bags. Clamp the joint with pressure provided by the tailstock and a live center. If you put the center point on the dimple left by your trammels when you laid out the circle, you’ll get it perfectly in the center. The advantage of a paper joint is that the paper will easily release when the turning is done, leaving no trace of chucking, because the paper and glue can be sanded away with an orbital sander.
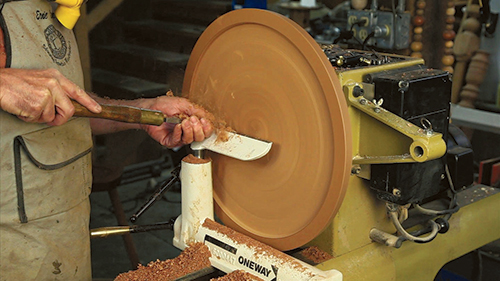
Begin shaping the top by establishing the raised band and forming the decorative edge treatment shown in the Drawings. The 1″ band is now dished from about 1/4″ shy of the perimeter to a 1/8″ reveal above the flat area. This shape and its shadow line give an elegant look to the top.
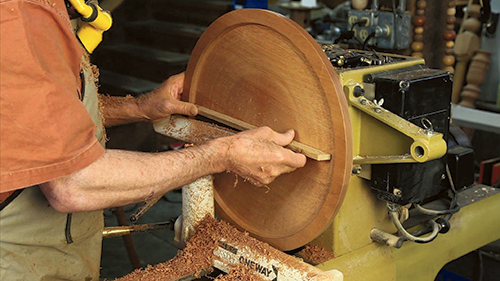
The real work of accurately flattening the recessed area of the top is achieved with a scraper specially designed for the purpose. It can be ground from any 1-1/4″-wide square-end scraper to the pattern shown in the Drawing. I call it a Boat Tail Scraper because it will cut when moved to the left but leaves no line in its wake, because of the 15° chamfer at the right corner. The trick of using this most useful scraper is to align the tool-rest at right angles to the lathe bed and position it close to the top. By gripping the scraper firmly with your left hand, you can keep it at the same distance from the rest during the cut, thus achieving a flat surface.
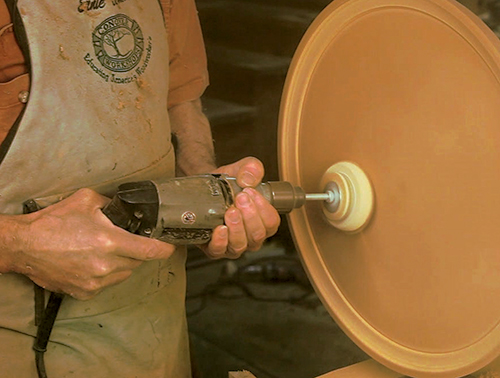
Final flatness is obtained with a sanding disk in an electric drill. Even greater flatness can be obtained off of the lathe with an orbital sander starting with 120-grit or coarser paper.
Sculpting and Mounting the Legs
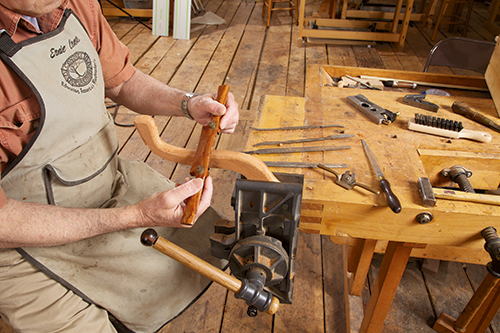
The legs of the table carry the design, but you should understand that they are quite labor-intensive. After band sawing to rough shape, there are many ways to get the flowing rounded profiles required. The bottom side of either leg is square so a spindle sander works well, as does a spokeshave. The top side needs to be a half circle that flows smoothly from the stem to the floor. I use spokeshaves and rasps and a lot of sanding.
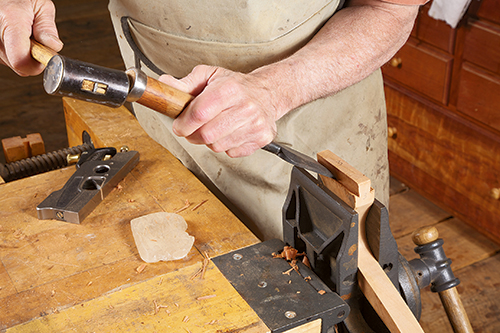
The pad foot of the Queen Anne Leg is achieved by cutting a 1/4″ by 1/4″ rabbet at the toe and sides. I do this with a rabbet plane, but it can be done with bench chisels. The final detail is to cut dovetails in the root of the legs to match the dovetail slots we milled in the stem with the router. This forms what is called a sliding dovetail. The traditional way is to transfer the pattern from the stem to the leg and cut the cheeks of the dovetail with a backsaw. An easier way is to mount the same bit that we milled the slots with in a router table and mill the dovetails. By using a scrap piece of the same thickness as the legs, you can move the fence incrementally until a perfect sliding fit is achieved. Patience here is essential, as the fit must be just right.
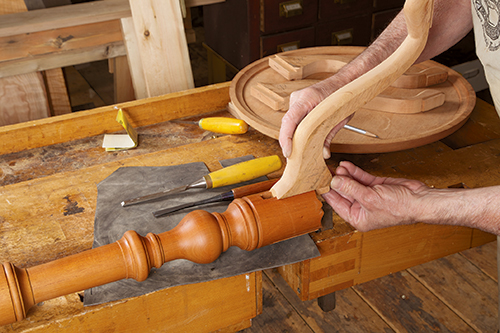
As is my regular practice, I put the first coat of finish on the stem in the lathe, then put masking tape on the dovetails of the legs and finish them before glue-up. Either PVA glue or hide glue are good choices for gluing the legs to the stem. Before you go any further, take a few minutes to turn the trunnions, between centers, to the shape and dimensions shown in the Drawings.
Attaching the Top
Attaching the top is achieved by using a support block and stays as shown in the Drawings at left. Carefully lay out the holes and drill them using a drill press — before any cleanup. The 1-1/2″ by 1″-deep stem-mounting hole is centered on the support block. While it can be through drilled, I do not, mainly for aesthetic reasons. Drill the trunnion hole by halves from each edge so as to get as straight a hole as possible. Check the fit with the trunnions, which are turned to 1/64″ less than the 3/8″ hole running across the block. Now clean up the stays and the block. Radius the top corner of the block adjacent to the trunnion holes (see Drawings). Test the mechanism by assembling the parts and pushing the stays flat on your benchtop (just as they would be under your table) and checking if the block pivots freely.
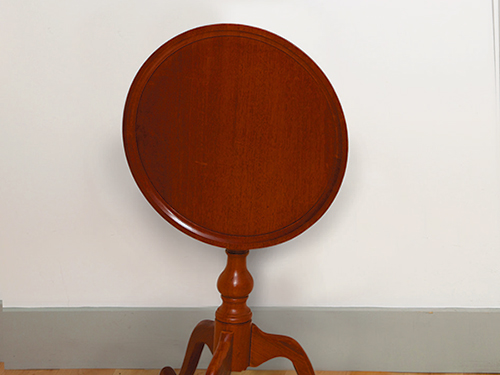
The stays are glued to the top along the grain (not across it!). To ensure the correct play, I put a playing card on each side of the block and insert the trunnions through a hole I punch in the cards. Now clamp this assembly together with a small clamp. Next, apply glue to the stays and clamp them to the top until the glue cures. This setup will give the correct play. Glue the block to the stem but attach the top and align the block so that the top is square to one of the legs when it is attached. This allows two of the legs to be against a wall and the top to be perfectly parallel to the wall when folded down. Install the catch, which is a piece of period hardware I got from Whitechapel. Now you are done!
Take some pictures of your finished masterpiece and use the new table to support your laptop while you email the photos to friends. I would love to receive a copy!


