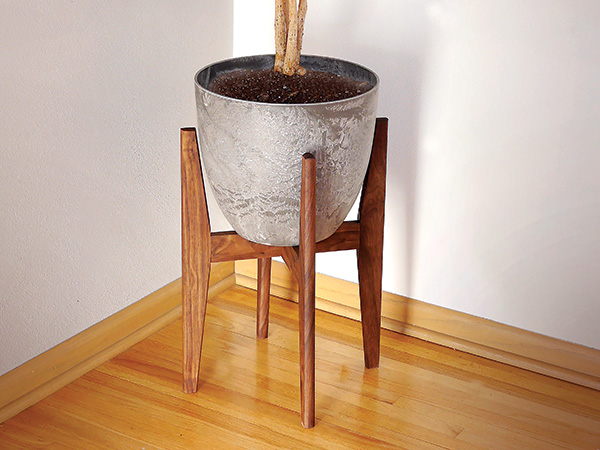
Spending time outside in July and August offers ample opportunity to enjoy lush green landscapes. But for those of us in the north, a bit of greenery in the winter is like a breath of fresh air. This plant stand accommodates a large-enough pot so that it can hold anything from a plethora of coleus to a small tree and can easily bring us that mid-winter respite.
The stand is inspired by Danish Modern design, a style of Scandinavian influence that came into popularity after World War II. Focusing on form and function, the simplicity of the designs lent themselves to production-style woodworking. That made Danish Modern furniture affordable as well as trendy. Teak was the primary species of wood used in those 1950s-era pieces, and its mid-range hue and pleasing figure were a key component in the popularity of the style. I used black walnut with a clear, natural finish for this plant stand, and I think it makes a worthy substitute for expensive teak.
Getting Started
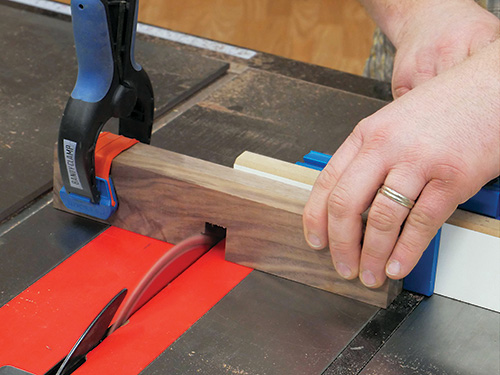
Start out by selecting your lumber. For this project, plainsawn lumber will produce the best look. When choosing your stock, try to avoid cathedral-grained boards. Instead, look for figure with a good bit of movement that runs the length of the piece. The leg on the left in the image at left is a perfect example of the type of figure I’m suggesting.
You can go ahead and cut all six pieces of stock to the dimensions found in the Material List. Check to be sure that all all of the stock is surfaced to the exact same thickness, as this will make your joints fit properly.
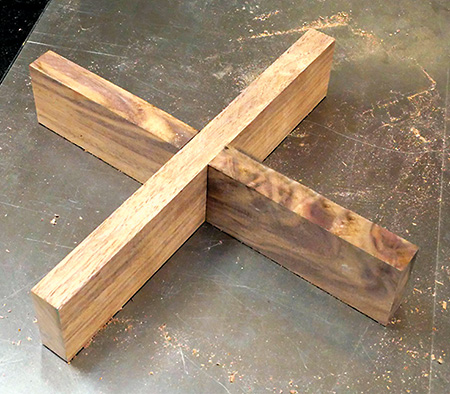
From the pieces you’ve cut, grab the two supports (pieces 2) and step over to your table saw. These parts will connect with a half-lap or cross-lap joint. That’s where you cut two notches that fit together as shown. While the concept of this joint is very simple, cutting it to fit perfectly takes a bit of concentration. Here’s how I do it. First, I use some scrap material to set up the cut. It should be the exact same width and thickness as your project pieces, but it doesn’t need to be as long. One good method to form a cross-lap joint is to use a dado blade. In this case, with just one joint to make, I decided to simply use my combination blade and nibble away the waste. That helped me cut the width of the notches to their exact width — I could sneak right up to it. It’s also critical to cut the notches to the correct depth. And while you are testing that depth, remember that every adjustment in blade height will be doubled, because it affects both pieces of wood.
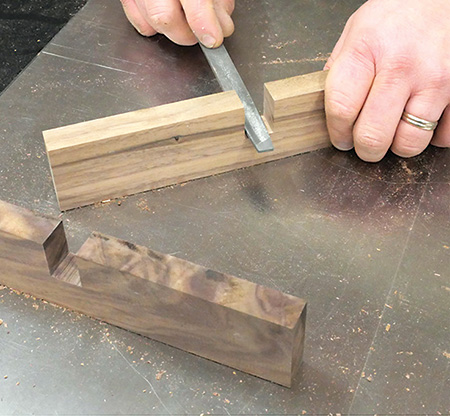
Once I had the setup dialed in on scrap, I was ready to cut the real thing. Notice that I clamped the pieces together and formed both notches at the same time. Refine the cuts with a file, if needed. When the notches slip together well, set these parts aside for now, and move onto the legs (pieces 1). You will stay on the table saw for these next steps.
Shaping the Legs
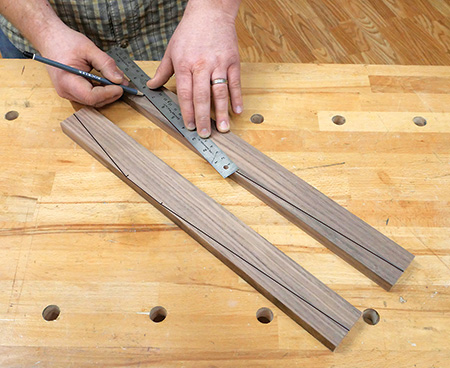
You have already cut the legs to length and width, so now you need to form their inside tapers. There are two tapers on each leg — a longer one on the lower part of the leg and a shorter taper on the upper section. As I indicated earlier, I prefer to form these tapers using a table saw.
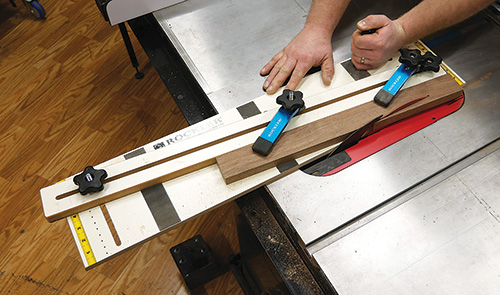
Rockler’s taper jig is just the ticket for this task. It is adjustable, and you can make repeatable cuts as needed on each leg. A shop-made taper jig will, of course, work just fine if you prefer to go that route. If neither of those options float your boat, you can make the tapers using a band saw and sand the saw marks away later.
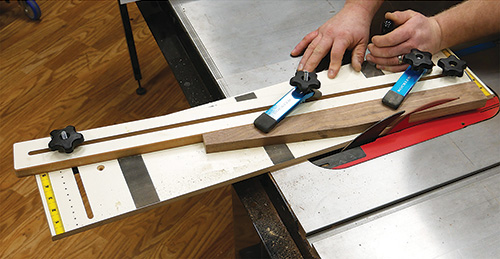
Use the Drawings to lay out the tapers on each leg. Then set up the taper jig to form one of the two tapers (the jig makes this very easy to do). Cut this taper on all four legs, then reset the jig for the second taper and repeat the process. Take a moment to sand away any saw marks that are left behind, and you are ready to make some more joinery.
Loose Tenons Create Rock-solid Joinery
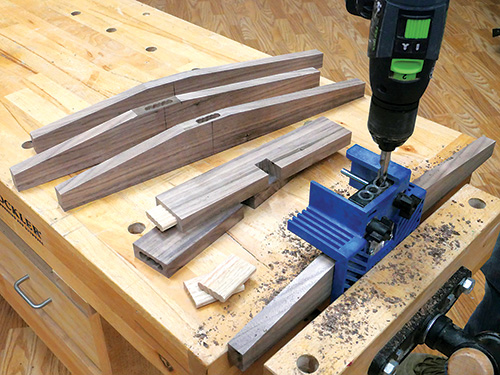
The supports are joined to the legs with loose tenons. Now, if you are fortunate enough to have a Festool Domino, go grab that machine and get busy. But if that’s not an option, you will need a different method. This planter is designed to hold up a really large pot full of dirt, and that pot and plant will be heavy. I used Rockler’s Beadlock® loose tenon system because it is easy to use, affordable and produces super-strong joints.
Set up the Beadlock drilling jig with the 3/8″ guide, and use a 3/8″ drill bit (I prefer a bradpoint bit) to form the mortises in the supports and legs. The two-step drilling technique creates a specially shaped mortise that pairs perfectly with the Beadlock tenon stock. Center the mortises on the ends of the supports and at the center of the untapered area on the leg’s inner edges. Drill all eight mortises 1″ deep for 2″-long tenons.
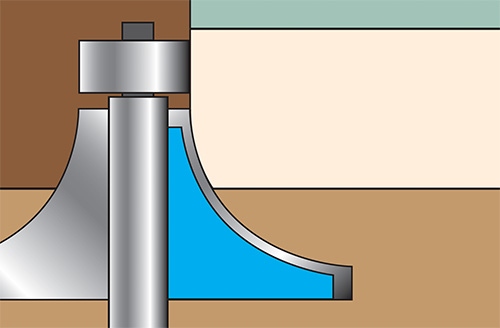
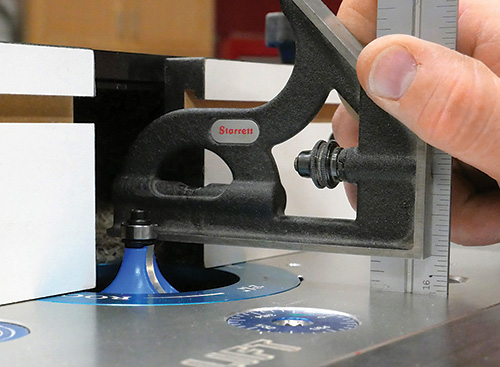
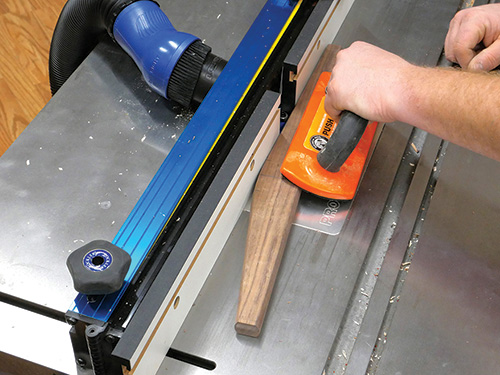
Once the mortises have been formed, there is one more important machining step that needs to be done: shaping the edges of the legs. Step over to your router table and chuck a 3/4″-radius roundover bit into the router. Most of these bits will have a guide bearing mounted to the top of the bit. Raise the bit so the cutting edges are 1/2″ up from the top of the table. It is important to measure to the top of the cutter, not the bearing. Next, align the router table fence with the forward rim of the guide bearing; using a straightedge will help to do this accurately. By setting the bit and fence in this fashion, you will create what some folks call a “fingernail arc” on the edges of the stock. It is a gentle arc, not a full roundover. The fingernail arc is a vintage Danish Modern detail. Test the setup on scrap lumber to confirm the cut, then machine the leg edges. The outside (un-tapered) edges of the legs are easy to do. Move the stock past the bit in a smooth motion at a moderate pace. The tapered edges of the legs, however, require a bit more focus. Only shape the angled areas, leaving the mortised area on each leg (where the supports will join the legs) alone.
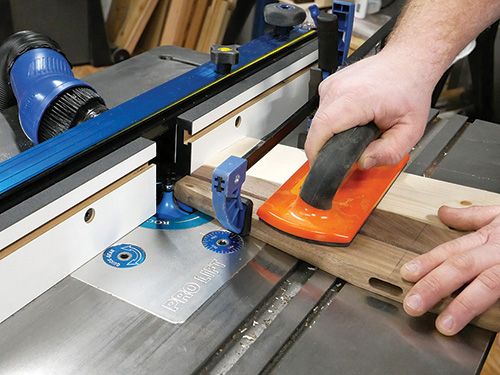
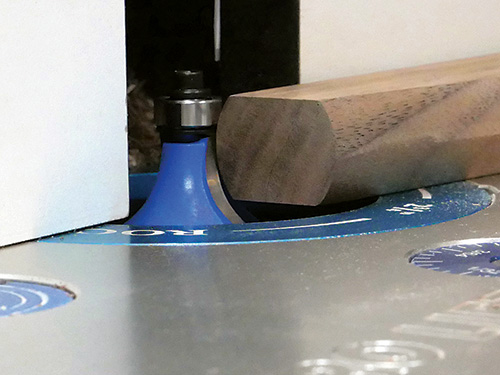
The final bit of shaping on the legs will form the fingernail arc onto their top ends. As this is end grain, you will need to rout carefully. Clamp two legs back-to-back. Then use a backer board to reduce tearout. Push the ends slowly through the cutter. If the wood burns a little, you can sand that off later, but you need to avoid tearout.
With that task done, it’s time for the most exciting process in every woodworking project: sanding! I recommend sanding to 220-grit.
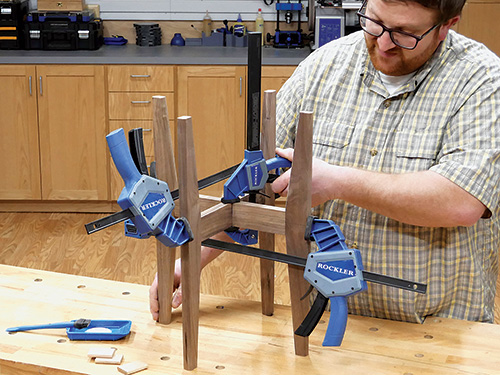
Remember those supports you made at the beginning of this task? Grab them, the Beadlock tenons and the legs and get ready to assemble the plant stand. There is one critical thing to keep in mind during this glue-up stage, and that is the orientation of the notches on the supports. To say it simply, one notch must point up and the other down. That way, the cross-lap joint will fit together and complete the base. Glue the legs and supports up in pairs, minding those notch orientations. When the glue cures, glue and clamp the cross-lap joint. Remove any glue squeeze-out.
I recommend that you now give the whole project a 320-grit hand sanding. Watco Natural oil finish is perfect for this project. Apply at least three coats, letting the finish cure between coats. One great thing about this finish is if the plant stand gets some water on it and needs a touch-up, just clean the surfaces and apply another coat of the oil. It’s as simple as that!
Now all you need to do is find a pot, a bag of potting soil and a plant that befits this large, beautiful wooden planter.


