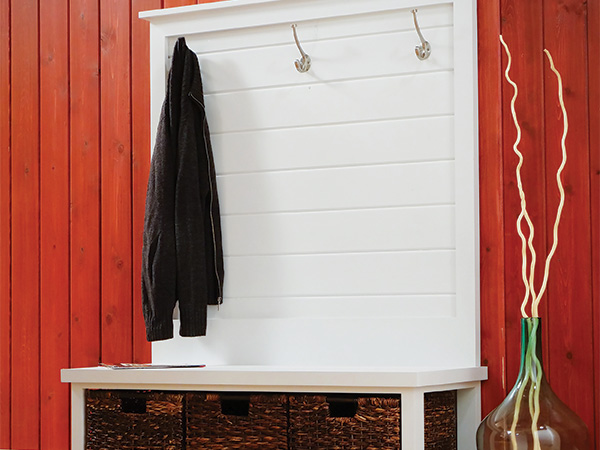
As per usual with new designs, I sat down at my computer and drafted some scale drawings. Building the entry bench from the ground up in CAD helps tweak dimensions and scale without wasting materials on mis-cuts and rebuilds. I determined I’d start with a frame made from 1″ x 2″ select pine. The back would be made with 1″ x 6″ pine tongue-and-groove lumber, which brings in that lovely look of shiplap for a timeless and sturdy backdrop. I designed the seats and shelves to be made from a piece of 4′ x 4′ paint-grade 3/4″ plywood. All of this lumber is easy to find at your local big-box home improvement store. When you are shopping, take the time to sort through the dimension lumber in order to find the straightest pieces. It will make your job easier in the long run, believe me!
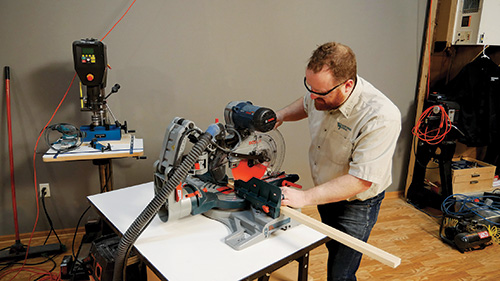
Start by cutting to length the eight pieces of 1 x 2 that make up the legs. See the Material List for the cutting details. A miter saw or radial arm saw are perfect for this task, but what’s most important is that they all are cut to exact length.
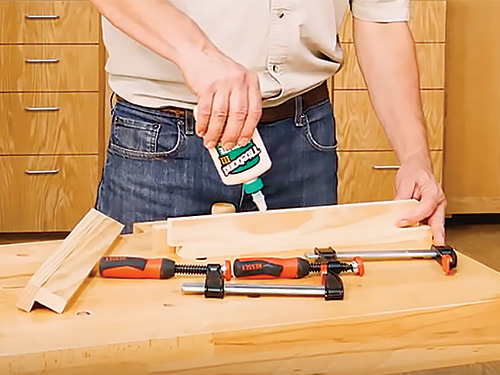
When you have the leg pieces in hand, it’s time to glue them up. Glue and clamp them into L shaped lengths for strength and durability. A quick tip on this is to use another scrap piece of 1 x 2 as a spacer to hold everything in place for glue.
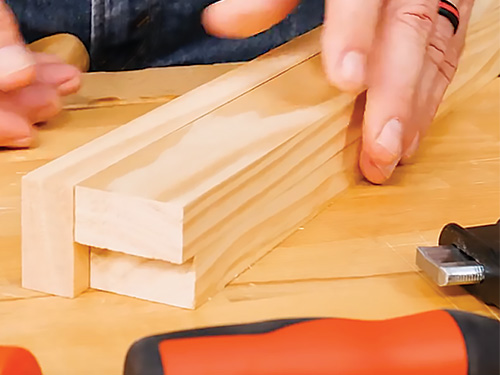
Set the clamped-up pieces aside for an hour or so while you cut the rest of the components of the framework. Once again, how you cut them is less important than that you achieve square cuts at the proper lengths.
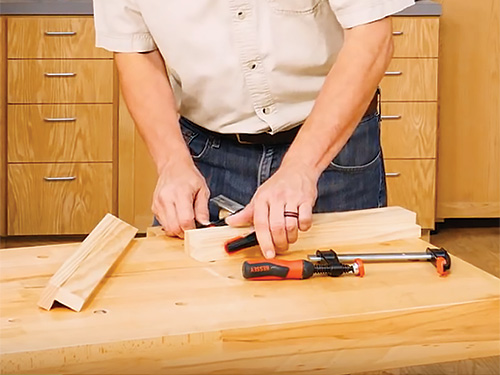
Now is also the time to cut the plywood parts for the seat and shelf (pieces 12 and 13 in the Drawings) to the measurements found in the Material List. With that done, you are well on your way.
Building Side Assemblies
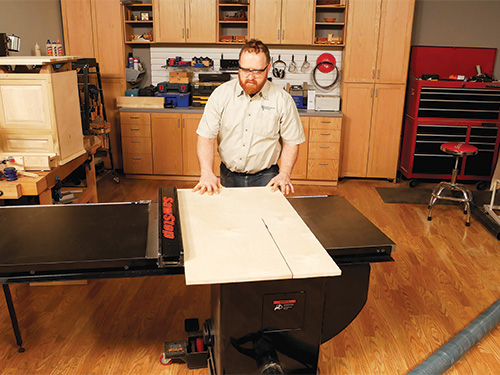
We’ll assemble the framework of the bench using pocket screws to join most of these pieces together, so grab your Kreg Jig and get it set up.
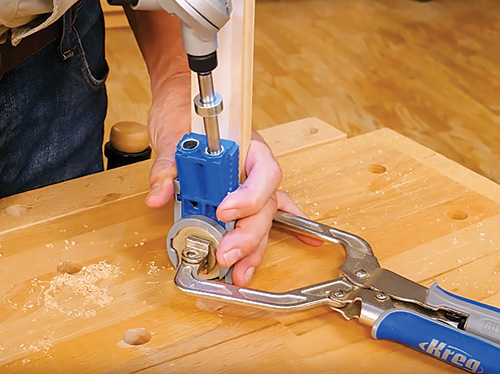
Pre-drill the pocket holes in the side returns (pieces 3). The first task is to glue and pocket- screw these four returns to the shaped front legs (made from pieces 1) and to the long rear legs that are made from pieces 2. See the Drawings for details. You need to produce left- and right-facing side assemblies.
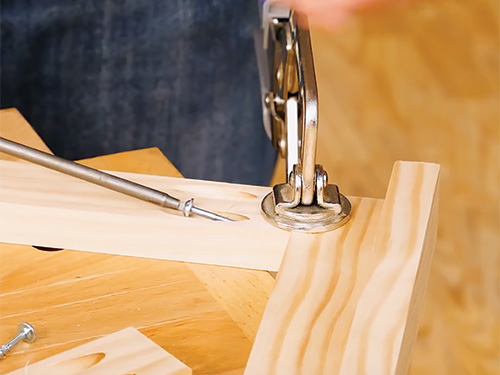
With the side assemblies completed, grab the front rails (pieces 4) and the rear stretchers (pieces 6, 7 and 9) and, with more pocket holes and glue, use these pieces to join the two side assemblies.
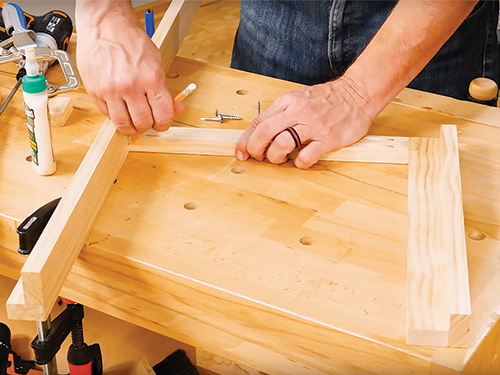
Once this framework comes together, your project should be starting to look like a bench! Go ahead and attach the top cap (piece 8) to the upper rear stretcher by gluing and clamping.
Adding the Seat and Shelf
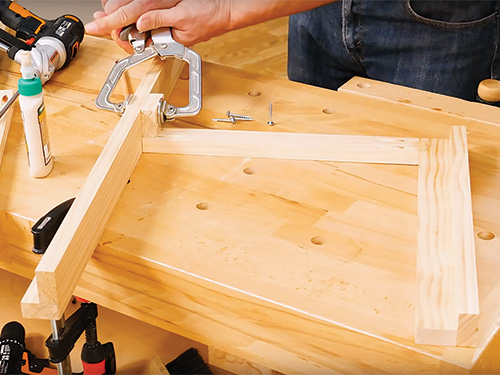
Let’s move on to the seat and shelves. Gather the plywood pieces you cut to size earlier. Pieces 10 and 11 wrap around three edges of the seat. Attach them with glue and screws as shown.
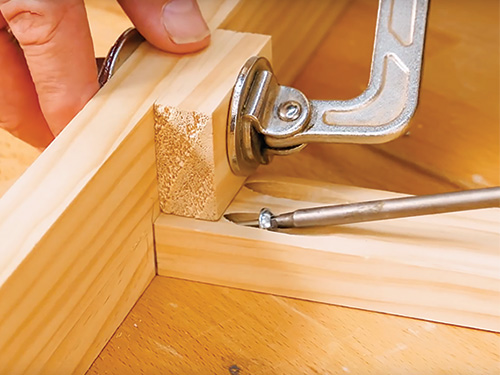
The shelf sits on two shelf supports (pieces 14) that need to be glued to make another L shaped form on the bottom edges of pieces 4 and 9. Glue and clamp them in place and allow the glue to cure. Don’t attach either the seat or shelf yet until after finishing.
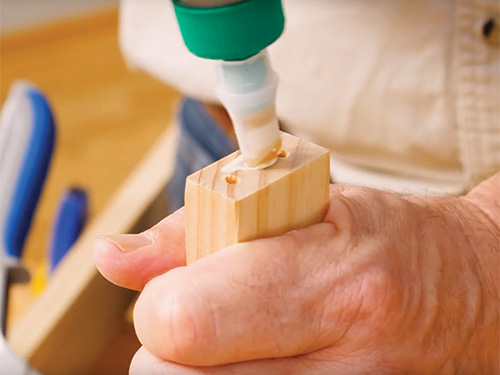
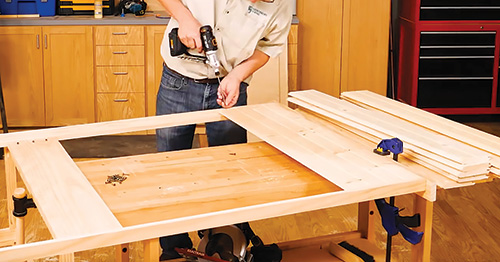
The back is made up of 1 x 6 tongue-and-groove lumber. Chop these pieces to length and screw them in place (no glue required). I countersunk the holes in the back pieces to make this task easier and to keep the screws flush to the back surface. Start with the piece at the top of the back and work down. You will need to trim the last piece to fit.
You are essentially done with the construction of the bench, but you still have some work to do. I painted my bench white, but even if you plan to apply a clear finish instead, you need to sand it smooth. If you are painting, sanding to 150-grit will be sufficient. A clear finish requires moving up to 180-grit.
Apply the first coat of paint, preferably a primer of some sort, and look for holes and cracks. Fill them with spackle or some other sort of filler. Gently sand the painted surfaces with 180-grit paper to smooth them. Now apply another coat, and once again check for flaws in the surfaces.
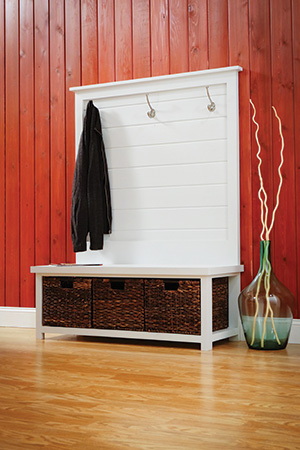
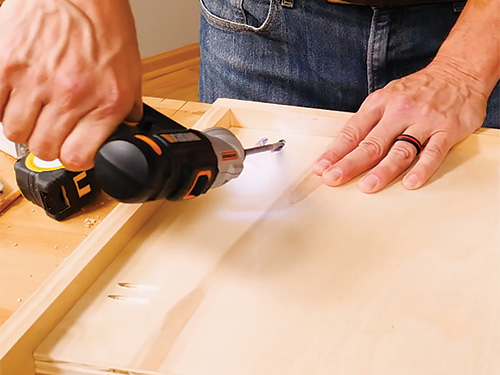
If you are going to be mounting the hardware hooks on the bench, now is the time to measure and drill for their installation screws. Then do another gentle sanding pass and apply the final coat of your paint or clear finish.


