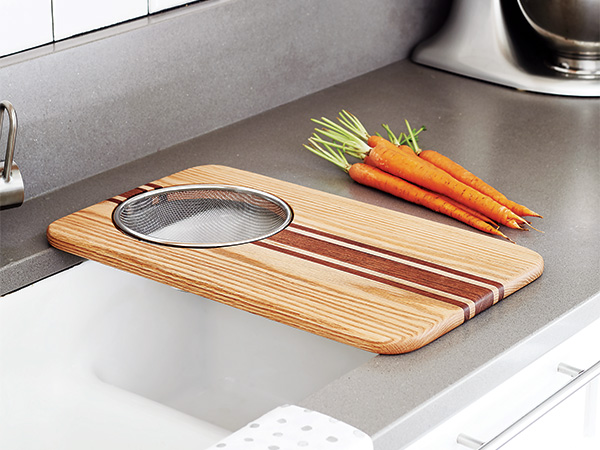
project was originally published in Make Your Own Cutting Boards: Smart Projects and Stylish Designs for a Hands-On Kitchen (ISBN 978-1-940611-457) by David Picciuto. That book and the author’s forthcoming The Handmade Kitchen are published by Spring House Press. See more projects from David Picciuto at MakeSomething.com.
Even the simplest kitchen tasks — like chopping up raw veggies for a salad or soup — can be made easier with the right accessory. This over-the-sink cutting board is one example. It will enable you to do your cutting and simply slide the pieces into a wire strainer for rinsing. Or, use the strainer first as a catchall for the stems, cores and seeds you don’t plan on eating. Dump those out, then push the veggie pieces into the strainer for rinsing.
Don’t forget to measure your sink opening; you’ll want this cutting board to overhang the sink rim by at least an inch on both ends for stability during use. Also, be sure to have your stainless steel strainer in hand before you start building. Mine has a 7-1/2″ diameter, but various sizes are available. Choose one that’s right for your food prep needs.
Ripping Strips, Gluing Up
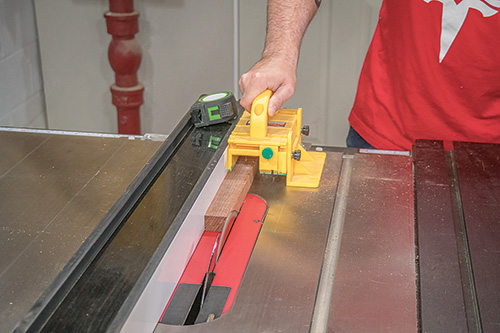
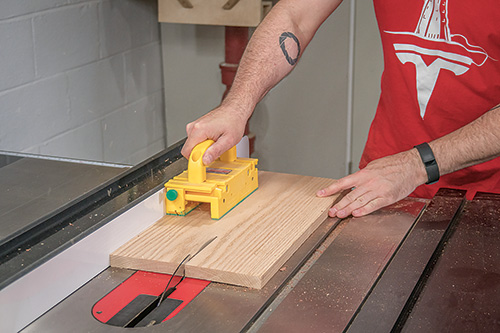
Head to your table saw or band saw to rip the seven workpieces that will form the cutting board blank. The center bubinga accent piece measures 1-1/4″ wide, and the two narrower bubinga pieces are 3/8″ wide. Once you’ve got those cut and set aside, rip two 4″-wide pieces of red oak (or your primary wood) for the outer strips of the cutting board, then reset your saw fence and rip two 3/8″-wide pieces for the narrow strips.
Gather up the parts and head over to the workbench to glue them up. Arrange the strips to arrive at the best look for you, then reach for the proper formulation of glue — it’s got to be waterproof, for obvious reasons! Titebond® III in the green bottle is right for the job. Even the blue-label Titebond II won’t offer adequate water resistance for a cutting board that’s going to get regular washings and immersion.
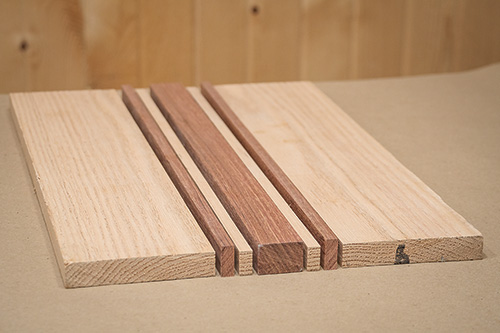
Spread glue along the mating edges of the strips and clamp them together. When installing and tightening the clamps, the strips may want to shift out of alignment at first. Glue acts like a lubricant until it begins to tack up. So, do your best to even up the joints before you crank up the clamping pressure.
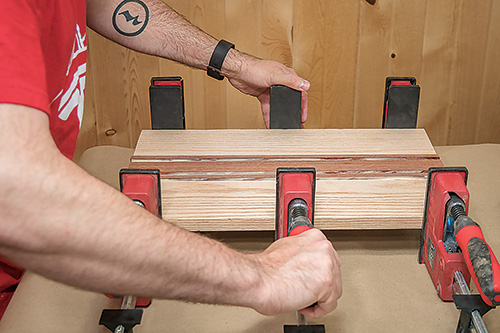
Once the glue dries, remove the clamps and scrape off any glue drips and residue. Trim the ends flush, if needed. Then, it’s time to smooth the faces. I have a surface planer, which is ideal for this step. But, if you don’t own a planer, you can also hand plane the faces flush and smooth. Or, just reach for your random orbit sander.
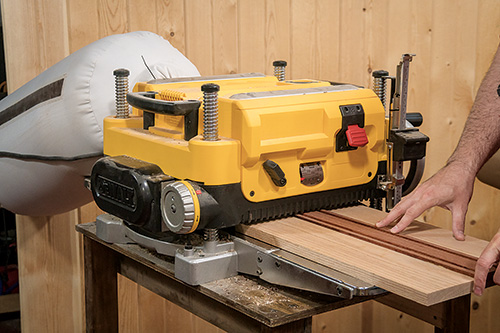
However you do it, try to keep this blank as thick as possible. The thinner it becomes, the more likely it will warp when it gets wet. After my cutting board came out of the planer, I sanded it up to 120-grit to remove the planing marks.
Forming the Strainer Cutout
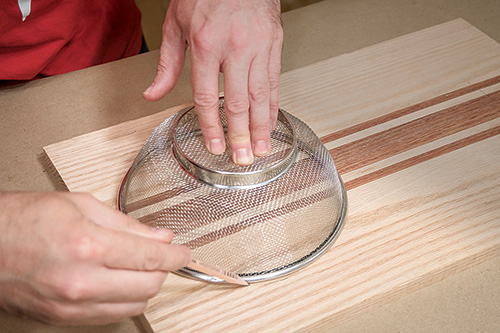
Next up, find the center of your cutting board’s width, flip your strainer upside down and draw its shape onto the blank about 1-1/2″ in from one end. Note: this isn’t a cutting line!
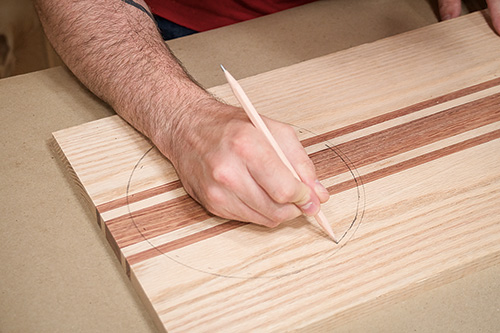
Now, draw a second circle 1/4″ in from the first so the cutout will be smaller than the strainer’s rim. Drill a starter hole for your jigsaw blade within the inner circle, and carefully cut out the opening.
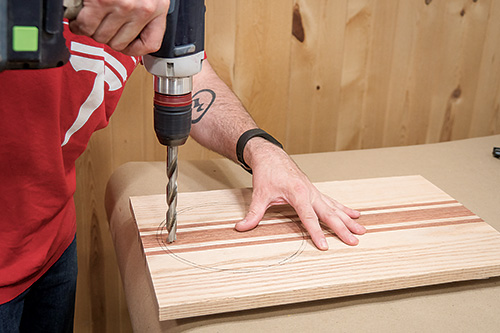
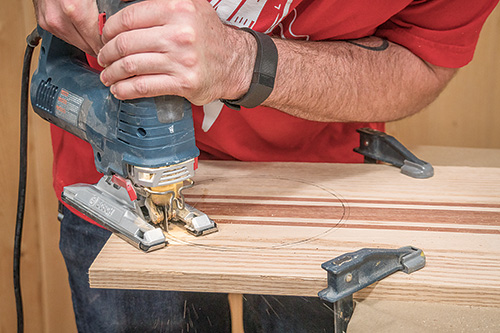
Let the saw do the work, and avoid twisting the blade as you go, which can lead to a wavy edge and burn marks.
Now it’s time to sand that sawn edge. Here’s where a benchtop spindle sander really shines for smoothing away rough edges and evening up curves.
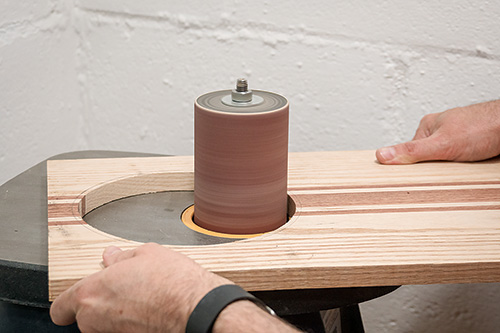
A sanding drum in a drill press, or even sandpaper wrapped around a dowel, will also work, but it will just take longer. Sand away the larger layout line, too.
Routing and More Rounding
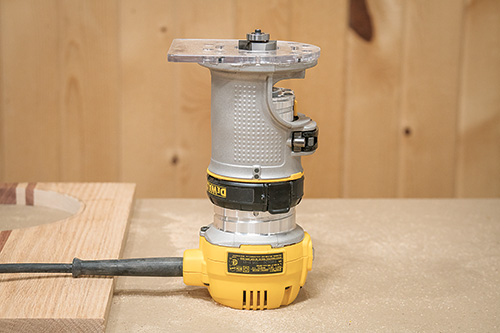
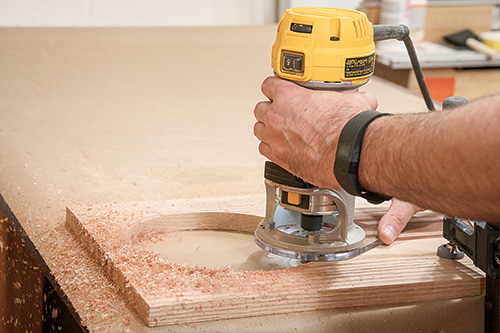
The metal rim of your strainer will fit better in the cutout if it can sit in a shallow rabbet around the edge. So, chuck a 1/4″ rabbeting bit in your handheld router and set it for a 1/4″ cutting depth. Feed the tool around the strainer cutout to create the rabbet.
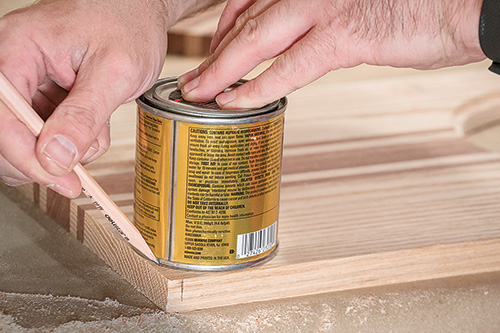
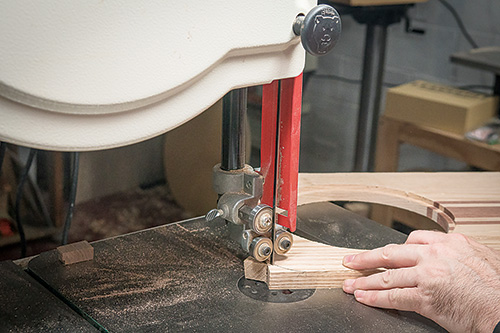
Once that’s done, let’s get rid of this cutting board’s sharp corners. I used a pint can of wood finish like a template to draw curves onto the corners of my project. They don’t have to be this curvature, though. Choose any radius you prefer. Then, cut the corners round with a band saw, scroll saw or your jigsaw again. Give the cut edges a good sanding to smooth them
Since this cutting board is all about curves, I think it’s a good idea to ease the sharp edges that still remain around the perimeter of the board. So, switch out your rabbeting bit for a piloted 1/4″-radius roundover bit.
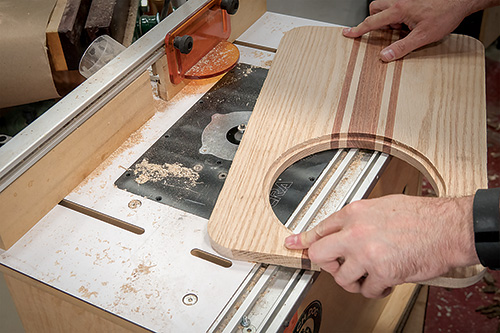
If you use a handheld router to knock off these edges, feed the tool counterclockwise around the board. I decided to do this machining on my router table instead. Same goes for feed direction: rotate the cutting board counterclockwise over the bit to remove these outside edges. You always want to feed a router or a workpiece against the bit’s rotation to cut most safely.
Chances are, easing these edges has produced a few burn marks and probably some roughness along the end grain. The rabbeted lip of the cutout surely needs some clean-up work as well. So, you already know what has to happen next: more sanding. For this go-around, though, there’s no other option than to do the work by hand. If you want to actually save time when hand sanding, start with a sufficiently coarse grit. I’ll suggest grabbing a fresh piece of 100-grit paper and beginning there. If your router bit has left a lot of roughness and burning, you may need to go even coarser than that, but I think finishing with 120-grit is fine for this utilitarian project … it’s not furniture.
Oil It Up If You Want To
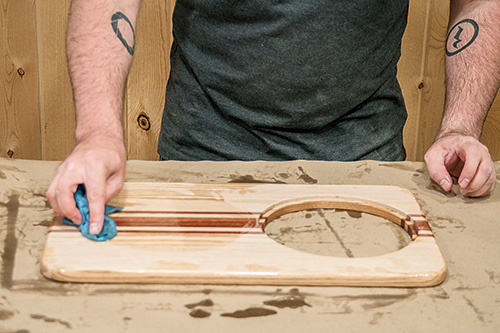
There’s no hard-and-fast rule that cutting boards must have a finish, despite those Internet debates you might have read. Still, an easy-to-apply finish, like a mineral oil/beeswax blend, will keep your project looking great. And, it’s food-safe. Give it a try. Then, drop in the strainer, and you’re all set to get to work on that dinner salad for tonight.


