
Building outdoor furniture has proven to be extremely popular. Enjoying your yard while seated in a chair or bench that you’ve made is a fine thing! Adirondack-style outdoor furniture reigns supreme as king of the open-air world with chairs, benches and tables gracing yards, porches and patios across the county. But while the popularity and practicality of the Adirondack style cannot be challenged, there is a rustic feel to that family of furniture that might not be for everyone.
That’s why this patio love seat is a lovely option. Its pocket-hole and countersunk screw joinery matches the ease of assembly of traditional outdoor furniture, and Rockler has developed cardboard and MDF templates to aid in shaping its curved and angled components. Another departure for our love seat is to use a wood species different from the cedar or cypress typically chosen for traditional outdoor projects (although those woods would work fine here, too). I selected mahogany because it’s a wonderful wood to work with, machines like a dream and has a lovely color and pleasing figure. It is also a very sturdy outdoor wood.
Getting Started
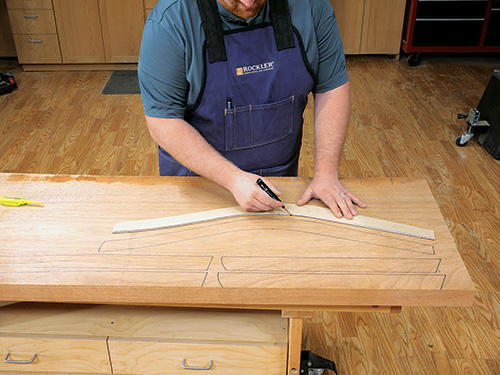
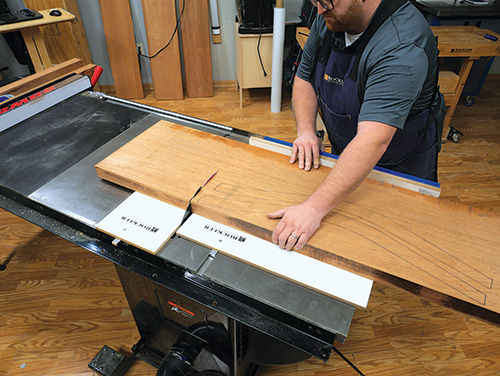
I chose to start on the curved pieces of the love seat. I got a huge piece of 1-1/2″-thick mahogany from the lumberyard (it was quite a surprise). After doing a little figuring, I was able to trace the legs and the other curved pieces onto the board, then break the stock down into smaller pieces using my table saw with a crosscut sled.
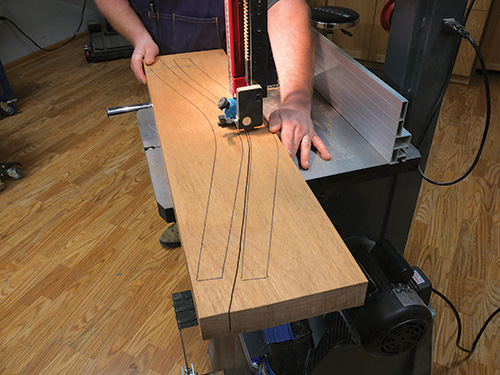
From there it was onto the band saw to cut out the shapes, staying about 1/16″ outside of the lines. I will be template-routing the pieces to their exact shape later, so that 1/16″ is a perfect amount of stock to trim away — it’s like Goldilocks, not too thick or thin.
A moment here regarding the templates: If you decide as I did to template-rout these pieces to make them exceedingly precise, you will need to use templates to guide those cuts. With the cardboard templates, you’ll need to transfer their shapes to MDF or hardboard to give the router bit’s guide bearing an edge to follow. If you select Rockler’s MDF templates instead, they will work perfectly for the template-routing task. However, you could skip the template-routing step by simply band-sawing the pieces close to the layout lines and then sanding them to their final shape instead.
Template-routing Time
With the band-sawing done it was time to move to the router table for template routing. I chucked Rockler’s 3/4″-diameter Flush Door Trimming Router Bit into my router table. Its 2″ cutting flutes are long enough to template-rout this love seat’s 1-1/2″-thick parts. Next, I needed to secure the template to one of the legs (the first piece I chose to shape). Traditionally, I’ve used double-sided tape for this task, and it works really well. It is important that the template does not move during this process, or your piece will be ruined.
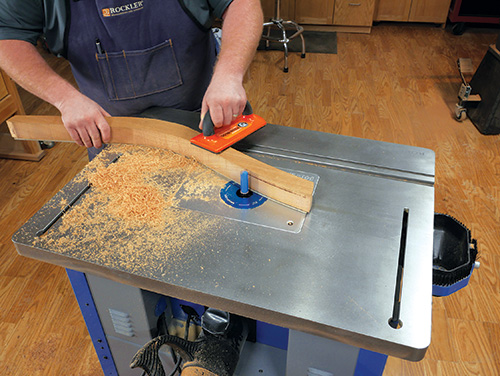
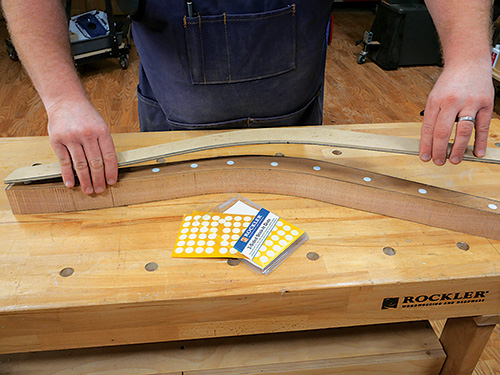
The only downside to double-stick tape is that it can be frustratingly difficult to remove the top backing paper from the tape once it is in place on the workpiece. It seems as if it should be so simple, but often — especially with tape that has been in my shop for a while — it is surprisingly difficult to get that peel-away layer started. I’ve used chisels, knifes and screwdrivers, and still it can be a truly annoying task. Enter Rockler’s 2-Sided Stick-It Dots. They make this task so much simpler, as the top layer peels off easily. (Our publisher literally cannot say enough good things about these dots!)
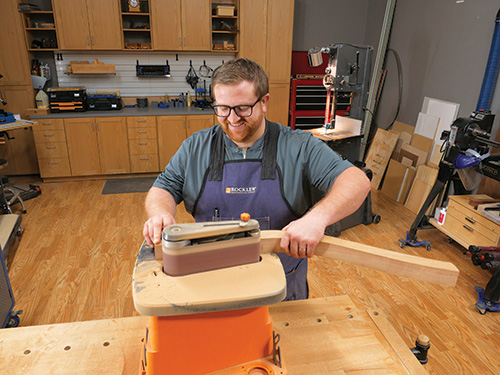
In any case, secure the template to the workpiece with your double-stick product of choice, and carefully rout the workpiece to its final shape. However, do not rout the end-grain areas of these pieces. The router bit will tear out the end grain and make a hash of the parts … don’t ask me how I know this regrettable fact. Instead, sand the endgrain sections to their marked outlines. Repeat the template-routing process with the rest of the curved pieces. You will still need to do a bit of sanding to remove machining marks formed by the router bit, but it is quick work as the marks are small. Now onto the rest of the love seat’s parts.
Cutting Out the Straight Stuff
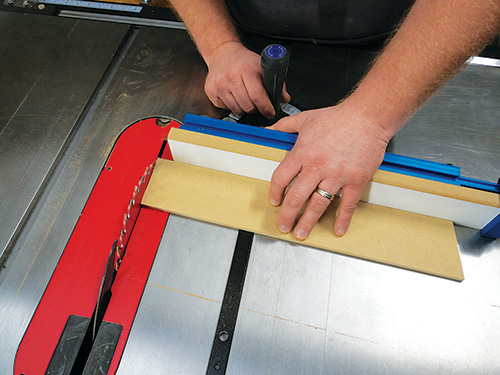
With the curved pieces behind you, now you are going to exercise your table saw. Rip the straight parts to width. The slats are 2″ wide and the front and rear aprons are 3″ wide. Then consult the Material List to crosscut them to length. A miter saw is perfect for this job, but your table saw outfitted with a crosscut sled is also a great way to get this done. The last part of this step is to form the appropriate angles on the arms, aprons and other parts. On the templated pieces, you can use the templates to set your miter gauge for making the angled cuts on the table saw.
At last, it’s time to start doing some assembly. Clear off a work surface that is large enough to lay out the parts that make up the sides of the seat (those are the seat aprons, arms and front and back legs — pieces 1, 2, 5 and 8). To properly align all of these parts, it’s very helpful to have stop board or surface to stand in for the “ground.” I found my table saw was a perfect place to do this first assembly, with the saw’s rip fence acting as the stop board.
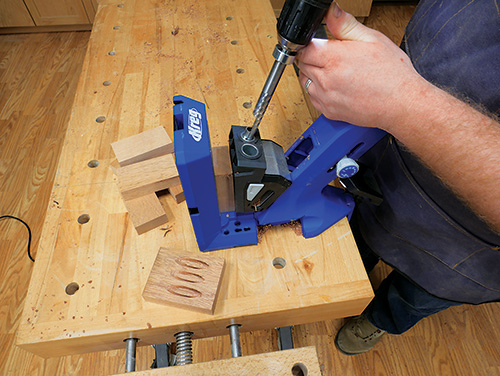
Measure 13″ up from the stop board or fence to locate the bottom edge of the side seat apron. Mark the apron’s bottom, top and center locations on the legs. Remember when I mentioned that we used pocket-hole joinery as one of the ways we put this project together? Well, now is the time to grab your Kreg Jig and bore two pocket holes on the inside face of both ends of the seat apron. Don’t place them too close to the top edge, or the screw pockets will be noticeable under the slats.
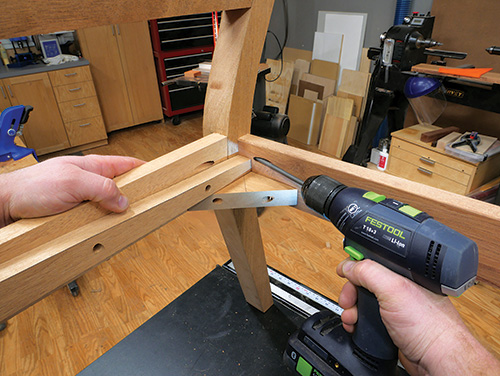
Locate the seat apron between the legs and temporarily clamp it in place; it needs to be flush with the inside of the legs. Now put one of the arms in position on the frame and mark the location where screw holes will go through the back leg and down through the top of the arm into the front leg. Unclamp the assembly and bore those holes on the drill press.
Temporarily clamp the frame back together, positioning the side seat rail properly. Secure the arm to the legs with screws first. Then drive home the pocket screws in the seat rail to complete the frame. Go ahead and sand the inside face of the frame assembly and break the sharp edges. Now guess what … it’s time to do it all again for the other frame. But here is an important detail: the second frame is a “mirror” image of the one you just made. The side apron must be on the inside of that frame. See the Exploded View drawing to be clear about this.
More Subassemblies Come Next
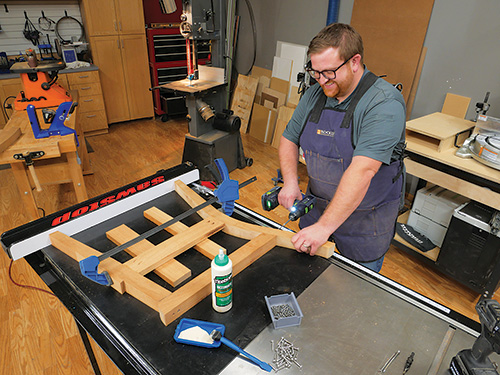
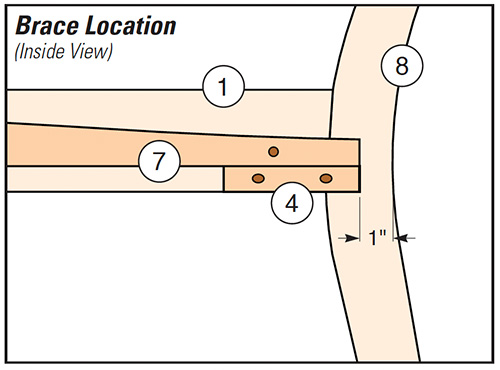
Now it’s time to put together the remaining part of the undercarriage. Start by adding the corner braces and seat supports to each of the frames you just made. Bore countersunk holes through the face of two of the seat supports and through the corner braces. The holes on the corner braces should be on the long front edge and be drilled so the screws will be perpendicular to the members they will be attached to. All the corner braces will be flush with the bottom edge of the side seat rails. To mount the rear corner brace, first measure in 1″ from the 90-degree corner of the brace. Use that mark to locate the brace with the 1″ protruding past the end of the seat rail. Secure the rear brace with glue and a #8 screw. Repeat the operation on the other frame.
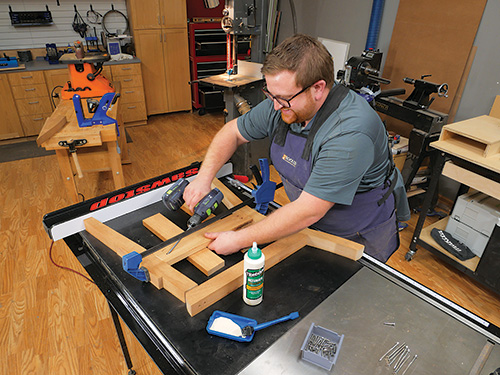
With the rear corner braces installed, grab a front corner brace and one of the seat supports. Place the narrow end of the seat support on the rear corner brace. Set the front corner brace in place, aligned with the bottom edge of the seat rail and so the wide end of the seat support is sitting on the front corner brace. With these three pieces correctly positioned, attach the brace and seat support with glue and screws. Do the same to the opposite frame.
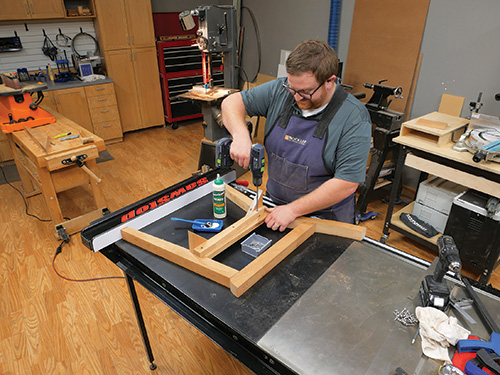
To complete the lower framework, stand up the side assemblies and dry-fit the front and rear aprons. The top of the front apron lines up with the top of the side seat supports, as it will be fitting under the seat slats when you install them later. The back apron needs to align with the top of the rearmost seat slat (3/4″ above the seat support). Mark their locations, remove them and bore pocket holes on the aprons’ inside faces. Now attach the aprons to the front and back legs, remembering to put glue on the joining edge of the corner braces. Use 1-1/2″ pocket screws to secure these joints, completing the undercarriage.
Time to Add the Slats
We are really making progress now! The next step is to install the slats for the seat and the back. Put a #8 countersink bit in your drill/driver and bore a countersunk hole at each end of the eight seat slats, centering these holes on the slat widths. Bore deeply enough that you can plug the holes later.
Set the most forward seat slat in place with it overhanging the front apron by 1/4″. Secure it with #8 screws driven down into the seat supports. Now set the other six seat slats into place, with 1/4″ spacers between them, and fasten them to the seat supports with countersunk screws. You may need to adjust the spacing on the last couple of slats to fit them properly in front of the rear apron.
When the slats are in place, flip the love seat over and mount the center seat support as shown in the Drawings. I chose to simply drive screws into the support through the front and back apron. But you could use pocket-hole joints here, if you wish. Then stand the love seat back up, and bore screw holes so that you can drive screws through the slats into the center seat support.
The back slats don’t need to be as precisely located as the seat slats. Keep the slats above the curve in the back legs, and secure them with pairs of pocket screws at each end of the slats. Center the slats front-to-back on the thickness of the back legs.
Plugging Along
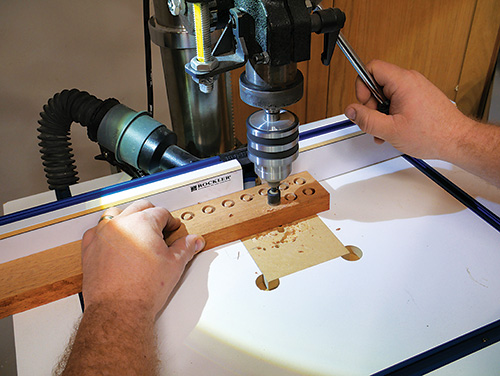
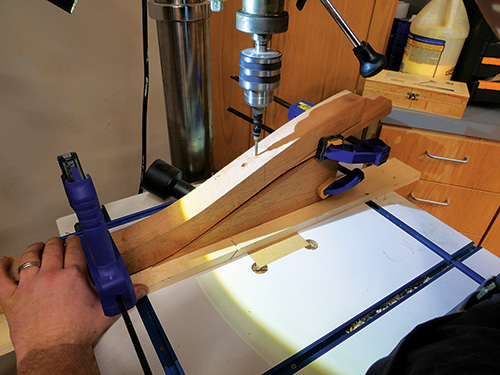
I chose to plug all the screw holes on the love seat, and I made my own plugs from the same mahogany that I used to build the bench. Rockler sells a plug-cutting bit that I mounted in the drill press.
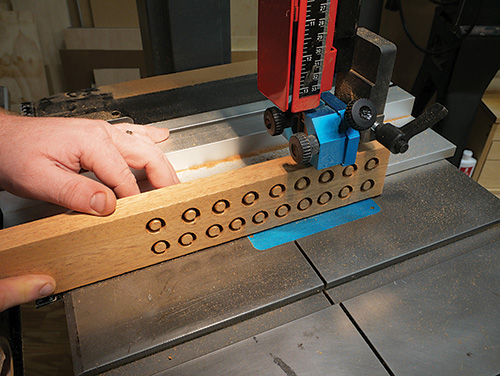
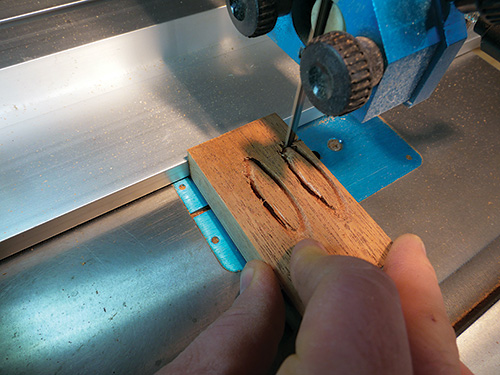
I only needed 16 plugs for the exposed holes, but I made a few extra just in case. Once they were bored into the workpiece, I used the band saw to cut them free.
If you wish to plug the pocket holes (especially on the back slats), Kreg sells a bit to make angled pocket-hole plugs. They also sell premade plugs. The choice is yours.
Glue the plugs in place using a water-resistant formula like Titebond II or III. Allow the glue to cure, trim the plugs flush with a sharp chisel and then get busy sanding. I sanded the love seat up to 320-grit. It is my opinion that the smoother the prep, the better the finish.

And speaking of finish, I chose General Finishes Outdoor Oil, applying three coats and allowing time for it to cure between each coat. I like this product because it’s easy to reapply in a couple of years when the wood begins to look dry and needs sprucing up again.

