When Woodworker’s Journal publisher Rob Johnstone found out I lived a short drive from Capital Lumber Log Yard in Cogan Station, Pennsylvania, he asked if I’d be willing to pay them a visit. Are you kidding? Road trip!
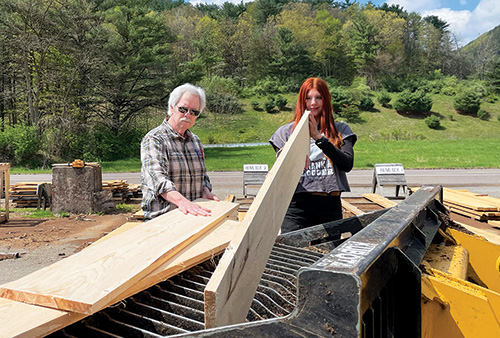
The result was a fantastic spring afternoon with the Breon family — Emerald, Jade and Teri — getting a chance to see them in action running the band saw mill, turning out stack after stack of hemlock beams and boards. Since the Capital Lumber folks are writing about hemlock for this issue, Rob suggested an easy outdoor companion project featuring the wood. Always eager to build outdoor furnishings, and excited about working with a species I’d never used before, I was immediately on board.
Getting Started
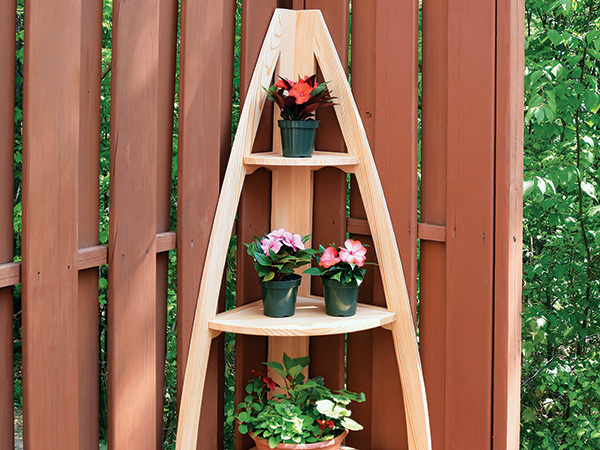
This plant stand is perfect for any deck or patio corner. It features simple rabbets and butt joints, enhanced by strong pocket-hole joinery. Four shelves of varying sizes are just right for displaying flowers or any other flora you want to show off.
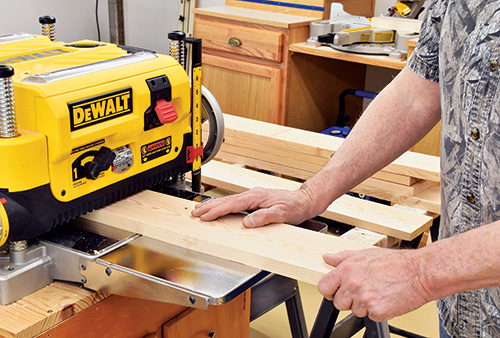
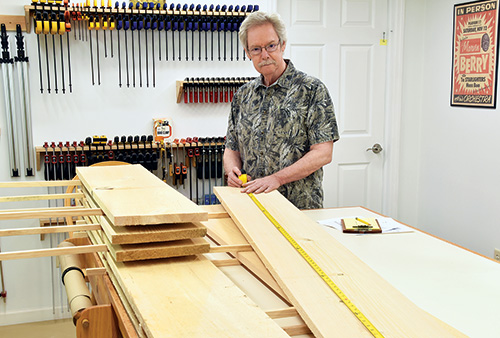
As with all projects, give your lumber a good going-over once it’s back in the shop. The hemlock I got was in good shape, but it did have a bit of cupping and a number of knots I’d have to look out for. After picking out the pieces with the best presentation faces, mill the lumber to flatten everything to whatever thickness you prefer. Since 3/4″ stock is readily available, I decided to mill to that thickness here. But if you’re starting with 4/4 stock, you can leave it a bit thicker if you like. Be sure to take any extra thickness into consideration when following the Material List on, and adjust part sizes as needed. After milling, rip the stock to width to eliminate flaws or checking.
Making the Parts
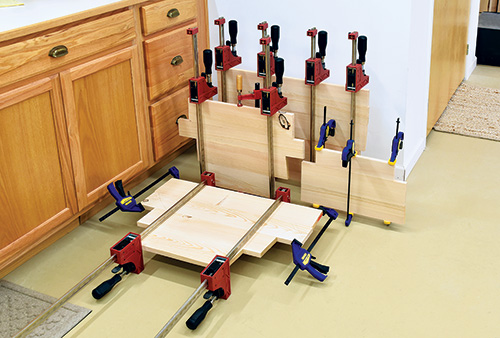
Since they’ll need to be glued up from smaller pieces, create the panels for the shelves first. This is an outdoor project that will be subject to the weather, so a waterproof glue such as Titebond III is a must. Set the clamped-up panels aside to dry.
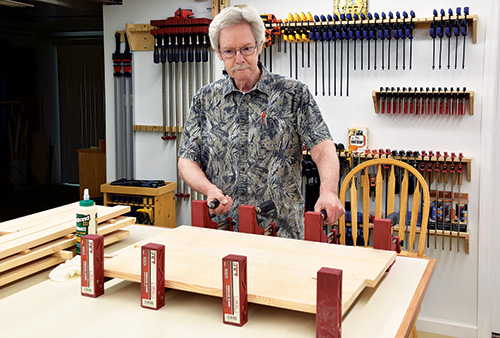
Create a pattern or template for the curved uprights using the Curved Upright Layout Drawing. Take note that the curve does not start until 3″ from the bottom of the upright. This straight portion will make it easier to cut and install the bottom rails a bit later.
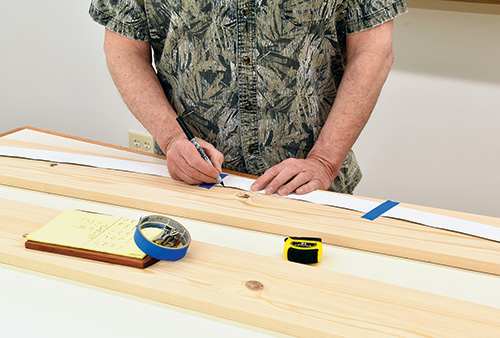
Transfer the pattern to a workpiece. To maximize strength, orient the pattern on the wood so the grain runs in a straight line, tip to tip. Whenever I need to make multiples of curved parts, I like to stack the parts. It saves time, makes cutting and sanding more efficient and ensures that the parts are identical. That’s important for a project like this where you’ll be mounting rails on each side.
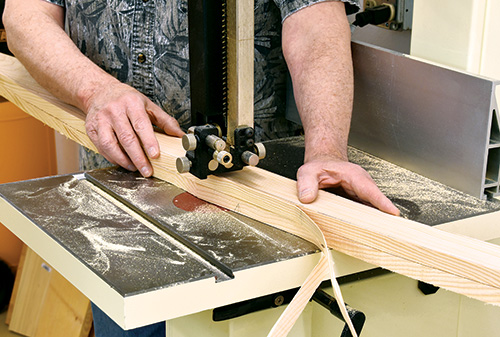
To double up the workpieces, I elected to drive 1″ pin nails through the transferred pattern into the stacked parts, which allowed me to work the two curved uprights as a single unit. Once the two pieces are pulled apart and the pin nails removed, the holes left behind are simply too small to be noticeable. A band saw is the best way to cut out the curved uprights. As an alternative, a jigsaw is a bit slower but works just fine. One tip for cutting these on the band saw: Before actually cutting to your pattern line, rough-cut most of the waste away. This will make the doubled-up workpieces lighter and easier to handle for the precise trimming.
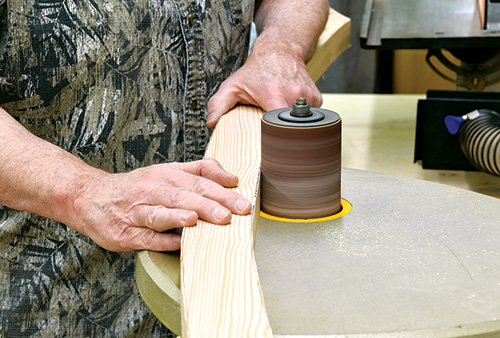
With the curved uprights still stacked, smooth out and refine the parts. A spindle sander is great for the inside concave edges. For the outer edges, a disc sander or random orbit sander does the trick quickly and easily. Once the sanding is done, pry the uprights apart and pull out the pin nails. The holes are already minuscule, but here’s another tip: You can make those pin holes virtually disappear by putting a drop of water on each one. The water swells the wood fibers, closing them up.
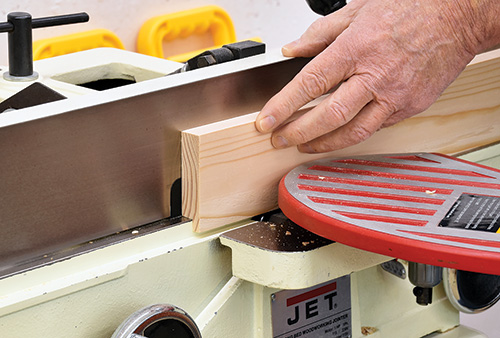
Cut the two rear uprights to size, and mill a 3/8″ x 3/8″ rabbet on the back edge of each. You can do this with a dado blade installed in your table saw or a straight bit in a router table. Since I was only cutting two rabbets, I elected to simply use the rabbeting ledge on my jointer.
Riding the Rails
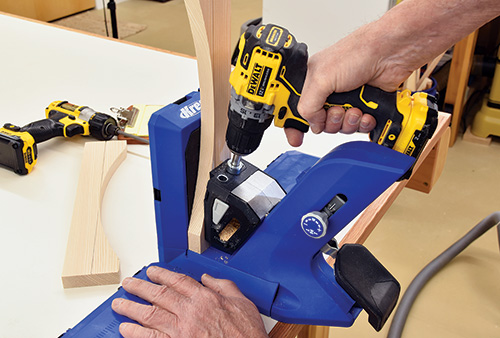
Cut the four rails for each side to width. The bottom rails, which form the plant stand’s base, are 2-3/4″ wide, while the other three pairs of rails are 2″. Trim the bottom rails to length, per the Material List, then use a band saw or jigsaw to cut a decorative curve on their undersides.
Now you can drill holes for pocket screws on the ends of each bottom rail. Note that the pocket holes for this and all other joinery is done on the back faces where they won’t be seen when the plant stand is in use.
Typically, pocket holes are drilled with the grain on rails oriented at 90 degrees, so the screws go into the face or edge grain of the opposing piece. In this design, the upper pocket holes are drilled across the grain of the rear upright, with the screws going into the top of the curved upright instead. The grain is angled here, so the screws are still going across the grain for a joint that’s plenty strong, but the pocket holes are far easier to drill in the straight rear upright than the curved one.
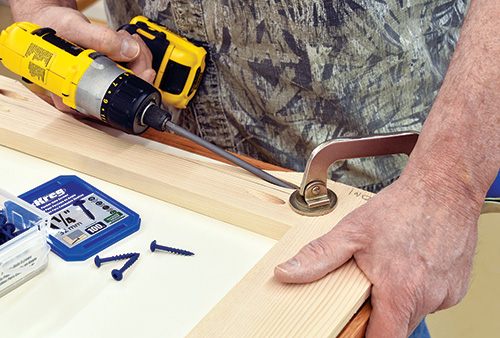
With all holes drilled in the rear uprights for the bottom rails and curved uprights, assemble the two side frames. Each completed frame resembles a right triangle with a curved hypotenuse. As you did with glue, choose stainless steel or coated pocket screws rated for outdoor use for assembling these joints.
The dimensions for the three upper rails in the Material List – reflected by the distance between the rear and curved uprights – are measured directly off of the actual plant stand here. But let’s face it: A major part of this project consists of a pair of curved components nearly 6′ long. No matter how carefully you enlarge and transfer the pattern, wood movement and tiny differences in cutting or sanding the curves can introduce slight variations. For that reason, use the supplied lengths for the upper three rails as a guide, and cut them slightly longer. Then, fine-tune the lengths based on measuring off of your completed side frames.
Start by locating the rails on the frames at 15-3/4″ intervals, measuring from the top edge of the bottom rail, to evenly space the shelves. Using a carpenter’s square registering on the rear upright, extend the square across both sides of the frame and mark a line on both sides.
With each rail location marked, use the frame itself to trace the actual length onto the upper rails. (The top sides of the rails will be shorter due to the curve.) Do this by placing the rails underneath the side frame and in position so you can trace not only the rail length but also the front curve onto each rail.
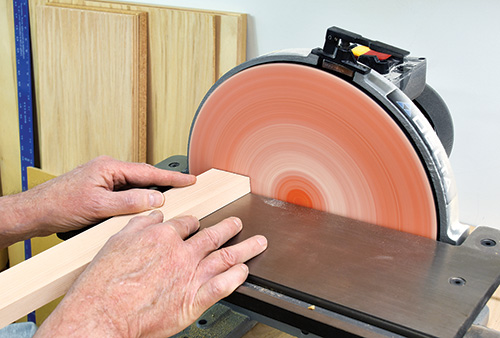
Cut the rails a hair longer than your traced lines and refine the slight curve on a disc sander. Do this carefully; you don’t want to sand too much. Best practice here is to sand a little and do a test fit, then repeat as necessary for a perfect fit on your rail layout lines.
As with the bottom rail, drill pocket holes in the ends of each rail, but with a slight difference required by the curved upright. For the lower middle rail, drill two pocket holes located and spaced as you would for any pocket-screw joint. The curve is very slight here, so it doesn’t really affect the joint. For the upper middle and top rails, however, the curve gets sharper. Either shift the two pocket holes a bit lower on the rail, or just use a single pocket screw at the bottom of the rail. The curve at the top of the rail would leave too thin a separation between rail and upright, and the screw could pull through.
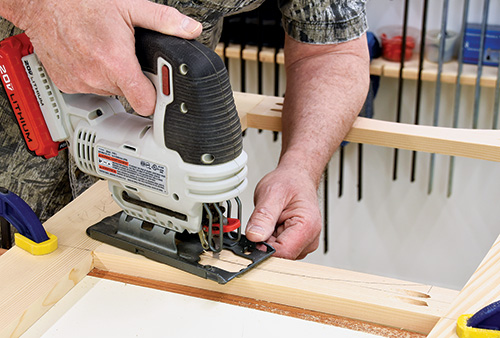
You’ll note that in the photos that I haven’t cut the curve on the rail undersides. While I could have cut those curves on the band saw, a jigsaw also works, so I’ll show that here. The trouble is that the rails are fairly short and narrow, which makes securing the parts difficult when using a jigsaw.
Instead, go ahead and install the rails before cutting their under curves. Once in place, it becomes much easier to use a jigsaw.
Assembling the Framework and Shelves
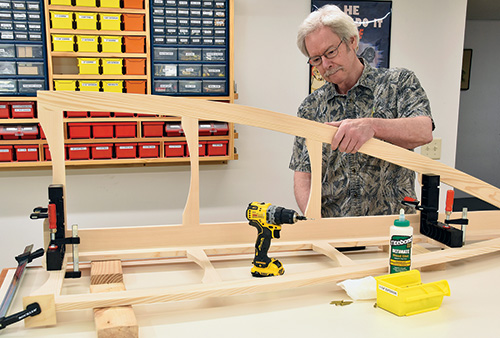
Putting the two side frames together is straightforward. Run a bead of waterproof glue along the rabbets and fit the two together at 90 degrees, then secure with exterior screws. Remember, one of the rear uprights is 3/8″ narrower than the other to take into account the rabbets. Be sure to assemble these correctly so each side of the combined rear uprights measures 3-1/4″ wide.
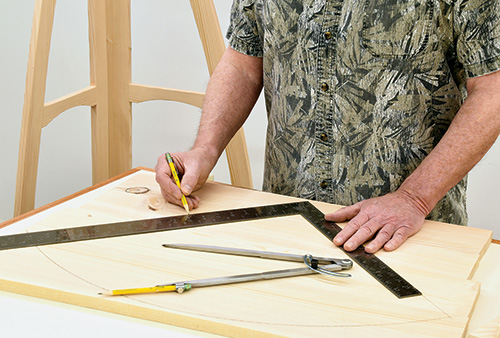
Now let’s make the shelves. Remove your panels from their clamps and sand them smooth, top and bottom. With a compass or trammel, scribe an arc matching the radius of each shelf, per the Shelves Drawing. Now, place the tip of a carpenter’s square on the pivot mark from the compass and pencil in the sides; where the square intersects the arc is where the edges of the shelves are, forming their rear 90-degree corner. Easy. If knots are present, pivot the square to try to avoid them.
Cut out each shelf using a band saw or jigsaw, then sand the edges true and smooth. Using your square once again, mark positioning lines on the inside of the assembled frames where the shelves will go. I opted for a slight reveal at the top of each shelf, so I drew my lines 1/8″ below the top of each rail.
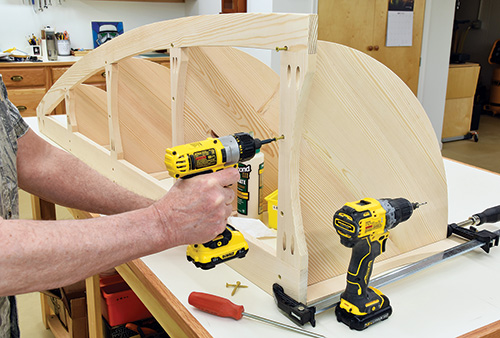
Place the frame assembly on a worktable. Starting on one shelf, run a bead of glue along its straight edges and clamp it into place onto your position lines on the rails. Then countersink and drive screws through the back of the stand and into the shelf’s flat edges to secure it. Repeat with each shelf until all four are installed. Scrub away any excess wet glue before it dries or wait until it gets rubbery and scrape it off.
Adding an Outdoor-tough Finish

Hemlock is an attractive, durable wood, and you can leave it unfinished if you like. However, a protective coat or two of clear exterior finish will make it even more resistant to weathering while also popping the grain and enriching the wood’s tone. I used a clear water-sealing finish, but any deck stain will work just fine for coloring your plant stand, if you wish.


