
In many classic movies from the 1930s and 40s, femme fatales would slink behind a room divider and begin to toss fancy garments of some sort over the top rails of the screen. (For some reason, this held my attention.) While our room divider project here would indeed look at home in a screen siren’s boudoir, that is not what we designed it for.
Instead, it’s for the new situation of so many people working from home, with their “home office” often in the corner of a living room or other multi-use area of the house. This room divider was conceived to create an attractive way to hide the office clutter from view while also providing a unique and attractive background during video meetings.
It’s not difficult to build; you’ll only find three parts in the Material List on page 39, and the Beadlock loose-tenon joints on the frames are simplicity themselves. We covered the 1/4″ plywood center panels with wallpaper to provide elegant panel designs, but we chose two very different styles so we could change the look simply by turning the divider around. To facilitate adjusting the individual panels to various angles, we used double-action hinges that were just the ticket for this project. One warning here: we found out the hard way that it is best to replace the brass screws provided with the hinges with similar steel screws. There is enough torque created when moving the room divider around to potentially break the brass screws.
Starting at the Beginning
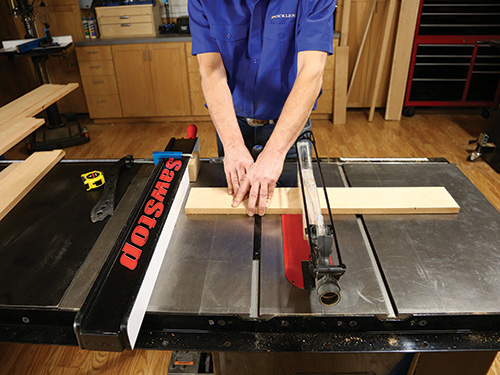
These frames need to be strong, and it’s my opinion that they should be made of hardwood for that reason. I chose cherry both for its color and strength, but which hardwood species you use is up to you. When building frames like this, it’s important that the stock be flat in width and length — bowing or twisting will cause all sorts of problems in these long narrow frames. Rip the stiles to width on your table saw and then cut them to length. I used a miter saw for that task. Set them aside for now.
The rails are next up. They are, of course, shorter than the stiles but are also much wider at 4-1/2″. After ripping them to width, I cut them to length on the table saw using a miter gauge and employing a stand-off block to keep them from binding. Their width lets you cut them into curved arcs. I made a template of the arched rail from a small scrap of 1/4″ plywood. The thin stock was easy to shape, and if I made a mistake, I could have simply started over on more scrap. Find the details for the curved rails in the Drawings.
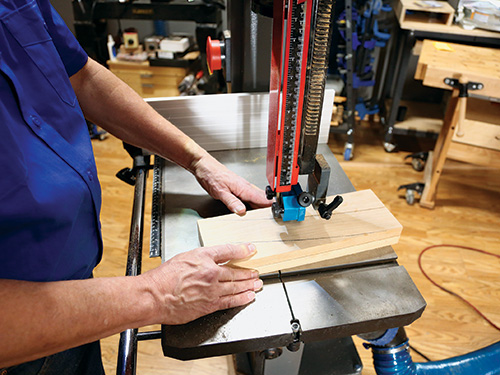
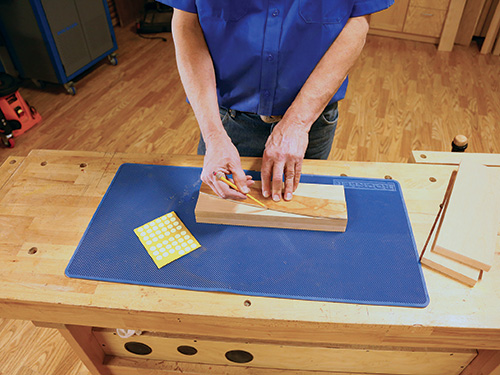
With the rail blanks cut to size and the template completed, I was ready to machine them further. I decided to make the rails in pairs and keep them together through the machining process. I attached two blanks with Rockler sticky dots and then stepped over the band saw.
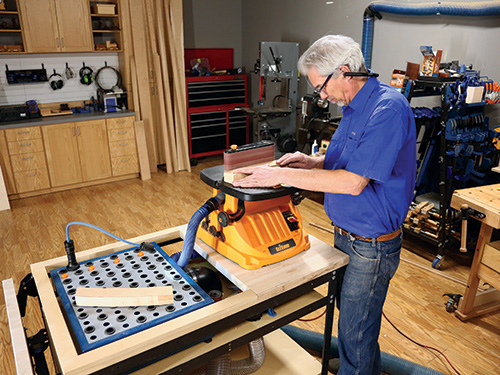
After marking the curves, I carefully cut the shape staying just outside of the pencil lines. Then I used a horizontal benchtop belt sander to sand them smooth and to final shape. With that done, it was time to move onto machining some mortises.
Drilling Beadlock Joints
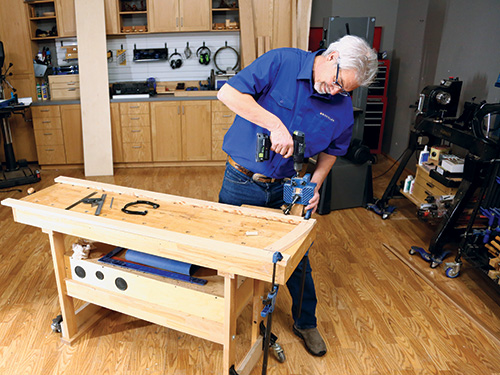
The Beadlock system is one of the easiest and most affordable loose-tenon systems around, and the joints it creates are rock-solid. The system has drill guides for diff ering thicknesses of stock, and in this case I used the 3/4″ drill guide that makes use of 3/8″ tenon stock. The preformed, uniquely-shaped tenon stock is available in various lengths. Although I chose Beadlock, you could make the joints with dowels or even Dominoes.
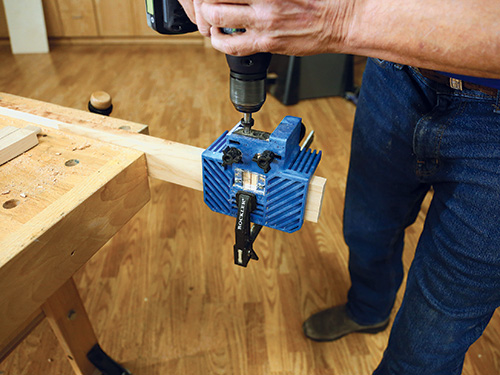
To get started with this task, I fit the four pieces of each frame together laying on my workbench. I clamped the stiles to the table with the rails fitting properly between them. Then I marked the center of each joint. Doing it this way helped me to visualize the assembly, confirm the mortise locations and understand how it all fit together. Next, it was time to bore the Beadlock mortises. One important note: I found that the 3/4″ drill guide was a touch thinner than my cherry stock. For that reason, it was important to clamp the Beadlock jig from the same face for each joint. Otherwise there would have been a slight but visible offset at the joint that would be unacceptable. I formed a mortise on each end of each piece as marked, then returned the part to its spot onto the bench. Another important point is to test-fit the shaped loose-tenon stock in each mortise.
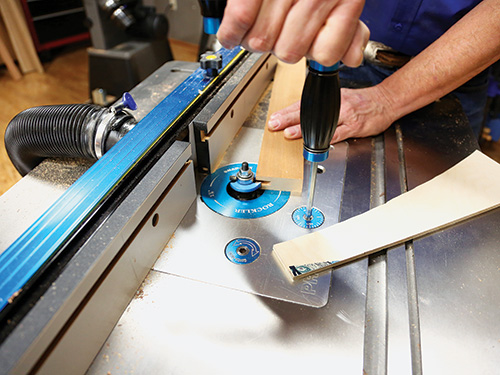
You may need to refine the mortise on occasion by cleaning out more waste inside it. I used this process for all four frames. And speaking of the individual frames, I marked each piece of each frame with a letter so I could keep them clear as I moved forward through machining to assembly. While in theory all the pieces should have been identical and thus interchangeable, that was a theory I decided not to test. You may call me a coward, but prudence is often the better part of valor.
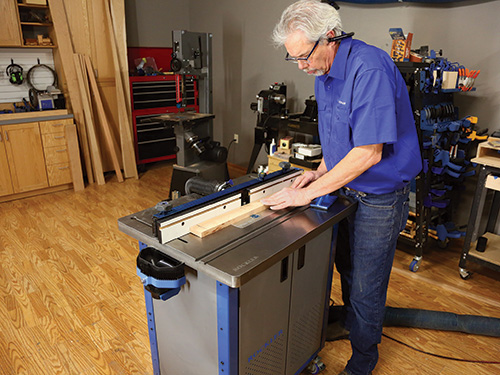
After mortising all the parts, the next step was plowing the grooves down the inside edge of each of the stiles and rails. Stepping over to the router table, I chucked a 1/4″-wide slot cutter that slices 3/8″ deep, controlled by a guide bearing on top of the bit. The plywood that would be captured by these grooves was 1/4″ thick, but would soon have wallpaper glued to both faces. After a good bit of experimenting, I found that I needed to form the grooves 3/8″ wide instead, so the final dimension for the grooves is 3/8″ deep by 3/8″ wide and centered on the edges of the stiles and rails.
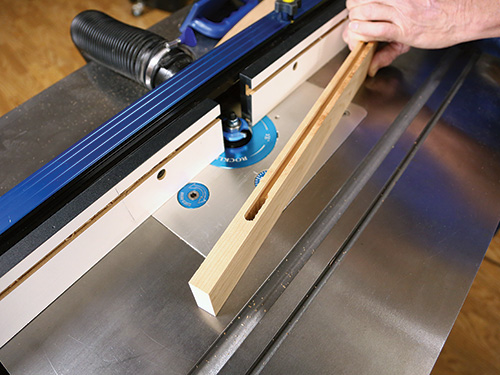
Up until this point, the top and bottom rails have been interchangeable, but with the addition of the grooves this is no longer the case. As they are situated in the frame, one rail gets its groove plowed into its “top” edge (this would be the lower rails) and the other has the groove on the “bottom” edge. By flipping the stiles and rails over and taking two passes, you can be certain that the grooves are centered on the pieces as you widen them. For the flat- and convex-shaped pieces, you can set up the router table to use its fence as a bearing surface. For the concave edge of the rails, however, use the guide bearing to position the cut. When all the grooves have been machined, it’s time to cut the plywood to fit the frames.
Fitting the Panels
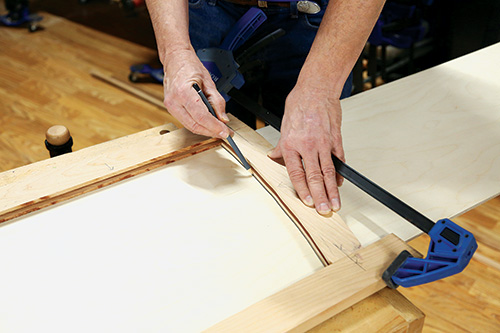
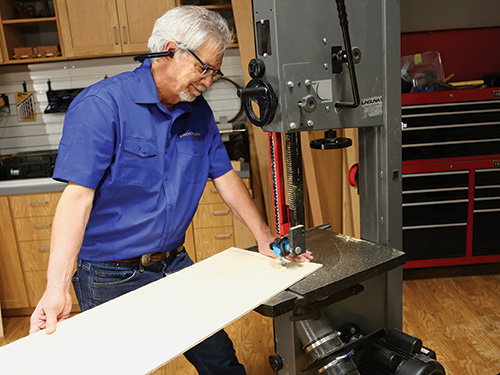
Ripping the plywood panels to their proper width is an easy task on the table saw. Cutting the curved ends is best done by placing a panel under a clamped-up frame and then tracing the frame’s curve onto the top of the panel. Now put a small mark on the plywood in the center of the arc at the bottom the frame. Then slide the plywood 5/8″ up under the frame using the small mark as your guide. Trace the curve on the bottom of the panel. Do that for all four panels. I then used a band saw to cut the curves to shape. A handheld jigsaw will work as well, but it will likely leave a rougher cut. Sand away any splinters.
Next up, I wiped on a coat of shellac mixed 50/50 with denatured alcohol onto both faces of the panels. When it dries, polish any raised grain with a synthetic scratchy pad. With that done, it’s time to break out the wallpaper.
Carrying Out the Last Details
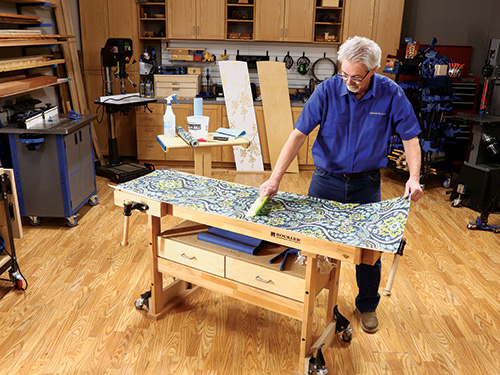
While we chose wallpaper to decorate these panels, there’s no reason you couldn’t paint the panels or apply veneer or even use a nice hardwood plywood and apply a clear finish instead.
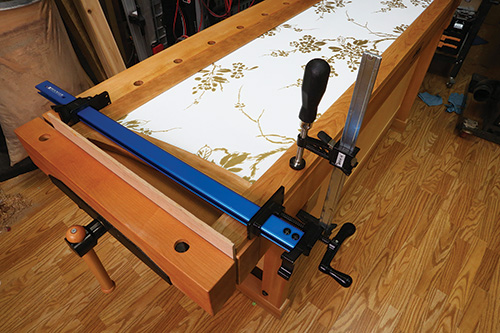
I am not an expert wallpaper person, so I just followed the directions on the packages and had success. One roll of the paper I bought covered four panels, so two rolls were required. If you have a similar situation to mine with differing treatments to opposite faces of the panels, make certain to pair them up so you don’t end up with three panels with one treatment and one of the other type. (Awkward.) With the panels completed I took the time to mask off each glue joint on the frame stock and then applied two coats of Watco Natural Oil. It is easier to apply the finish now, and it prevents it from staining the wallpaper.
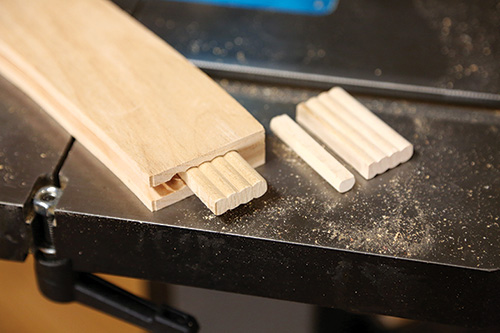
You are now almost ready to get started gluing and clamping the frames and panels together. But before you do, there’s one more step. The 3/8″ Beadlock tenons have five “lobes” per tenon. Due to the width of the stiles and rails and the depth of the grooves, a tenon could impede the plywood panel in the grooves. So cut one lobe off of the Beadlock tenons and be sure to place the tenons as shown in the inset photo, middle right.
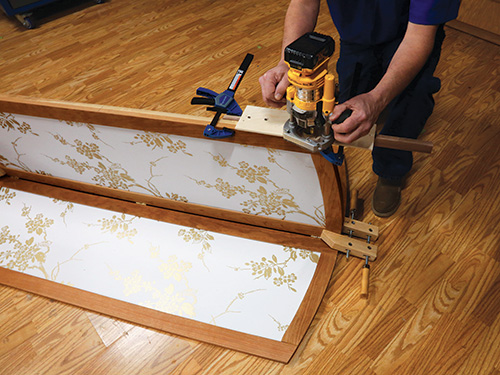
It is important to keep the frames square during glue-up, so I assembled them on a bench and put a board in the end vise. With one stile aligned with the edge of the bench and both feet touching the board, I could be sure the panel was square as I glued it up. I found the frames went together much more easily with a helper. I did the first one myself, but getting the panel in its grooves and the tenons in their mortises without the assembly coming apart elsewhere was doable, but frustrating. With the aid of a second set of hands, it was much easier. Apply glue to the tenons and put them in one of the stiles, slide a plywood panel into place and then glue and place the rails. With glue on the last two tenons, add the second stile — align the feet on the board and the stile on the edge of the bench, and clamp the frame together. Once the glue dries, you need to take each frame to the band saw and cut off the “horn” that is sticking up past the curved upper rail. Sand the cut smooth and apply finish. The two-way hinges come next. I made a small jig from 3/8″ MDF that had a fence attached to it at a right angle with an opening to guide my router, outfitted with a rub collar.
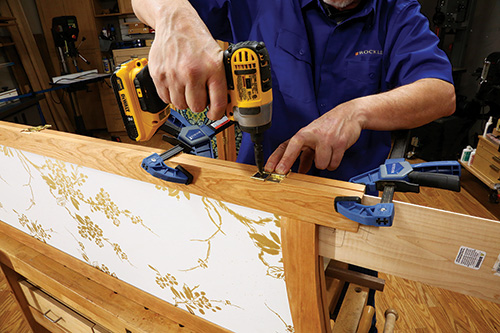
Set up two frames and clamp them together, back-to-back, with a 1/8″-thick piece of plywood between them. I clamped the jig to the frame and routed a mortise into two frames at once. Before I unclamped the setup, I installed the hinges. This worked very well. When the last hinge was secured with screws, the project was done. It was ready to hide a home office setup and add beauty to the room while doing it.
Click Here to Download the Drawings and Materials List.
Hard-to-Find Hardware:
Rockler Beadlock Pro Jig Kit and Case (1) #54318
Double Action Hinges (5) #29033


