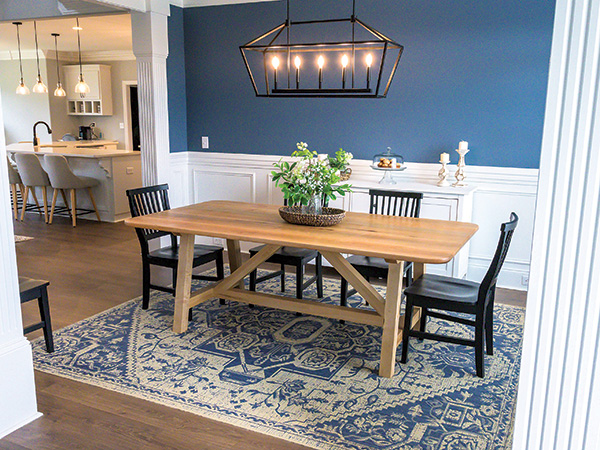
When my family moved into our new home, we needed a table to fill the larger dining room space you see here. Our house’s architecture is an open floor plan concept, so we wanted a table with a modern but very buildable design to closely match the house’s styling. We also envisioned the table to have a substantial appearance, so we settled on a trestle table made of soft maple. I think the style has just the “heft” we were after, with 2-1/4″-thick splayed legs, an upper and lower stretcher, two diagonal braces and a 1-1/4″-thick tabletop. It seats six diners comfortably.
Since the table components are large and heavy, I decided to use Rockler’s 1/2″ Beadlock tenons, doubled up at each joint, to keep the joint-making process easy. Beadlock tenons are sturdy and simple to install with a jig and a drill/driver.
Milling Lumber and Laminating Parts
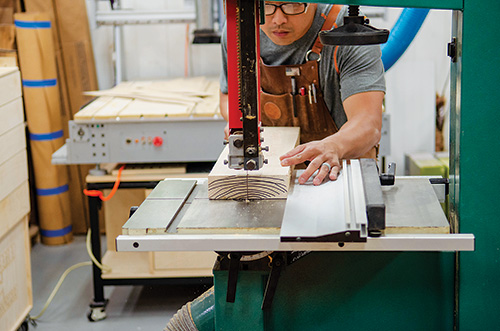
The thickest soft maple I am able to source locally is 8/4. In order to achieve the 2-1/4″ thickness I needed for each member of the table’s lower structure, I knew I’d have to glue two pieces of stock together and then plane the parts down to final thickness.
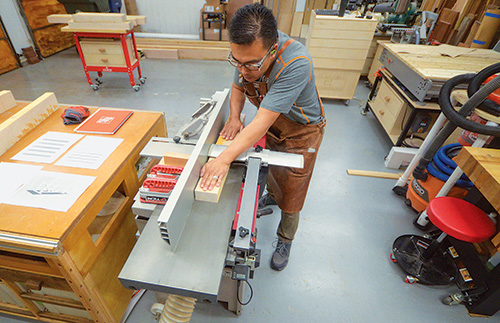
To do that, I first identified the grain direction on the end of each board, then crosscut the stock to rough length for the legs, cross supports, stretchers and diagonal braces.
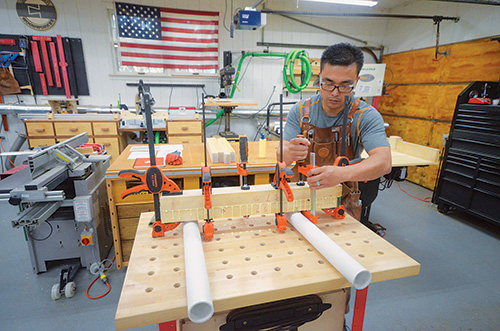
I ripped this flatsawn lumber to rough width for the parts, flattened one face of the mating workpieces and glued and clamped them together. This allowed me to get at least two edges that display a straight-grain riftsawn look.
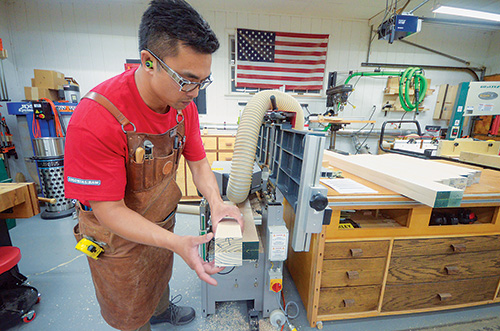
When the glue dried, I planed the workpieces down 2-1/4″ thick and ripped them to final width.
Templates Ease Construction, Provide a Road Map
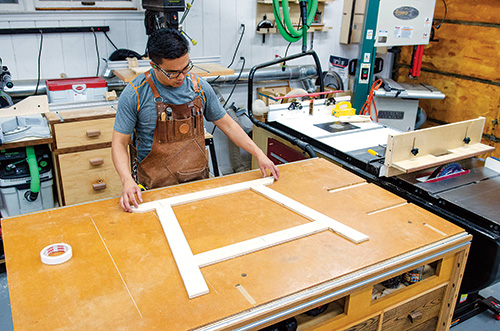
This table’s base is made entirely of flat, straight parts. But there are angles to contend with as well as joints to locate accurately. Now, you could measure and cut each part and locate every joint without templates, but I really like using them for layout and construction. So I made a set of four full-size templates from 1/2″ plywood for the table’s trestle assemblies — two legs, an upper and a lower cross support — plus a template for the diagonal braces. These templates verify that all of the angles will fit together well, and they also plot the locations of the Beadlock joints so I can just transfer those marks over to my workpieces without measuring. A set of these templates are handy to store for future use, too. If I ever want to make this table again, my templates will provide a quick “road map” of important details and part shapes.
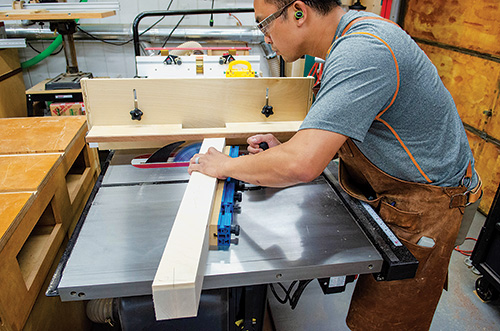
If you decide to make the same templates for your table, first study the End and Front View Drawings. Notice that the upper cross support has a 40-degree angle on each end that starts 3/4″ down from the top edge. The ends of the legs have matching 10-degree angles, and the lower cross support also has a pair of 10-degree angles that tilt inward so it can nest between the splaying legs. The ends of the diagonal braces are angled at 40 degrees. Rip and crosscut a blank for each of these five templates, then mark and trim the upper cross support angles at your table saw or on a miter saw. When you’re marking and cutting the top and bottom leg angles, start with template blanks that measure 27-1/8″ long, then trim the matching angles without shortening the leg blanks in the process. Same goes for the diagonal brace, starting on a template blank that measures 30-5/8″ long. For the lower cross support template, make the blank 24-13/16″ long to begin with, then trim the 10-degree, inward-facing angles. With that done, draw a centered layout line on the top ends of the leg templates and on either end of the lower cross support and the diagonal braces to mark the Beadlock mortise locations.
Now on a large work surface, arrange the leg and upper and lower cross support templates together into the table’s trestle shape. Locate the top edge of the lower cross support 17-15/16″ down from the bottom edge of the upper cross support. That position should spread the top inside corners of the legs 17-11/16″ apart. Adjust the upper cross support on the top ends of the legs so its bottom fl at edge overhangs the legs by 3-5/8″ on both ends. Then carefully extend your layout marks on the leg and lower cross support templates to mark the upper cross support and the inside edges of the leg templates for the other side of these Beadlock joints.
Cutting Parts, Drilling Beadlock Joints
At this point I attached each template to a workpiece blank with double-sided carpet tape and used it as a guide for trimming the legs, upper and lower cross supports and diagonal braces to final shape. Once the angles were cut, I used a combination square to extend the joint layout lines from my templates onto the table components’ ends and faces, where needed. Remove the templates and clean off any tape residue. While you’re at it, go ahead and locate the Beadlock joints on the upper and lower stretchers by setting them together with the diagonal braces on a work surface.
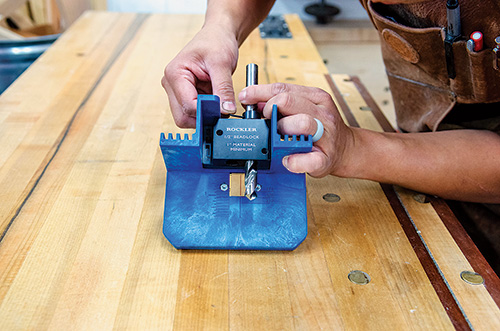
The top stretcher overhangs the top ends of the diagonal braces by 21-3/8″ on each end, and the ends of the bottom stretcher and braces should be flush. Mark these Beadlock joints by extending layout lines from the braces onto the stretchers. Mark the ends of the stretchers and the upper and lower cross supports for the Beadlock joints that will connect them, too.
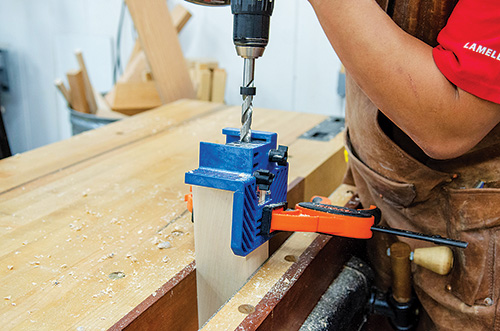
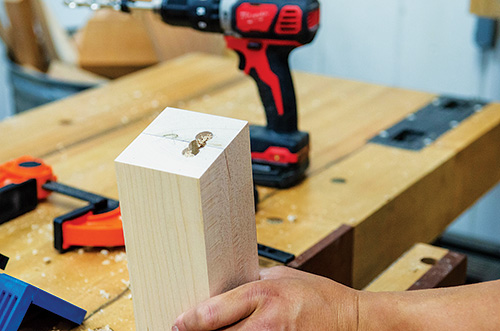
It’s time to drill pairs of Beadlock mortises where you’ve marked them. With the 1/2″ drilling guide in my Beadlock jig and my drill bit set to bore 11⁄4″-deep mortises into each workpiece, I registered and clamped the jig to align with my layout marks. Bore the three overlapping holes that make up each mortise by drilling at the jig’s “A” and “B” guide positions. Then re-clamp the jig to the opposite part face to drill a second mortise at every joint location.
Cauls, Tape and CA Glue Aid in Assembly
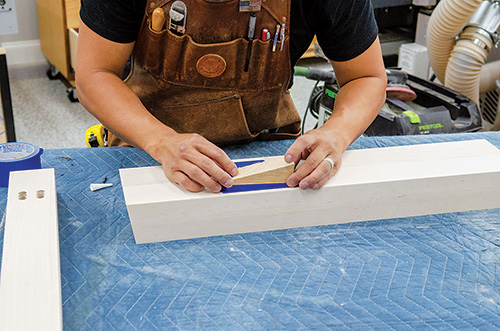
Sand all the parts you’ve made up to this point to 180-grit so you can begin to put the table’s base together. I glued up the two trestle subassemblies first, then made a third subassembly of the upper and lower stretchers and the diagonal braces.
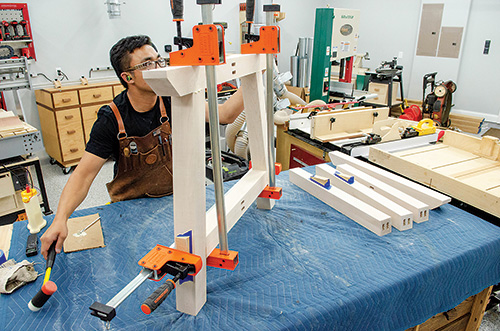
It can be difficult to direct the clamping force straight across angled joints like these, but not if you install some clamping cauls to help the process. In this case, those can simply be the offcuts that were left over when you miter cut the lower supports and the diagonal braces. I applied a pair of the lower support offcuts to the outside faces of the legs.
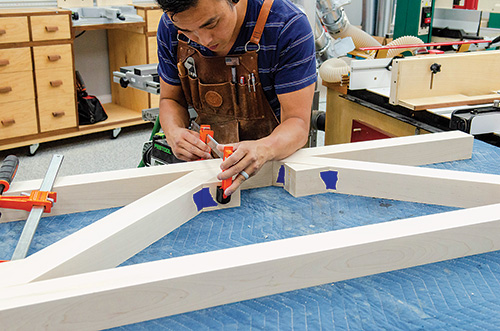
I installed cauls on the diagonal braces as well — one to their bottom edges near the top of each brace and a second to the top edge near the bottoms of the braces. I’m sure these photos have you curious, so here’s the strong, simple way I attached the cauls: apply a strip of blue painter’s tape to the table contact surfaces and bond the cauls to the tape with CA glue.
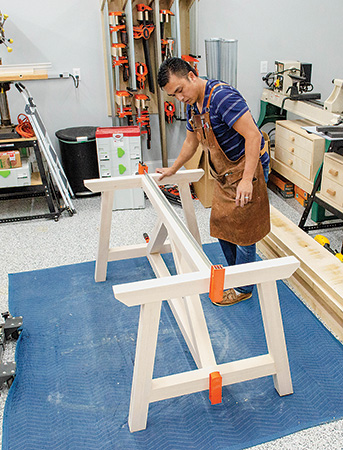
Assemble each trestle with Beadlock tenons and glue, then glue up the stretcher/brace assembly with Beadlock tenons in those joints. When these subassemblies dry, remove the cauls by simply peeling off the tape. Nice trick, huh? Now glue and clamp the stretcher assembly between the trestles with Beadlock tenons inserted to complete the table’s base.
Installing the Tabletop and Finishing Up
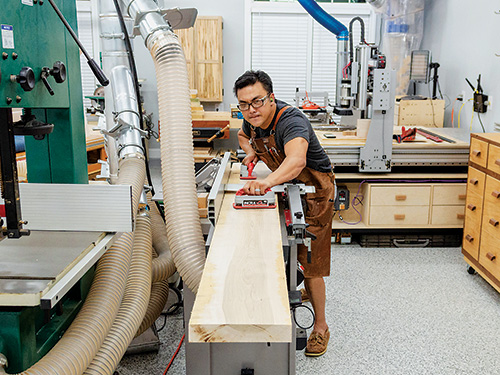
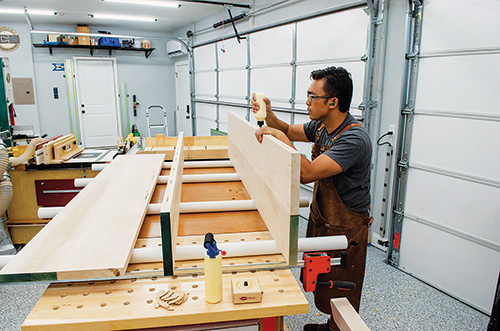
The tabletop is just a large 1-1/4″-thick panel I glued up from wide maple boards with #20 biscuits inserted along the joints. I trimmed the ends of the panel flush and to final length with a track saw, then traced a 2″ radius at each corner and cut the curves to shape with a jigsaw.
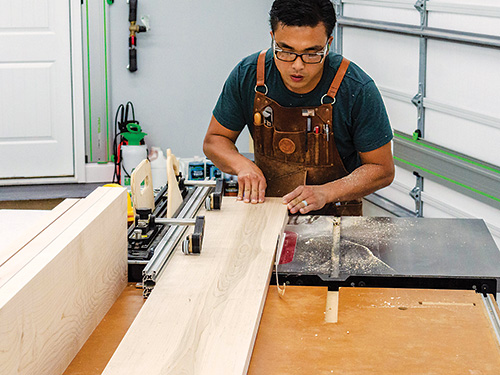
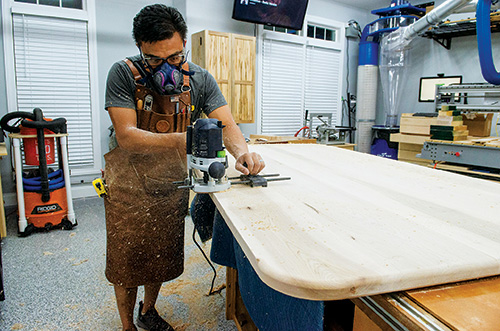
I softened the top edge of the panel with a 1/4″ roundover bit in my handheld router, then switched to a 1/2″ roundover bit to ease the bottom edge. A thorough sanding up to 220-grit completed the job.
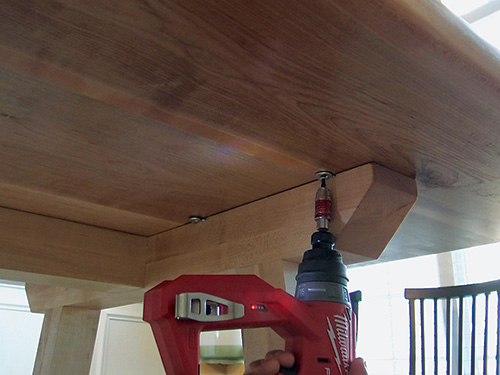
Eight of Rockler’s “figure eight” desktop fasteners were a good solution for attaching the tabletop to the upper cross supports. They allow for the top to expand and contract across the grain seasonally while still holding it securely.
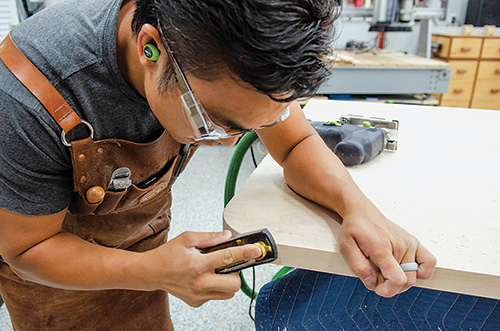
I used a Forstner bit and a chisel to create the shallow mortises for this hardware before installing the top on the table base with a pair of flathead wood screws driven through each fastener.
At this point you’re done with the construction phase of your new dining table, and all that’s left is to apply your choice of finish.
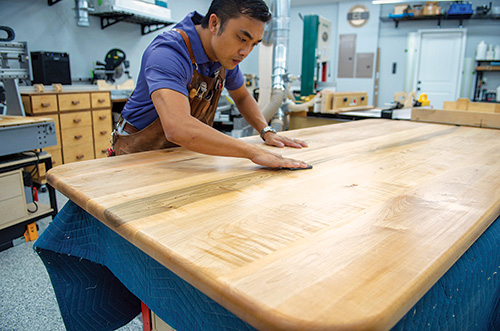
To that end, I used equal parts semigloss oil-based polyurethane, mineral spirits and tung oil to create a durable wipe-on blend.
I flooded it on the wood and removed the excess with lint-free paper towels. I applied three coats, buffing between them with 0000 steel wool after each coat cured.


