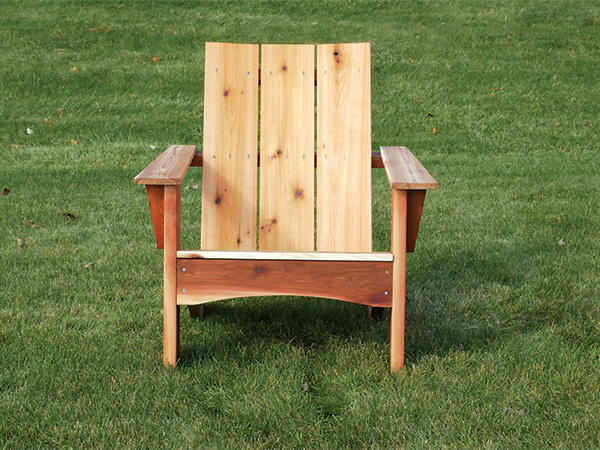
Summer is just around the corner, but if you’ve been putting off making some outdoor seating to usher in the warmer weather, this simple Adirondack chair project will help you make up for lost time. The plan doesn’t require expensive or unusual lumber either — we built ours from off-the-shelf cedar boards purchased at a home center. To build a single chair, buy the following six boards: two 1 x 6 x 8′; one 1 x 8 x 8′; one 2 x 4 x 8′; one 2 x 6 x 8′ and one 2 x 8 x 8′.
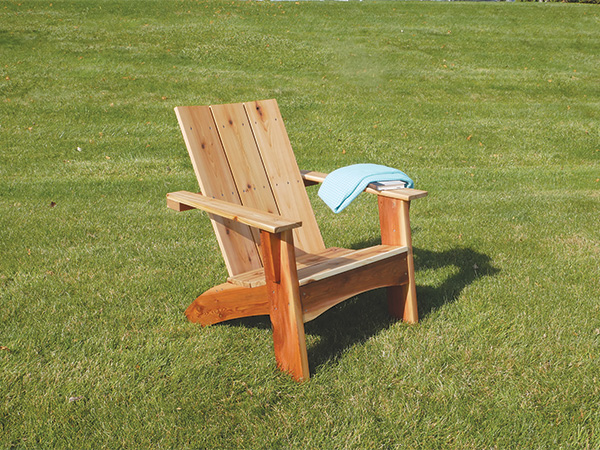
Rockler offers a set of seven full-size templates for tracing the shaped parts to build this chair. Or visit woodworkersjournal.com and download a free PDF of gridded drawings to create your own templates instead. The PDF also includes a helpful layout/cutting diagram.
Shaping Parts from Templates
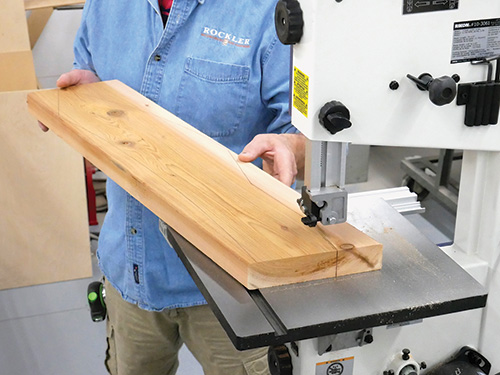
There are two ways to use cardboard templates to make these chair parts. The first method is to trace the shapes directly onto the workpieces, then cut them just outside their traced outlines with a band saw or jigsaw and refine the shapes by sanding up to the line. The second method is to trace the cardboard templates onto hardboard or plywood and create rigid templates for pattern routing. Then trace the part shape onto the workpiece, cut close to the line and attach the rigid template to the workpiece with double-sided tape. With that in place, use a handheld router with a bearing-guided flush-trim bit to trim the workpieces flush with the templates. It’s the method we followed in the two photos, above.
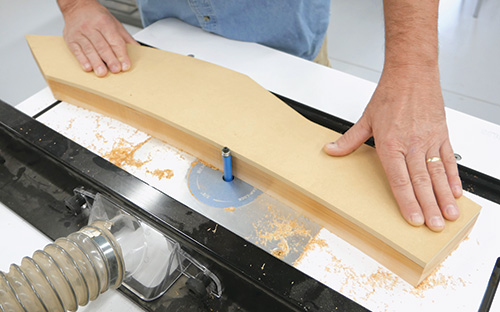
Whichever templating method you choose, lay out and crosscut slightly oversized blanks on your project lumber for all of the parts except for the back slats. Those three back slats will need to be cut to exact length in order to obtain all three from one 1 x 8 x 8′ board.
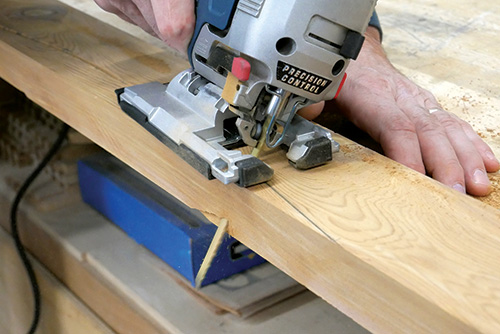
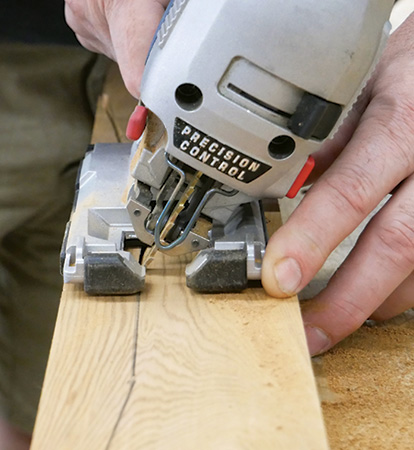
Next, use your templates to trace and cut out the back legs, arms, arm braces, front cross brace, lower back brace and upper back brace. When these parts are done, trace the template for the middle back brace onto the top face of its blank. Note that this is the only part that requires making a bevel cut to match the angle of the backrest. Tilt your jigsaw base or band saw table to 30°. Arrange the saw or the workpiece so that the blade angles out toward the front, concaved edge of the workpiece, and cut out this shape.
Give all the workpieces a thorough sanding up through at least 120- or 150-grit. If you’re building this chair from cedar, which can be splintery, ease the edges while you’re at it with a sanding block or even a 1/8″-radius piloted roundover bit in a router.
Building the Chair Framework
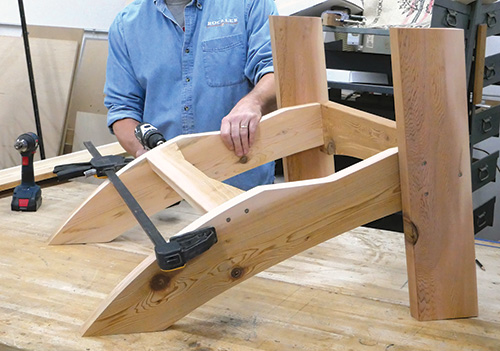
Attach the front cross brace to the back legs with #8 x 2-1/2″ exterior screws. Align the top edges of the parts and drive the screws through the front cross brace into the front ends of the back legs. Drill countersunk pilot holes first, to prevent splitting the wood. Next, it’s time to attach the front legs. Lift the front cross brace up until the “feet” of the back legs are flat on your work surface. Clamp a scrap to the front cross brace to prop up the front of this assembly at the correct height. Now position the front legs against the outside faces of the back legs and so their front edges are flush with the front face of the front cross brace. Be sure the bottoms of the front legs are flat on the work surface. Clamp the legs together, and attach the front legs to the back legs with three #8 x 2-1/2″ exterior screws driven through each front leg.
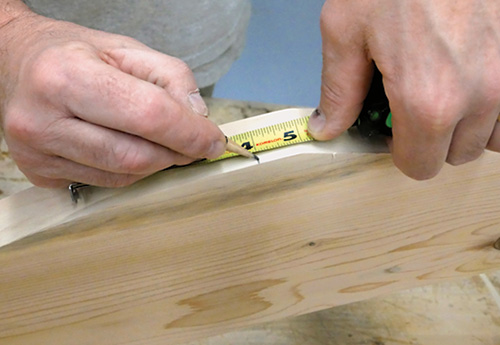
Now, on the top edges of both back legs, make a mark 1″ back from the point where the curve for the seat begins. Slip the lower back brace between the back legs, and position its front edge to align with these back leg reference marks. Its top face should be flush to the top edges of the back legs. Attach it with #8 x 2-1/2″ exterior screws driven through the back legs and into its ends.
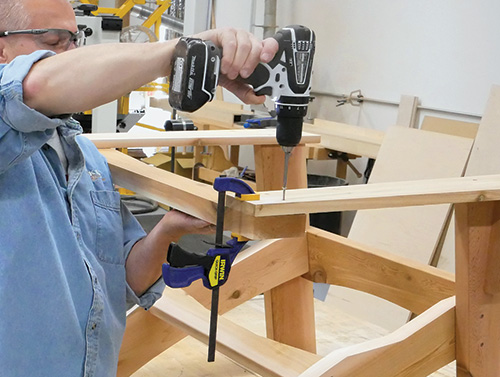
You’re ready to attach the arm braces to the top outside faces of the front legs with pairs of #8 x 2-1/2″ screws driven through the front legs and into the arm braces. Then, grab a couple of short clamps, and clamp the middle back brace to the back ends of both arms so the ends of the parts are overlapped and flush. Set this assembly on top of the front legs with the front ends of the arms aligned with the front edges of the legs. Drive three countersunk 2-1/2″ screws down through each arm to attach it to the arm braces and front legs. Then secure the arms to the middle back brace by driving a couple of #8 x 2-1/2″ screws through these joints.
Adding Back and Seat Slats
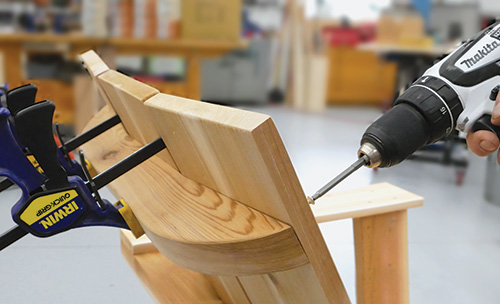
Set the back slats into place so their bottom ends are aligned with the bottom face of the lower back brace, and space the slats about 3/8″ apart. Attach the back slats to the lower and middle back braces with #8 x 1-5/8″ exterior screws. Use three evenly spaced screws per joint, countersinking their heads. Once that’s done, you can clamp the upper back brace to the back of the back slats. Locate it about 3-1/4″ down from the tops of the slats, and attach the slats to it with #8 x 1-5/8″ screws, driving three screws per slat into the brace.
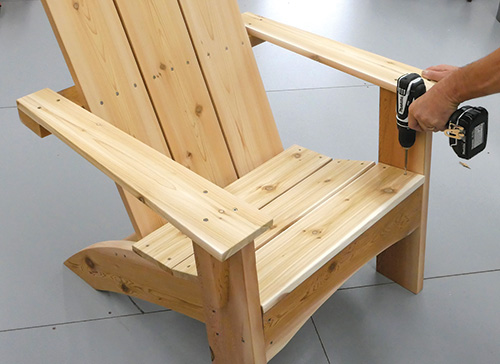
All that’s left to wrap up construction on this chair is to attach the three seat slats to the back legs with #8 x 1-5/8″ exterior screws. Arrange the slats to allow the front seat slat to overhang the front cross brace by about 1/4″. Position the other seat slats so there’s consistent space between all three.
Apply an exterior finish of your choice. When that dries, your chair is ready for summer seating!
Click Here to Download the Drawings and Materials List.
Hard-to-Find Hardware:
Modern Adirondack Plan with Templates #61139
3/4″ Baltic Birch Plywood, 24″ W X 30″ L (2) #65175


