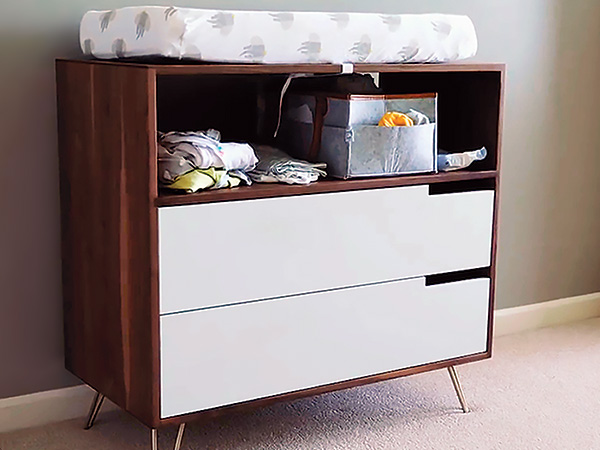
While my wife and I happen to be currently using this piece as a changing table for our son, it’s functionally a dresser and would look awesome in any Mid-Century Modern themed room while providing lots of great storage.
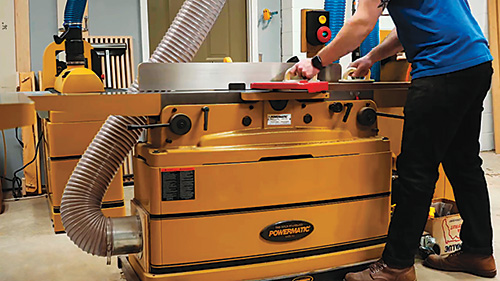
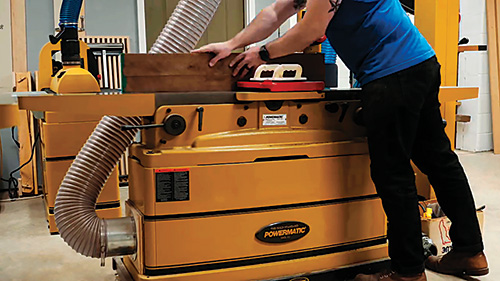
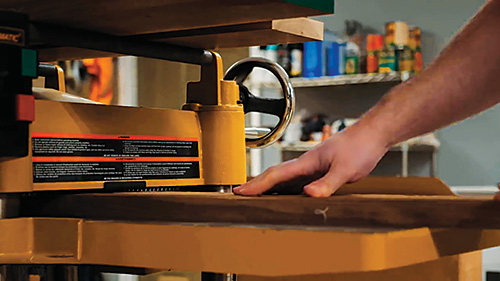
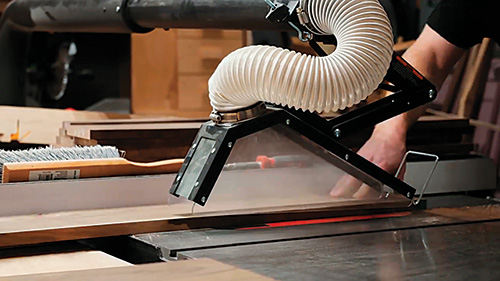
My milling process started at the miter saw, where I broke down the boards into their rough lengths. Next, I moved to the jointer, flattening one face and one edge of each board. With one face flattened, I moved to the planer and brought the other face into parallel with that flattened face. See the photo caption at the top of the next page for my process. Finally, I headed to the table saw and ripped each board to final width.
After milling, I arranged the boards into panels, laying them out in their final orientation based on any defects I wanted to hide or how the grain patterns of the individual boards flowed together.
Next, I marked out locations for biscuits, which I used for alignment. You could also use Dominos, dowels, splines or any number of other alignment methods. With the locations laid out, I cut all of the biscuit slots, making sure the biscuit joiner was well seated on the board each time.
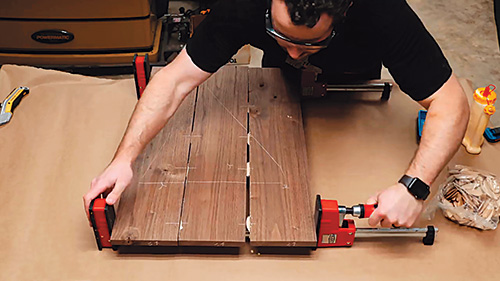
Next, I glued up all of the panels, let them sit in clamps for about an hour, then removed the clamps and scraped off any glue squeeze-out. After letting the glue cure overnight, I ripped all of the panels to their final width of 18″ at the table saw.
To smooth out some unevenness between the boards — my biscuit joiner was probably a little skewed when I was cutting the slots — I passed all of the panels through my drum sander a few times to get everything nice and flat.
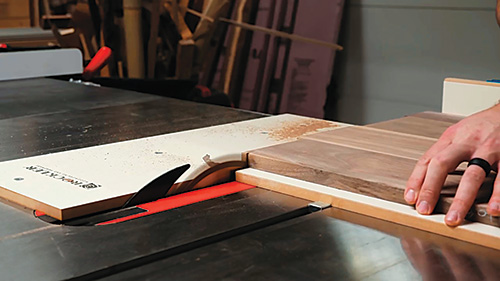
Next, I cut each of the panels to final length with my Rockler Tablesaw Crosscut Sled. First, I cut one panel to size, then marked the second panel based on that first panel, to ensure they matched up perfectly. On cabinets like this, it doesn’t typically matter exactly how big the cabinet carcasses end up; what’s more important is that each matching piece is the exact same length so things stay square. If you want the specific dimensions I used, see the Material List.
Cutting Rabbets and Dadoes
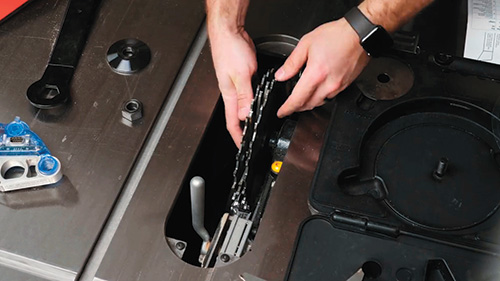
Next, I switched to a dado stack on my table saw, setting it up for the final thickness of my panels — about 3/4″. I set the height of the blade to 1/2″ and then set the rip fence so its sacrificial facing was just touching the blade.
After doing a few test cuts to make sure everything was set up correctly, I started cutting the rabbets on the ends of the top and bottom panels.
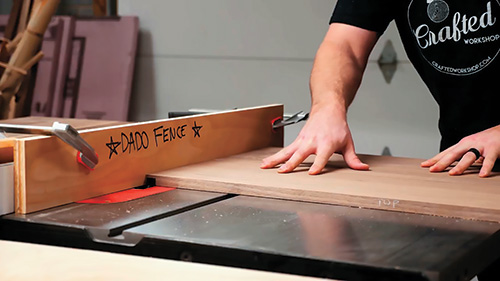
Next, I moved the fence over and cut the dadoes for the center shelf into the side panels, first setting the height of the blade to 3/8″. This height wasn’t super critical, since I cut the shelf to final length after doing a dry assembly of the cabinet carcass.
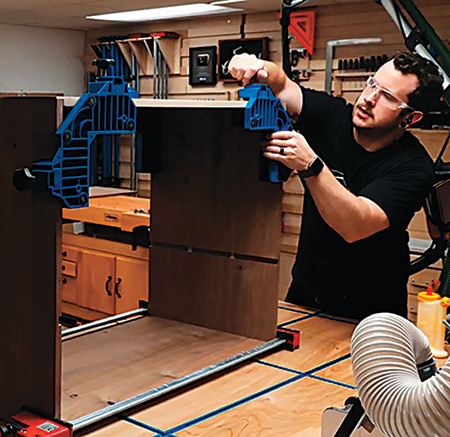
With all of the dadoes and rabbets cut, I could finish-sand the inside faces, then assemble the cabinet carcass. I did this in two stages. For the first stage, I assembled the top, bottom and side panels and clamped them up.
Center Shelf, Panel Edge Details
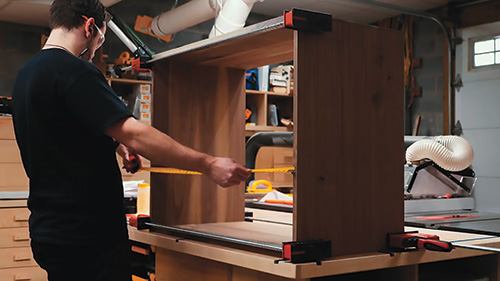
After that glue-up was dry, my second stage of carcass construction was installing the center shelf. I measured the shelf length and cut it with the crosscut sled. The fit was a little tight on the thickness of the shelf, so I sanded both ends a little bit, just to shave off a tiny amount of thickness. Then, once the fit was right, I glued the shelf into place with a little glue and a few clamps.
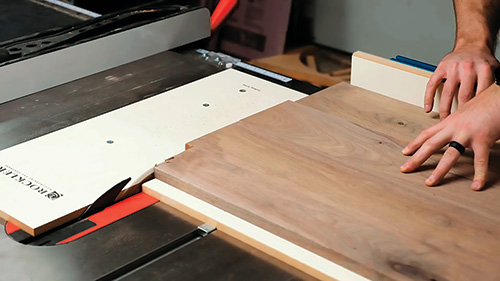
When cutting the rabbets into the top and bottom panels, I had made sure to cut them a little wider than they needed to be, just to make certain the panels were fully seated in the rabbet. So next, I needed to flush up the ends of the top and bottom panels with the sides.
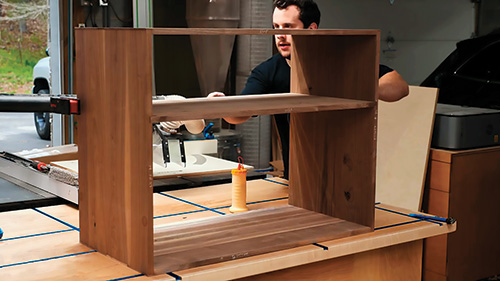
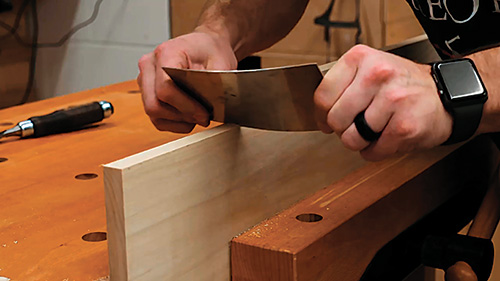
I used my low-angle block plane for this job, making sure to work from each end and stop in the middle. (If I went all the way across the panel, the other end would have the tendency to chip out.)
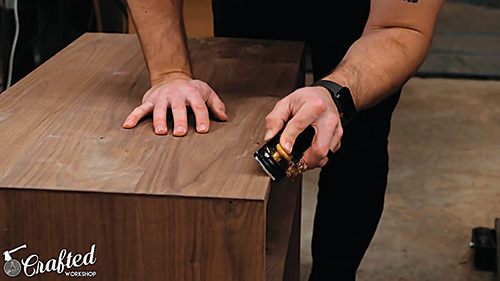
Once the ends were flush, I added a slight chamfer to all of the outside edges, again using my block plane.
Installing Brass Pins
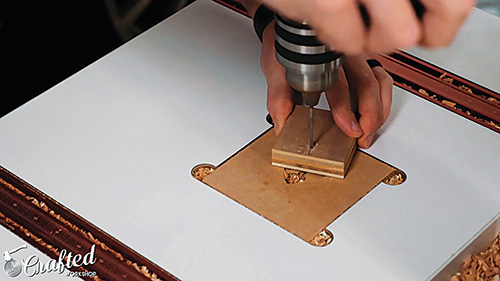
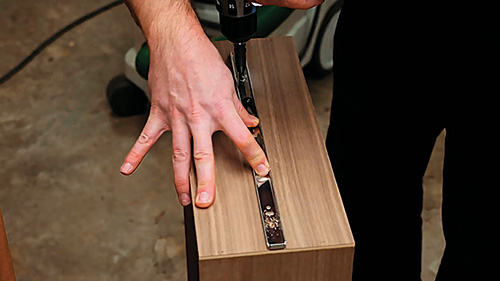
I added three 1/8″ brass pins on the top and bottom of each side of the dresser, partly to reinforce the rabbets, but mostly for looks. To make installing the pins simpler, I created a little jig.
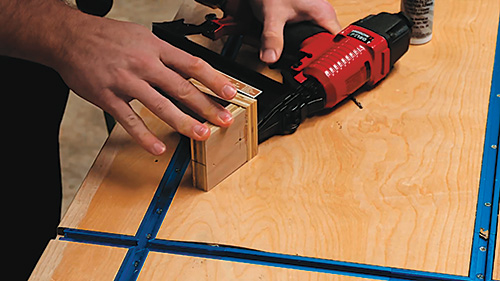
I first measured the distance from the top corner of the dresser to where I wanted the center of the pins to be (about 3/8″), and I marked the measurement on a scrap piece of plywood. I also marked the center of the plywood piece, both where I was drilling the hole as well as on its bottom end.
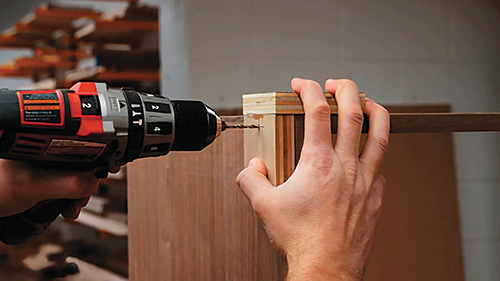
Next, I drilled a 1/8″ hole through the plywood at the drill press, to make sure the hole was perfectly square. To complete the jig, I added another piece of plywood with some CA glue and a few brad nails to act as a setup stop.
To use the jig, I hooked it over the side of the cabinet, lined it up with the top’s front edge, then drilled a hole about 1-1/4″ deep, using the jig to ensure the hole was square. Next, I marked the center of the side panel, aligned the center mark on the bottom edge of the jig with that center point, and drilled another hole. Finally, I repeated the process on the back edge of the cabinet’s side. I repeated these steps on the cabinet’s bottom edge and then on the other side.
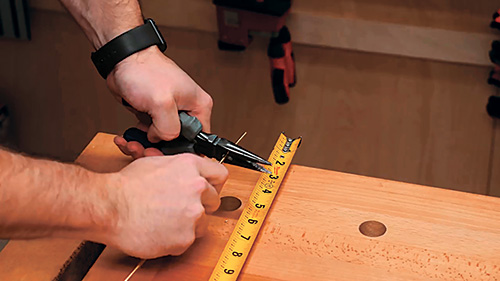
I bought the brass rod I used to create the pins at my local home center and cut it into pieces using some pliers, although a hacksaw might have been a little easier. Brass is pretty soft, but it still took some force to make these cuts.
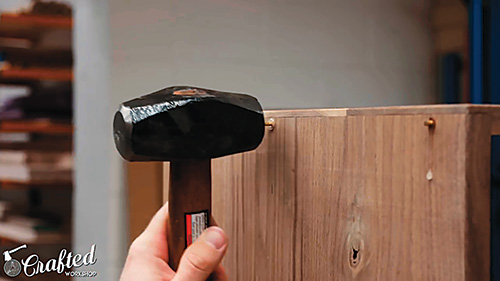
After cutting them, I roughed up the brass pieces using some 80-grit sandpaper, so the five-minute epoxy I used would have something to hold onto. I glued the pins in place, cleaned up the excess epoxy with acetone and then let the epoxy dry for about 20 minutes.
Adding the Back Panel
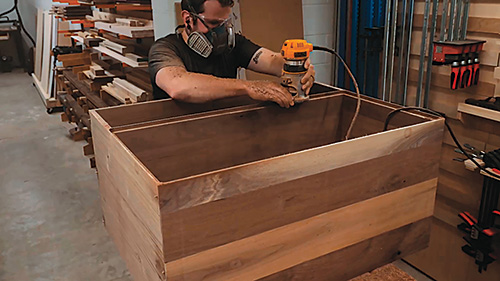
While that dried, I worked on adding the back panel to the cabinet. First, I sanded the back edge of the carcass assembly to remove any glue squeeze-out and then set up a 1/2″ rabbeting bit in my router. I set the depth to match the 1/2″ plywood I used for the back panel. (I had a scrap piece of 1/2″ plywood that was the perfect size for this, but 1/4″ plywood would have worked fine, too.)
Next, I went about the messy process of routing rabbets in the back edges of the bottom and side panels, as well as the back edge of the center shelf, to accept the back panel. Make sure to wear some kind of dust mask if you’re going to create rabbets in this way, because dust gets everywhere, and I mean everywhere.
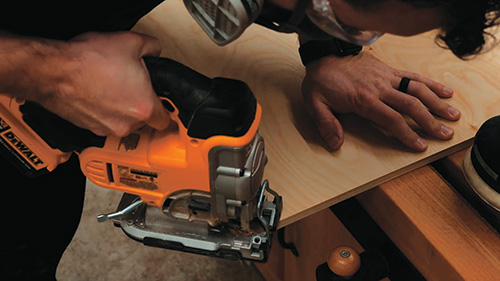
After vacuuming up the dust, I cut the back panel to size at the table saw, then rounded the corners to match those left by the rabbeting bit, which is a lot easier than chiseling the corners of the rabbets square. To do this, I cut the excess corner wood off with the jigsaw and then used a random orbit sander to smooth out the corner.
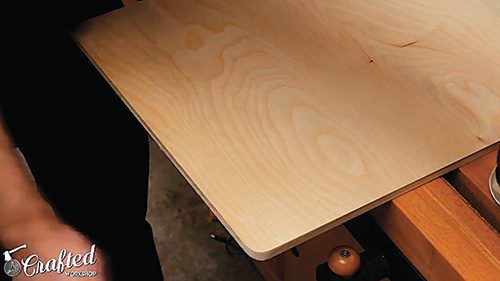
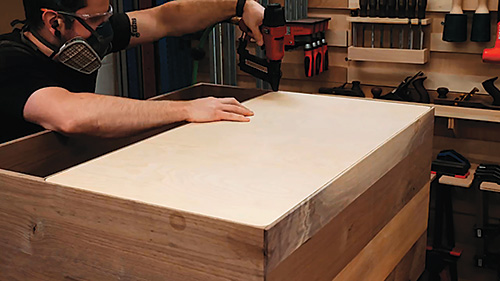
With the back panel cut to size, I attached it to the inside of the rabbet using wood glue and 1″ brad nails.
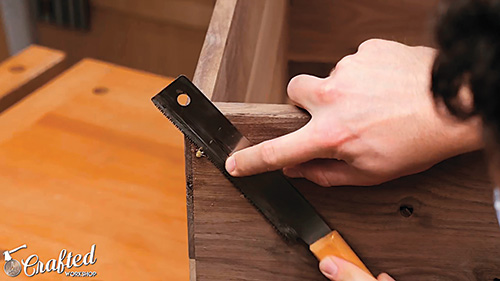
The epoxy was cured at this point, so I cut the brass pins flush with my flush-trim saw, which cut right through the brass, and then sanded it smooth with my random orbit sander. The brass pin accents are really subtle, but I think they add a lot to the final look of this piece.
Finally, I filled any cracks or knots with wood filler and then sanded the cabinet up to 180- grit to prepare it for finishing.
Building the Drawers
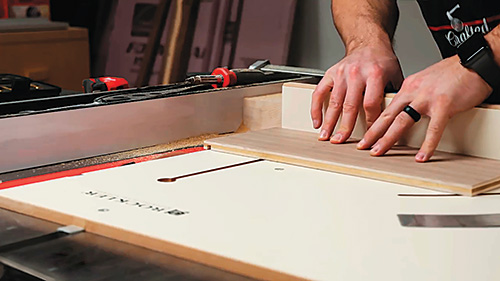
With the cabinet done, I started working on the drawers. I’ve had a 2′ by 4′ piece of 1/2″ walnut plywood hanging around for a while, and it turned out that it was the exact size I needed for the two drawers on this piece. I cut the drawer box pieces to size at the table saw, and then switched to my crosscut sled to cut the 1/4″-deep by 1/2″-wide rabbets into the ends of the drawer sides. (I could have also cut them with the dado stack.) Next, I cut 1/4″ x 1/4″ rabbets into the bottom edges of the drawer pieces, to house the drawer bottom.
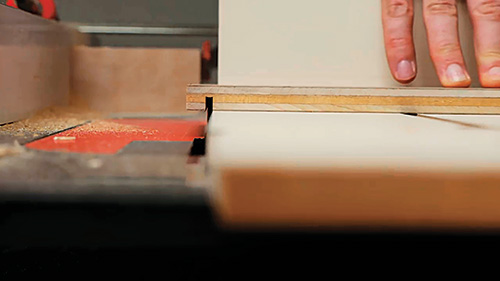
After cutting all of the rabbets, I dry fitted the drawer boxes and measured the exact size for the drawer bottoms, then cut pieces of 1/4″ plywood to size at the table saw.
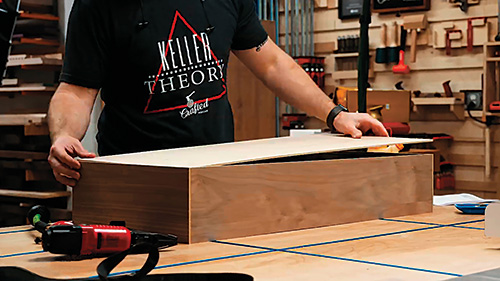
With all the pieces cut, I assembled the drawers using glue and brad nails to hold everything together while the glue dried.
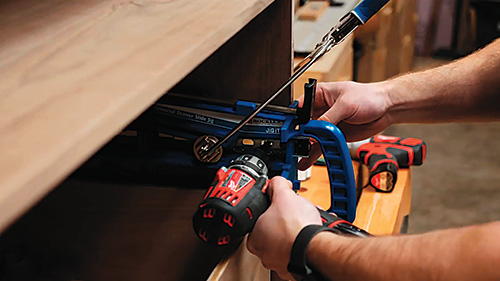
I used 14″ full-extension drawer slides for this build, which were leftover from another project. To install them, I used the Rockler Universal Drawer Slide Jig. Since I was using inset drawer fronts, I needed to offset the slides in the jig, and I used an offcut of the drawer fronts to set this offset. See the captions above for my installation process.
With the drawers installed, I could make the drawer fronts. I used rough poplar for this, but I’d probably use plywood or MDF if I were to do this again. Anyway, I milled the rough lumber to size, with my drawer fronts 8-1/4″ wide. I sized them so there would be a 1/16″ gap on all sides. You should then cut the drawer fronts to final length.
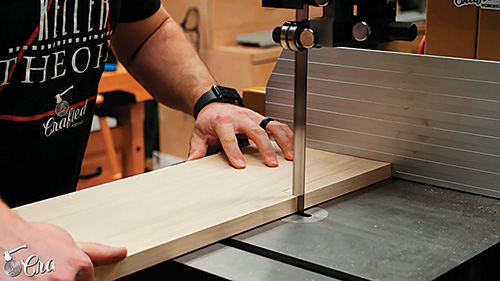
Next, I marked out where the handle cutouts would be, then cut them at the band saw. I realized later that placing both the handle cutouts on the right side forces you to always pull on that side to open it. Since the drawer is wider than it is deep, that causes it to rack a little bit. It’s not a huge deal, but another option would have been to install four drawers (two on each side) so that their width and depth were more even, or to add either one pull in the center of the drawer or two pulls evenly spaced on the front.
Anyway, I think my right-side handle cutouts will be just fine. After cutting them, I prepped the drawer front for paint, sanding it up to 180-grit and breaking all of the edges.
Finishes, Hairpin Legs
After sanding, I sprayed three coats of flat white spray paint onto the drawer fronts, knocking off any rough areas with 320-grit sandpaper before applying the final coat.
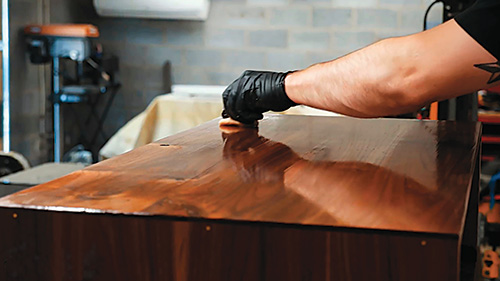
For the finish on the cabinet and drawers, I used General Finishes Arm-R-Seal wipe-on poly, wiping on three coats with a cotton rag and sanding with 320-grit between coats.
My final bit of finishing work was spray painting the hairpin legs I used for this project. I went with gold on the legs, scuffing up their surface prior to painting to help the paint bond properly.
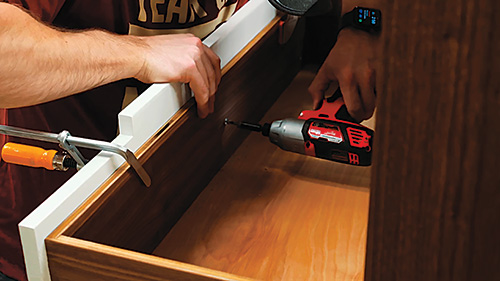
Once all of the finishes dried, I could get the drawer fronts installed. I used playing cards to space them evenly and hold them while I clamped them into place, then I added a few 1″ screws through the inside of the drawer, making sure to first pre-drill and countersink the holes.
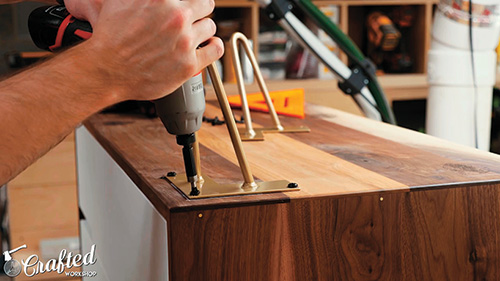
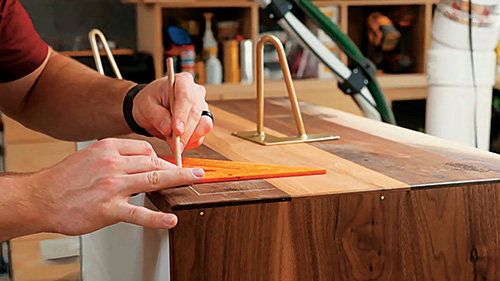
Finally, I installed the hairpin legs. I inset them 1″ in from the sides, and my dresser/changing table was done!
Click Here to Download the Drawings and Materials Lists.
Hard-to-Find Hardware:
6″ I-Semble Hairpin Table Legs (1) #43933
14″ 100-lb. Zinc Over-Travel Drawer Slides (2) #43788
Rockler Universal Drawer Slide Jig (1) #57302


