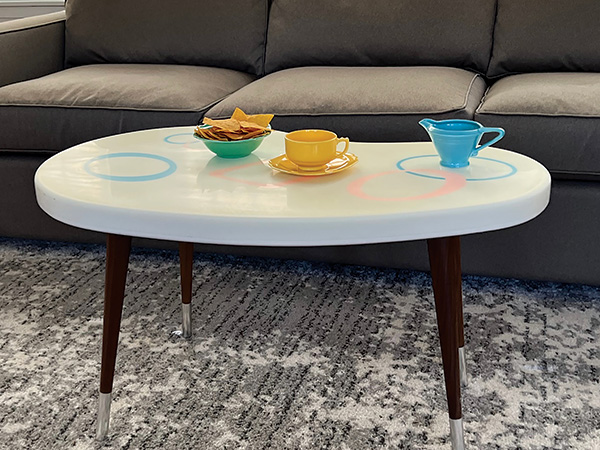
Instantly recognized as a classic Mid-century coffee table design, the kidney shape well represents the modern aesthetics of the post-WWII era. As America looked to the future, unfussy, clean design replaced the ornamentation of early 20th-century furniture as well as the substantial, almost heavy, Arts & Crafts furniture style. Cool colors, molded curves and a complex use of materials embraced by designers across the country created a new style that recognized the spirit of the post-war world. The future was bright and modernity was the watchword.
It’s doubtful if you could find a 1950s vintage kidney table that exactly matches our version here. But in color, shape and leg style, this design well evokes that era with a modern epoxy resin twist.
The Core of the Matter
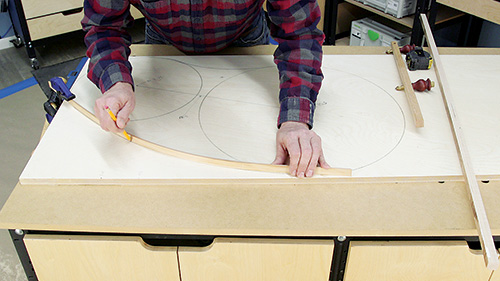
While the exterior of the tabletop is made of colored epoxy resin, it has a core of laminated Baltic birch plywood. The dimension of this core is derived from the two radii indicated in the MDF Table Mold Diagram. I drew the two circles with their center points 18-1/2″ apart on a piece of 3/4″ thick Baltic birch. If you use our dimensions, you will create a tabletop that’s just a bit over 37″ long, about 22″ at its widest point and approximately 2″ thick.
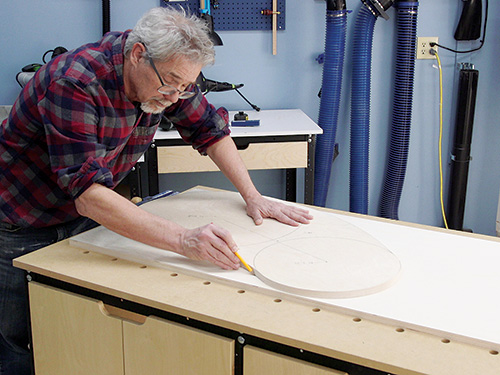
Feel free to modify the dimensions to fit your specific situation. The gentle curves that connect the two circles can also be more or less extreme to suit your desired shape. I chose Baltic birch because it has fewer voids. Voids can produce air bubbles when you pour your resin, which are a pain to deal with if they cure at the top surface. More about that later.
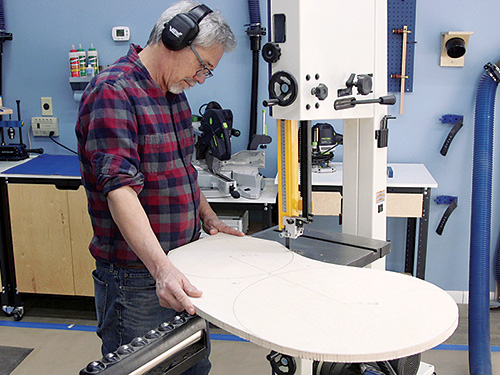
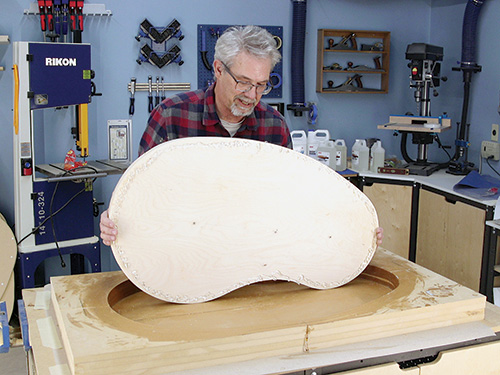
With the kidney shape marked onto the plywood, I stepped over to my band saw and very carefully cut it out, just to the outside edge of the perimeter layout line. I used a belt sander and then hand-sanded to fair the curves to the pencil line, taking care to avoid creating any flat spots along the curved edges.
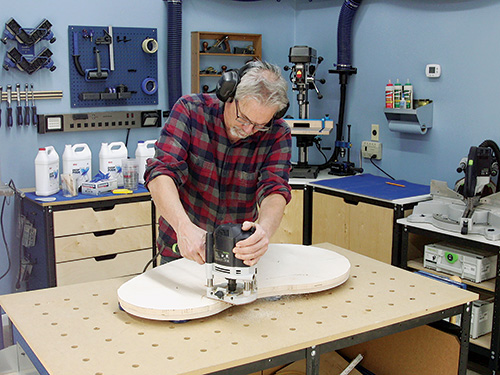
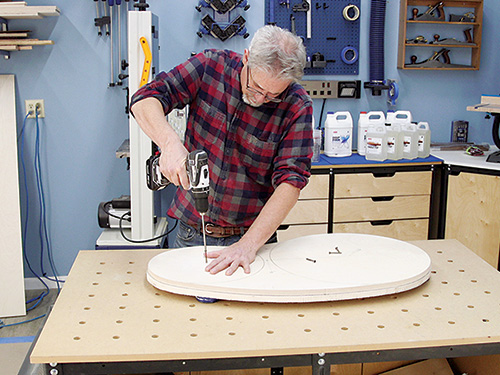
With that done, I took the workpiece over to a second piece of Baltic birch, traced its shape and cut it free from the sheet, keeping the band saw blade about 1/16″ outside of the marking. Then, after screwing the two pieces together. I used a bearing-guided flush trim bit in a handheld router to trim the second core so it matched the first. I also hand-sanded the edge of the core and broke the edges to keep from getting splinters. Now it was time to move onto making the MDF mold.
Building the MDF Mold in Layers
You might think you are done with the plywood core, but you would be wrong. We will use the core to form the first cutout layer for the MDF form. Start with 3/4″-thick MDF sliced across its 49″ width to create at least four 26″-wide components. You’ll need more than one full sheet of MDF, so I’d make at least five components. (I messed one up when I let my router wander off course … it happens.)
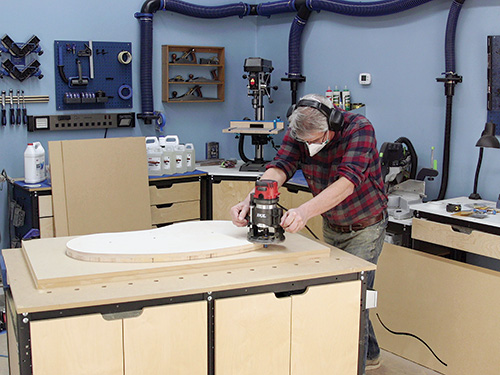
Carefully center the table core on one of the MDF pieces and secure it to the MDF with double-sided tape. This MDF piece will become the first layer of the mold above the base. With the MDF on top of a sacrificial surface, use a 3/4″ pattern routing bit (bearing next to the shank) to form the cutout in the MDF. It is important to note that the bit is cutting a 3/4″ wide space outside of the core. It seems counterintuitive, but that outside shape is what will form the mold.
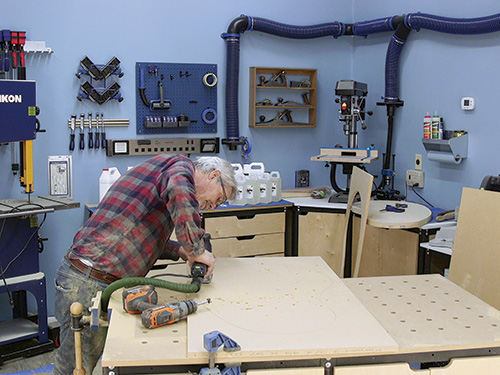
In a series of passes, cut out the shape of the mold being careful to press the bit’s bearing against the core. This is where I let my mind wander and ruined the piece by allowing the patten-routing bit to stray away from the core. I had to start over. Discard the center piece of the MDF, and take the kidney bean-shaped cutout to a spindle sander to fair the curves.
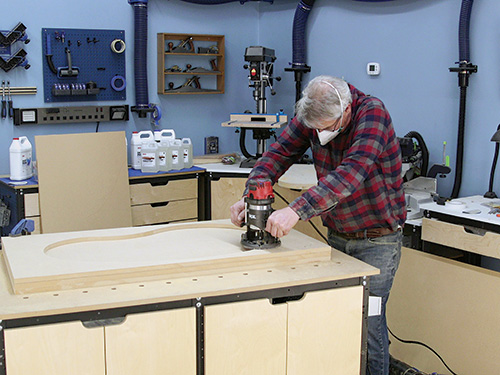
Now it’s time to make two more layers of the mold. I tried doing this a couple of ways, but the easiest turned out to be the following. Place the first cutout layer on top of the next piece of MDF with the edges aligned. Trace the shape of the cutout onto the lower piece. Set aside the cutout and, using a handheld jigsaw, remove the rough shape of the kidney, taking care not to cut into the pencil line. Then, put the original cutout piece back on top of the roughed-out piece and, with the same pattern-routing bit as earlier, shape the second panel’s interior. Do this one more time so that you now have three pieces with perfectly matched cutouts. Because the base and the three cutout mold layers all have the same 26″ x 49″ size, it’s easy to glue them together accurately to make a mold. Remember that it is the inside curved edges of the mold that are the most critical to align. Glue and clamp the layers together and give them time to dry.
More Mold Maneuvers
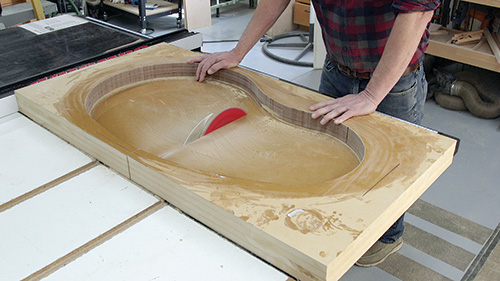
When the glue cures, take some time to sand the inside edge of the mold smooth. I did this by hand with sandpaper wrapped around a sponge. I was surprised at how well the edges lined up, so the sanding was not as tedious as I feared it might be.
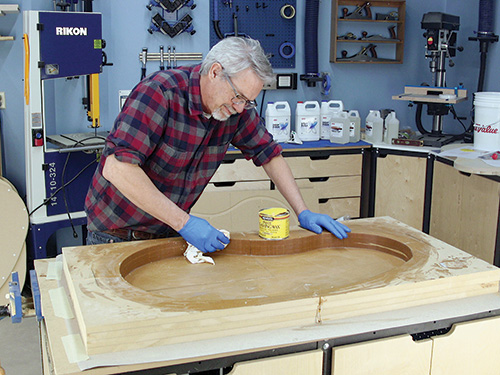
The next step moved me into the world of epoxy resin. I mixed up a small amount of MAS Table Top resin and sealed the mold. Using a foam brush, I painted several coats of the resin onto the edges and one layer onto the bottom surface. This step is critical to your success later on. It fills up the pores in the edges of the MDF and any seams between the layers. After it cured (overnight), I once again sanded the edges of the mold as smoothly as I could.
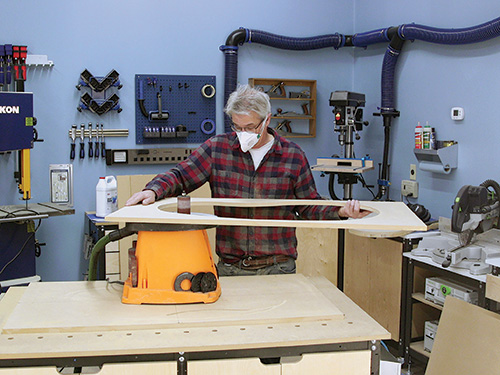
Next, things get a little weird. Having made a few molded resin projects, I’ve learned that getting the finished piece out of a custom-made mold can be one of the most challenging tasks to accomplish. The size, weight and complex shape of this top concerned me. For that reason, I decided to cut my mold into four sections that I could then take apart as I removed the completed tabletop. I drew registration lines on top of the mold to help me realign it after it was quartered, then I stepped over to the table saw outfitted with a thin-kerf blade, and I sliced the mold into four pieces. The blade just barely made it through this thick lamination!
With that done, I “glued” the four pieces of the mold back together using Lexel clear sealant to join the sections. Apply plenty of the sealant and clamp the pieces together. Wipe any squeeze-out away from the joints before it begins to cure. When it has completely set, you are ready for the next step: wax. As mentioned, I have had challenges getting poured epoxy pieces out of their molds. This time, I applied a thick layer of paste wax to the interior of the mold to help with that. Put down another thick layer of wax. And when you are done with that, use more wax. And maybe a bit more after that…
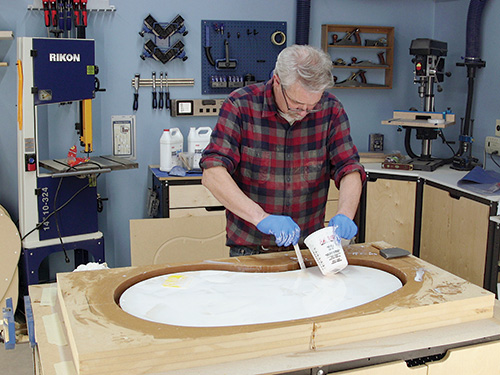
There are only a few more steps until the big pour! But next up, the core needs to be placed into the mold. To keep the epoxy from creeping under the mold (it is difficult to put into words how easily epoxy resin will seep into areas you don’t want it to go), I applied a wiggly, thick bead of sealant around the perimeter of the core on its bottom face. Setting the core in the mold, I took care to keep the gap between the edge of the mold and the core uniform. Press down on the core and wipe any excessive squeeze-out away from its edge. Let the sealant cure overnight.
It’s Go Time for Mixing Epoxy!
I thought it wise to consult with the experts at MAS Epoxies about how to properly pour this resin tabletop. It would take over two gallons of the resin, and the last thing I wanted was to make an error that would ruin the piece. When I explained the project to them, they recommended that I prime the mold first. At their encouragement, I used some of their Table Top Pro resin, colored white as the main section of the top would be, and I poured a 1/4″ base layer into the mold. At this point, I also used a Popsicle stick to trowel resin onto the edge of the plywood core to seal it. (But if I were to make another mold, I would seal the core’s edges before I put it in the mold, which would make this edge-sealing process much easier.)
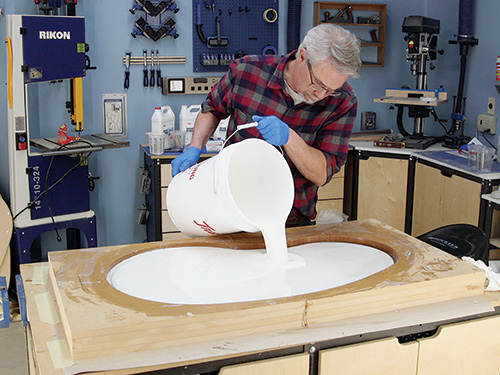
When that first resin cured, it was time to pour the main tabletop. Something important that I failed to mention earlier is that it is critical to level the mold perfectly on your worksurface. This ensures that the thickness of the resin is consistent across the length and width of the pour.
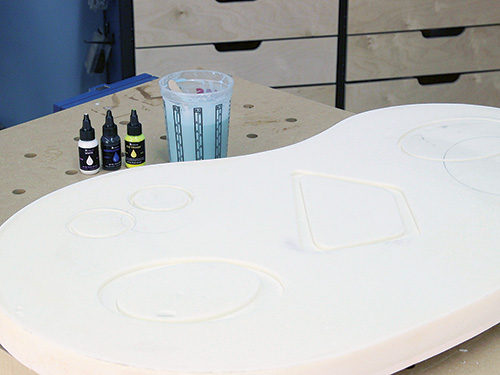
Once again at the recommendation of the folks at MAS, I used their Deep Pour X resin formulation. As some of you might know, when you increase the amount of epoxy resin you are working with at one time, you can run the risk of creating a thermal reaction that will bubble, craze or yellow. With deep pours, here’s the rule: the slower the cure time, the better. Deep Pour X is made just for this sort of task. With the help of my co-worker Jeff Jacobson, I mixed the resin and added color. Using the Eye Candy colorants, Jeff created an off-white color. Once it was mixed and ready, I poured the mold full, stopping about 1/4″ from the top. I fanned it with a torch flame to pop any bubbles. It took just about two gallons of resin and a little more than 48 hours to cure completely, but it looked great.
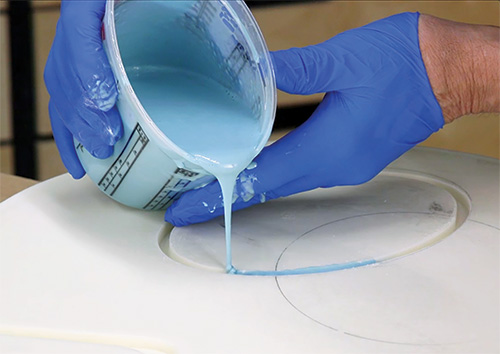
I don’t want to brag too much, but I was able to get the tabletop out of the mold. It actually went very well, and when I was done, I could have reused the mold pieces to make another top. (There were a couple of people laughing in the shop while I was grunting away at this task, but they might have been amused by something other than me … well, maybe.)
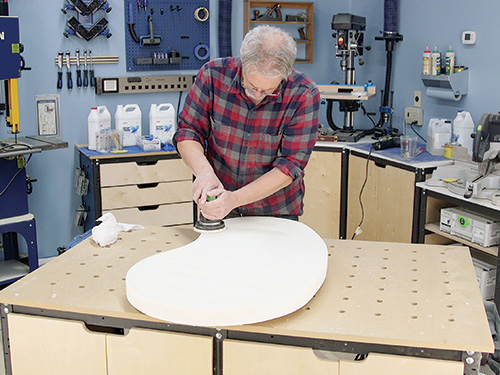
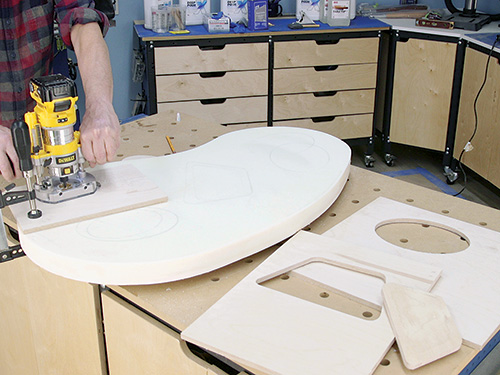
Using a 5″ rotary sander, I leveled the top. Next came routing in some super-cool shapes. There were a lot of ways we could have gone with this tabletop, but we thought it would be fun to rout some shapes we found on Mid-century modern-style websites into the surface of the table, then “inlay” resin colored to the pastel hues of the period. (You can find full-size drawings of these shapes if you want to make your own templates.)
Final Details and Lots More Sanding!
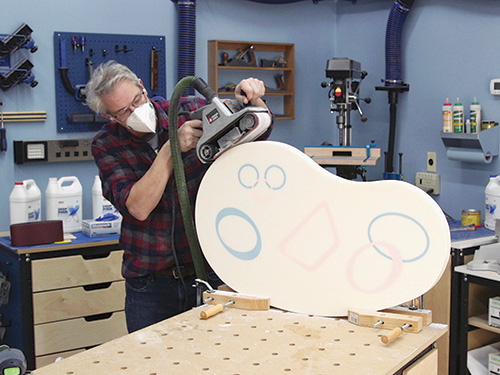
After routing the first shapes, I poured colored MAS Table Top resin into those grooves. When that cured, I routed the intersecting shapes and poured the complimentary color. Then it was onto sanding and shaping.
Once again using a 5″ rotary sander and starting with 60-grit paper, I flattened the top. Also starting at 60-grit, I used a belt sander to smooth the edges of the tabletop. Taking a short break from sanding, I used a 3/8″ bearing-guided roundover bit to shape the top and bottom edges of the tabletop. From there on it was back to the rotary sander and successive grits, going all the way up to 600-grit. (I used the rotary sander on the edges too.)
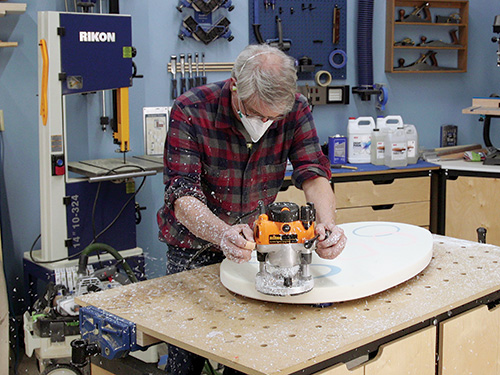
Next up? Okay, it’s more sanding, but here we switched to Micro-Mesh Cushioned Abrasive instead. These pads attached to my 5″ sander. Starting at 1,500-grit, they run all the way up to 12,000-grit. Between each grit I wiped the swarf away with a damp rag. Starting at 2,400-grit, I used a few drops of water as a sanding lubricant. Wipe the top clean of slurry between each grit. We stopped at 12,000 grit. That seemed the right combination of smooth and shiny for a tabletop. You can continue buffing to a mirror-like finish with resin like this, but that seemed excessive to us. With the tabletop’s surface finish completed, it was time to attach the legs.
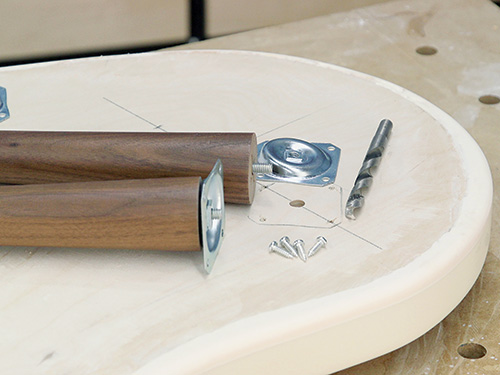
From the very beginning of the project design, I wanted to use some classic turned legs found in so many Mid-century modern coffee tables. I thought of turning them myself, but Rockler was bringing in a variety of new leg styles, available premade, and they have a selection of different ferrule types that really caught my eye. Also available are mounting plates that add to the ease of installation, angle consistency, etc. One important point: the hanger bolts installed in the legs will extend past the bottom surface of the steel mounting plate, so I bored a hole under the mounting plates to accommodate the protruding end of the hanger bolts.
With the legs attached, I put the table in my living room, fired up a Camel straight and asked my wife to make me a martini and put a Johnny Mathis record on the hi-fi. Well, none of that happened, but the spirit of the 1950s was truly evoked by this kidney-shaped coffee table.


