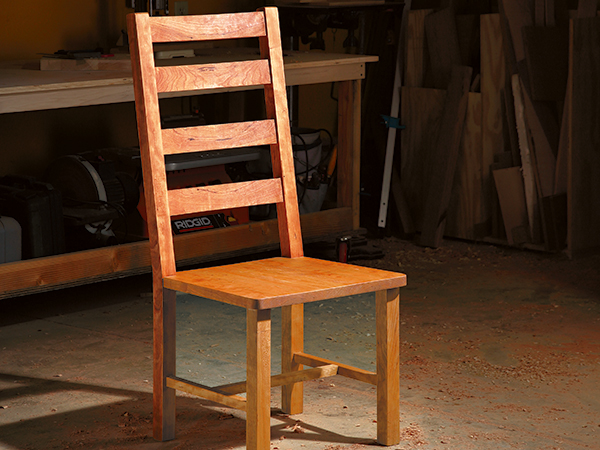
The construction process that you choose as a builder is often constrained not only by the size of your workplace, but by the tools that you have at your disposal. In this version of our small shop, we have no table saw, planer or jointer — with the centerpiece tool being a 14″ band saw. Even so, the critical path of woodworking remains the same: harvesting the stock, marking and making the joints and so on.
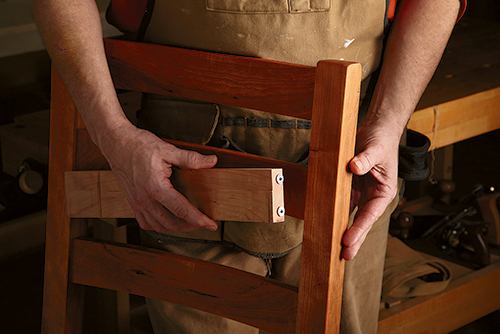
To make this chair, we used solid cherry lumber surfaced to 1-3⁄4″. There are no metal fasteners used here…just dowel joints and a form of mortise-and-tenon joinery. The primary machining on this chair was done with a router guided by shop-made templates. The back legs, back slats and the seat (pieces 2, 5 and 6) were all template-routed to their final shape. The front legs and the stretchers (pieces 1, 3 and 4) were rough cut on the band saw, then planed square and smooth by hand.
Including:
- Template routing
- Round tenons on square stock
- Dowel joints located by dowel points
- Hand planing legs
Chairs have a reputation of being difficult to build, and with good reason. As our late contributing editor Mike McGlynn used to say, “when you make a chair, the joinery has to be bomb-proof.” That may have been a slight overstatement, but probably not by much!
Getting Started
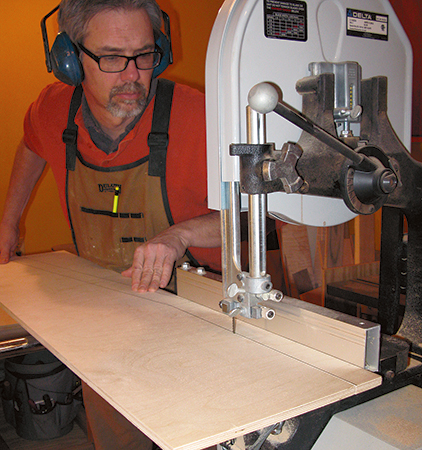
Begin the process by getting sufficient 1-3⁄4″ stock into your shop to make the chair (or chairs), and keep it there for a while to let it get used to the environment. With your lumber in hand, the first task on the agenda is to make the template for the back legs, pieces 2. Because the template will end up long and skinny, Baltic birch plywood (1/2″ thick) is the perfect material to use here. The voidless plywood provides strength and dimensional stability that are essential for this task. Lay out the shape of the leg on the plywood with a sharp pencil, using the Drawings on the following page as a guide. Then step to your band saw and cut the shape, staying just outside the pencil lines. When you’ve cut it out, sand and plane the excess away until you have an accurately formed template. Remember, any dips, bumps or other distortions will be clearly telegraphed to your leg stock as you rout, so refining the shape of the template is very important.
Now use the template to trace the shape of the legs onto your cherry lumber. Even though it might seem a bit odd, a full thickness black Sharpie® is the perfect marker to use for this task. Its ultra-dark lines are easy to see, and it is thick enough that you can cut exactly to the outside of the line and have just the right amount of wood to trim away with the template-routing bit. Which brings up a couple of other important points: If you have not done much template routing, you need to be aware that routing across end grain in situations like these legs can lead to disaster. You must be very careful to avoid fracturing the grain at the corners. It is better to avoid the corners and just rout up to them but stop short, leaving small nibs of wood to be sanded off later. Also, pay attention to how the grain runs (by looking at it visually and listening while you are cutting) in the leg as you are routing. If the grain is as curly and troublesome as the cherry we used here, you will need to stop and do some climb cutting in places to avoid tearout.
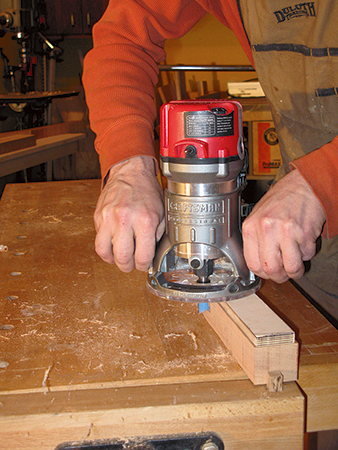
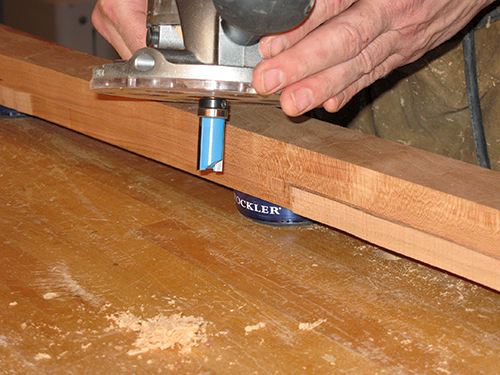
The legs were routed in a two-step process because the router bit was not long enough to machine the thickness of the leg in a single pass. After securing the template to the leg blank with carpet tape, take the first routing pass. Then remove the template and lower the bit in the router. This way you can complete the cut by guiding the bit’s bearing along the surface of the wood you’ve already machined. You will also need to lift the leg up from the surface of your bench — we used Bench Cookies® for that task (also, clamp the leg to the bench). With that done, sand the nibs at the ends of the legs and set them aside for now.
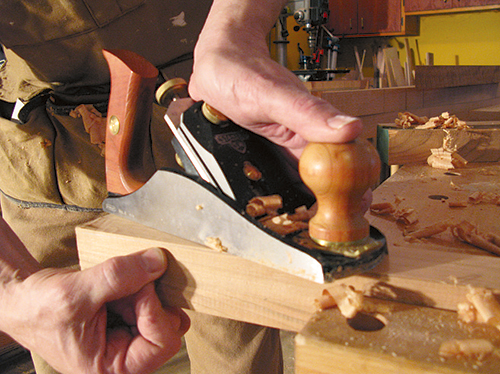
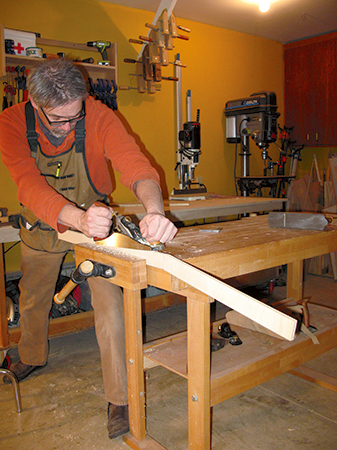
Next, it’s time to make the front legs and the stretchers (pieces 1, 3 and 4). We ripped them from the cherry lumber using the band saw, and then used a hand plane to square and smooth them. Even with this unruly cherry, that process only took a short while. As long as you are at it, now is a good time to make the seat blank (piece 6) from 1-1⁄8″-thick stock. Here we resawed the thicker cherry lumber to about 1-1⁄4″ thick, glued up the blank, then planed it flat (across the grain) with a bench plane. Make the blank slightly oversized as, once again, you will template-rout it to its exact dimensions later.
Round Tenons on Square Stock
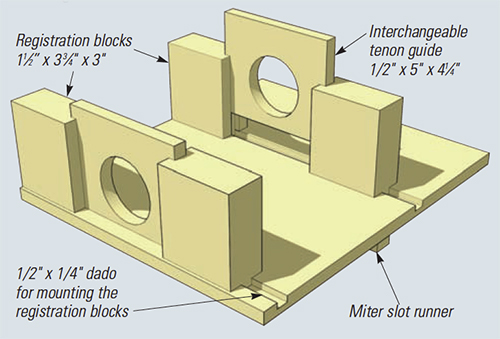
This sliding jig allows you to use a router table to raise round tenons on the ends of square stock by rotating it in the tenon guides. Tenon diameters are adjusted by raising and lowering the router bit. Tenon lengths are set by means of a stop-fence clamped over the bit. Interchangeable tenon guides accommodate different stock thicknesses. Place the stock into the jig and, with the bit turning, engage the stock with the cutter and the stop fence by sliding the jig along the miter slot. A stop clamped to the table locates the jig centered on the bit. Rotate the stock in the tenon guides until the tenon is smoothly cut.
It’s Jig Time
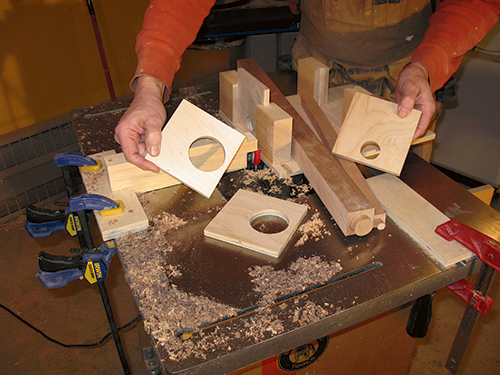
We used the shop-made jig to raise round tenons on the ends of the front legs and stretchers, pictured on the following page. It is not complicated, and one of its best features is that it can handle stock of differing thicknesses, using interchangeable tenon guides. As with any machining task, it only makes sense to use scrap lumber cut to the same dimension as the actual leg and stretcher stock to set up the cuts and test the fit of the tenons in pre-drilled holes. The stretcher tenons were formed to be 1/2″ in diameter and 1/2″ long. The leg tenons were also 1/2″ long but 1-1⁄8″ in diameter. One tip to keep in mind: make the tenons just oversized in diameter and then hand sand them from there. This ensures a tight fit, which is crucial for chair joints.
Making the Back Slats and Seat
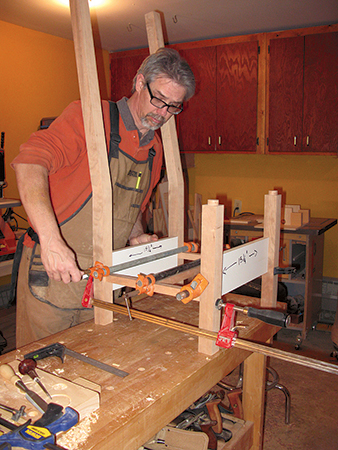
The cross slats that make up the ladderback need to be perfectly fitted between the legs. With the chair parts clamped together, determine the slat length and create a plywood template using the Drawings as your guide. The back slats end up being 3/4″ thick, but they are shaped from 1-3⁄4″ stock. Once again, you will use a two-step template routing sequence, this time on the router table. Cut the slat blanks to length, use the template to trace their shape onto the blank, and then drill their ends for pairs of 3/8″-diameter dowels. Use the band saw to rough cut them to shape. Then step to your router table and chuck a 3/4″ “pattern” bit — it has the bearing at the “chuck end” of the bit — into your router.
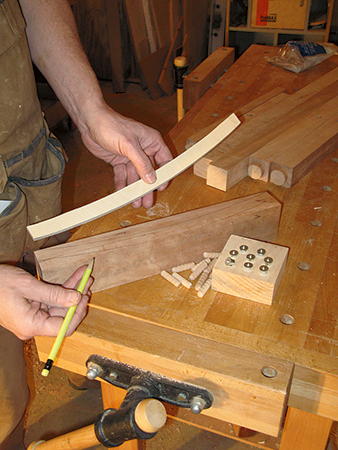
Carefully rout the shape of the back slat, keeping your hands well clear of the cutter. When those cuts have been done, chuck a 3/4″ flush-trim bit with the guide bearing on the end of the bit. Set it so that it will clean up the rest of the waste on the slats and repeat the process. Sand the back slats smooth and then use dowel points to help locate the dowel holes in the back legs. Drill the dowel holes (we used a drill press for this) and then dry-clamp the components together. When everything fits properly, disassemble and finish-sand the parts.
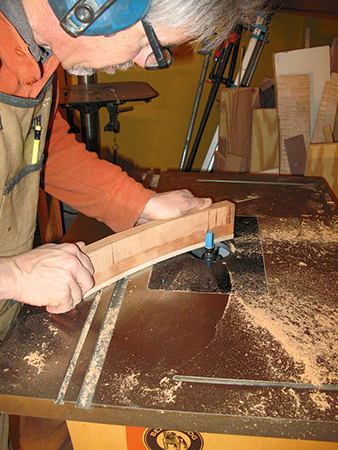
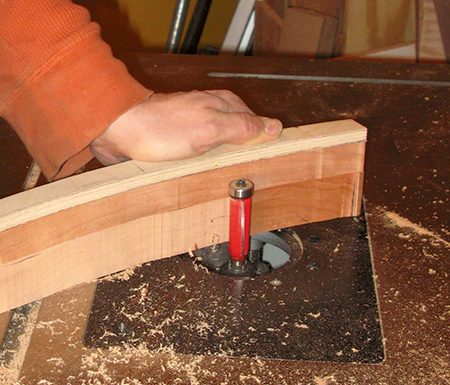
Now it’s time for your final template-routing process to complete the seat. Make a 3/4″ plywood template, shaped as shown in the Drawings but fit precisely to the chair as it is in clamps. Secure it to the seat blank with carpet tape. Step back to your router table and use the flush-trim bit (the red bit above) to shape the blank. Take care at the end-grain corners. Square up the notches at the back of the seat with chisels. Mark the locations of the front leg mortises on the seat, and drill them. Test their fit, and then final sand the seat. Once that’s done, drill 3/8″ dowel holes in the notches of the seat as shown in the Drawings, and use dowel points to locate matching dowel holes in the back legs. Drill those holes and test-fit the seat one more time. When you are satisfied, glue and clamp the chair together. We added 1/4″ locking dowels from underneath the seat as shown in the Drawings. Drive them in and sand them smooth.
After the clamps came off and any glue squeeze-out was removed, we broke the edges of the chair parts with sandpaper, rounding them over to make a pleasing shape. The last task is putting a few coats of Watco® Natural oil finish on the chair and letting it cure. Now you have a fine hallway chair or, if you make a few of them, a dining room set.


