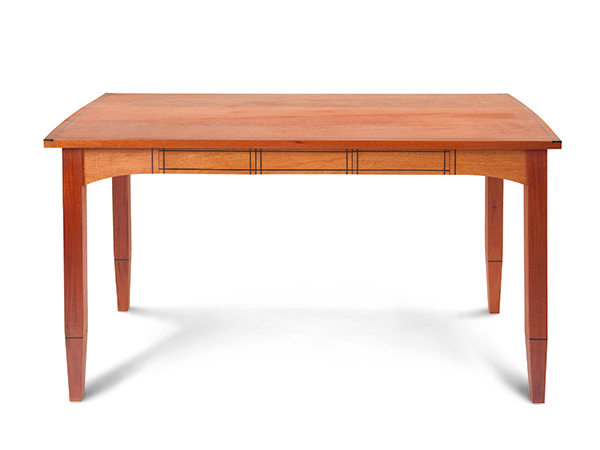
I think of this piece as a ladies’ desk (it was made for a lady) perhaps because of the feminine curves — as opposed to the more usual straight lines and hard corners of most desks.
I did not intend this, but it was one of those designs that just evolved on its own. Anyway, the lady was pleased, which was just as well since we share an apartment in San Francisco.
I used mahogany for the desk, with ebony inlay, but other combinations would be equally suitable — walnut with maple inlay, for example, or cherry with rosewood. Cutting slots for the inlay is tricky…one slip of the router and you’ll have to start over.
But I feel adding inlay to the top and carrying that theme over onto the drawer faces and legs adds elegance to this project. If you work carefully, guiding your router against a straightedge or a curved template, you’ll have good success here.
Beginning with the Top
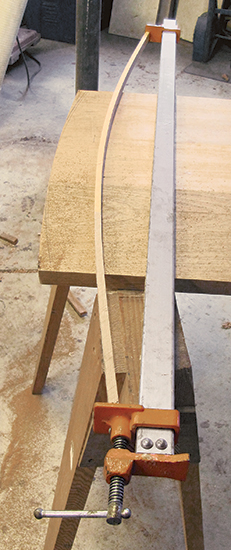
Start by gluing up stock for the desk top and rough-finishing it so there is a level surface for the router, then lay out the curves at the two ends. I initially set a beam compass to a radius of 52″ — the same length as the desk — intending to cut it on the band saw using a pivot. However, the curve looked wrong…too mechanical and simple-minded. So I picked a straight-grained batten and put pressure on the ends with a long bar clamp.
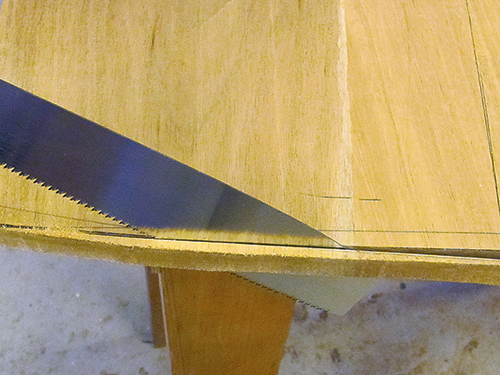
By changing the clamp pressure, I could adjust the amount of curvature very precisely. I don’t know if the curve so generated has any mathematical pedigree, but I suspect it belongs to the same family as suspension bridges. Anyway, it looked right for this desk, so I marked the curve with a felt-tipped pen and then sawed it by hand with a 300mm Japanese saw. The flexible blade is ideal for cutting shallow curves such as this one.
I used the offcut as a sanding block to smooth the ends of the desk top, then traced the curve onto scrap and sawed it out as a template guide for the router. By clamping this guide to the desk top, I could rout out a groove for the inlay with confidence. If you are not comfortable making this cut with a router, I suggest you practice on scrap wood until you are. Use a straight 3/16″ carbide bit and be sure to go against the direction of the bit rotation. Otherwise, the bit can take charge and run away with you.
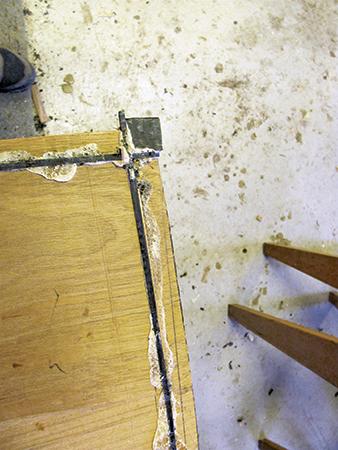
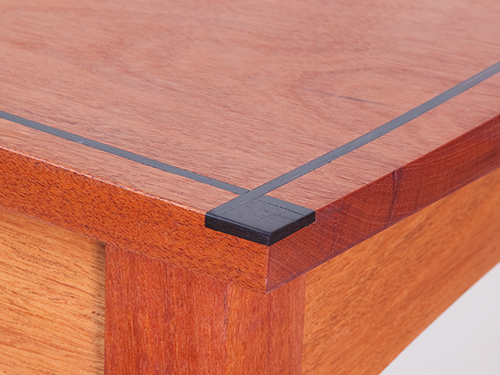
Cut the groove in the curved ends first and then, using a straightedge as a guide, cut slots along the long sides. Doing it this way minimizes tear-out where the two grooves intersect. When done, use the router again with the same depth setting to cut the shallow notches at each corner for squares of inlay that join the strips where they meet.
When cutting a precious wood such as ebony into inlay strips, I minimize waste by clamping a fence to the band saw instead of using the table saw. This works best with a 3/8″- or 1/2″-wide blade, because it’s less likely to wander in the cut.
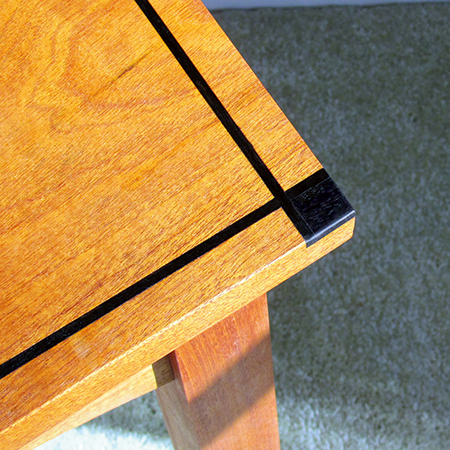
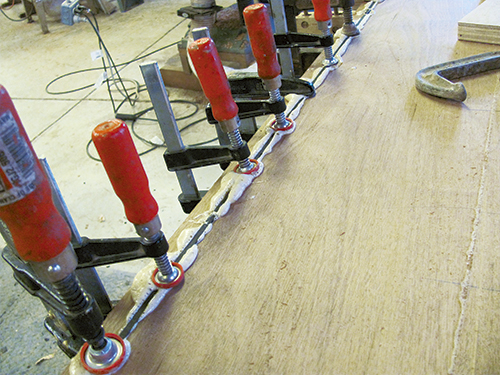
After cutting sufficient strips of inlay — you can butt them end to end if necessary — glue them into their slots. Start at the curved ends using a piece of hardwood scrap with wax paper in between so you can apply even pressure with clamps. Glue the long sides next. Now cut the small squares of ebony for each corner and glue them into place. Clean the top up with a block plane and scraper, sand it up to 120-grit, and set it aside to work on the base.
Assembling the Legs and Aprons
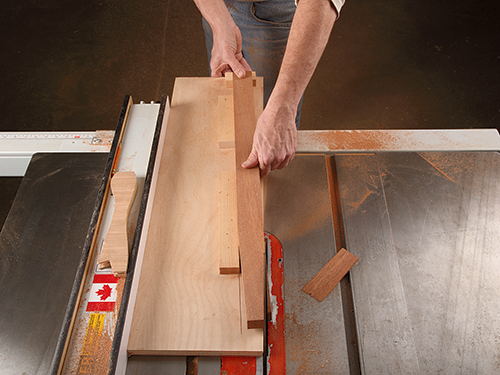
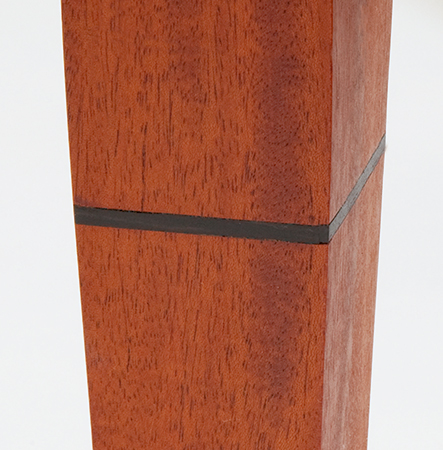
The legs are square in section and are tapered below the ebony bands. Cut them to size, and taper their ends. Slots for the leg inlays are best cut against a miter gauge on the table saw using the rip fence as a stop. It’s a simple procedure. With the legs done, make up the front, back and side aprons. Use the flexible batten to form the bottom curves on these parts before shaping them at the band saw. Mark the location of the three drawer faces on one of the long aprons, but don’t cut them out yet.
Before final assembly, mill a shallow slot for the wooden buttons on the inside of the aprons at your table saw or router table. These will connect the top to the base and allow for seasonal wood movement. Be careful to stop the slot cuts short of the drawer fronts on the front apron (see Drawings). With that work behind you, join the legs and four aprons together with pairs of 1/2″ dowel pegs and glue. As you clamp the assembly up, be sure that the legs are parallel to each other (or even toe out slightly) by adjusting the placement and pressure of the clamps.
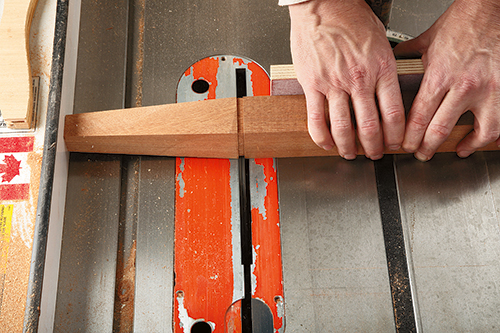
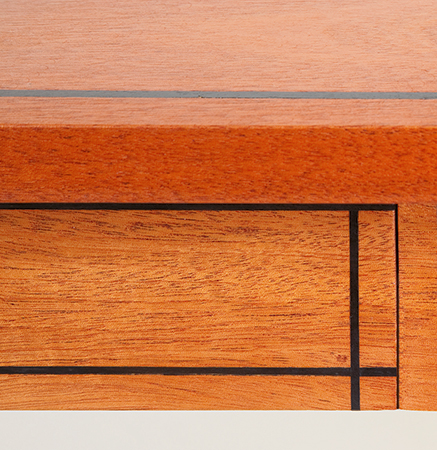
After the glue dries, mark out and cut the three drawer fronts free with a thin, fine-tooth saw. Label them clearly so you can reassemble them in the same sequence. This gives a consistency of grain and color — important in a delicate piece of furniture such as this desk. Make four crisscross cuts on each drawer face with a thin-kerf blade at the table saw to fit the 1/16″-wide inlay strips. Then cut slots across the ends of the “stub” apron pieces of the front apron for inlay here, too. Glue the inlay strips in place and then plane or sand them flush. Notice in the Drawings that I added a single dowel near the cut ends of the front stub apron in order to lock them in place underneath the desk top. They also will receive a wooden button and screw.
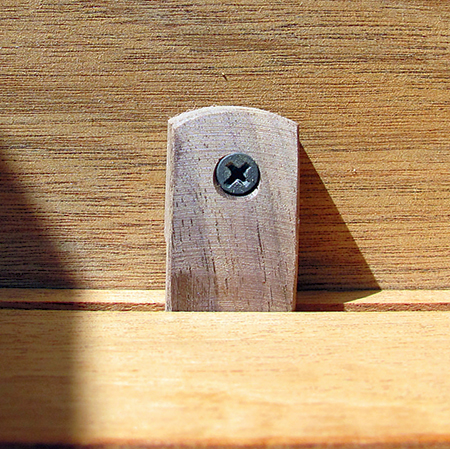
Speaking of which, use some scrap stock to make the nine wood buttons now, and drive a countersunk wood screw through each to fasten the desk top to the leg base. Be sure to position the buttons on the side aprons in a little bit from the legs so the top can expand widthwise with the seasons.
Adding the Runners and Drawers
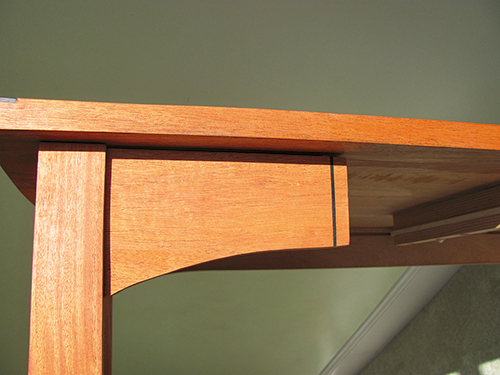
The desk drawers are suspended from the desk top and slide along pairs of drawer runners with supports dadoed into them. Use scrap stock to make the runners and supports. Then turn your attention to the drawer boxes. You can construct these drawers with any joinery you prefer, but the parts are sized in the Material List to accommodate rabbet-and-dado joints. Cut the joinery, make slots for the drawer bottoms and assemble the three drawers with glue and clamps. When the joints cure, cut 1/8″-deep, 3/8″-wide slots along the drawer sides for the runners.
Then flip the desk over and set the three drawers and their runners in place. Use 2″ countersunk screws in elongated holes to attach the drawer runners to the desk top. Only after the drawer boxes have been fitted and slide in and out smoothly should you attach the drawer faces. I didn’t do this, and aligning the bands of inlay on the drawer faces after the drawers were in place was a tedious, time-consuming business. You can use short pieces of double-sided tape to position and hold the drawer faces in place temporarily, before fixing them permanently with screws driven from inside the drawer boxes.

There is no functional need for pulls with drawers this small since they are easily opened with a hand beneath the front edge. If you prefer the look of pulls, make a set using the same wood as the inlay in a style that suits your taste.


