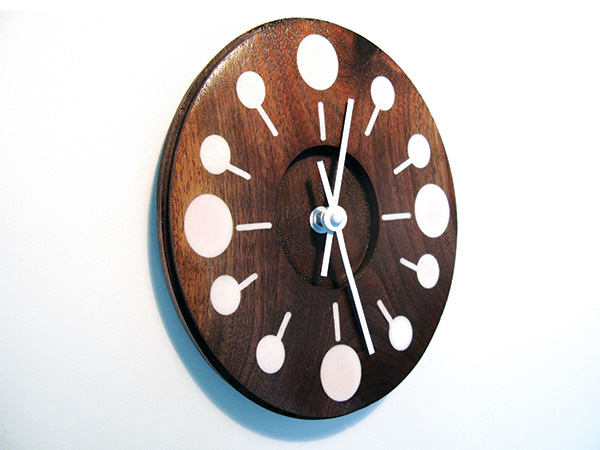
This little beauty is best made on a CNC router. Why? Because there are 14 ovals to be machined into this one piece of 1″-thick walnut. Making one perfectly shaped oval by traditional methods is hard enough … but 14? Forget about it.
Let a CNC Tackle the Ovals
The good news, for those of you who have a CNC router in the shop, or have access to one, is that we are offering the .tap files to make this clock free.
If you have never used a CNC but are thinking of giving it a try, this would be a great starter project. And if you are thinking of taking the jump into the world of CNCs, this little clock can be made on nearly any size machine. We used Next Wave Automation’s Shark SD100 — an entry-level and affordable CNC option.
Making the Clock
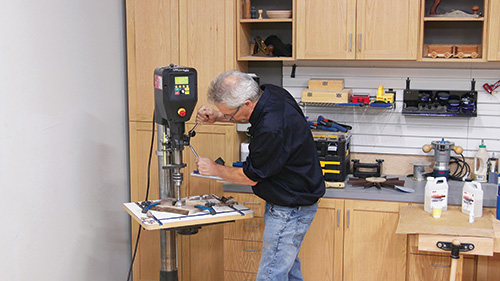
Although a CNC could form the 3″ round hole on the back of the clock blank, a Forstner bit does the job in a snap. Bore a recess for the clock movement, then a 5/16″-dia. hole for the movement’s shaft.
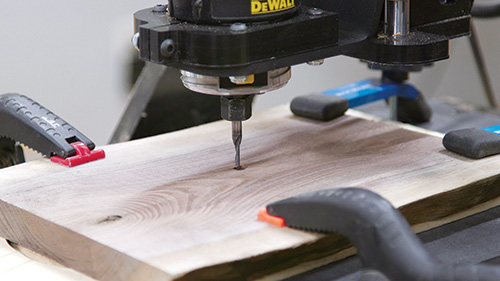
Clamp the clock blank onto the CNC deck and use a spoil board under the blank to protect the deck from the cutter. On the SD100 unit, we used a combination of different clamps to secure the blank.
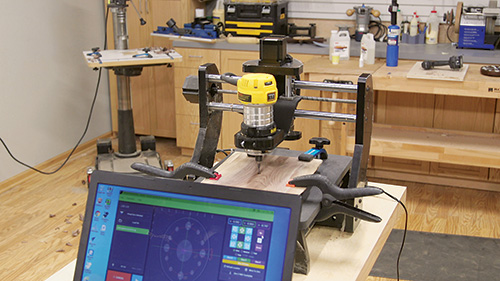
Center the X and Y coordinates over the hole you bored for the clock movement’s shaft. Then go ahead and run the two .tap files to shape the clock.
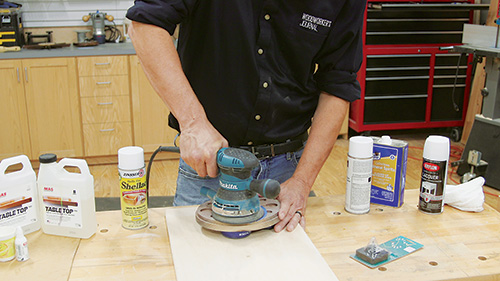
With the machining done, sand the clock body up through the grits to about 320-grit. The smoother the surface, the easier it is to get a pleasing clear finish on your clock.
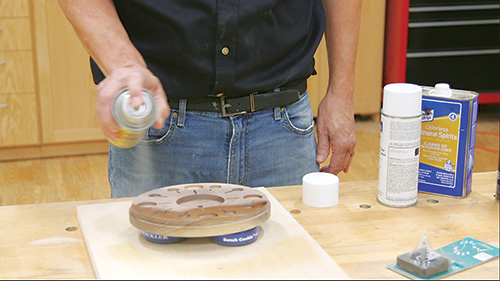
After sanding, we used an aerosol can of shellac to apply a seal coat. Shellac dries quickly and does not have an unpleasant odor. The shellac will keep the epoxy from bleeding into the wood fibers.
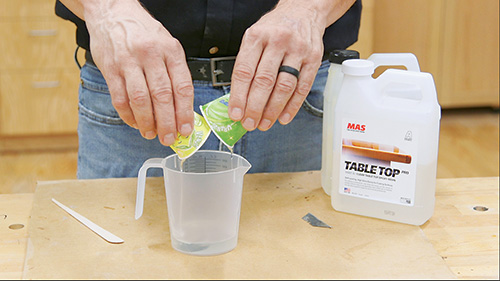
Mix a few ounces of Table Top epoxy from MAS. The consistency of this product is perfect for filling the openings machined by the CNC router. Mixing the A and B components completely is a key to success.
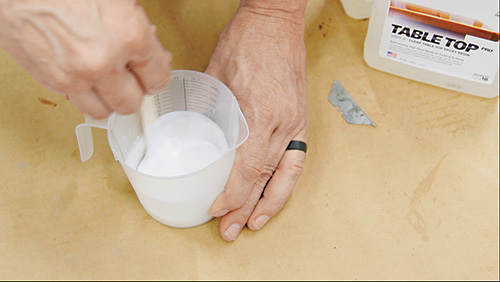
Add white pigment to the epoxy mixture. We used Mixol universal colorant and chose white for this version of the clock, but color decisions are subjective and entirely up to the builder.
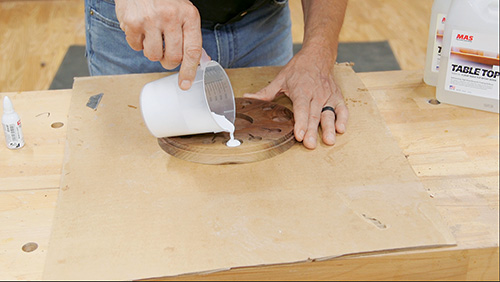
Pour the epoxy mixture into the openings. You may need to use a small stick or the end of a screw to help the epoxy flow and completely fill the openings. Examine the fill levels carefully.
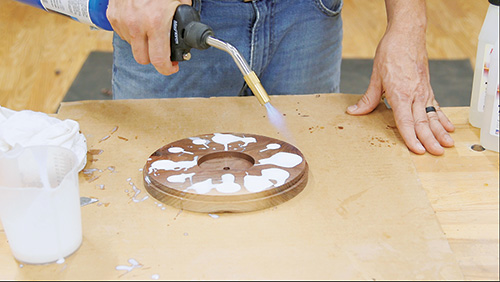
Use a torch or a high-powered heat gun to remove any air bubbles from the epoxy mixture. After the epoxy cures overnight, sand the clock face smooth. Apply another coat of finish and then mount the clock movement.


